Highs and Lows - all too typical with MY project.
As has been all too typical with MY build progress, the last month has been filled with exhilarating highs and soul crushing lows. But we do continue to make progress, albeit slower than hoped (we did not expect anything different – did we!).
So lets take you through some of my highs and lows on last month’s journey as we have a lot to cover.
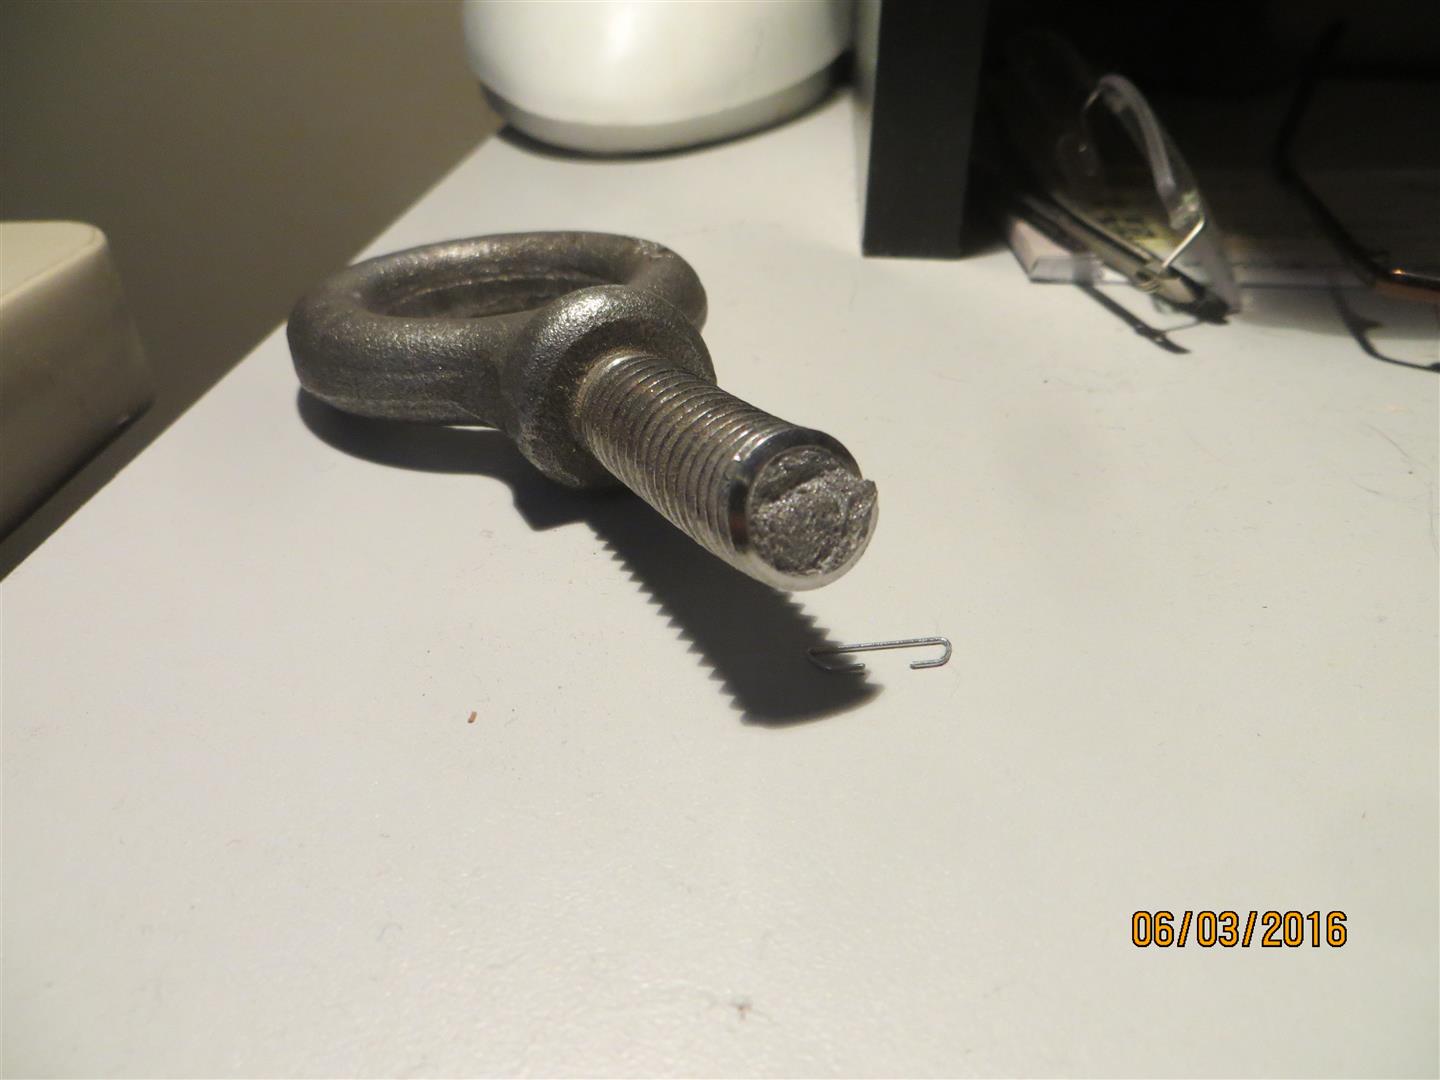
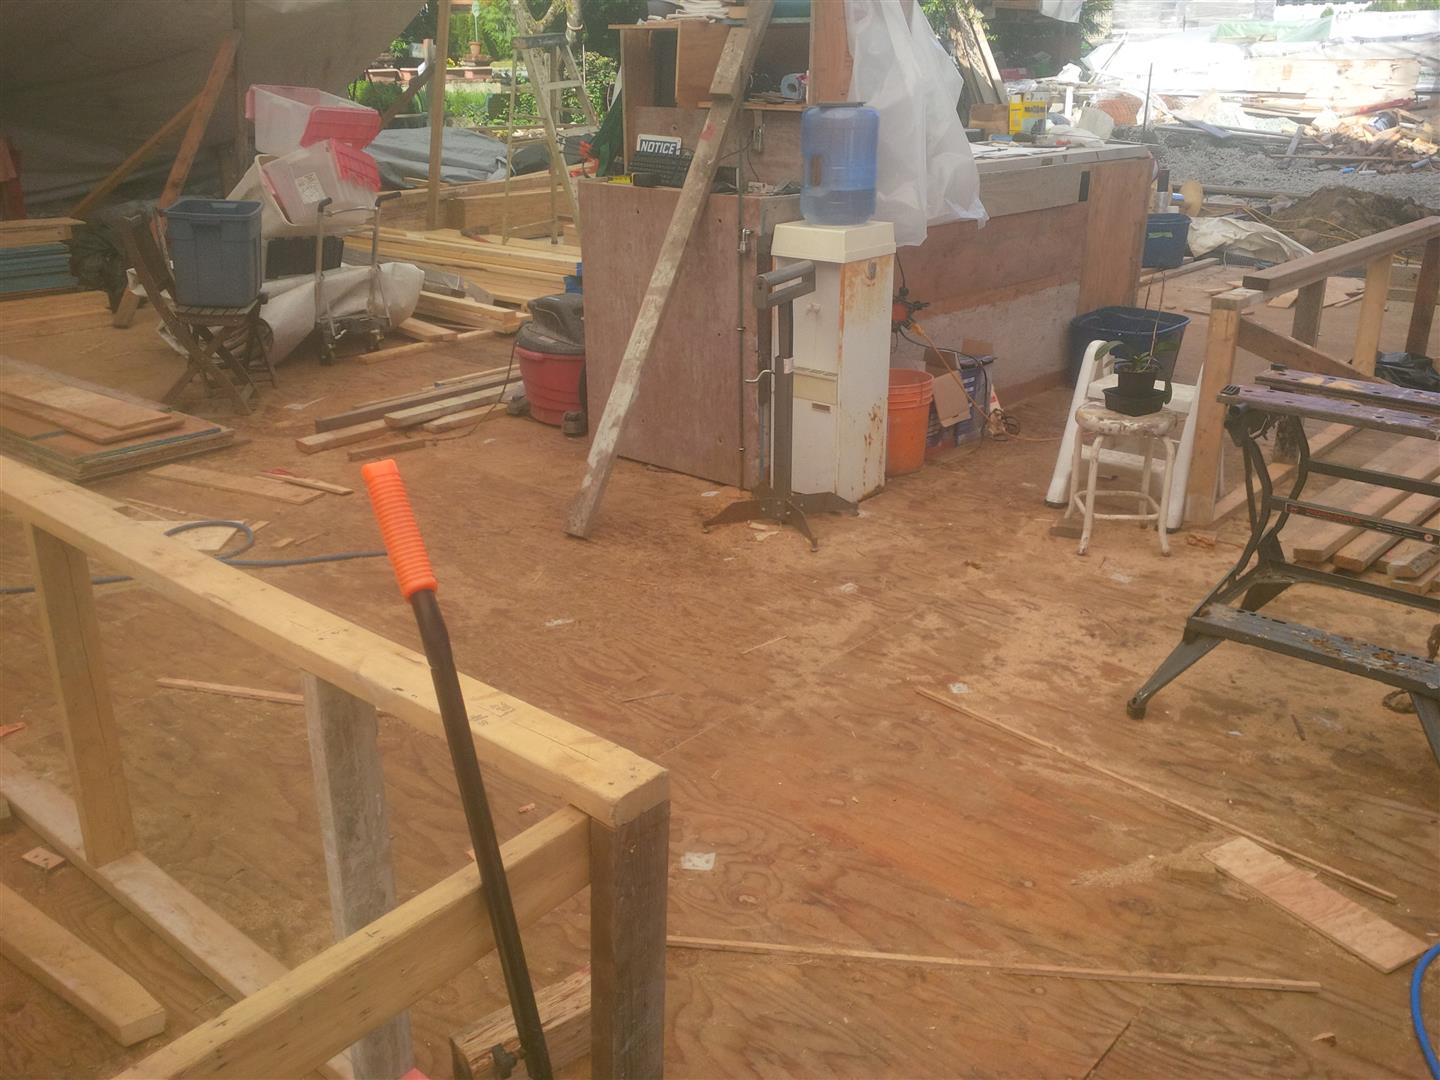
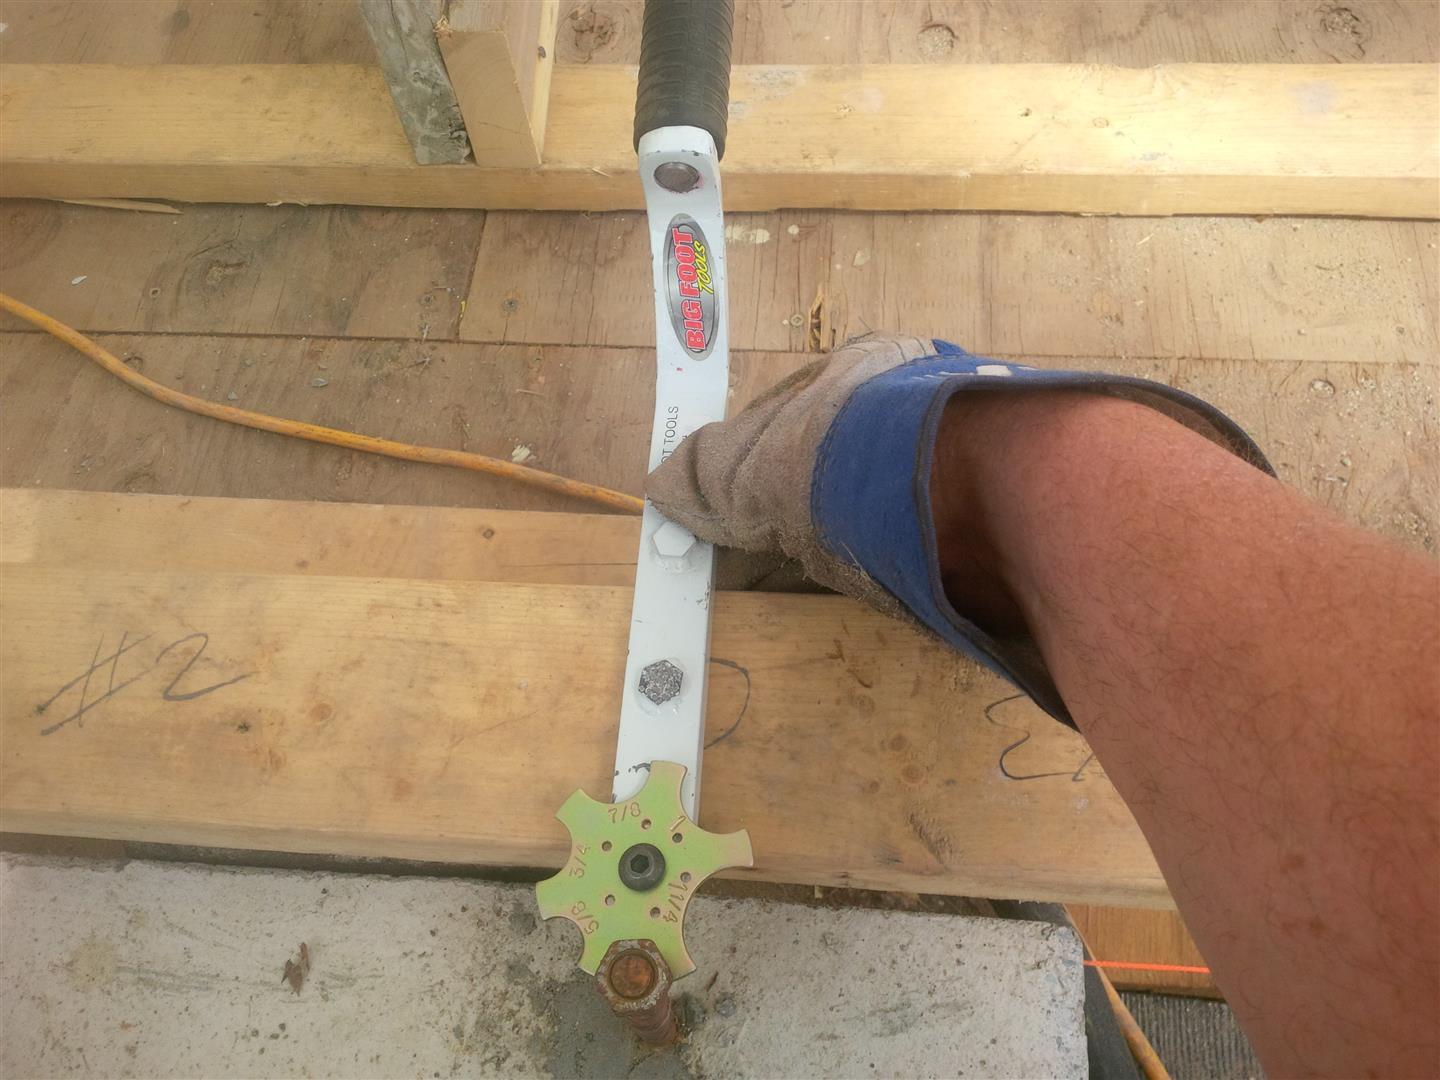
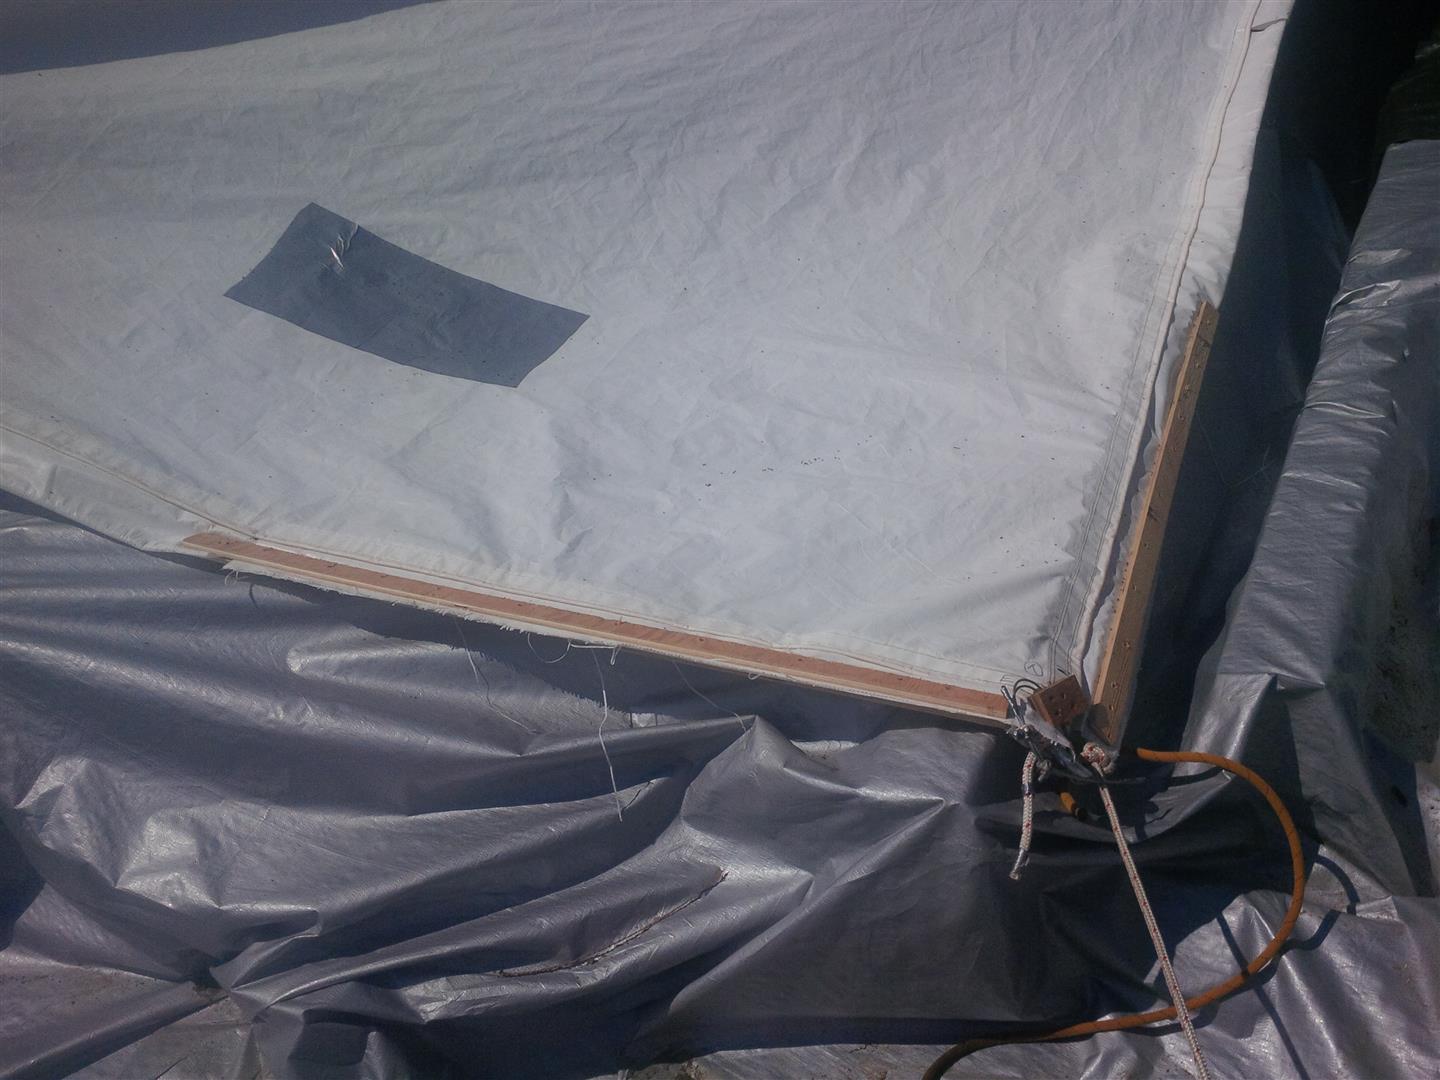
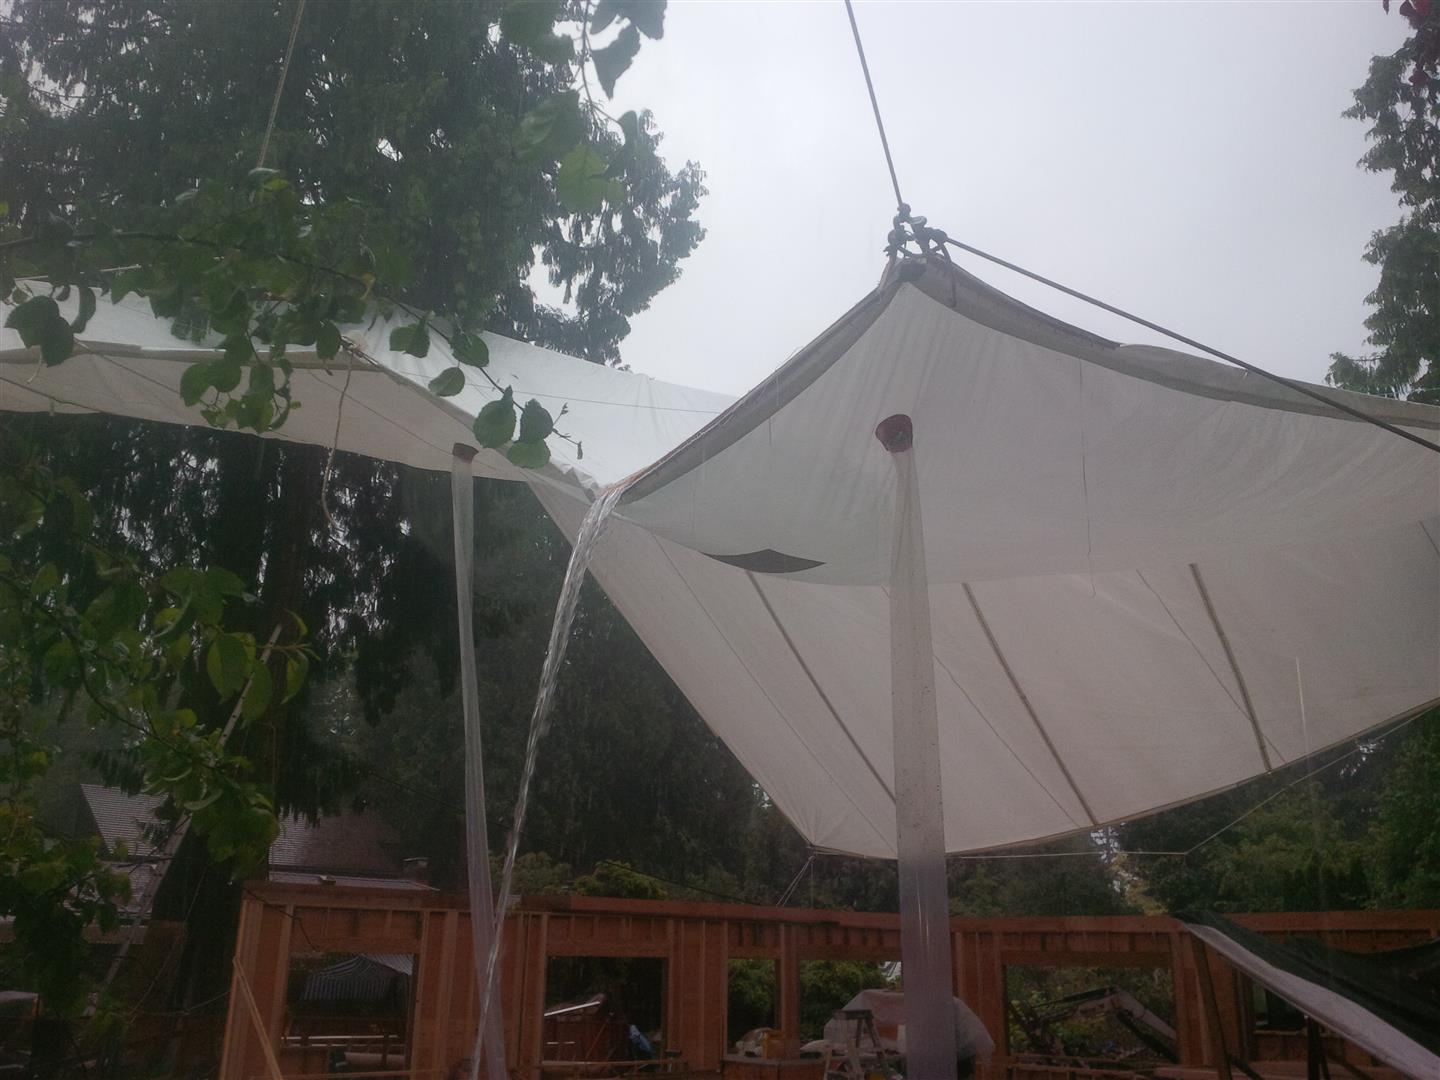
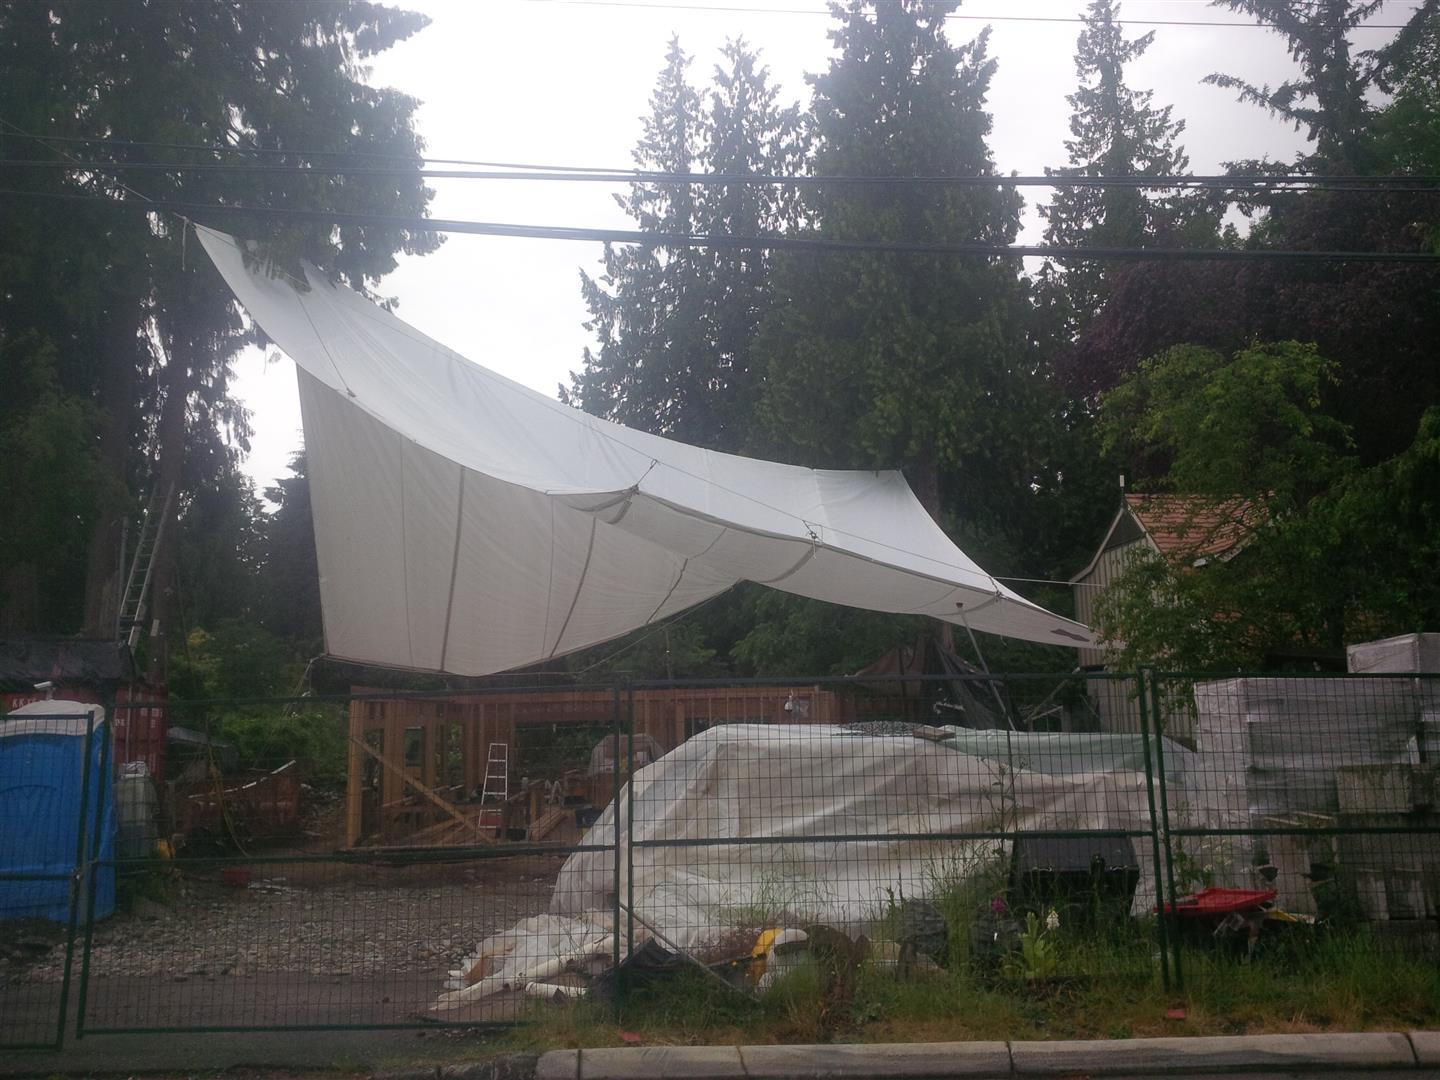
High#1: The new B.A.T. 3.0 Flies High – It was so awesome to feel protected from the elements once again. Even in good weather the new tarp provides an fantastic shaded work space that is bright and airy. Although there were some minor rigging issues at first including snapping off the a ½” Cast Eye Bolt (below shown), it was easily addressed and I could see the resilience of both the tarp fabric and my rigging system.
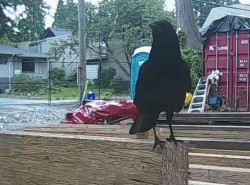
What is really cool is when birds regularly fly under the tarp and hang out. I have a pair of resident crows and also doves, that hang out most days. The crows have typically cleaned up any cat food left behind from Blackberry’s treats, but are now getting a bit more brazen and giving me heck if no food is about.
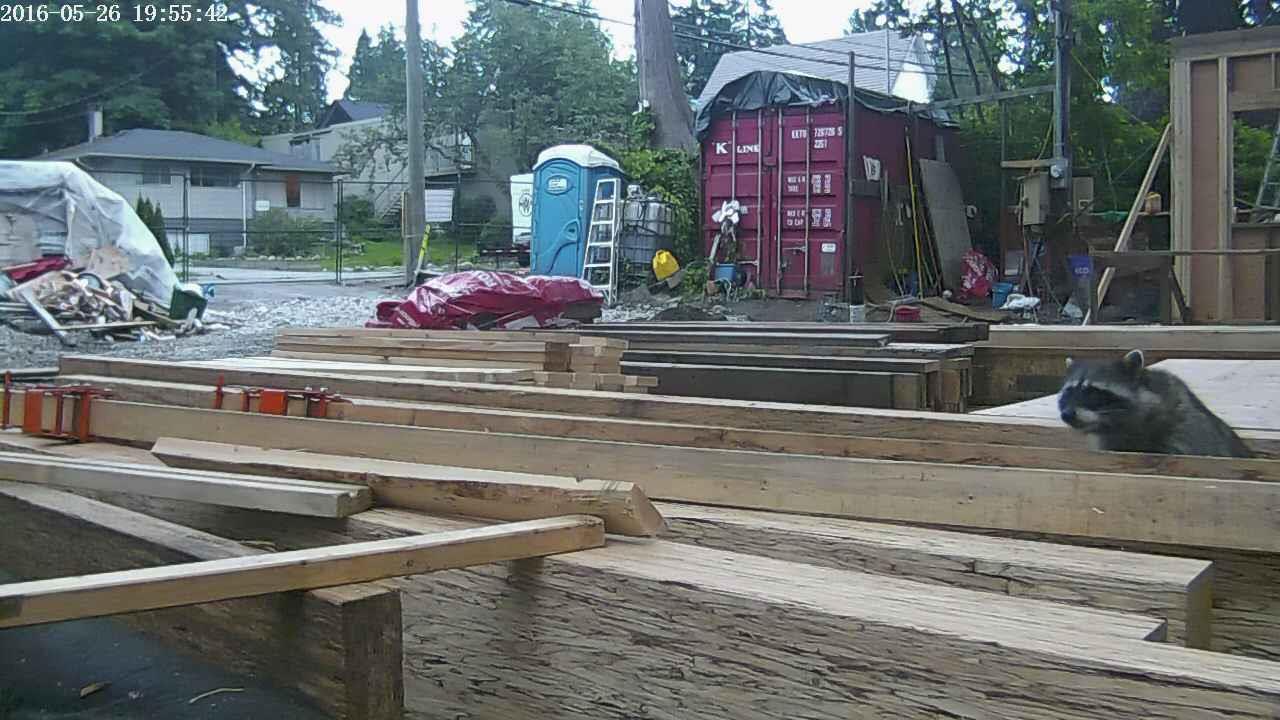
Some other local residents looking for a hand out.


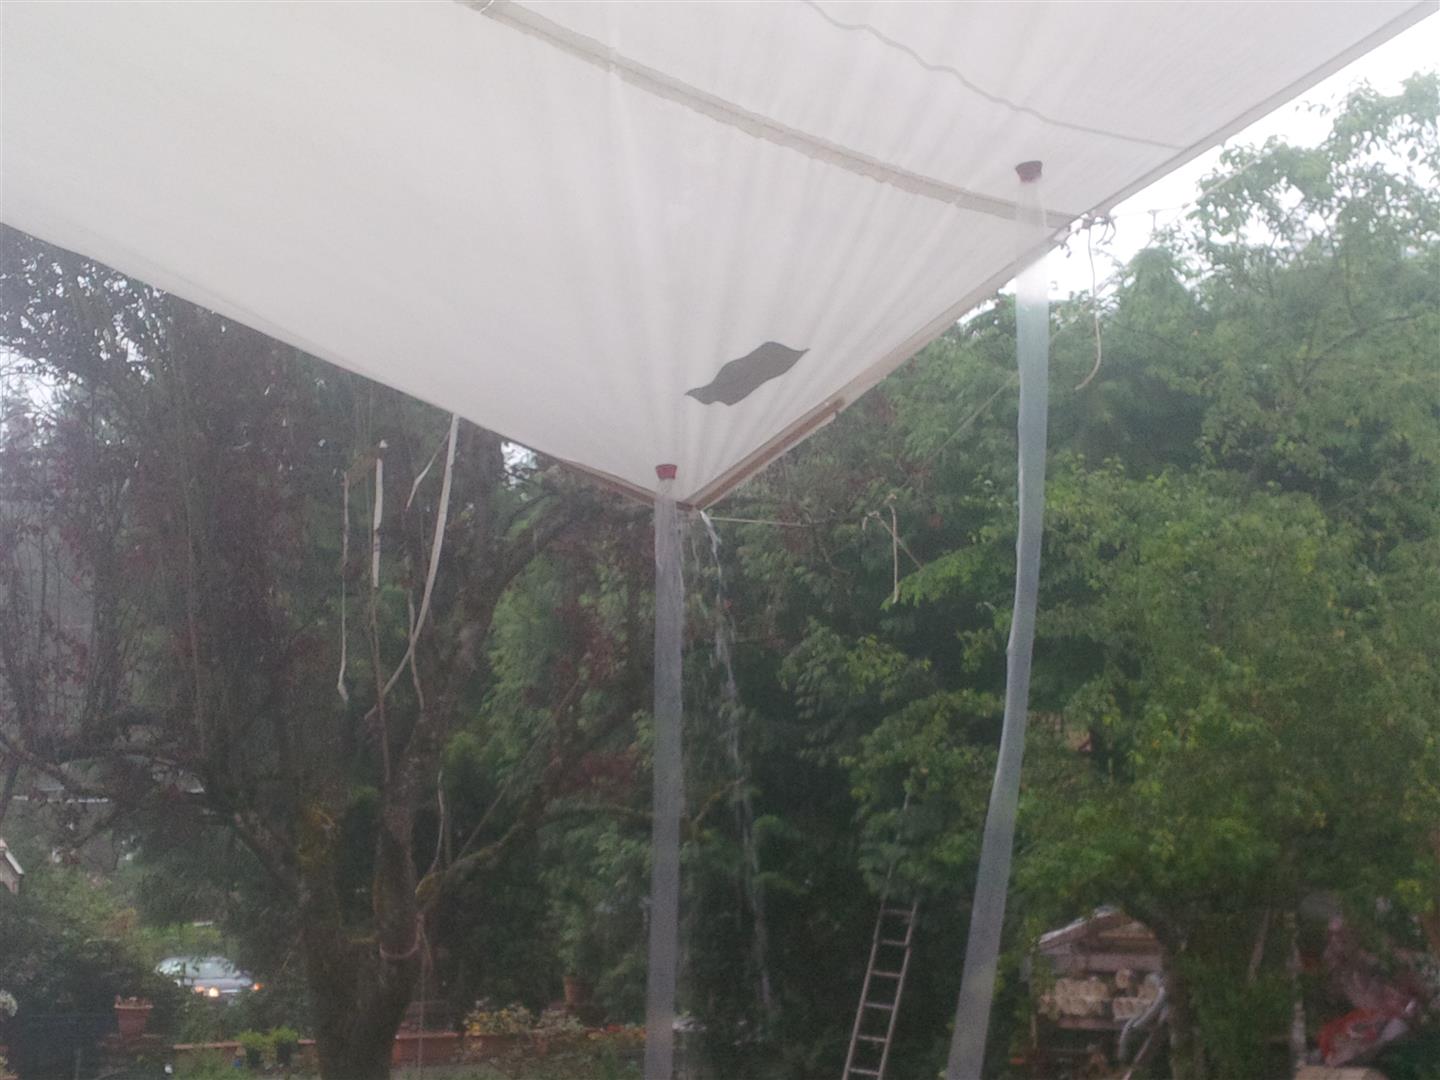
Low#1: The B.A.T. 3.0 leaks. – While I felt all smug standing under the new tarp during the first light rain, my attitude soon changed later in the day when the monsoon came. All of the sewn rope pockets leak through the needle holes as the volume of rain increases. Fortunately, with careful placement of buckets for the worst areas, the floor pretty much dries out within 8-12 hours after the rain stops. If this was a different time of year, I would have to take the tarp down and waterproof all of the sewn seams.
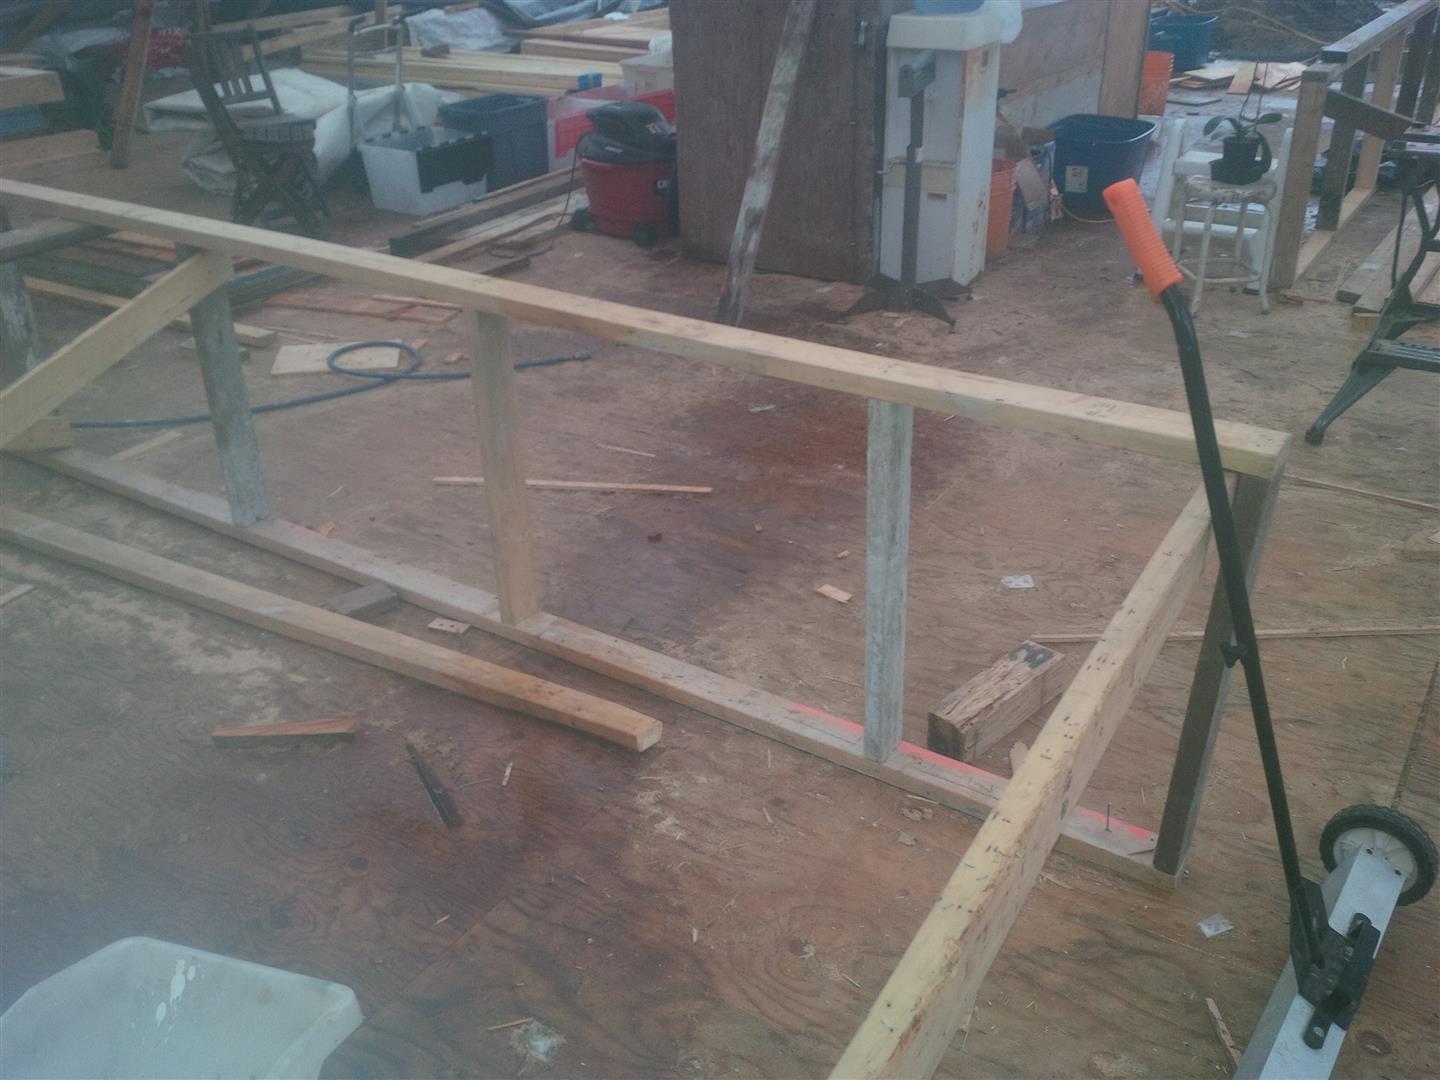
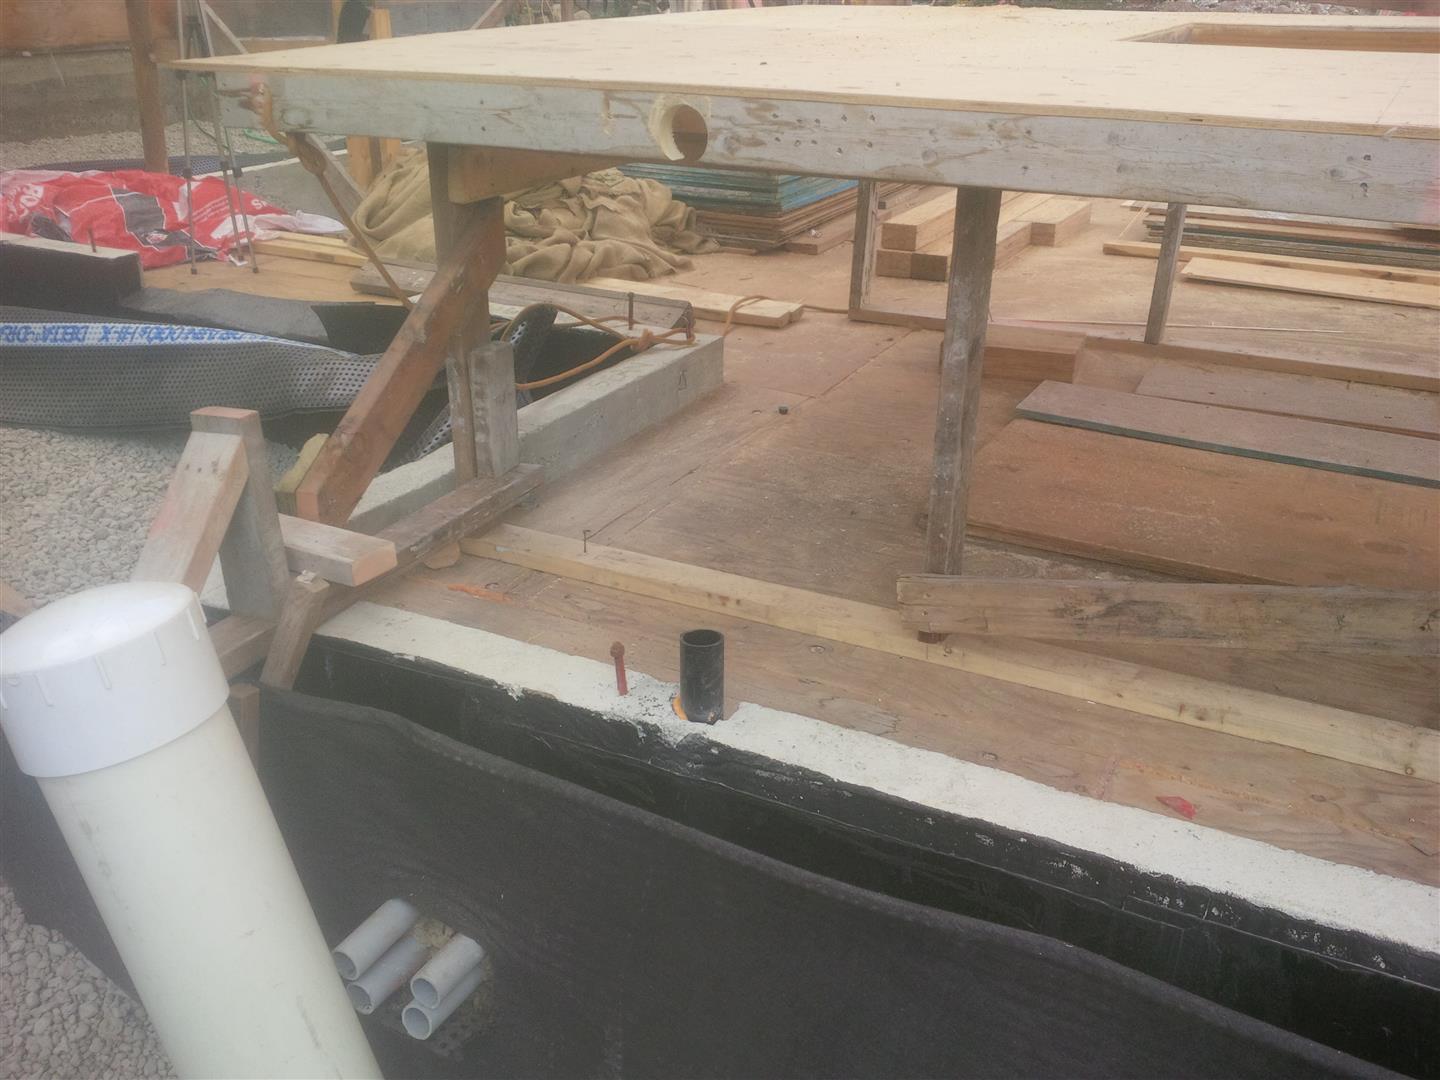
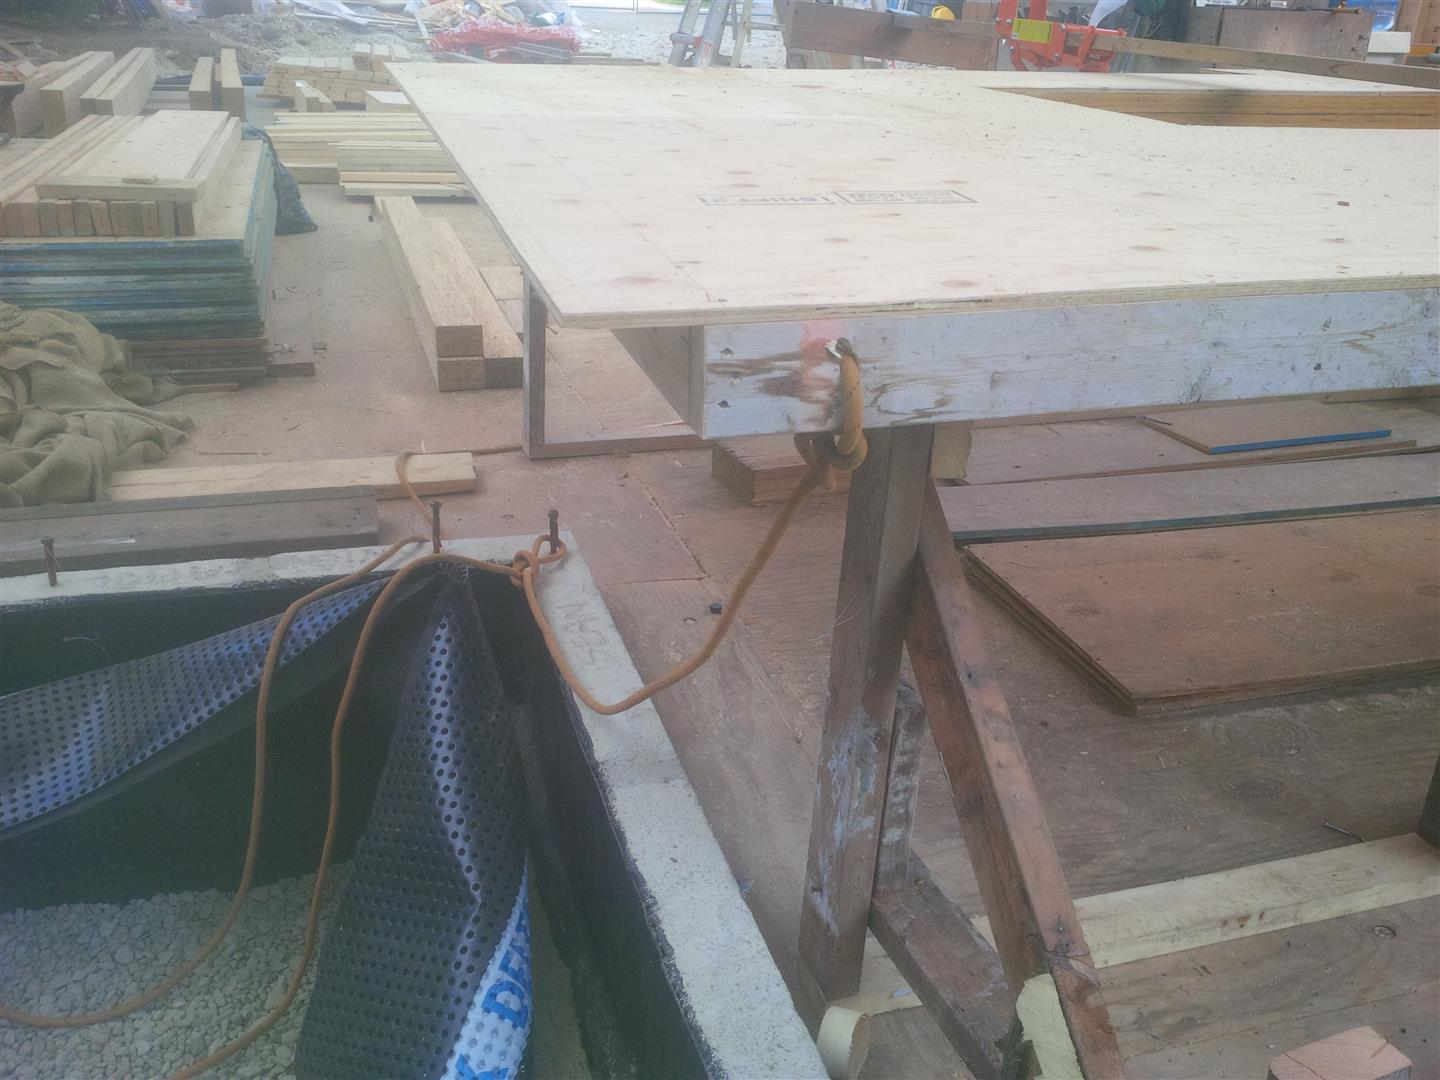
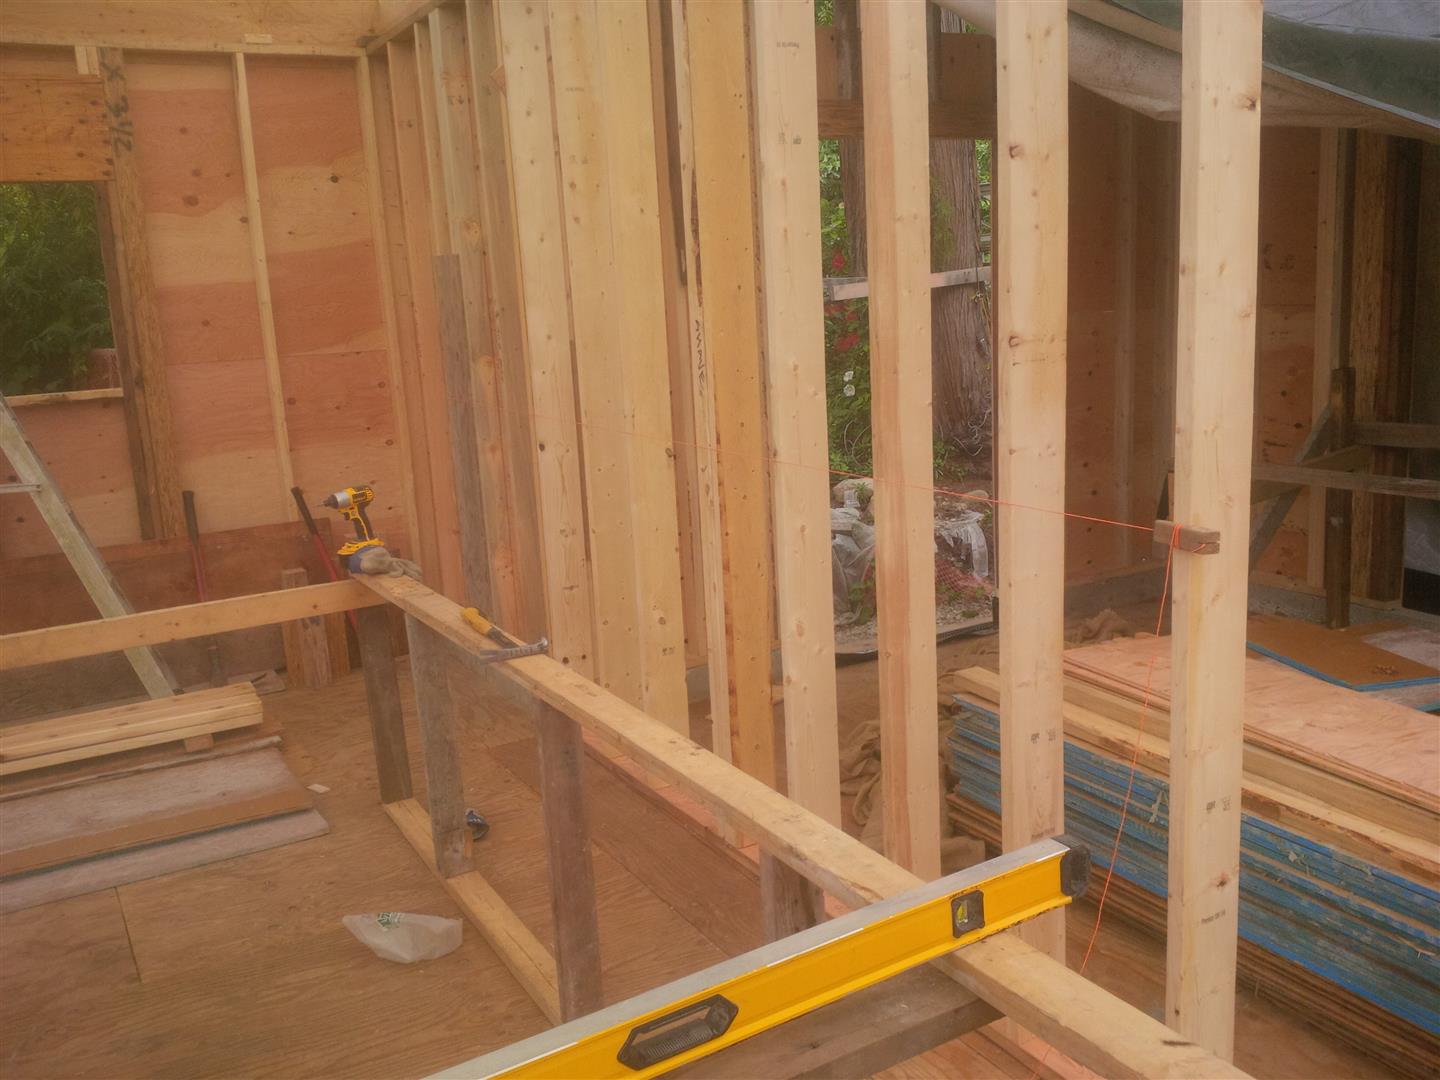
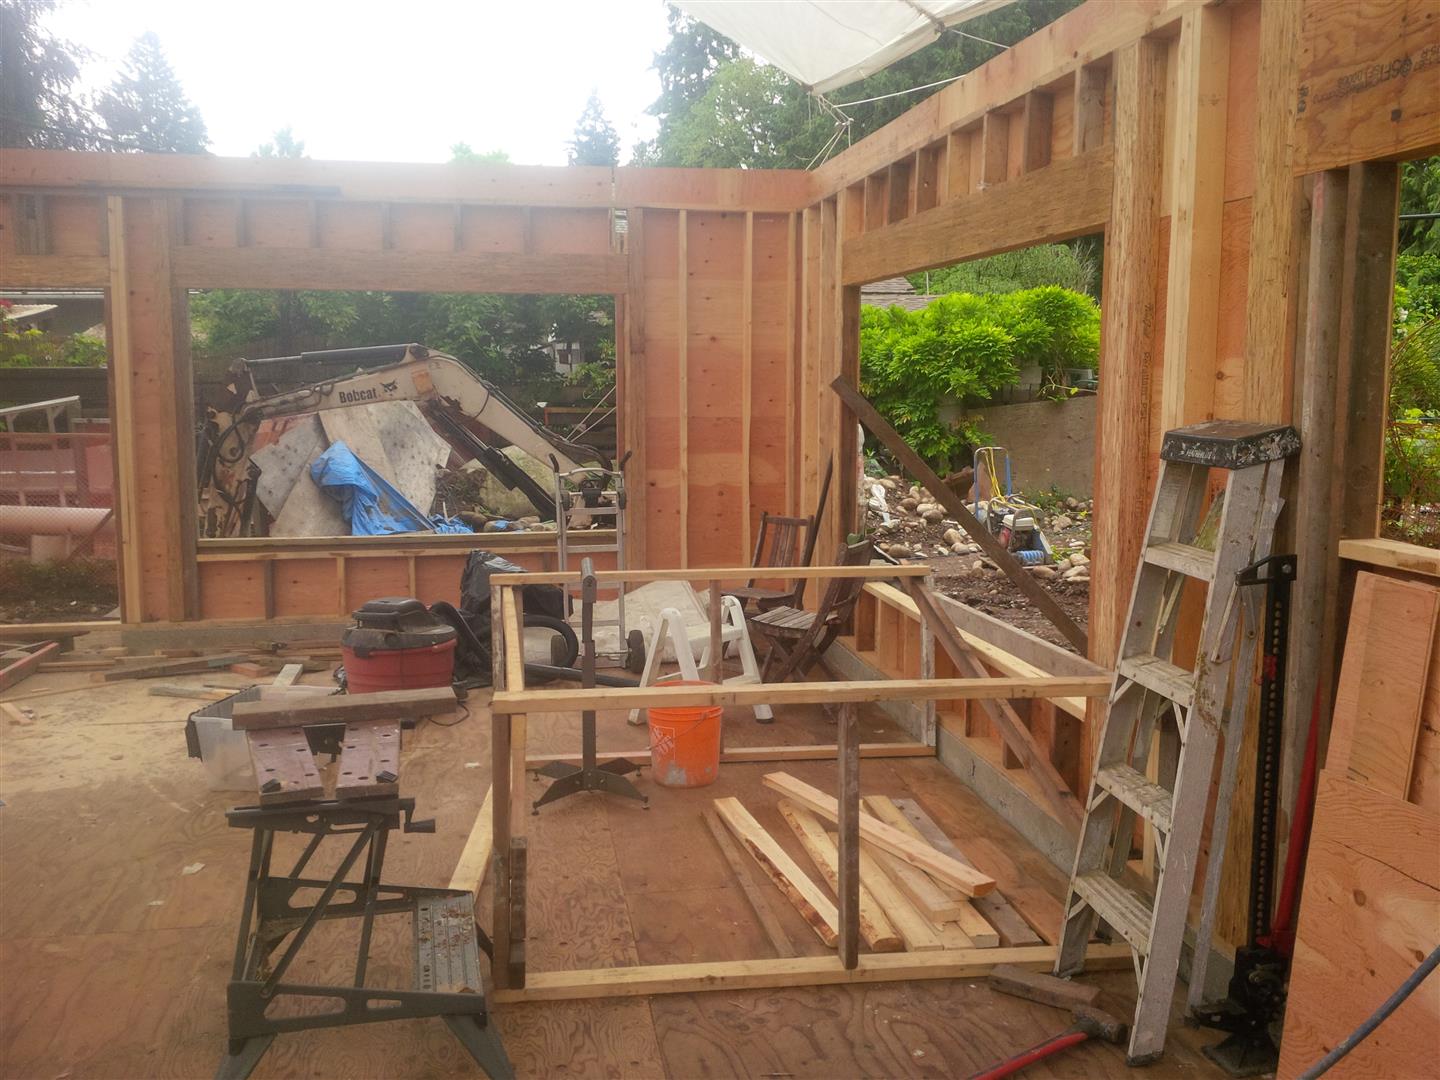
High#2: We have a Wall! – I felt a huge sense of accomplishment when the first wall was up. There were a lot of people who doubted my ability to frame by myself and some who thought it would be impossible to raise a 40 foot wall alone. But I had a plan, and although it was not executed in a perfect and pretty manner, it worked and the wall and me are no worse for the wear.
Low#2: Framing taking longer than hoped. At one point I dreamed I may be able to frame the entire first floor in a week. I had budgeted 1 month, but after starting thought I could expedite that considerable. Well, 1 month will be much closer. This is the end of week three and I still have a few more walls to raise before I can start on the second storey floor assembly.
Low#3: Tarp Damaged – The evening after I took the monsoon video above, I had the fortunate happenstance to return to the site about 45 minutes after I had left for the day and was shocked to see several hundred gallons of water pooling in the NE corner of the tarp. It was pouring rain again, and there clearly was not enough slope near the bottom of the tarp. I had originally planned to install drains at these crucial locations, but up till now had not seen any pooling tendencies. At this point the only thing I could do was slice the rope holding up that corner to let the water out before it torn everything apart.
The end result was some torn rope pockets near the corner, a small gash resulting when the tarp and all that water came smashing down to the garage floor catching one of the largest beams and tossing is aside like a 2×4, and a very wet northern ¼ of the house deck. But the tarp damage was minimal. I easily repaired the tarp, and the floor deck and all the stockpiled beams were dry by the next day. I was again very impressed with the strength of the tarp fabric. The old tarp would have just shredded under that weight.
The only real aggravation to this episode was that I wasted 2/3 of a day trying to rig the rope for this corner back into position. Because I had cut the rope, I now had a knot in the way of the pulley. I spent a lot of time re-locating where the knot would be so that when the rope was tensioned, the tarp would be in the right position. Fortunately, after wrestling with it for a few hours, I found an unused bundle of rope left over from the first B.A.T. and had it installed and the tarp properly tensioned 20 minutes later.

Low#4: Kitchen wall not square – I’d experienced a lot of difficulty getting the Durisol blocks both plumb and square at the tree jog at the NW corner of the house (suspect the footing was off). The end result was a foundation corner that was quite a bit out of square.
All the other corners of the foundation were quite good, but of course the worst corner was also to be where the kitchen is located. Kitchens are one area where you want as square and smooth walls as possible to mate up to kitchen cabinets and counter-tops.
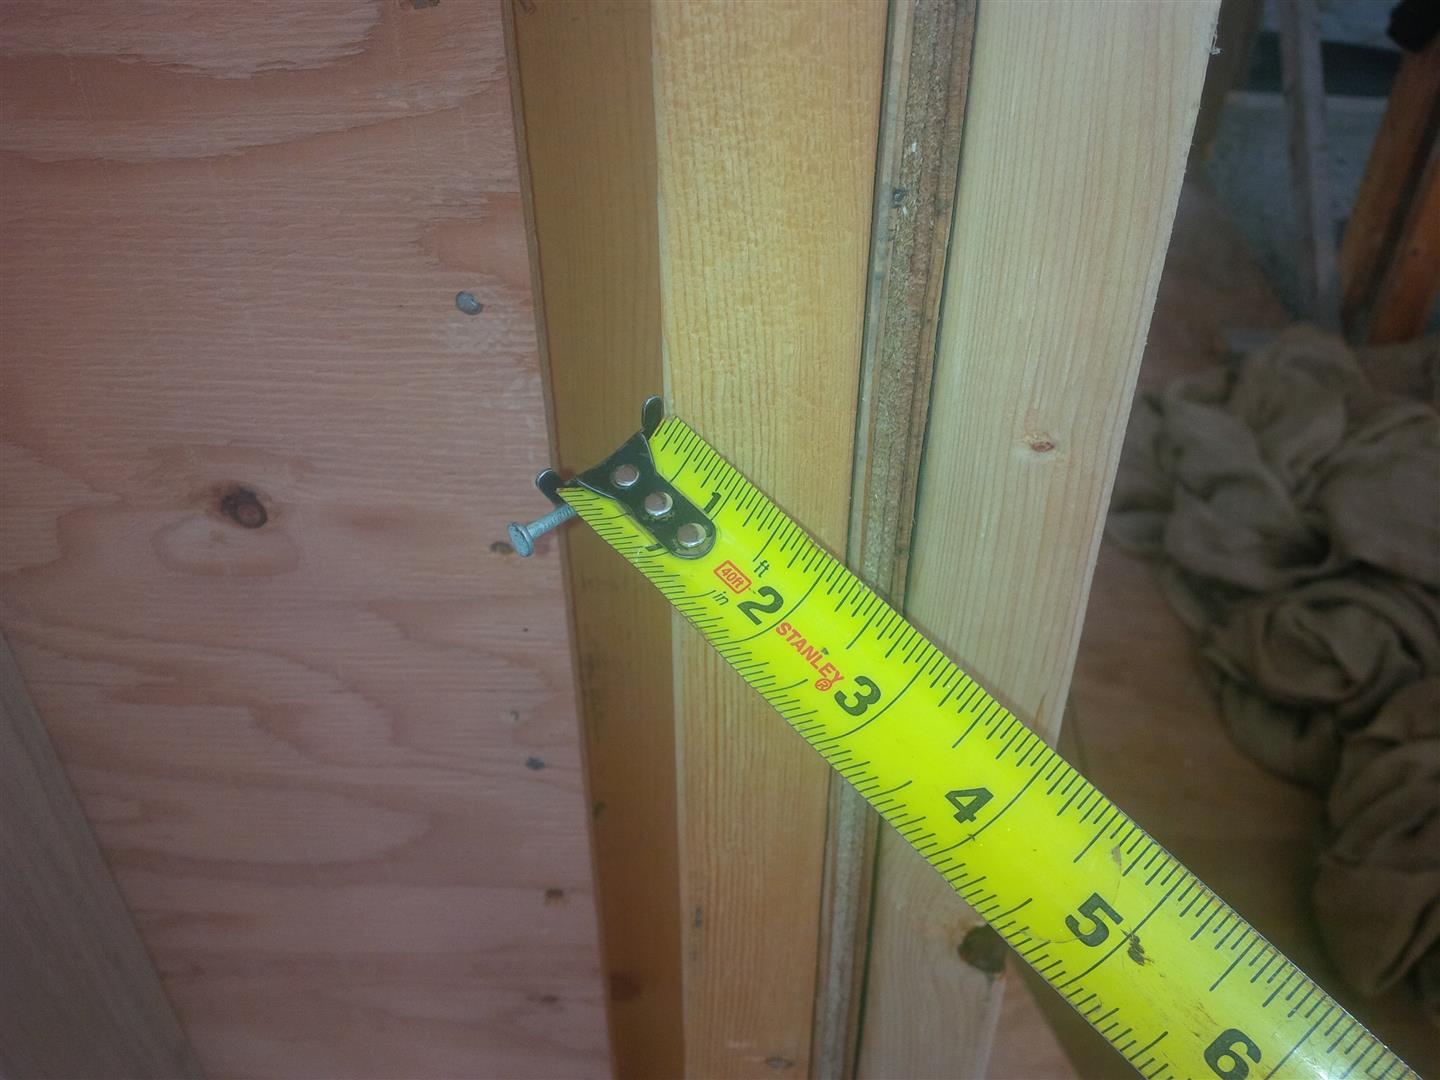
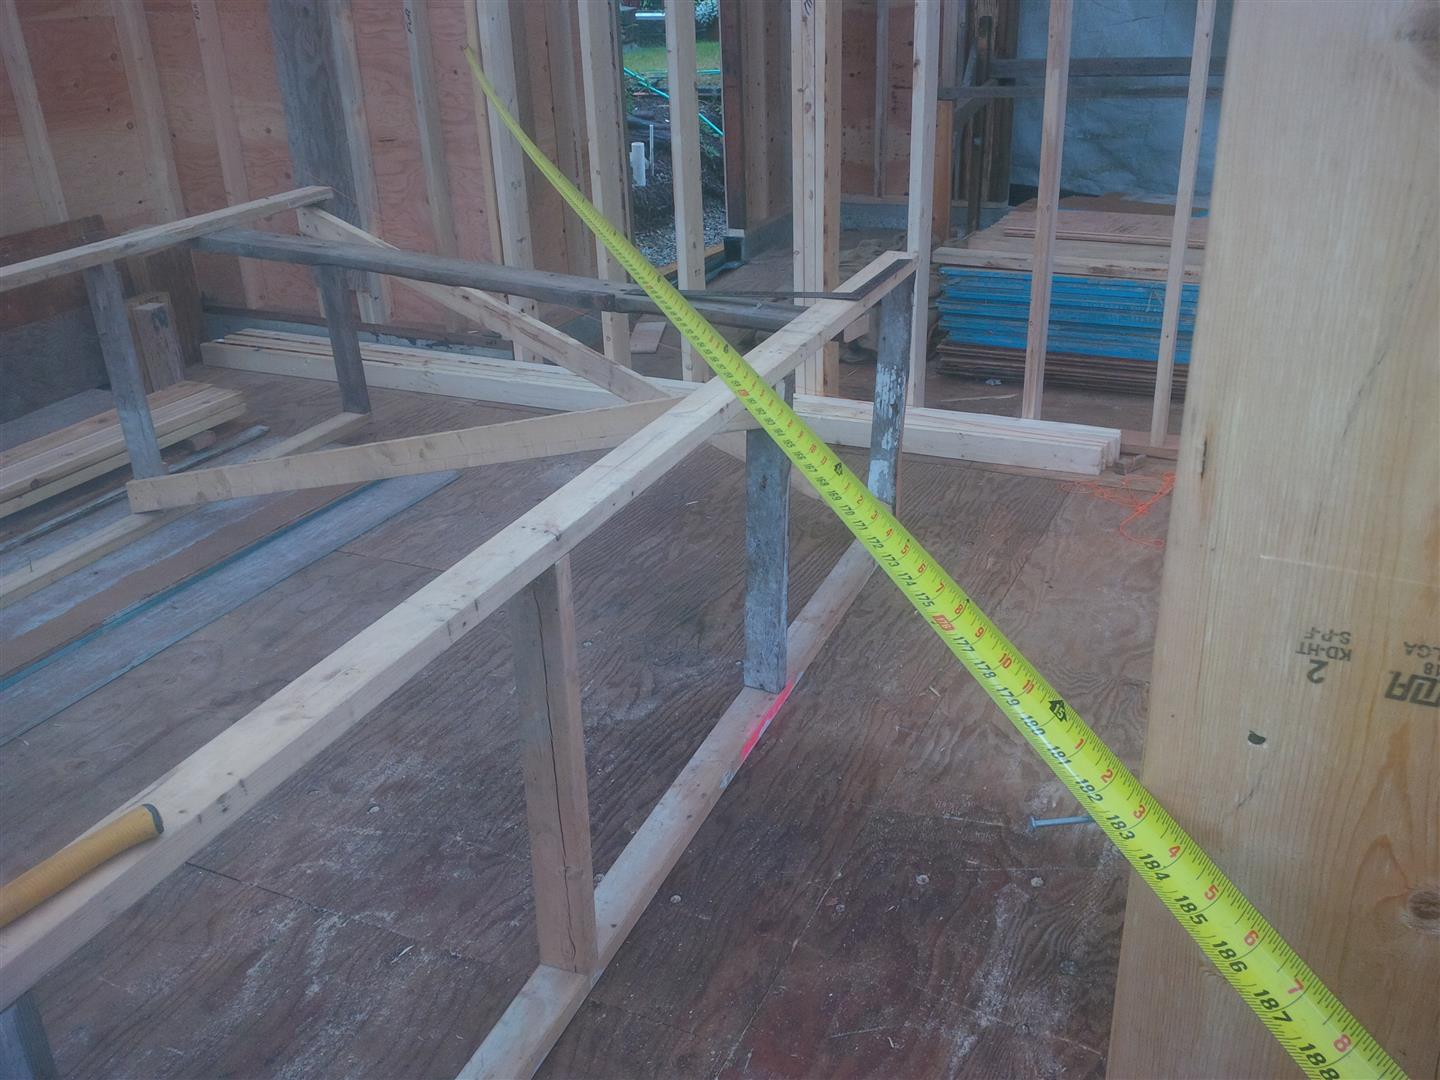
As I framed the kitchen north wall interior extension of the exterior portion of the wall, I realized how out of square the wall was. There was going to be a good 3” + difference (as measured from the south wall of the house) between the west end of the wall and east end of the wall. I decided to just ensure that the wall was flat (used a string line from one end to the other and ensured all studs were touching the string line) and decided to live with the out of square. We would just have to scribe the counter-top to fit.
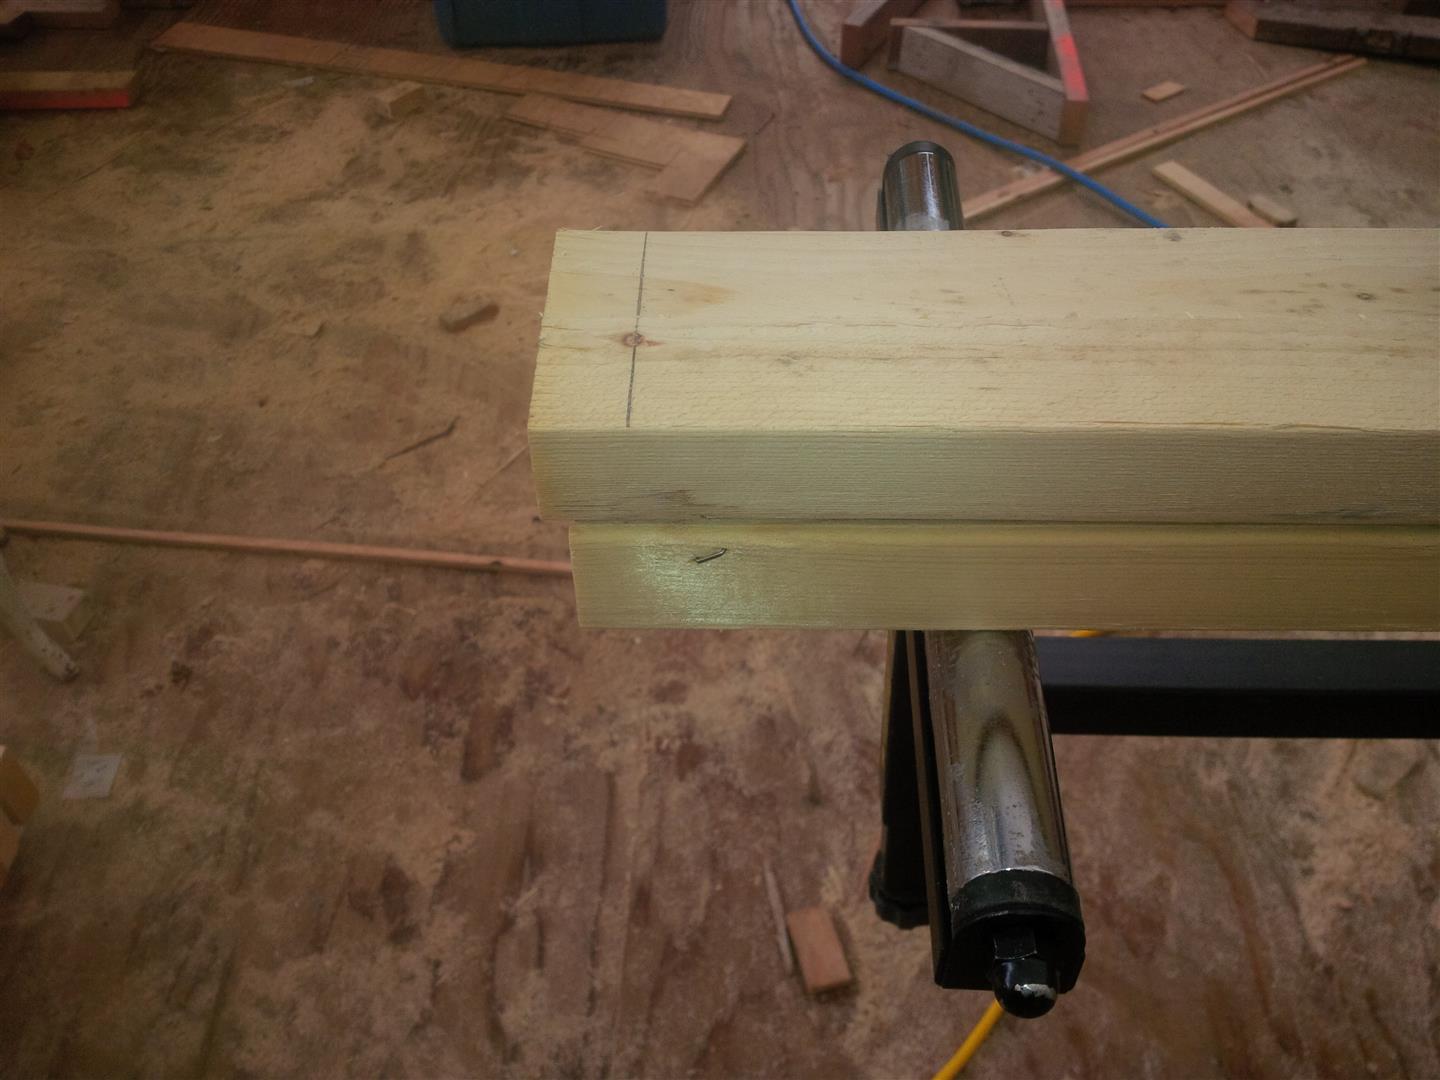
I then struggled for a couple of hours to build the interior wall. I had cut all of my studs at one time, but for some reason three were too long (something I discovered after most of the wall was nailed together). This was perplexing as when I measured the long studs, two were actually the right size. Turned out there was a defect in one of the plates where it had not been planed at the mill properly and was wider in those areas than supposed to be. Nothing a reciprocating saw could not take care of.
Soon after the wall was raised and nailed into its not square but straight extension of the wall it was extending. I started to clean up for the day and then realized I had screwed up big time. That portion of the wall was supposed to be 2×6 construction because it had a plumbing stack running through it for the upstairs master bathroom. Instead of leaving it for me to cleanup in the morning, I pried that wall off the floor and put it aside hoping I may be able to use it somewhere else in the dwelling (not likely as it had a non standard stud pattern and 3 king post for a beam).
I left for the day having only framed and raised a 9’ exterior wall to the east of the science lab for my 9.75 hour effort. Can you say Poor!
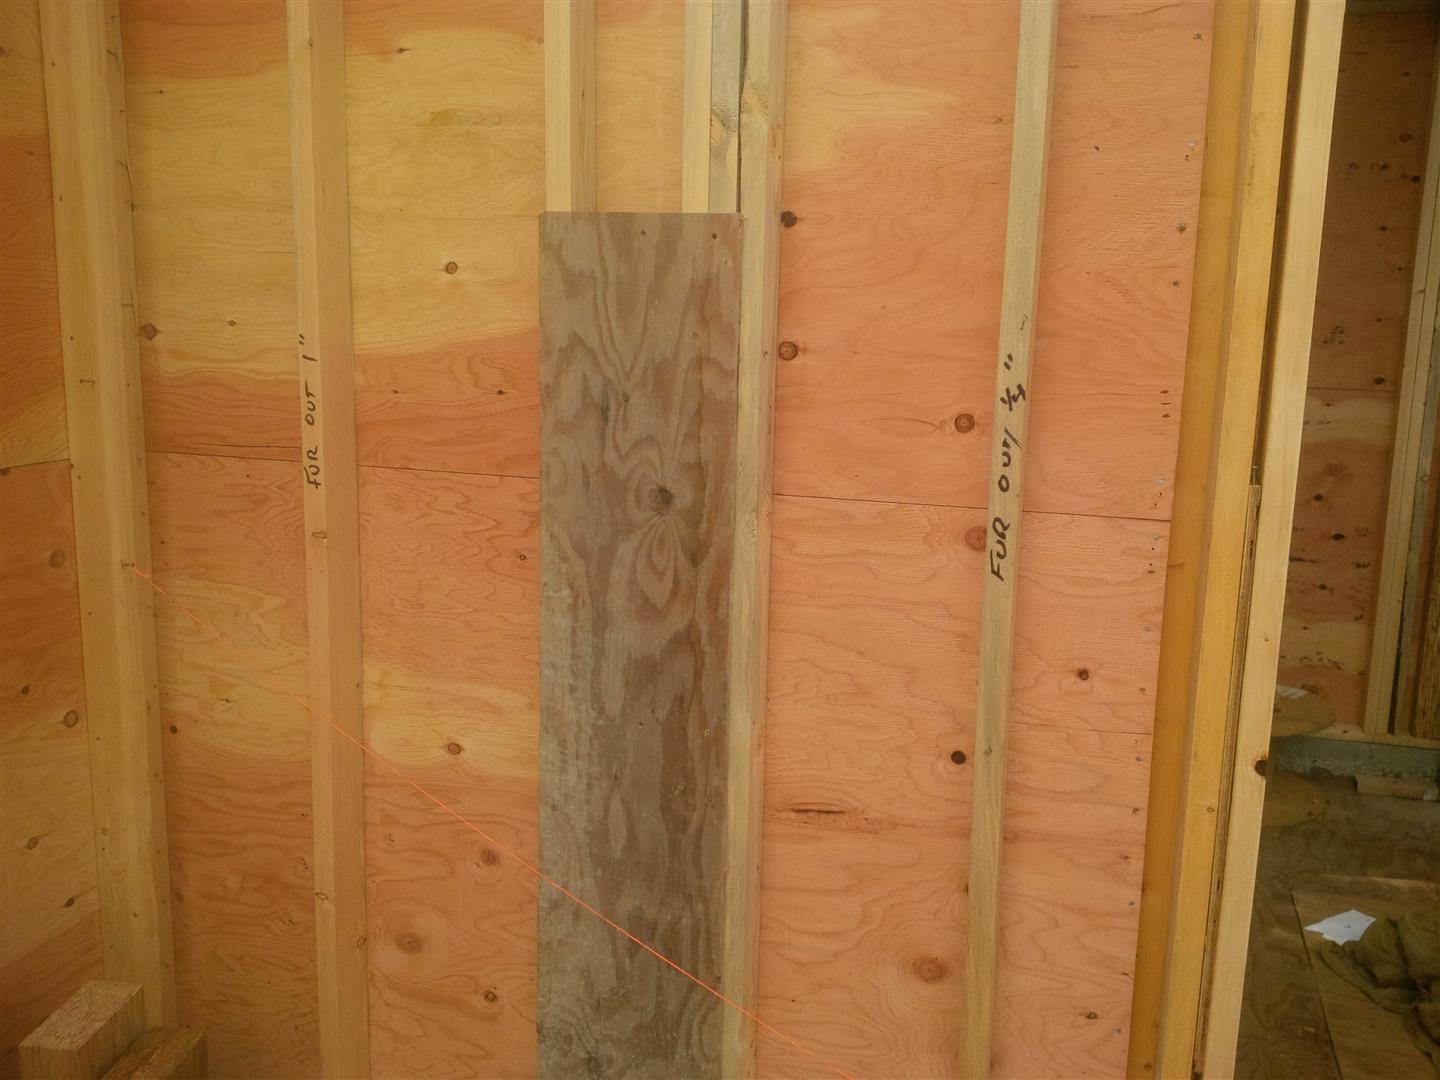
High#3: Out of Square Addressed – I returned the next morning bound and determined to address the out of square nature of this kitchen corner. My issue was that the wall sits on a 6” tall concrete curb and the drywall extends down the inside face of that curb. So it would be impossible to just shift the wall on that curb outboard to make things line up and any adjustment would also mean the wall would miss the anchor bolts. Fortunately a good night’s sleep provided a clearer mind. I could just shim the existing wall’s studs to create the square corner. This was only a 5’ wall with a limited number of studs. When I measured what was required, it worked out to a perfect combination of 1” shim on first, ¾” on second, ½” on third, and ¼” of forth stud. I will use plywood for the ¾” and ½” shims and just cut down 2×4’s for the other two.
With the wall squared, I was able to quickly erect the 2×6 extension ensuring perfect alignment of square using a string line and my friend Pythagoras. The east kitchen wall followed and I now had a framed in space for the kitchen.

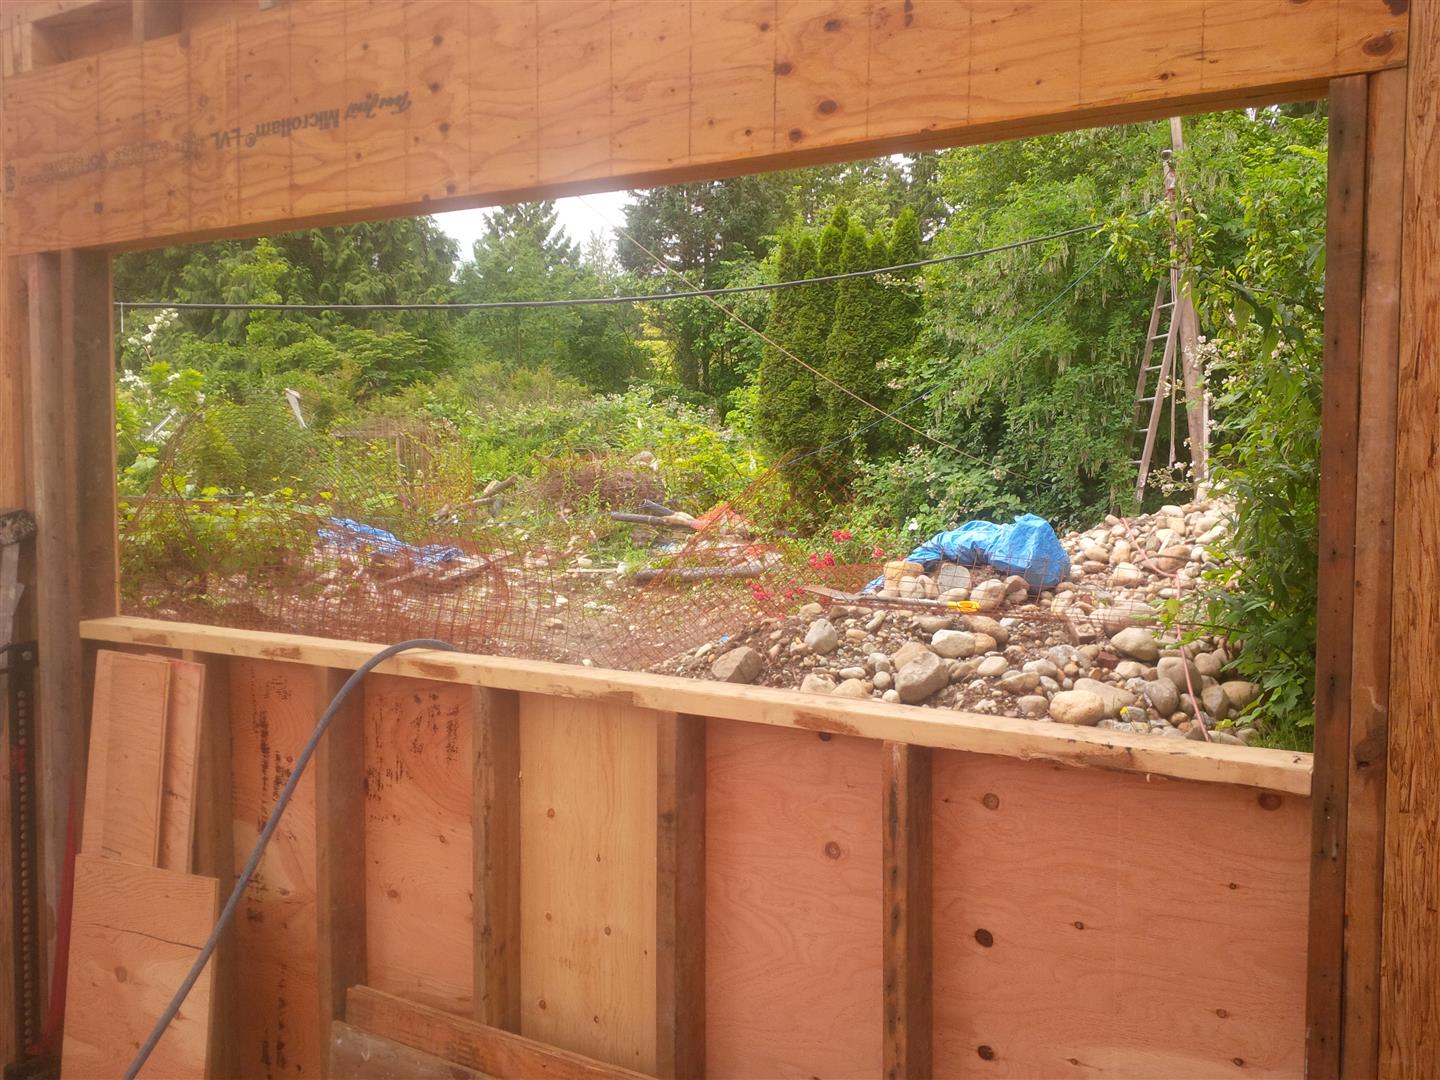
I am thrilled with the feel of the location and the window placement. I now also get a better sense of the living room size and fell a bit of relief. During original framing, it was feeling pretty small, but now that the kitchen space is defined, I can see that while cosy, the living room will be completely functional.
Well that’s it. Sorry for the long post, but lots to cover and thought I would get it over with instead of trying to break up into a bunch of small posts. You will not see a lot of activity at site over next week. I had a second cortisone shot into the bursa of my shoulder this time. I can not do any work before Monday and then only light work for at least the week after that. Lets hope this is the final key to repairing the shoulder, but I still suspect I will either need surgery or will need to lean to live with restricted movement and lots of discomfort when I push past that restriction.
Thanks for visiting.
“If you’re doing your best, you won’t have any time to worry about failure.” —H. Jackson Brown, Jr. Writer
“Do the best you can until you know better. Then when you know better, do better.” —Maya Angelou (1928-2014) Poet, Dancer, Producer, Playwright, Director, Author
“If you have a dream, don’t just sit there. Gather courage to believe that you can succeed and leave no stone unturned to make it a reality.” —Dr. Roopleen (born 1972) Dr Roopleen is a Motivational Counsellor, Speaker And Author.
“Never give up on a dream just because of the time it will take to accomplish it. The time will pass anyway.” —Earl Nightingale (1921-1989) Entrepreneur, Motivational Author