Milestones
I am pleased to say it has been a busy and successful last two weeks with many important milestones being completed.
I met with Cascadia Windows & Doors on the 15th and now have installation details for my ‘outie’ windows that I can live with and will provide the needed structural support to keep Cascadia happy as well.
Because I have 6″ of exterior insulation, I needed a way to install the windows outboard of the rough opening to ensure that they are centred in the thermal insulation plane (will try to go into this in the future to explain why it is important). I actually need to have the entire window frame outboard of the rough openings. This is no problem for the head and jambs, because they just get attached with clips. But the sill has to be supported up till the second rib from the inboard side, so the window does not try to rotate, which would cause unacceptable strain to the frame and glazing socket.
On some high efficiency houses, the openings are framed with plywood extension boxes with 2×4 backing. Or 2x material is used instead of the plywood to frame a box. But this represents a huge thermal bridge through your insulation blanket. So I wanted a better way. We came up with an easy and cheap detail of wrapping the perimeter of the rough opening, once the standard 1/2″ plywood is already installed, with another 2″ wide strip of 1″ thick plywood and securing this with glue and screws to the 2x walls. What is not shown in the photo below, is the shims that would sit on the plywood doubler and support the frame ribs.
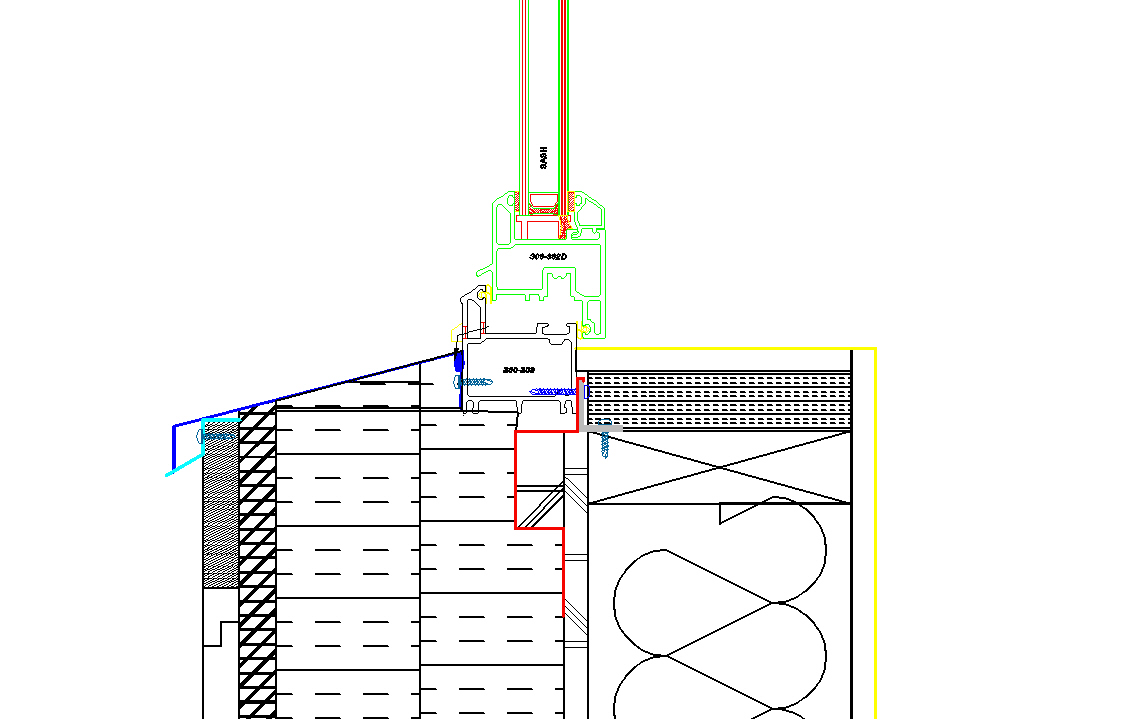
This kills two birds with one stone. 1st, it supports the window at the sill. But by encircling the entire rough opening in this manner, I now also have a stiff surface that can accept a caulking rod and caulk to easily create my internal air barrier around the window (will also discuss why an internal air barrier around the window is better than an external at some later posting).
With the window installation details figured out, the only task left at Cascadia was to pick up my first window. I had ordered one of the smaller windows with an operable sash, so that I could get a better feel for the look of the product and confirm our colour choice. Sorry, I do not have a photo, but will post one soon. Needless to say, the window is of extremely high quality with very good detailing throughout its assembly. This is also evident in its weight. The 24″x32″ window weighs 48 lbs! Imagine what the 10′ wide by 5′ High windows weigh. Give you a hint, it is three digits that start with 48. The tilt and turn function of the 300 series windows is also slick and will allow us to get great ventilation without the threat of rain entry or not having to worry about outdoor animals coming in to visit my indoor animals.
With the window installation details set, I could get back to framing. I finished most of the upper floor exterior walls by the end of last week and then worked on the three garage walls including installing the 18′ beam over the vehicle door opening.

With the garage walls squared away, I went back upstairs and am pleased to say that I constructed and raised (and dropped and re-raised) my last exterior wall yesterday.
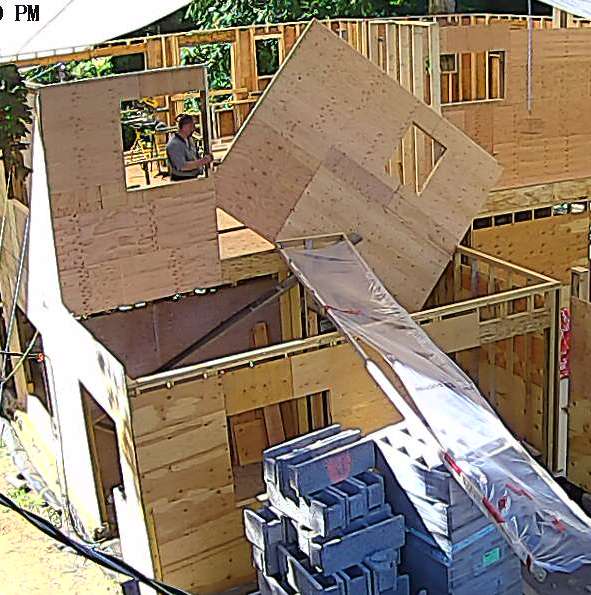
Of course the last wall could not go off without some drama. The plywood extended off the bottom a full 12″ to help create the air barrier around the beam that supports this wall. This meant I could not install cleats at this location because there was nothing below the 12″ to nail to. I also had a 6″ plywood extension at the right of the photo. It was awkward and before I knew it, it had slid off the floor deck onto the walls below. I was sort of prepared for this and in the end, this was exactly what that portion of wall would have to do in order to slip by the other walls so it could be raised again. Really, I should have left the framed wall you see just at the top right of the fallen wall, as the last wall. But it was already well secured to the rim board and so I just wung it. Whole process took 15 minutes from time I started to raise, till I had jacked it back up after the fall and had it secure. But made for a great photo op!
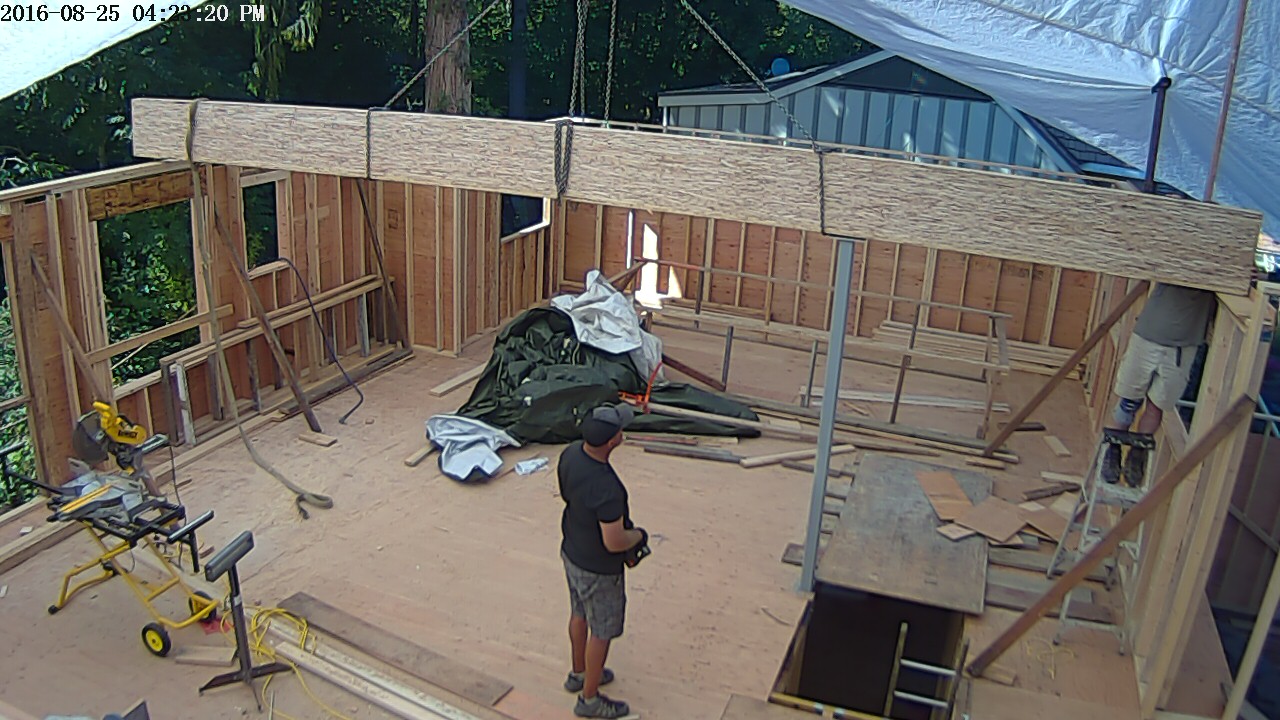
Today was buttoning up some final headers and such on the upper floor walls while I waited for my next delivery. The largest beam (and heaviest and highest lift to date) was delivered and lifted into place late this afternoon. This will be the beam that supports the north end of the south upper room and the clear storey wall that then supports the south end of the north roof. It was again the subject of many sleepless nights worrying about how it was going to clear the tarp, would it sit right on the steel column, etc).
It is 19″ deep, 5-1/4″ thick, and 28′ long and comes in at a whopping 874 lbs. Fortunately, a long reach HIAB from Standard Building Supplies had no problem lifting into place (I had prepped tarp earlier in day to raise it up along the lift path). Whole process took less than 15 minutes.
So this completed my last beam and second to last major lift of the project. The next lift will be the roof trusses which brings me to my next milestone. The trusses have been designed and I now have a firm delivery date of September 23. This is later than I had hoped, but I ordered these too late. But it all works out as I was able to correct some of the dimensional errors from the foundation by the time I got the second floor walls up. And with the beam in place, I can provide the final dimensions to the truss shop.
I will frame the interior second storey walls once I have the roof on. I am going to have a lot of scaffold work to put the roof trusses up, so these walls would just be in my way, and are not bearing so not needed for the roof assembly. Many are also vaulted up to the roof, so it really needs to be there before those walls are built.
My next challenge will be to build the approximately 5′ high wall that sits on top of this roof beam and forms the clerestory. I hope to have this finished by the end of next week and then will spend a week buttoning up all the plywood trim around the house before starting on the plumbing as I wait for the roof trusses.
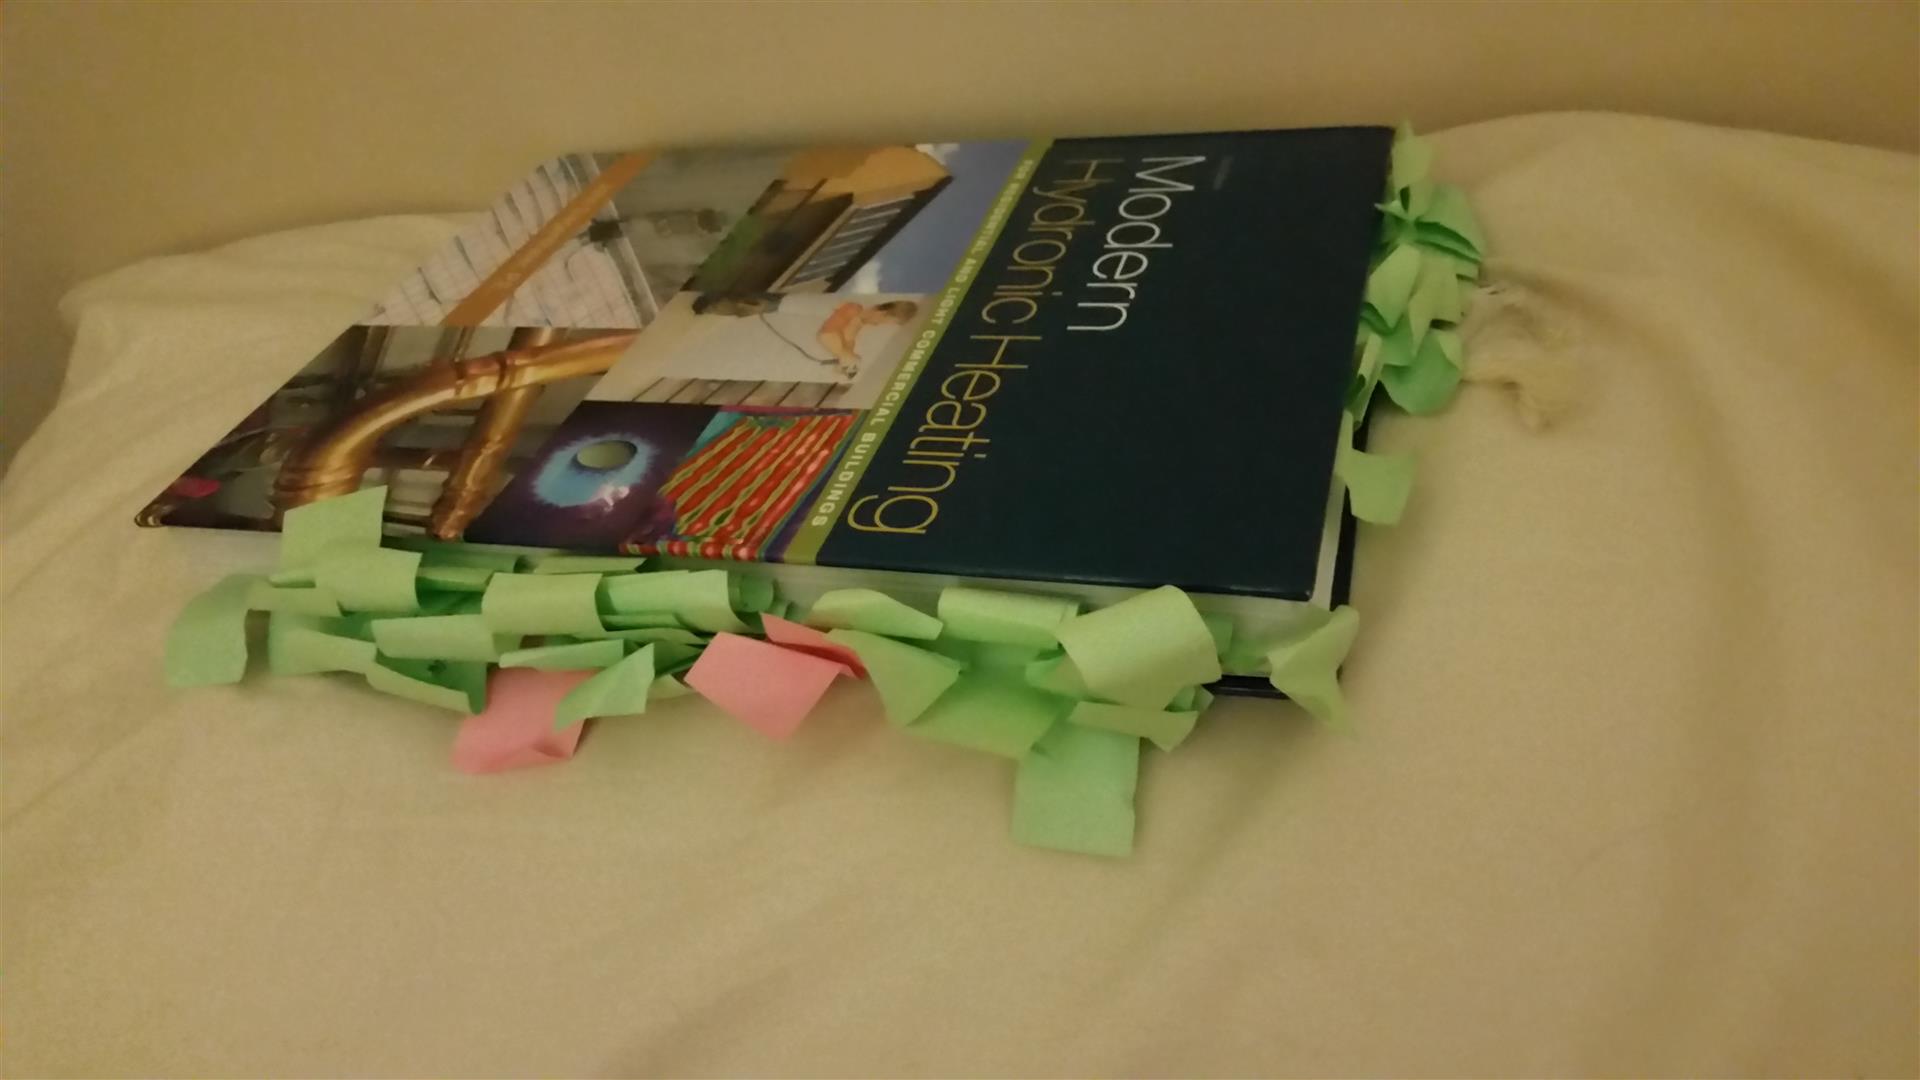
I am also now working on the heating design and have enrolled in a Air-to-Water Heat Pumps for Hydronic Heating & Cooling course at HeatSpring. This will nicely supplement the Hydronic Heating Designer course I took a few years ago and provide timely information on how to design and install my hydronic heating system. The bonus is that it is taught by John Siegenthaler, who is renown as the world wide expert on hydronic heating design and installation.
I also have a couple of website enhancements thanks to the awesome crew at Honeycomb Creative. I now have a Contact Form where you can submit questions, critique, or just say hi. Sorry, I did not think of adding this before now. And for a faster response, I now have a live chat feature on the site. You will see a little blue bar down at the bottom right corner. If you click on it, you will have the opportunity of talking with me in real time (of course as long as I am available at that time – check the web cams first to see what I may be up to). It is generally set to be live during the standard construction hours. If I am unavailable, I will set my status accordingly, and you can then just leave me a comment that I will respond to at a latter time.
Well that is it for my couple weeks of achieved milestones. Not bad I have to say, and as I come down to the end of framing, I am proud of what I have accomplished and this time also the time frame I have accomplished it in. A large crew can frame a house to lock-up in just over a month. I will do it in just over three months (discounting for the time I was away or waiting for materials), which is a pretty good ratio in my books.
Before I go, there is one last milestone I would like to acknowledge. My friend Ed in Winnipeg had a birthday yesterday. Happy Birthday Ed, hope to see you out this way in the not too distant future!
“Many of life’s failures are people who did not realize how close they were to success when they gave up.” —Thomas Edison
“The purpose of education is to replace an empty mind with an open one. ” —Malcolm S. Forbes (1919-1990) Publisher
“Education is the most powerful weapon which you can use to change the world.”
—Nelson Mandela (1918-2013) Former President Of South Africa
“A pessimist sees the difficulty in every opportunity; an optimist sees the opportunity in every difficulty.” —Sir Winston Churchill (1874-1965) British Statesman, Prime Minister, Author, Nobel Prize Winner