In the name of Science
Well. I am extremely grateful I moved Alfie to the back yard last Friday as by Saturday AM, about 4ft of the back-filled south bank had caved in. If Alfie was still on the front bank, I would have had a lot of work to hand dig out the cave in and rebuild up till the ramp was wide enough to drive through. Now of course, he is stranded in the back-yard until the backfill is complete on the west and balance of south wall.
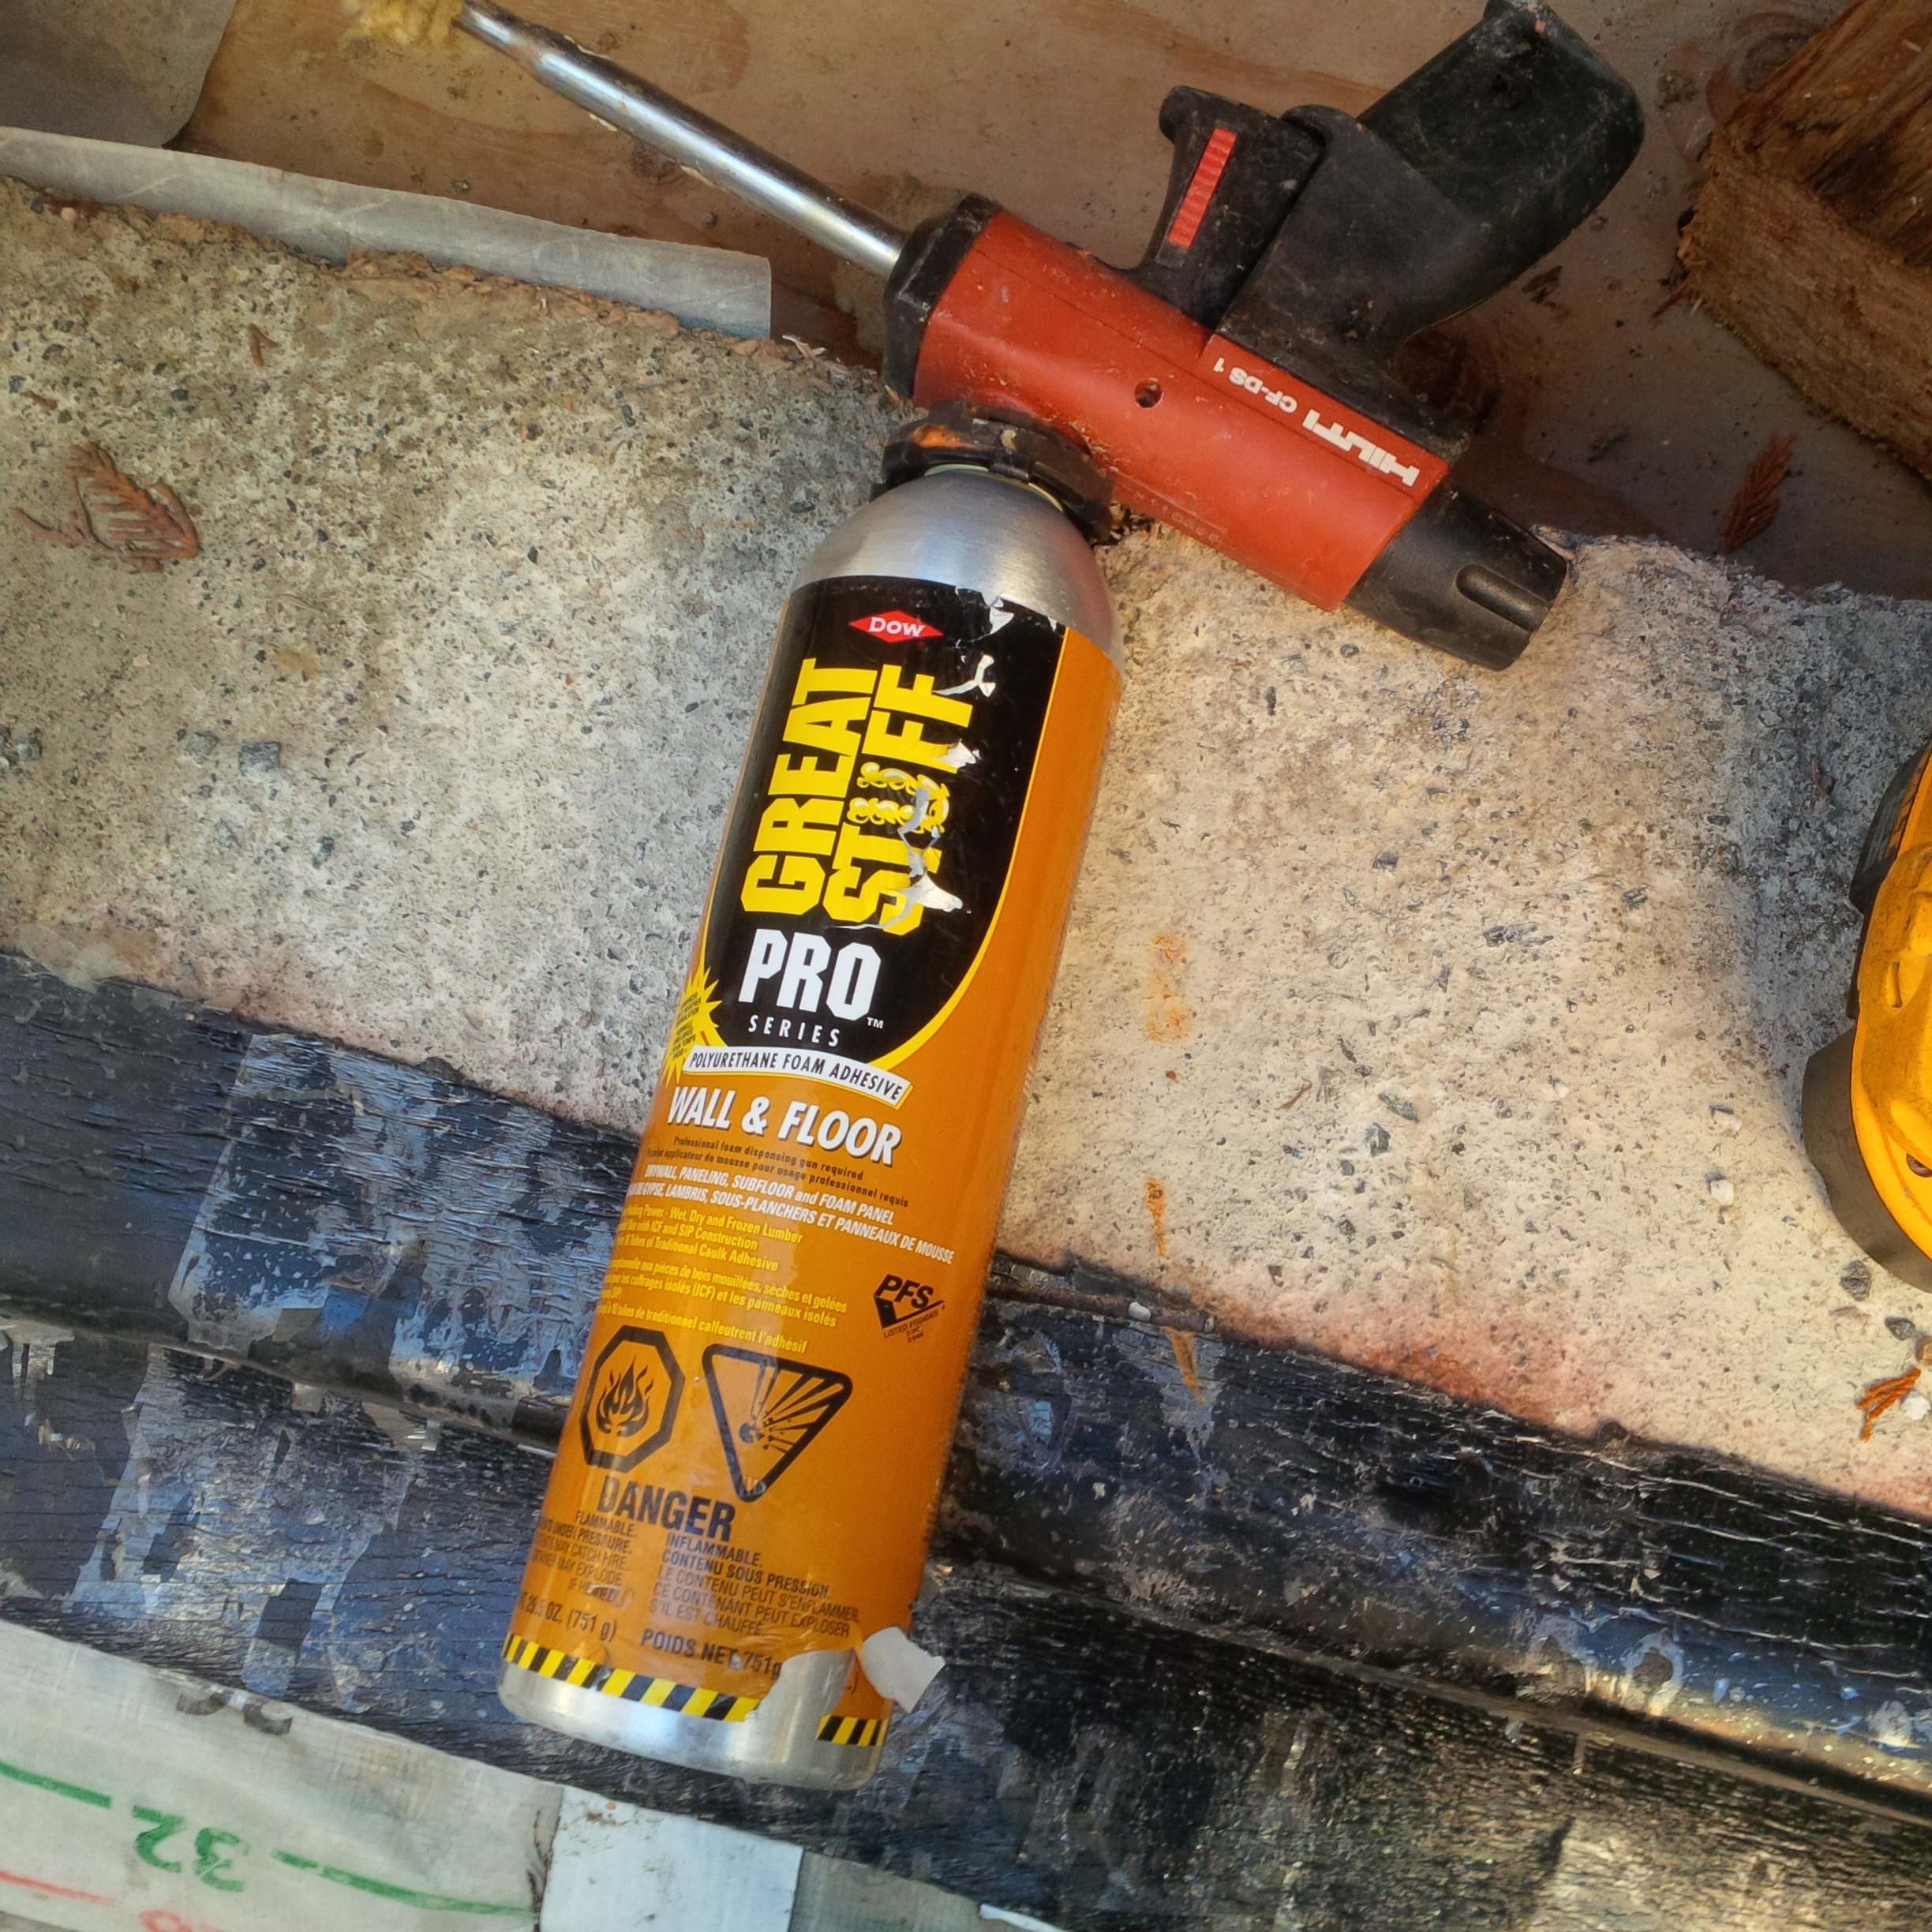
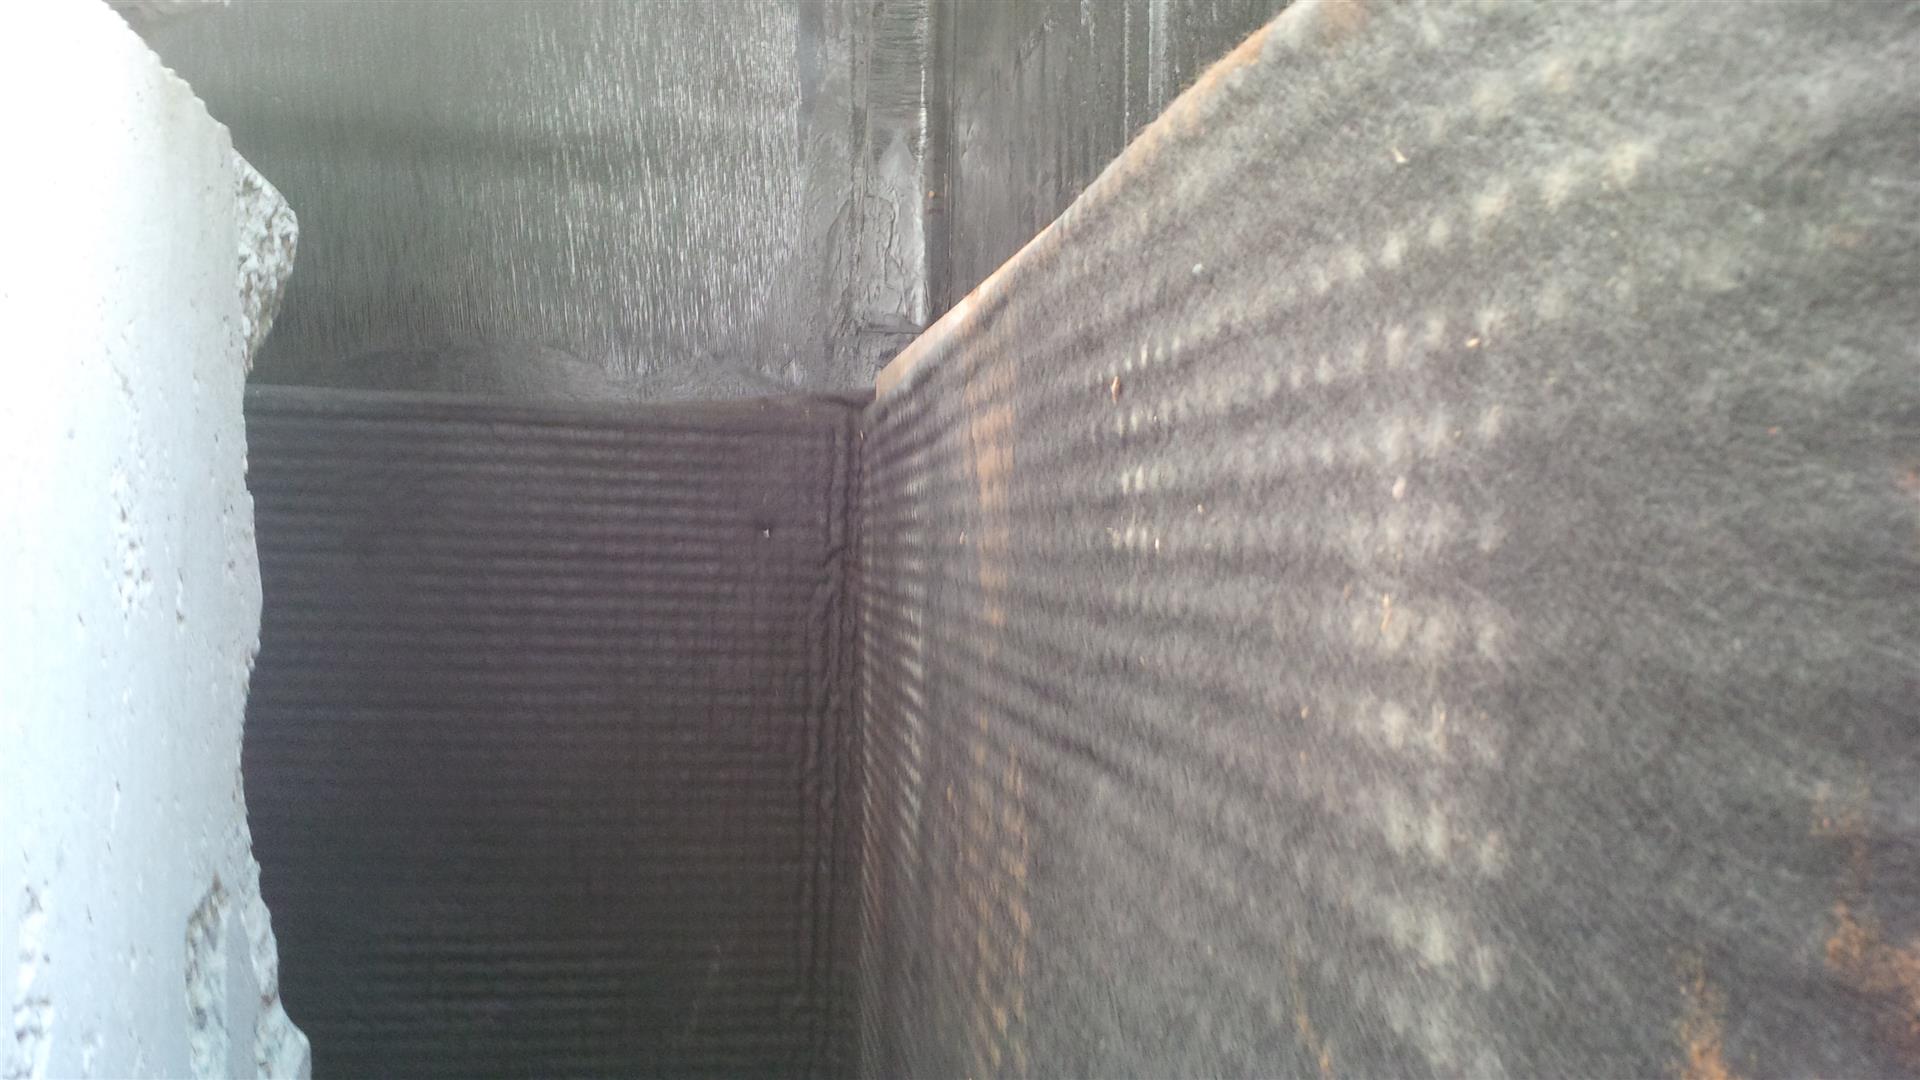
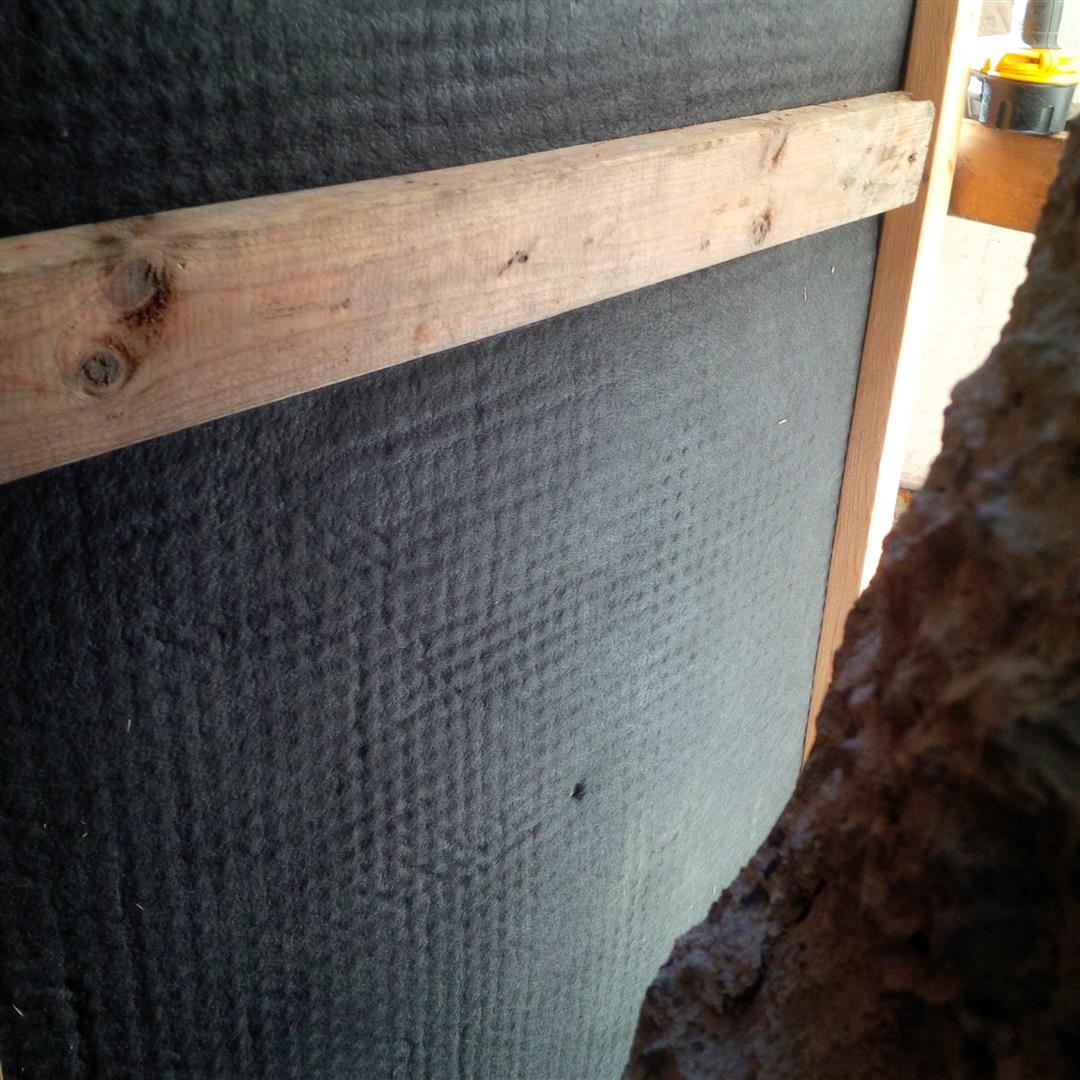
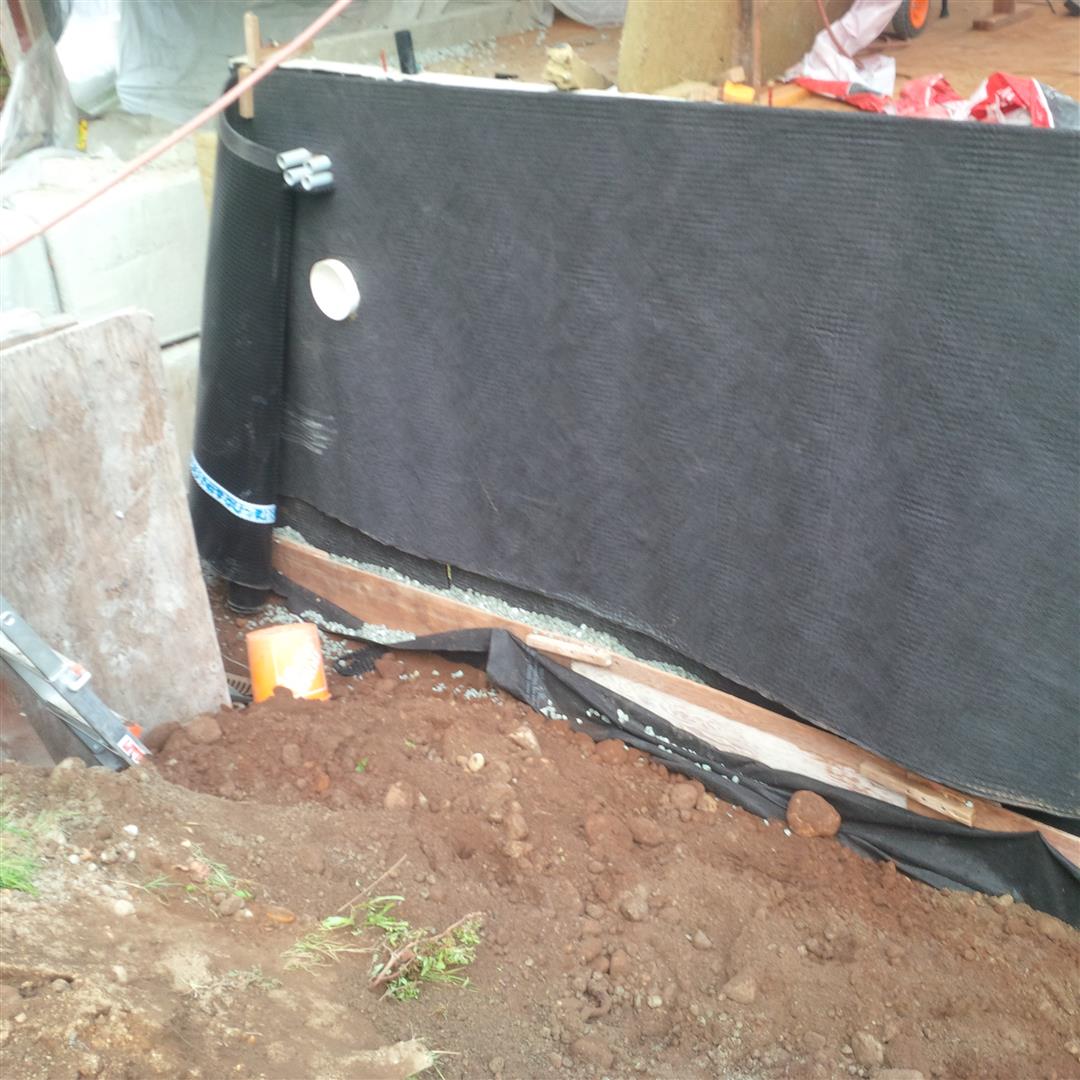
I started last week with the completion of the insulation on the west wall and then installing additional dimple sheet. I have found a much better way of attaching the Delta Dry dimple to the ROCKWOOL mineral wool insulation. I bought what is call polyurethane foam adhesive, which has a lot stronger grip compared to spray foam. I just need to support the dimple for 15 minutes or so and then I have a strong hold that ensures the riggers of backfill operation.
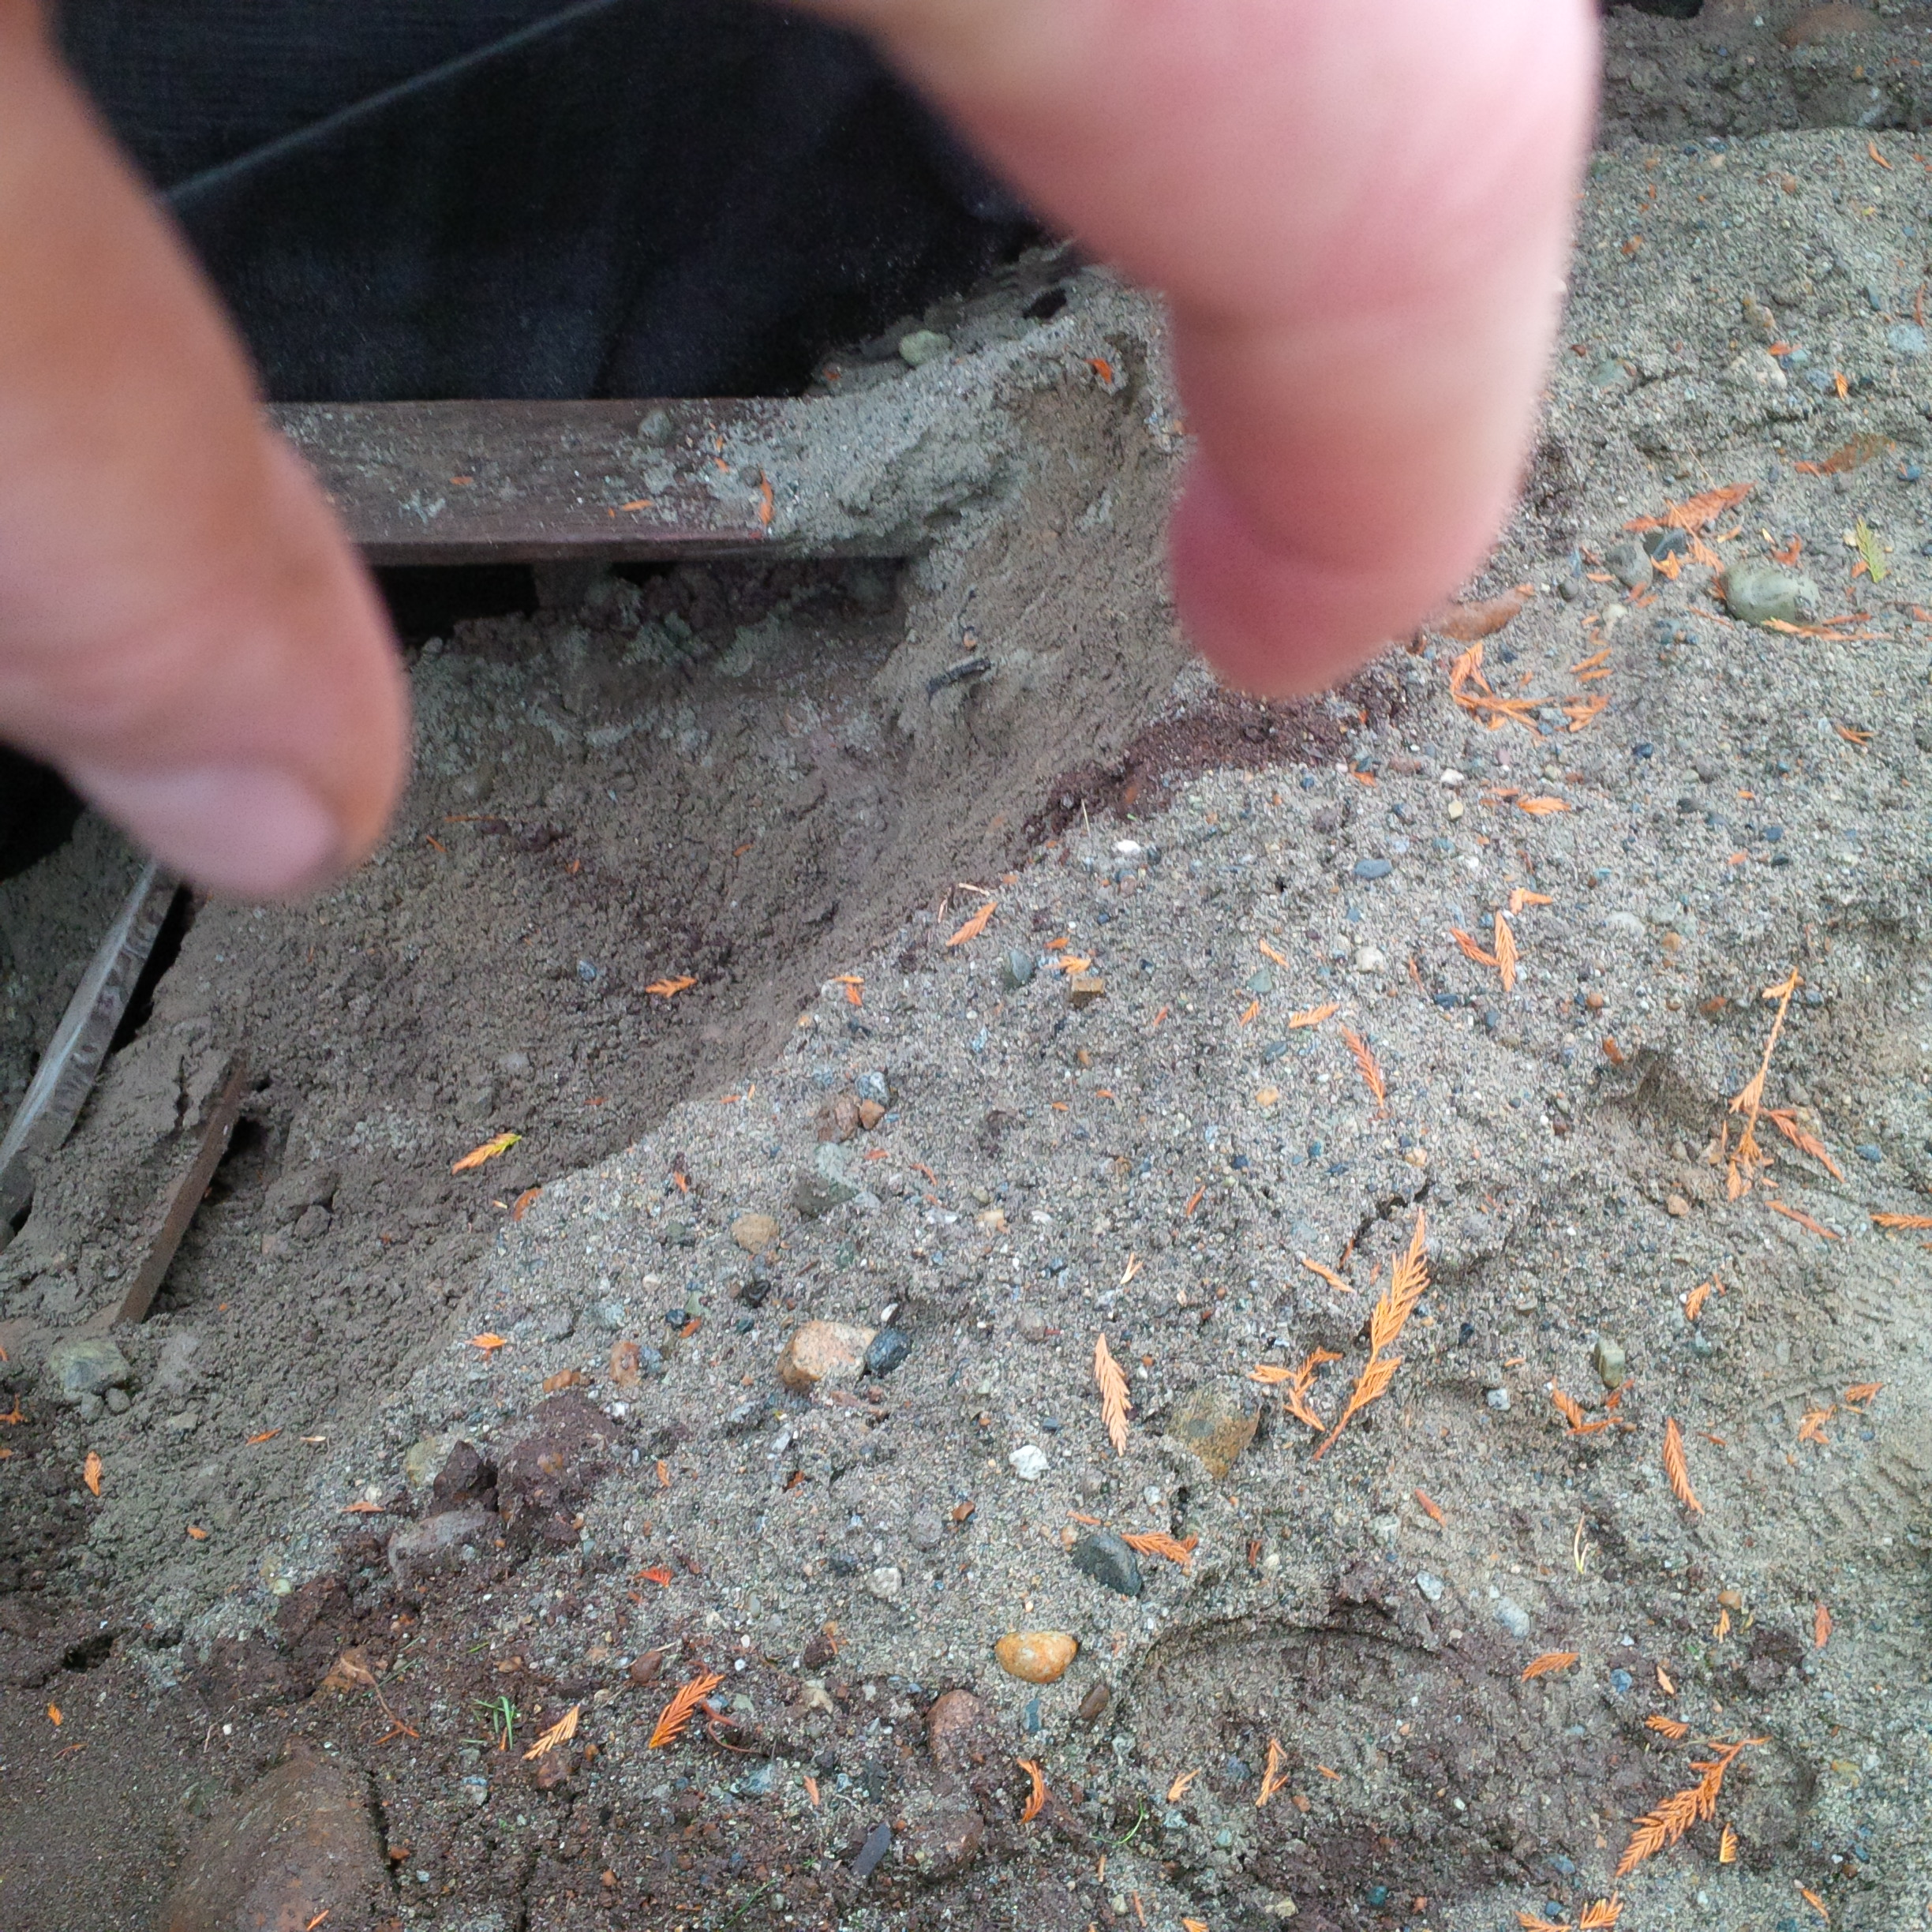
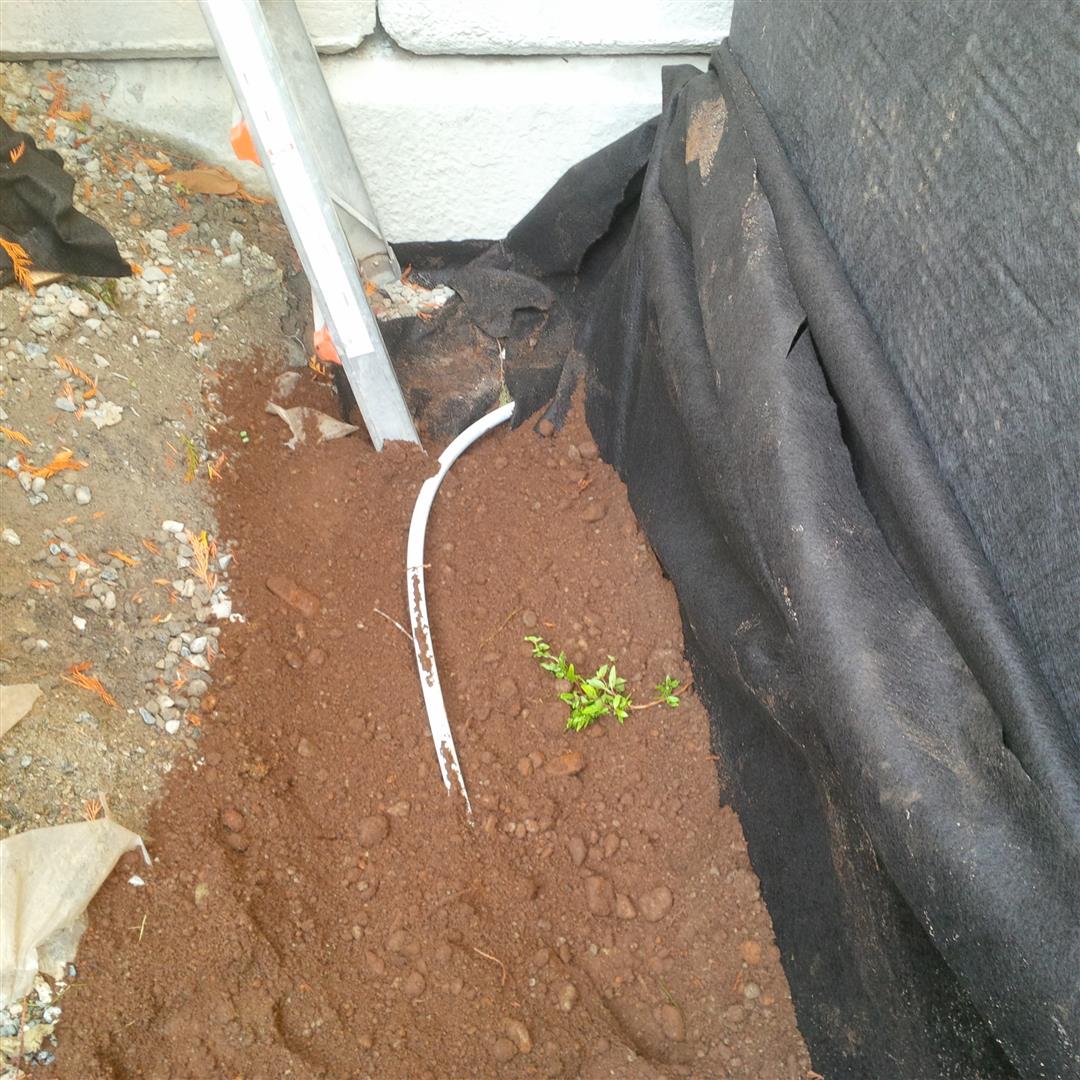
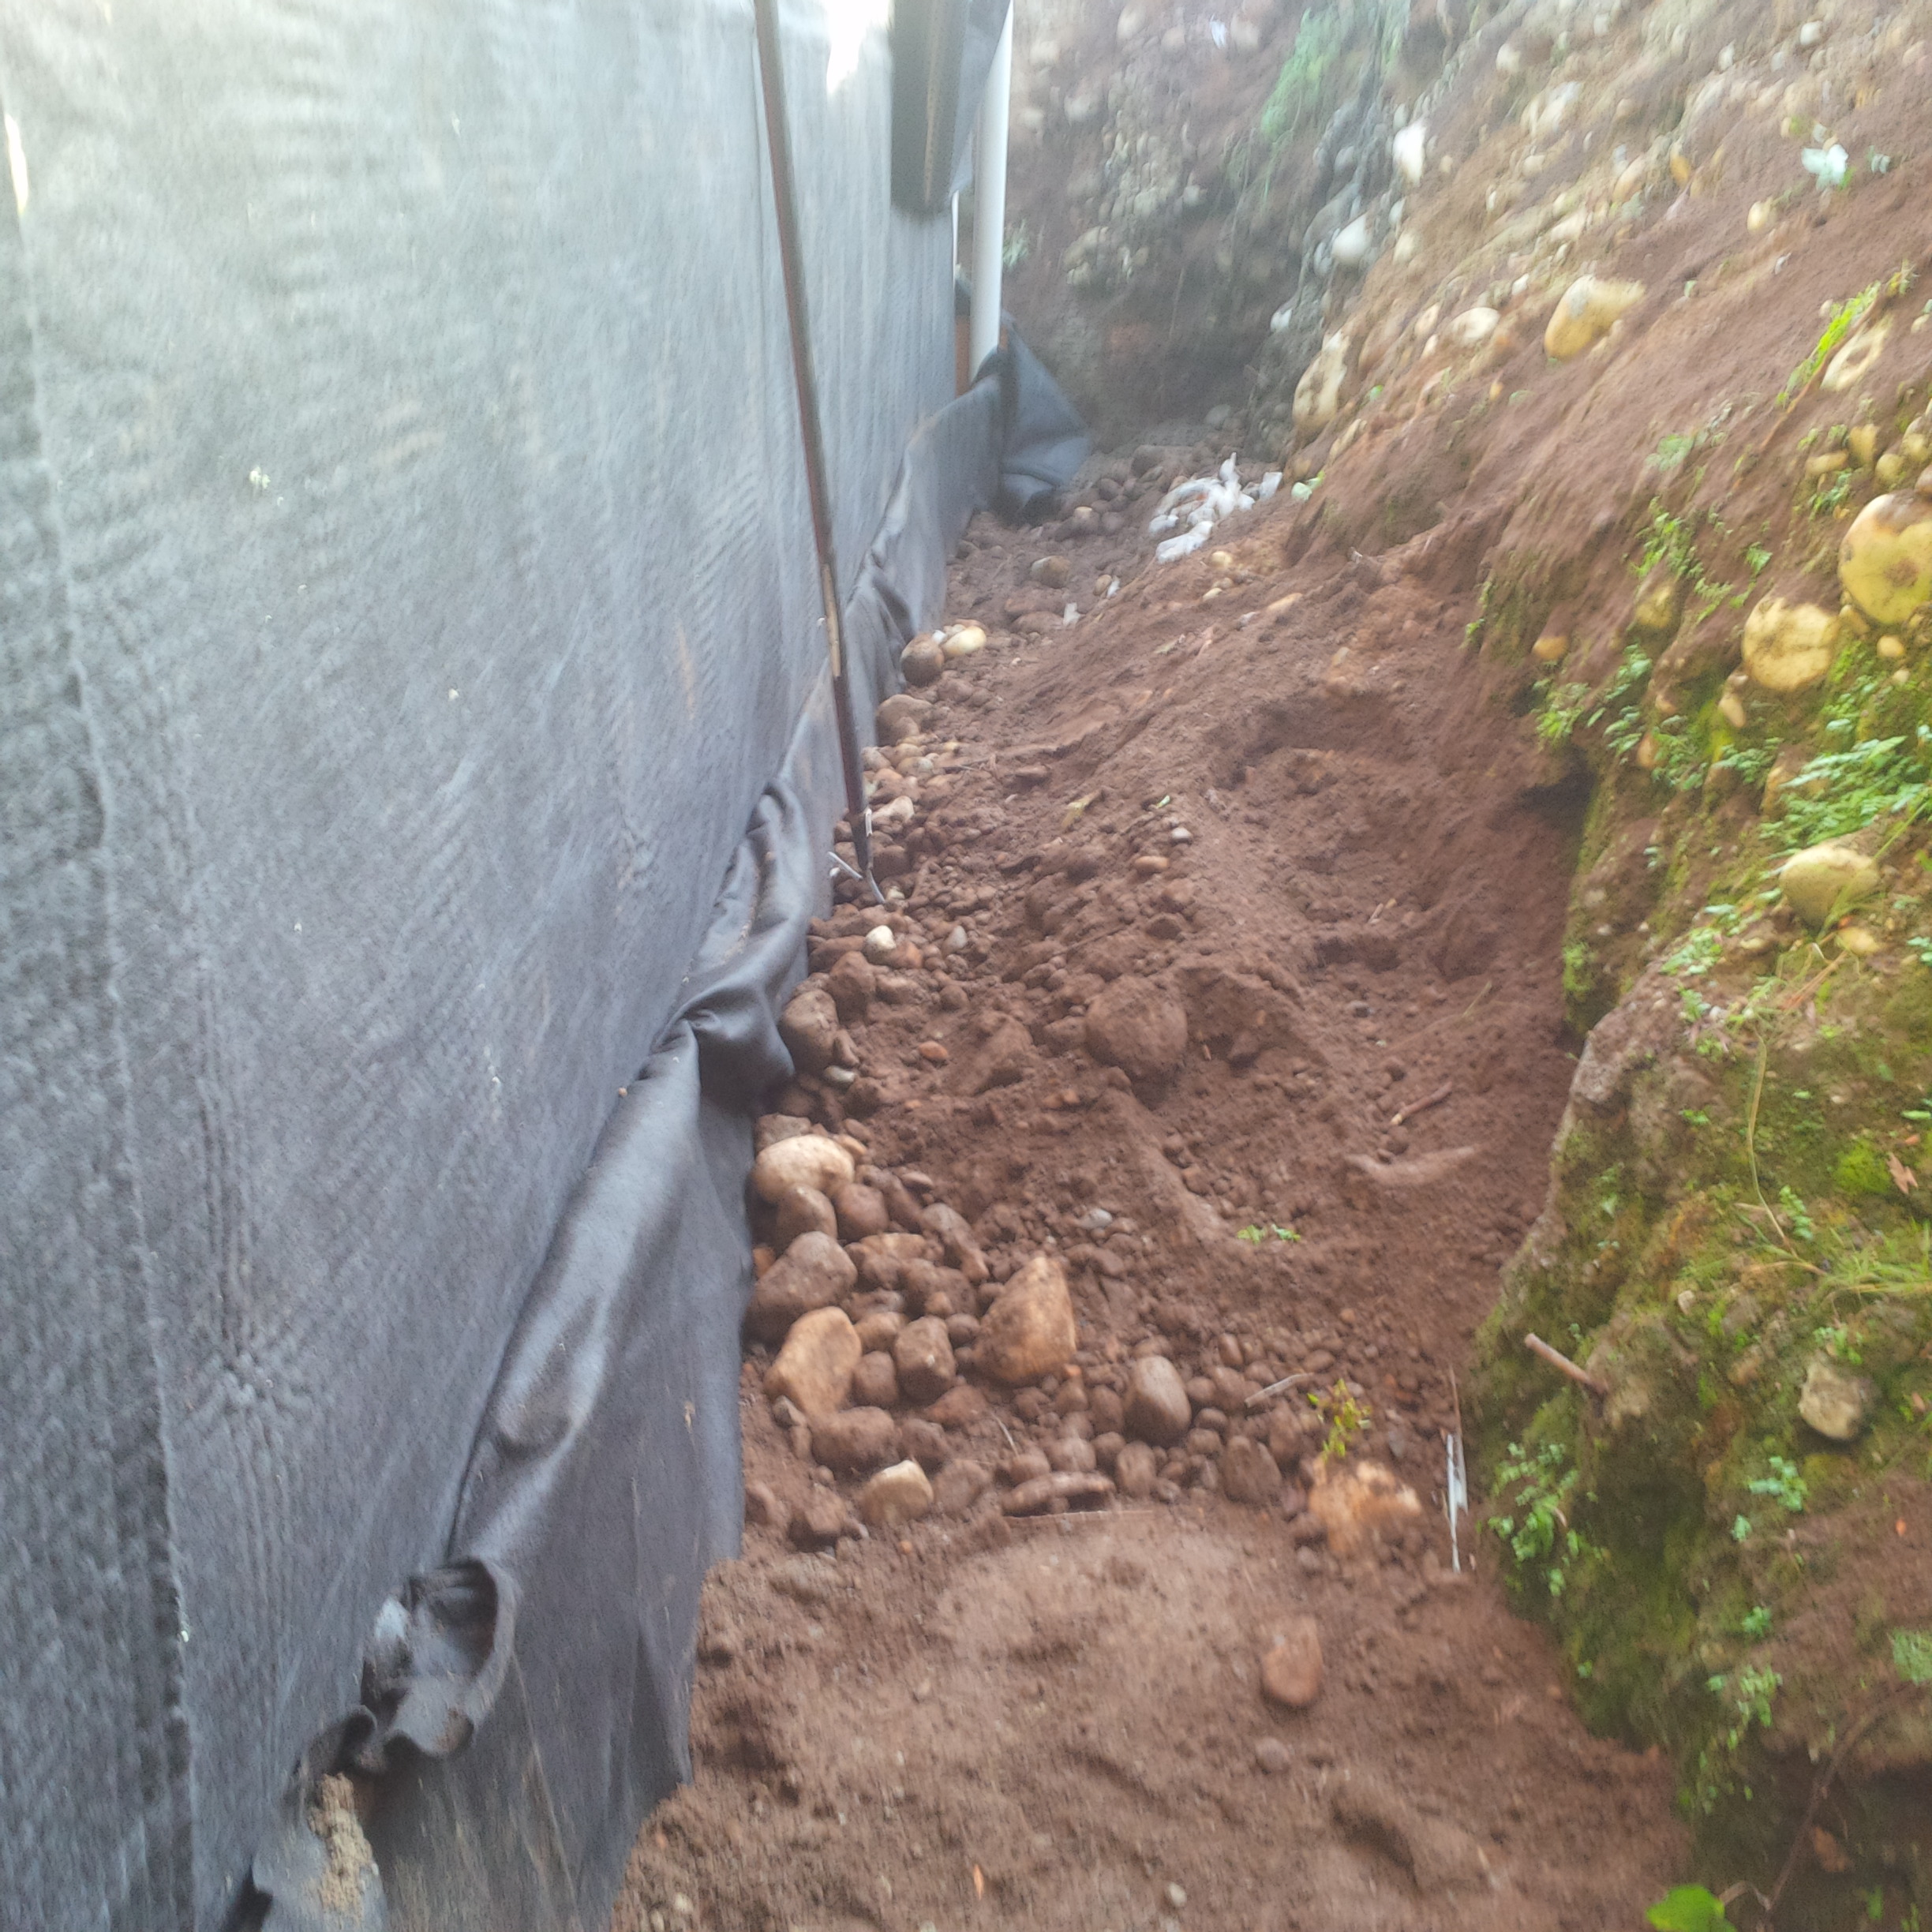
With the wall prep complete, I proceeded on the back-fill starting off with some relatively rock free soil at the bottom to protect the PEX ground loop I have installed.
I then realized that I had an opportunity for another building science lab of sorts. I have sidewalks right up against the house on all sides Except the west wall that I am working on, which instead will have various landscaping including our herb garden. So, if I forgo compacting the west wall, I will be provided an opportunity to compare the rate of settlement between the compacted and uncompacted back fill. When the west wall settles down the road, I will just need to add some more soil to ensure it is still sloped away from the dwelling. Of course this decision has nothing to do with the fact that not compacting the soil in 12″ lifts will be much faster. Of course it is all about the science 🙂 At least that is what I am going with.
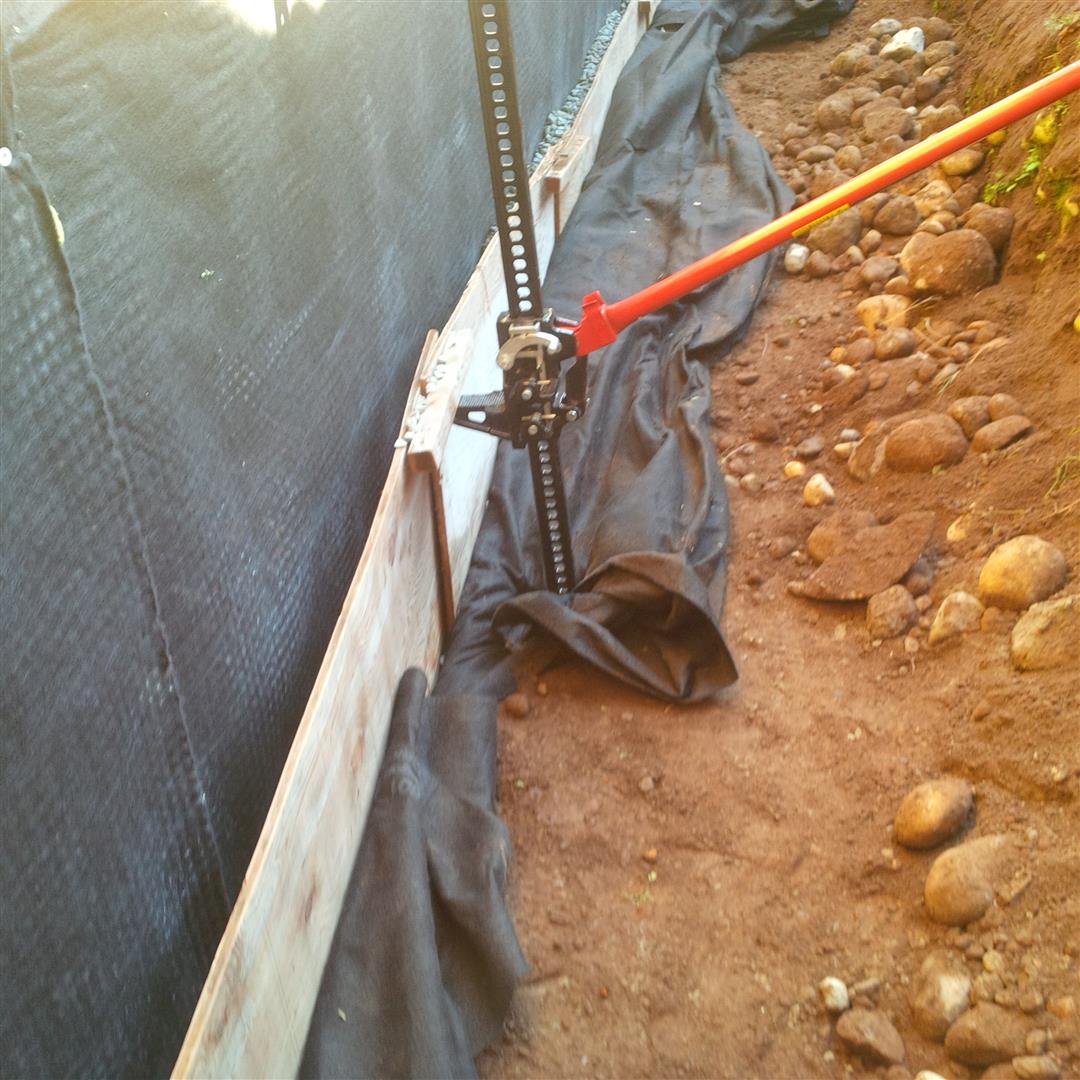
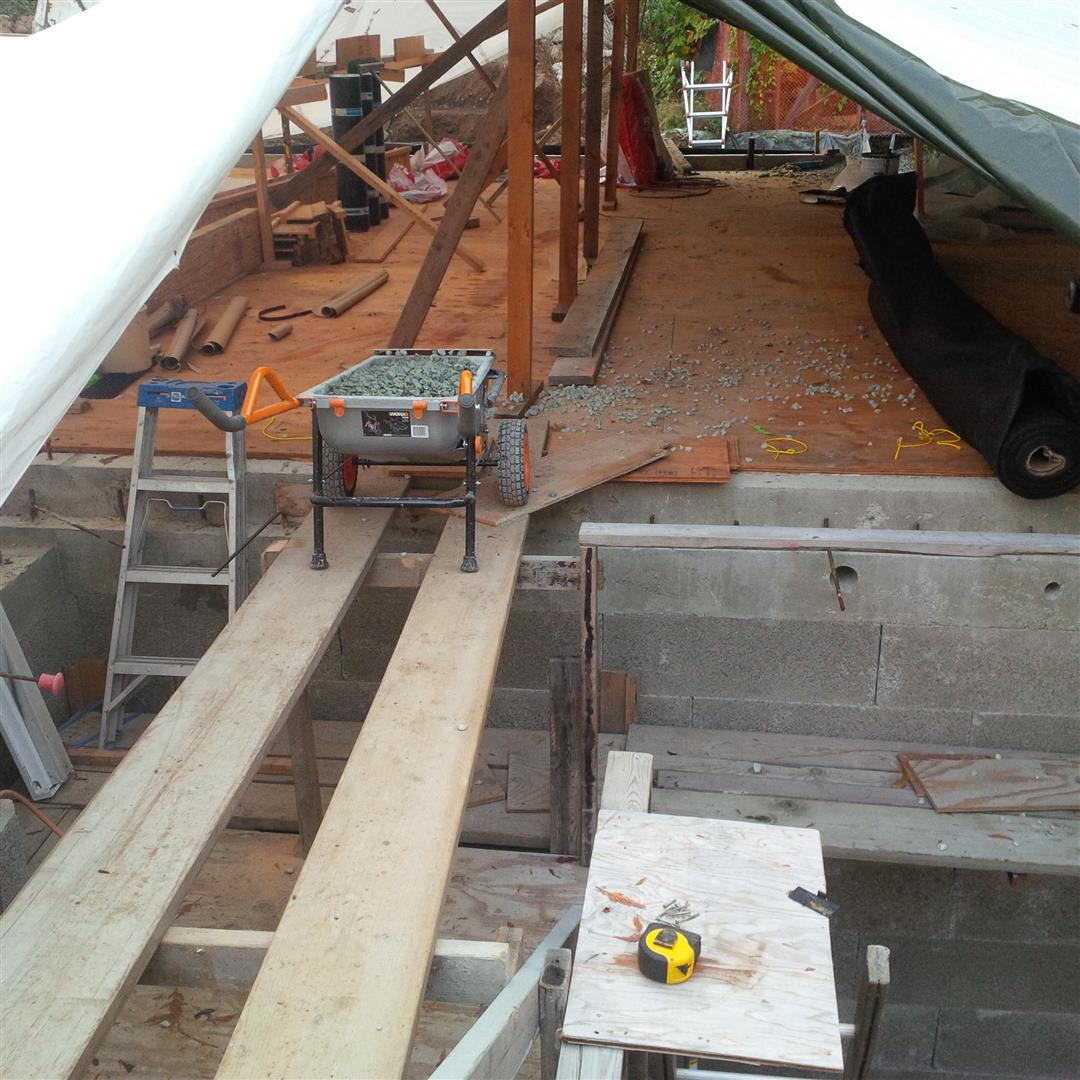
Now of course, I can’t just push a bunch of soil into the hole and call it a day. I am still installing the granular drainage plane against the dimple. And a problem I had a couple of weeks ago gave me an idea on how to speed up this process as well. I had made the mistake of backfilling too much of the plywood acting as the barrier, between the soil and gravel, to allow for it to be pulled up by hand and used a jack and pick to raise it up.
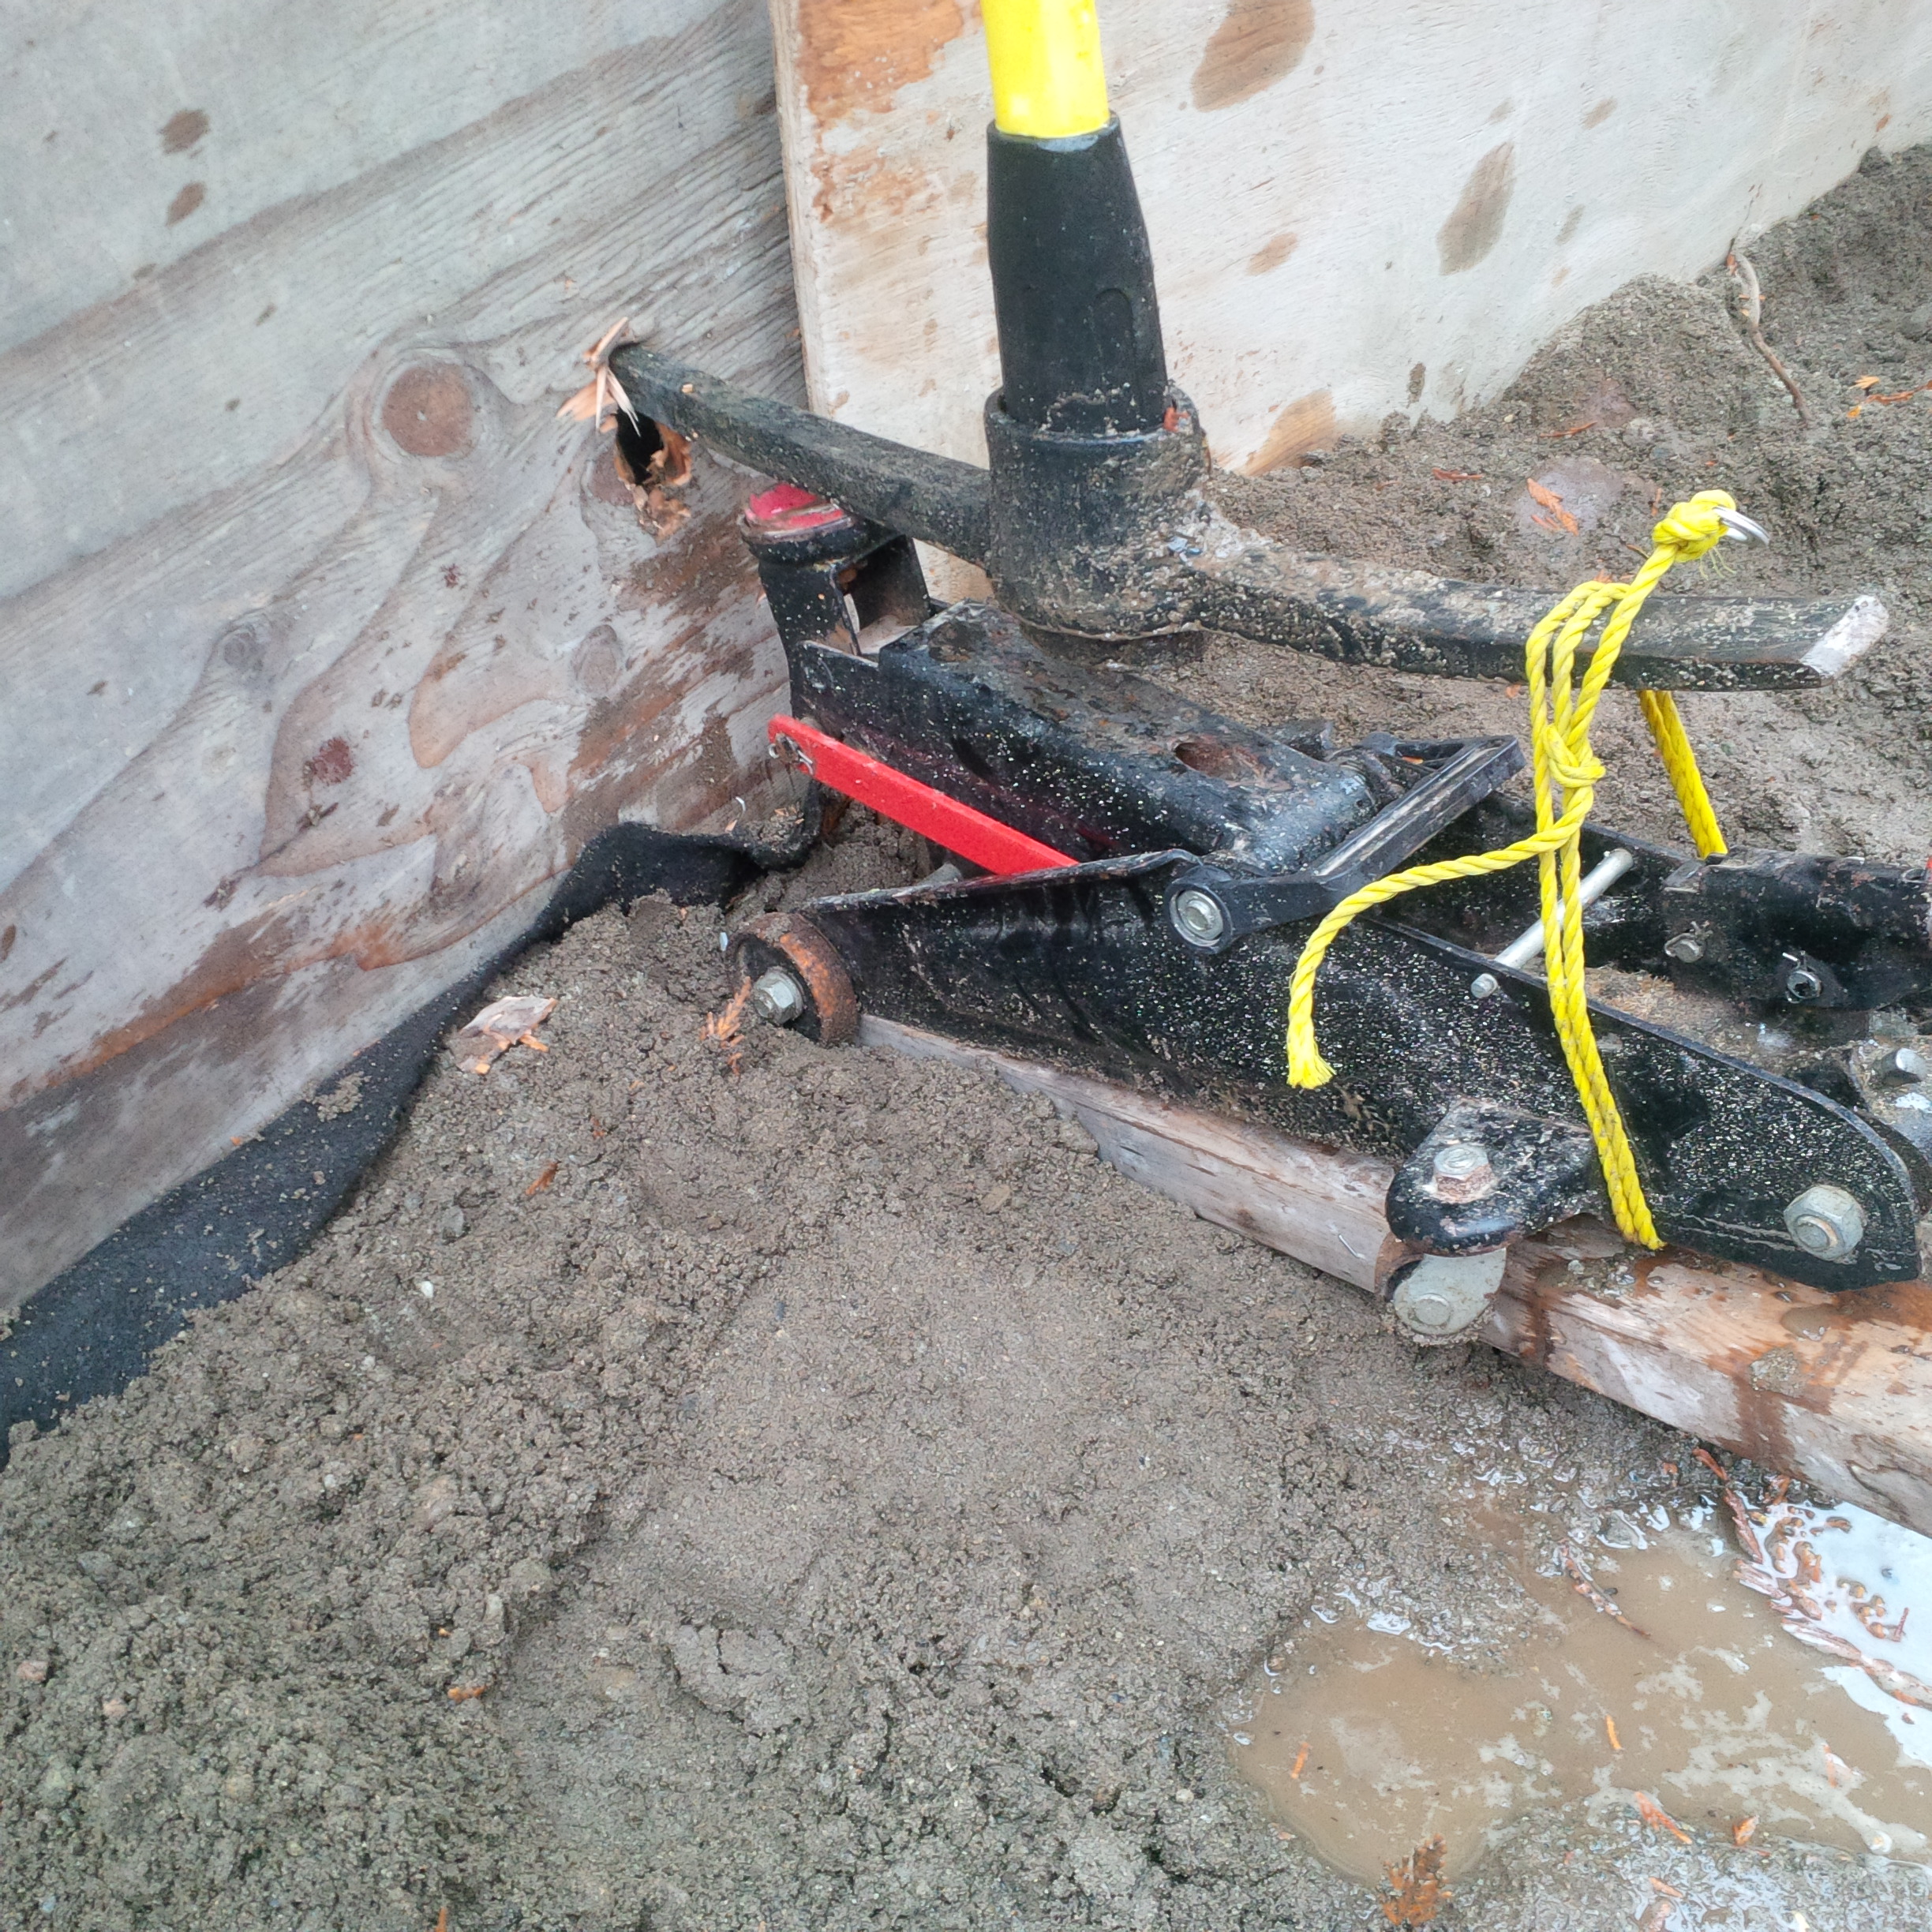
After a couple of sleeps, I devised a better way.
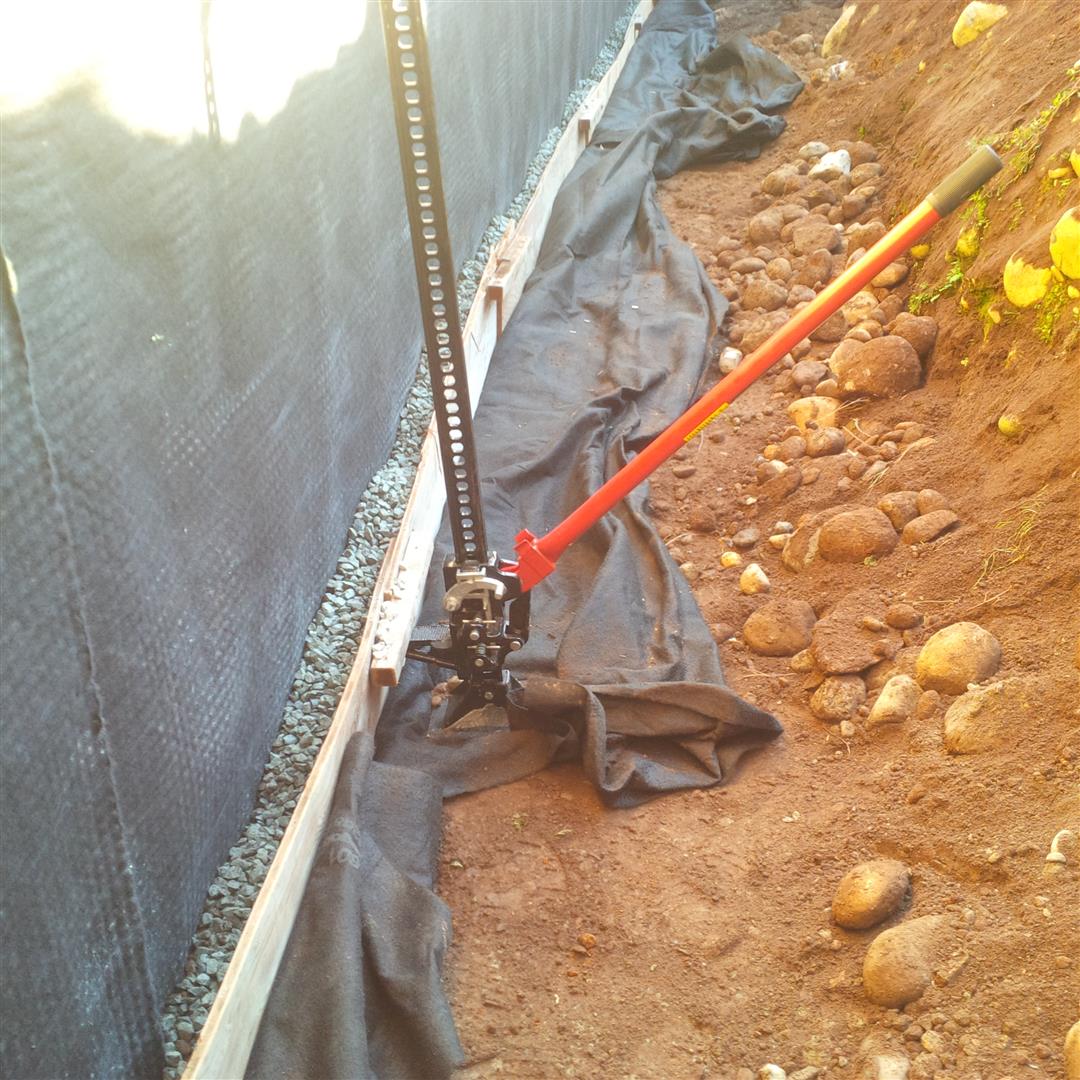
This new method allowed me to almost completely bury the plywood allowing for much taller lifts on each cycle.
Now of course the perfectionist in me is still not comfortable with NO compaction, so I am stomping the soil down (especially right against the plywood) as I go. I had done about 3ft by Friday and then with Mr. J’s help, was able to do another 3ft on Saturday to reach the half way point. Today I was able to do another 1.5′ ft or so on my own and have about 4′ left to complete.

Thanks for visiting.
“To be yourself in a world that is constantly trying to make you something else is the greatest accomplishment.”—Ralph Waldo Emerson (1803-1882) Philosopher, Poet, Author, Essayist
Very informative; what will be your covering of the Roxul above grade, below siding?
Hi Alexander, Sorry for delay, the system did not notify me of your comment. The ROCKWOOL will be strapped in place with the rain screen furring strips. The cladding will then attach to the furring strips.