Stalled
Well, it has been an interesting month.
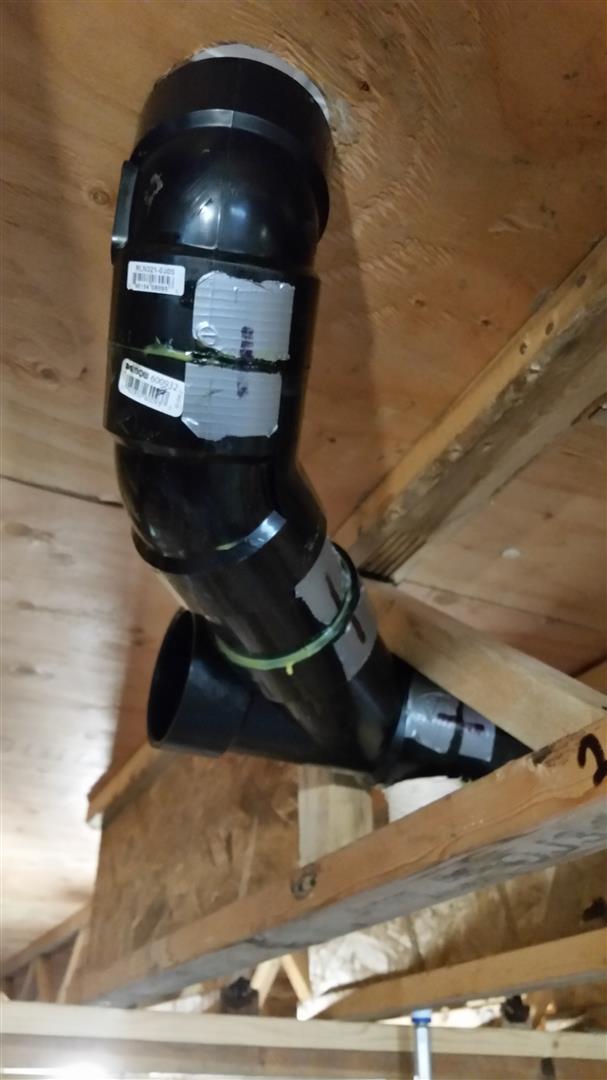
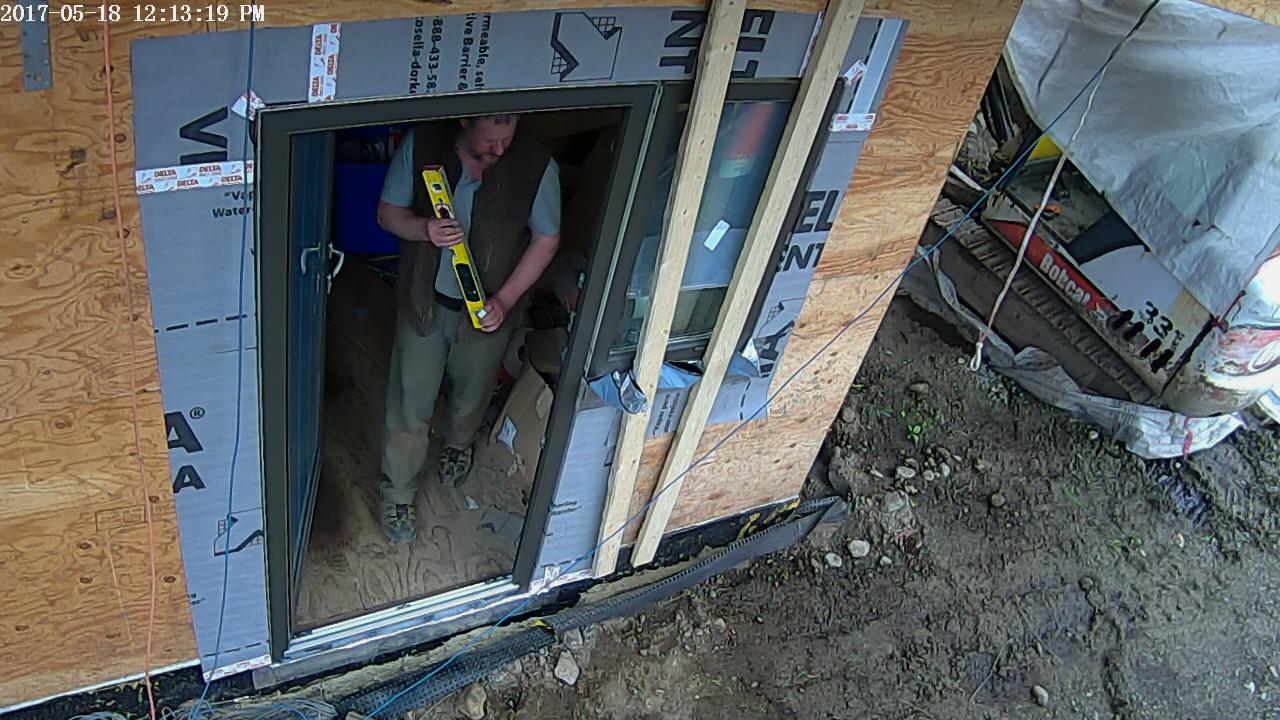
When I last left you I was starting to install the ABS plumbing drain piping. The installation went fairly well and although I did not finish in the two weeks scheduled, I did have it done in a respectable 2.5 weeks.

Then came time for the water test. This involves filling all of the drain and vent pipes with water, right from the lowest point in the system all the way to where the vent(s) pass through the roof. It should have taken an hour or so to fill the pipes. I started this test on a Saturday morning and was still working on it late Sunday afternoon.
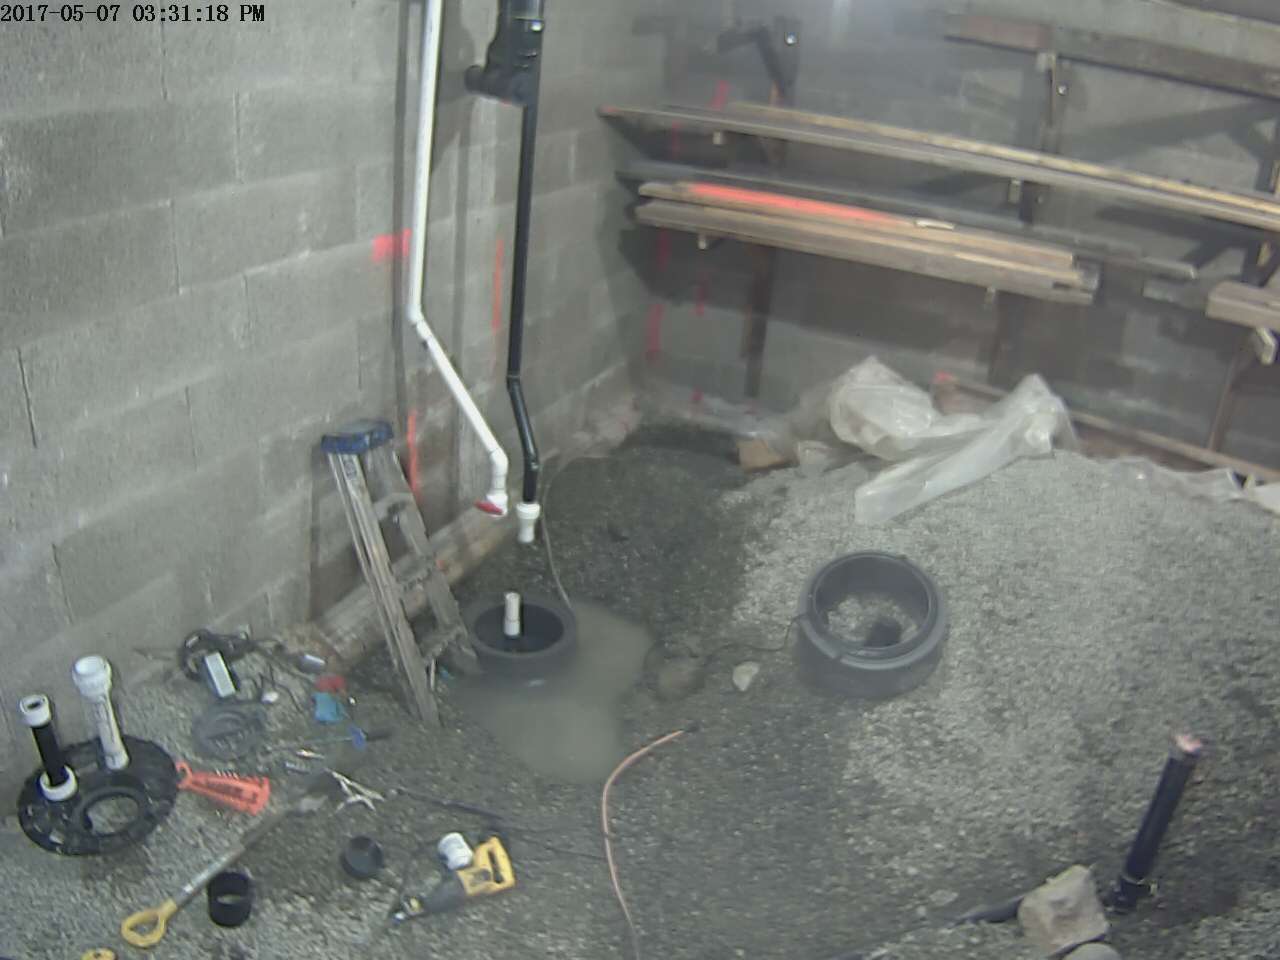
I initially wanted to test the system including a Liberty sewage sump I have in the basement (because the basement is lower than the gravity feed sewer leaving the house and needs to be pumped up). Because of the length of drain lines in the basement and the required slope on those lines, my sump is quite deep and needed an 8″ Basin extender to bring the assembly closer to the height of the finished slab (the basin is still 6″ or so below the slab and will need to be formed with a drop down in the slab).
Well, the gasket between the main basin and extender would not hold water once the water level rose a few inches above the height of the basin assembly. No amount of torquing would seal the seepage coming out around the gasket zone. I used silicon to seal the flat side of the gasket to the basin extender (other side of gasket is ribbed) and this helped a lot but did not completely stop the seepage.
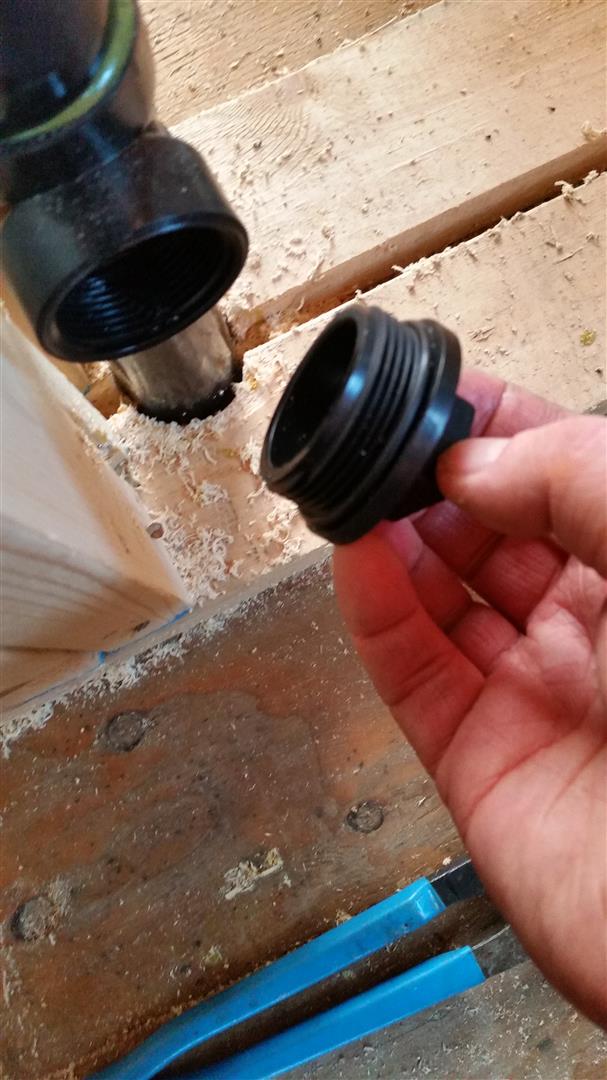
After several attempts to seal, I gave up and decided to isolate the sump from the rest of the system. I had a union on the main 2″ vent anyway, so could just attached a stub with a cap below the union. The 2″ drain already must have a ball valve, so this too was easy to isolate. This left the intake port for the sump. I attempted to use a mechanical test plug made by Oatey to hold back the water, but as the water level would rise inside the piping system (typically just above the first floor), the plug would blow out the port and all the water would drain out of the system and I would have to start over. No mater how much I tightened the plug, it would blow out.
After repeating this far too many times, I decided to cut off the 4″ ABS coming into the sump and try to plug the end of the pipe (the port in the sump basin was a bit larger OD and so I though the smaller pipe may seal better). No dice, the water level would rise to just above the second floor and then blow out the plug. After two more attempts, I threw the plug away and just glued a cap to the end of the pipe and FINALLY we had success with water gushing out the roof vents.
In all, I had attempted to fill the system 14 times. And each failure would involve water gushing out for several minutes (not a problem as just went into the gravel base I have below the house), but would also then require attempting the refill of the system that took anywhere between 30-60 minutes depending on how high the water level rose before the next failure.
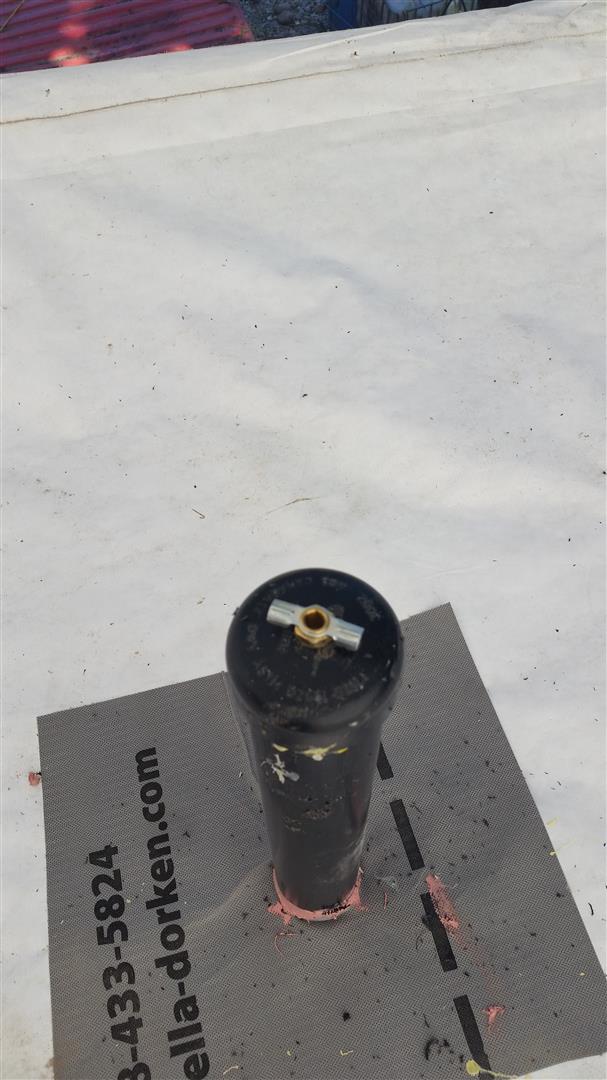
When the inspector came the following day, he just laughed and said “of course not”. The sump is not designed for any significant pressure and with the height of my house (I calculated the total height of the system at 38 feet between the sub slab drains and roof vents. This puts an incredible 16.5 PSI on the base of the system), and the Oatey plug was never going to work. You either need to glue on a cap as I ended up doing, or use a special commercial plug meant for testing high rises as most of the plugs (even inflatable plugs) used for residential testing only go up to 13 PSI.
Then, unfortunately, I failed the inspection. I had paid a plumber to size my lines and identify locations and sizes of clean-outs. I had studied the plumbing code at BCIT when taking courses for home inspection, and could have sat down with the code and calculated all the fixture drains out, but wanted to save a lot of time and have someone else provide this info. Well sure enough, most of the stuff that was not right was stuff I was advised on. The inspector wanted to see clean-outs sized per the pipe that clean-out serviced. There were two areas where the vent and clean-out was 1.5″, but was servicing a 3″ and 2″ drain line. The vent up to and including the clean-out needed to be upgraded to 3″ and 2″ respectively before stepping back down to 1.5″. There was also a tub drain that did not have dedicated venting that had too long of a trap arm and needed a 2″ vent and clean-out added.
Fortunately , the inspector knew I was good for the repairs and although I failed the inspection, I was authorized to proceed without the need for further inspection. The fix with water testing took another two days. And this time during testing I did end up with a major leak on the first floor. With the system filled to the roof, I was going around shaking all of the pipes to release any trapped air (I know, air is a good test medium as well, but I wanted pipes full of water so that I could SEE any leaks). All of the sudden water started gushing out of a joint, that in my rush to address the deficiencies, I had forgot to glue up. Got the heart racing as I rushed down to basement to release the water. 30 minutes later joint was glued and tested and water had been mopped up.
With the plumbing drains completed on May 10 , I needed to start my next major component. I wanted to start on the sub slab insulation and progressing towards pouring the basement slab, but I am still unsure of what insulation I am going to use below the slab (testing and research are ongoing).
I also had been planning to start the exterior cladding installation by the end of the month. This involves applying WRB/AB membrane to cladding, installing the 6″ of continuous ROCKWOOL mineral wool panels, plywood furring strips, and then horizontal T&G cedar cladding. BUT, the delivery of ROCKWOOL may be delayed, I am having a lot of problems finding the required 8″ screws, and the cedar cladding I had planned on using was discontinued.
So, while I was preparing for and sourcing goods for the exterior, I thought I would start on the ventilation system. But then was told that Eneready was no longer making HRV units. I had planned my entire house around the connections to this particular HRV including wider bays in the floor trusses along the duct paths. I potentially was throwing away about 100 hours of effort and starting from scratch on a new HRV design.
I was now thoroughly stalled (and frustrated) without the ability to start any major component. It is important that components are installed in order of priority for the space in the floor and wall assembly. So for me, the most important component to run first was the plumbing drains. Then would come the 7″ HRV ducts, followed by the supply piping, hydronic heating tubes, and finally the electrical (which can pretty mush be routed anywhere). So while I could start the supply piping or electrical now, they would certainly be in the way of the HRV ducts at some point.
While I try to resolve some of these issues, I have spent the time at site cleaning off misc action items including blocking below walls parallel to floor trusses, misc wall blocking, stringer doublers and rough in stair risers, curbs for garage Velux sun tunnels and south roof Photo Voltaic Panels, installing last two Cascadia glass french doors on first floor, and site cleanup and organizing.
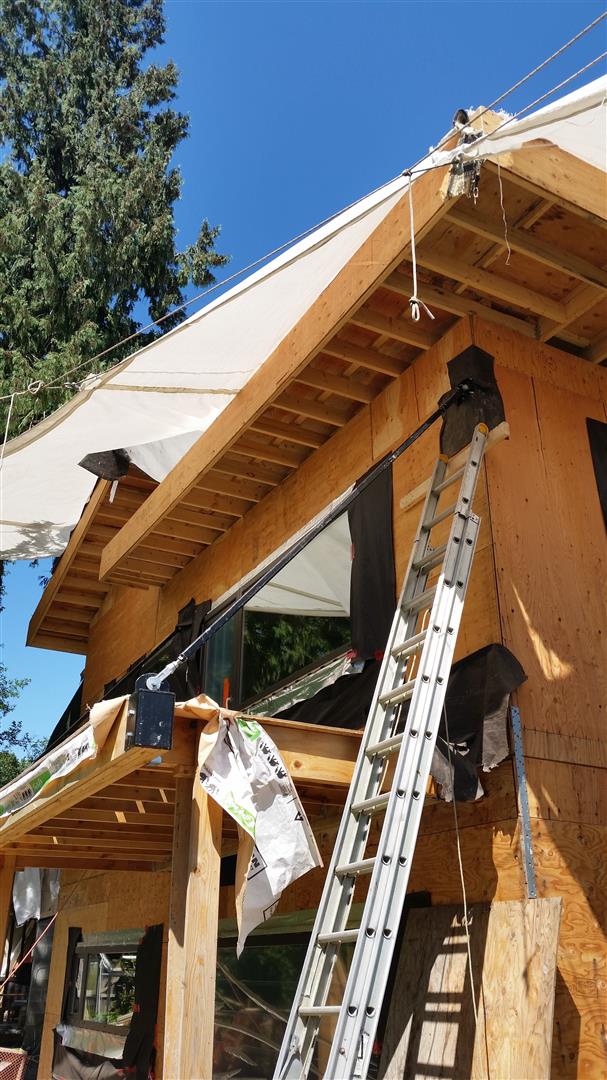
Yesterday I was also able to install the two diagonal braces that support the rear second storey deck of the master bedroom. These were fabricated by a local machine shop, but unfortunately they had not welded the 3/4″ over-sized nuts, I had provided to them, onto the end of the brace. I had brought the order back to them to re-tap, but unfortunately they had only used a .005″ oversized tap and a special .020″ oversized tap was needed to make room for the thickness of the galvanized layer applied to the rod that was to thread into this nut. I decided to solve this on my own and was able to borrow the right tap from a vendor I worked with in my past life as a professional buyer for Chemetics International.
I fortunately was also notified that Eneready is refurbishing used units they get their hands on and happened to have received one last week. So thankfully they have agreed to sell it to me. They will ship over the empty shell soon to allow me to start laying out the duct work and then I will send the shell back for full refurbishment complete with a 5 year warranty.
So, hopefully by my next update, I will have started and made some good progress on some major component of the build.
Thanks for visiting.
“The best way out is always through. ” —Robert Frost (1874-1963) Poet
“It is my chief duty to accomplish humble tasks as though they were great and noble.” —Helen Keller (1880-1968) Author, Lecturer, Activist
“When life gets you down, do you wanna know what you’ve gotta do? Just keep swimming!” —Dory, Finding Nemo
“Great achievement is usually born of great sacrifice, and is never the result of selfishness.”
—Napoleon Hill (1883-1970) Motivational Author
“Only those who attempt the absurd can achieve the impossible.”
—Albert Einstein (1879-1955) Theoretical Physicist, Philosopher, Nobel Prize Winner