Another First
Well, I could get used to this, it was another productive week that stayed on schedule. In fact, things actually took one less day than planned so I was able to catch up on some chores and vendor follow up on Thursday.
Monday to Wednesday saw the removal of the rest of the scaffold, the movement of excess gravel from the walk-up footing area (where I had the stockpile blown in months ago), into the cold room under the garage. I also constructed the forms for the walk-up stair footing. I was assisted by Chris from Embers on Tuesday to move the bulk of the gravel and help with lifting out the remaining scaffold frames from the pit. Finally, I built a fast scaffold platform outboard of the foundation at the entrance to the garage, so that I and the concrete placing crew would have easy access to the garage slab.
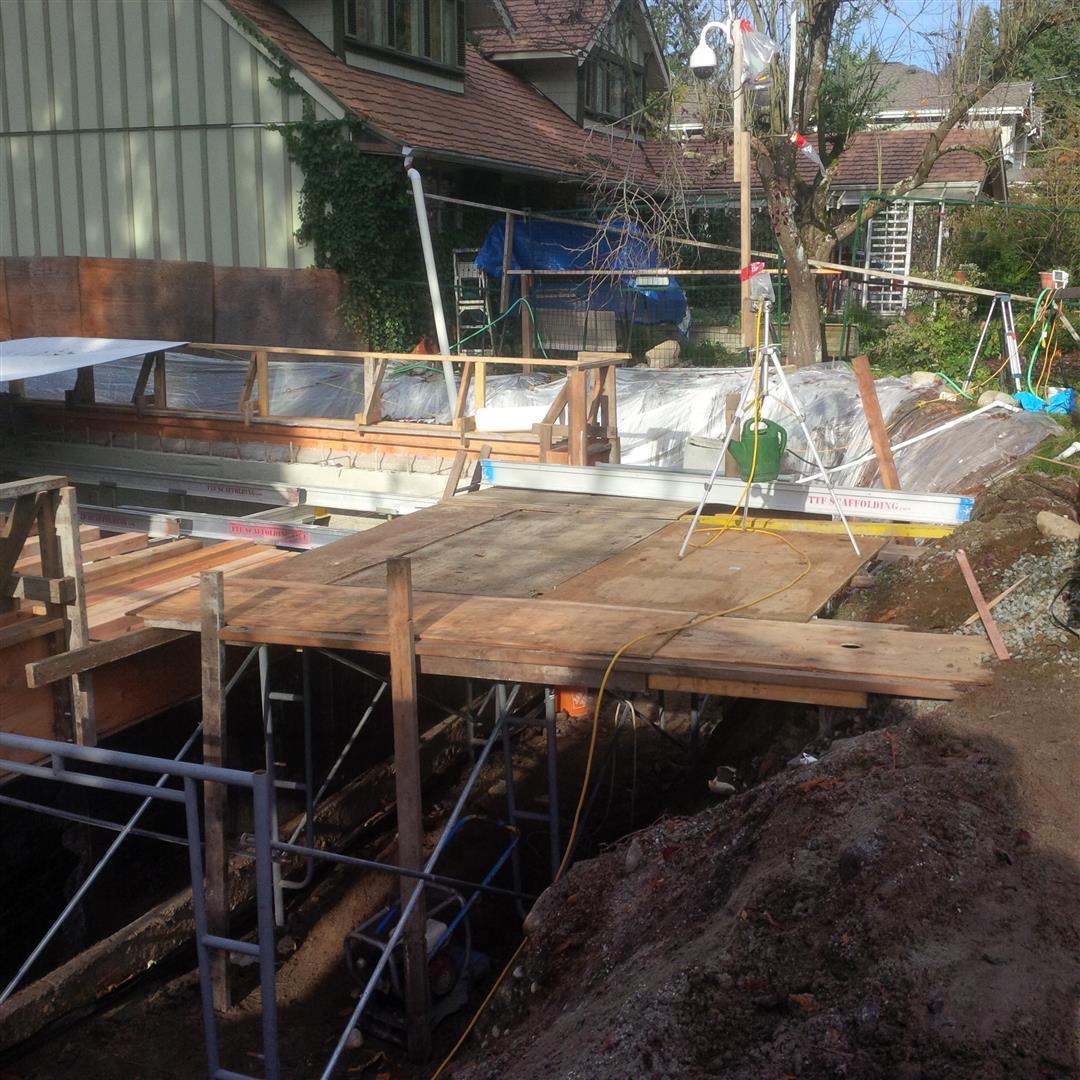

If you think the above footing is rather large, you would be correct. The total footing length is 28’3″ x 6′ and 10″ deep. This mass of a footing was needed because I am so close to the property line, that I could not put the required footing outboard of the walk-up foundation. So the majority of the footing is on the inboard side and the mass is needed to counteract the force of the backfill of a 12′ tall wall. I will also use the footing as my finished landing slab. (see S11 Basement Walk-Out Details)
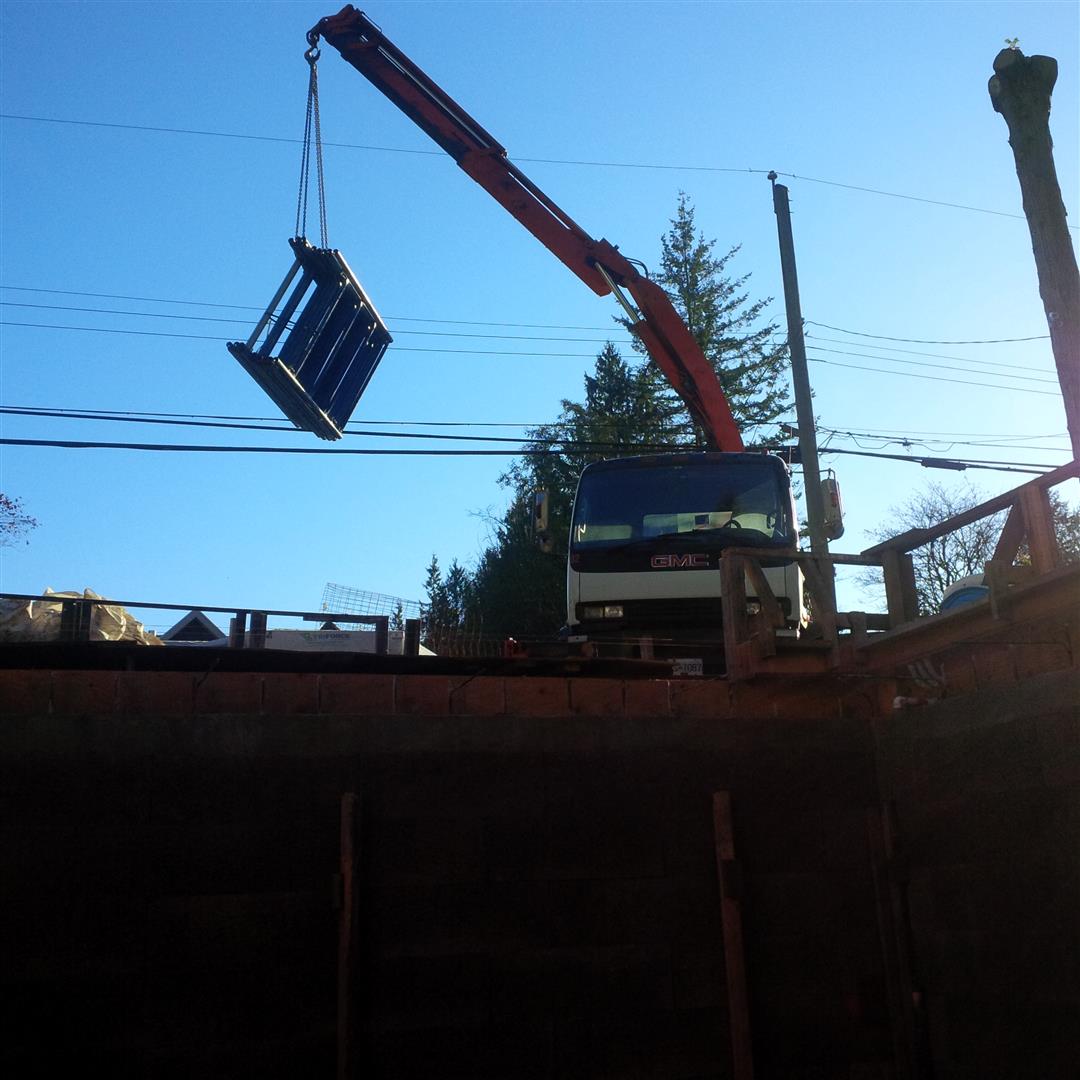
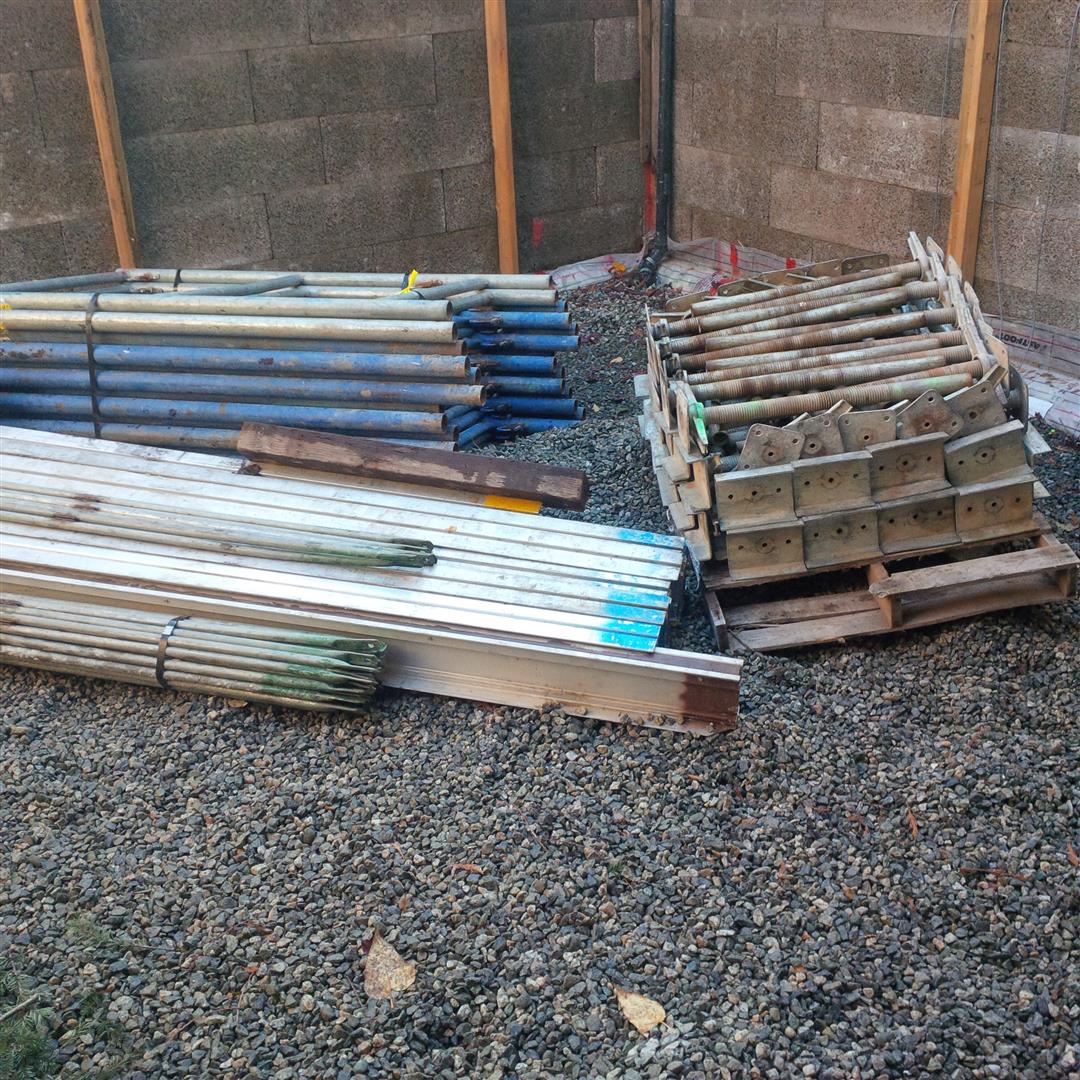
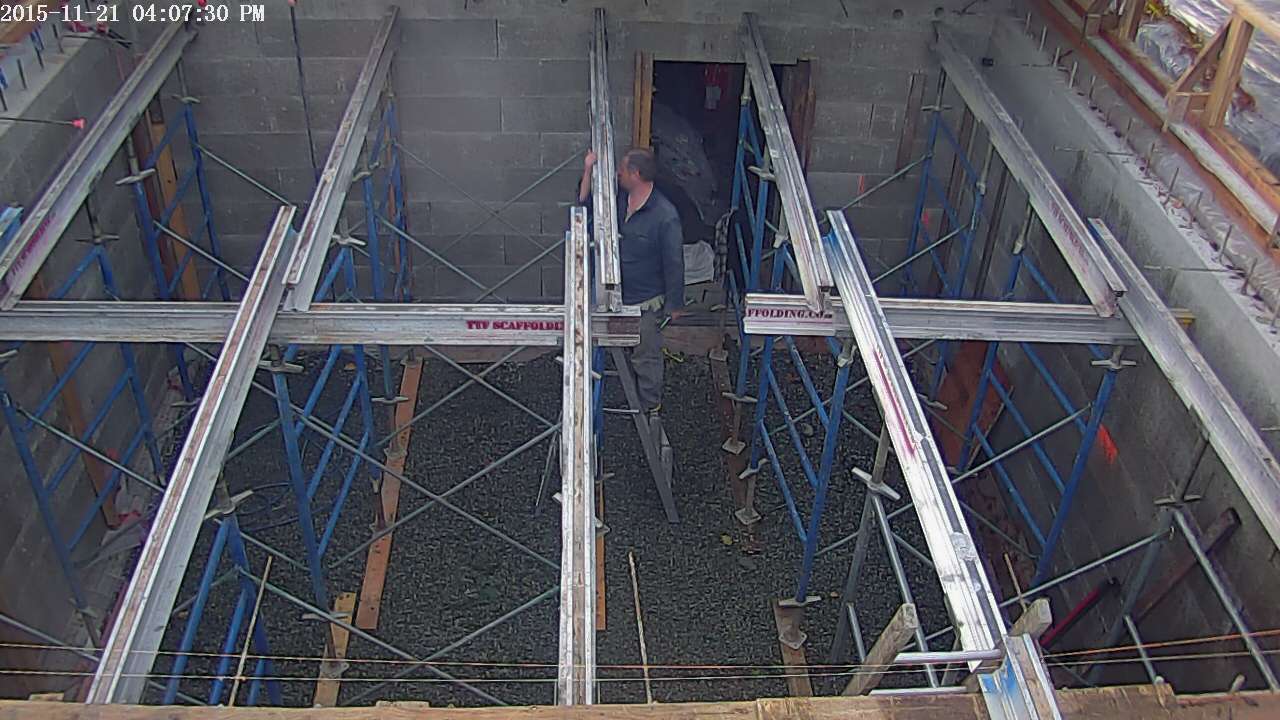
On Friday morning my shipment of shoring arrived from TTF Scaffolding and I started yet another task that is new to me – installing suspended concrete slab shoring. I drove to a few multi-family hi-rise construction sites over the last couple of weeks to ‘inspect’ how it was done by the big boys. I even got some pointers from one of the site’s crew members. I also had a sketch from my engineer on what support spacing to use and what size of lumber was needed for the joists. By the end of Saturday, I had all of the frames in place and levelled, the beams installed and secured, and half of the joists roughly placed. I finished off the rough placement of the beams today.
Anyone who has ever installed scaffolding will appreciate the next tip.


Here is my quick primer for others doing a suspended concrete slab for the first time.
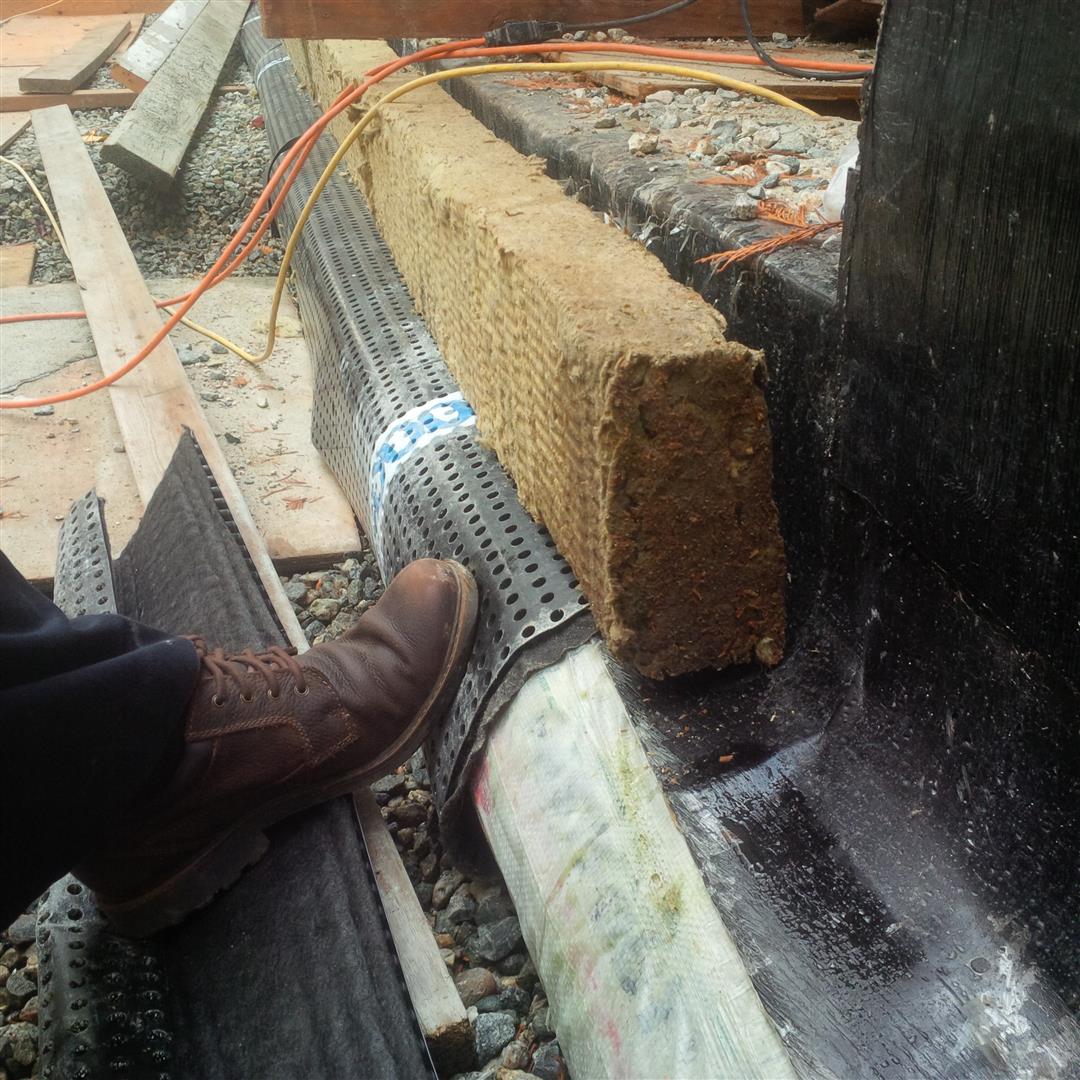
- You need to place the frame adjustable feet on a 2×6 mud sill (minimum, 2×8 better but I did not have any use for them in the rest of construction). This prevents the legs from pushing into the soil or gravel under the weight of the poured concrete. I used 12′ lengths so that I could easily line up multiple frames end to end (important for installing beams later). As I had a gravel base, this just required raking out a flat zone the width and length of the plank.
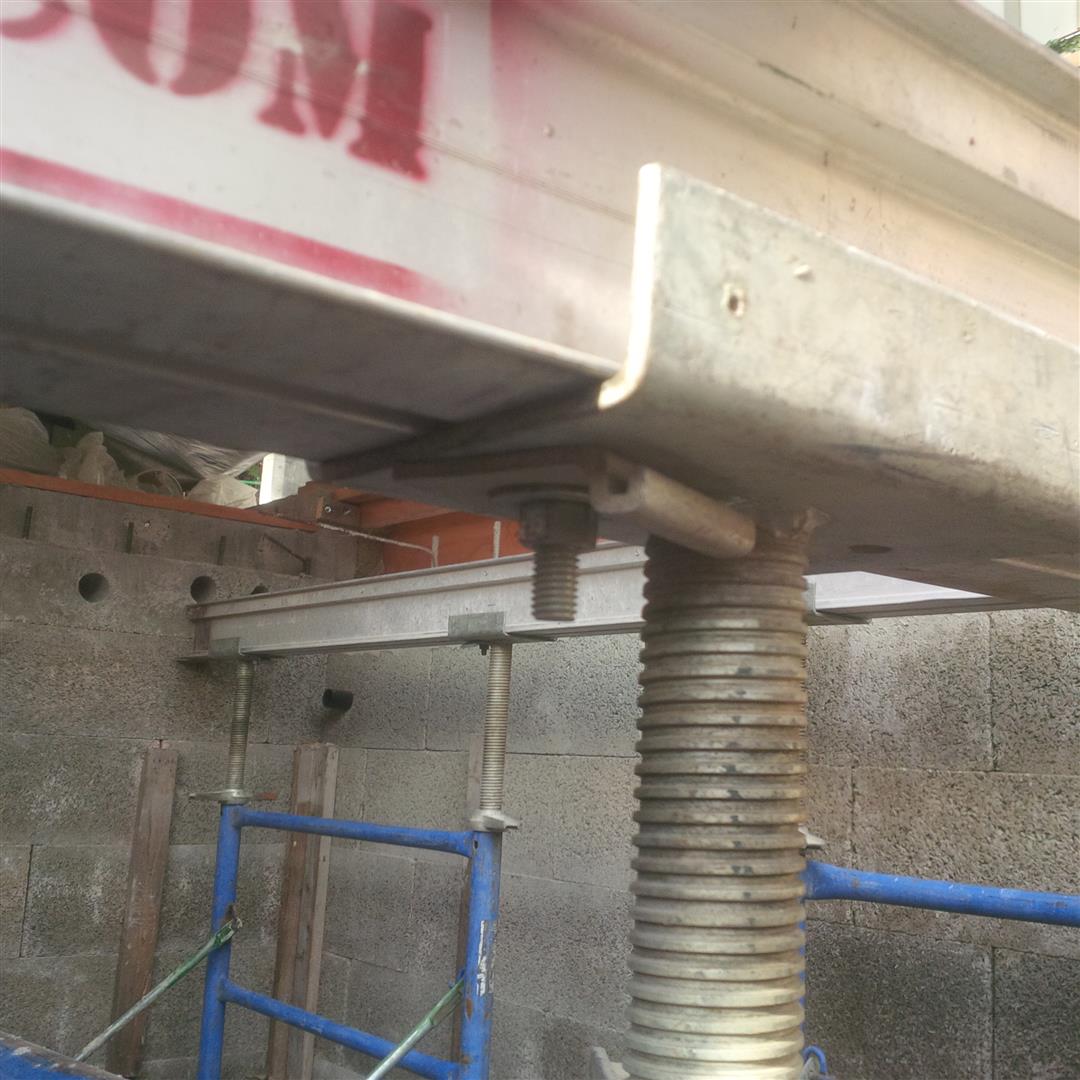
- Roughly install all frames with braces at the spacing called out by the engineer and then right away install the U-Heads before raising the frames (easier to reach). At this time, also loosely install one retaining clip into each head (I learned the hard way, I installed mine after I had all of the frames raised and the beams in place – this made it much more difficult to level the frames and I also had to lift each beam out of the pocket so I could get the clip bolt in place).
- Figure out your needed finish height of the shoring deck and take away the height of your frames, beams, and joists. The remainder is the height that the adjustable legs and adjustable U-Heads have to make up. Use the adjustable feet to make up half this height. (Again, I learned this the hard way. I went through all the trouble of raising and levelling all the frames before figuring out I had not raised them far enough and had to start again.)
- Use a 6-8 ft level to ensure that all the frames have been raised to the same elevation (this ensure the frames themselves are all plumb which is needed to provide maximum support strength). I also used a 4′ level to ensure the frames were themselves level side to side before levelling to the adjacent frame.
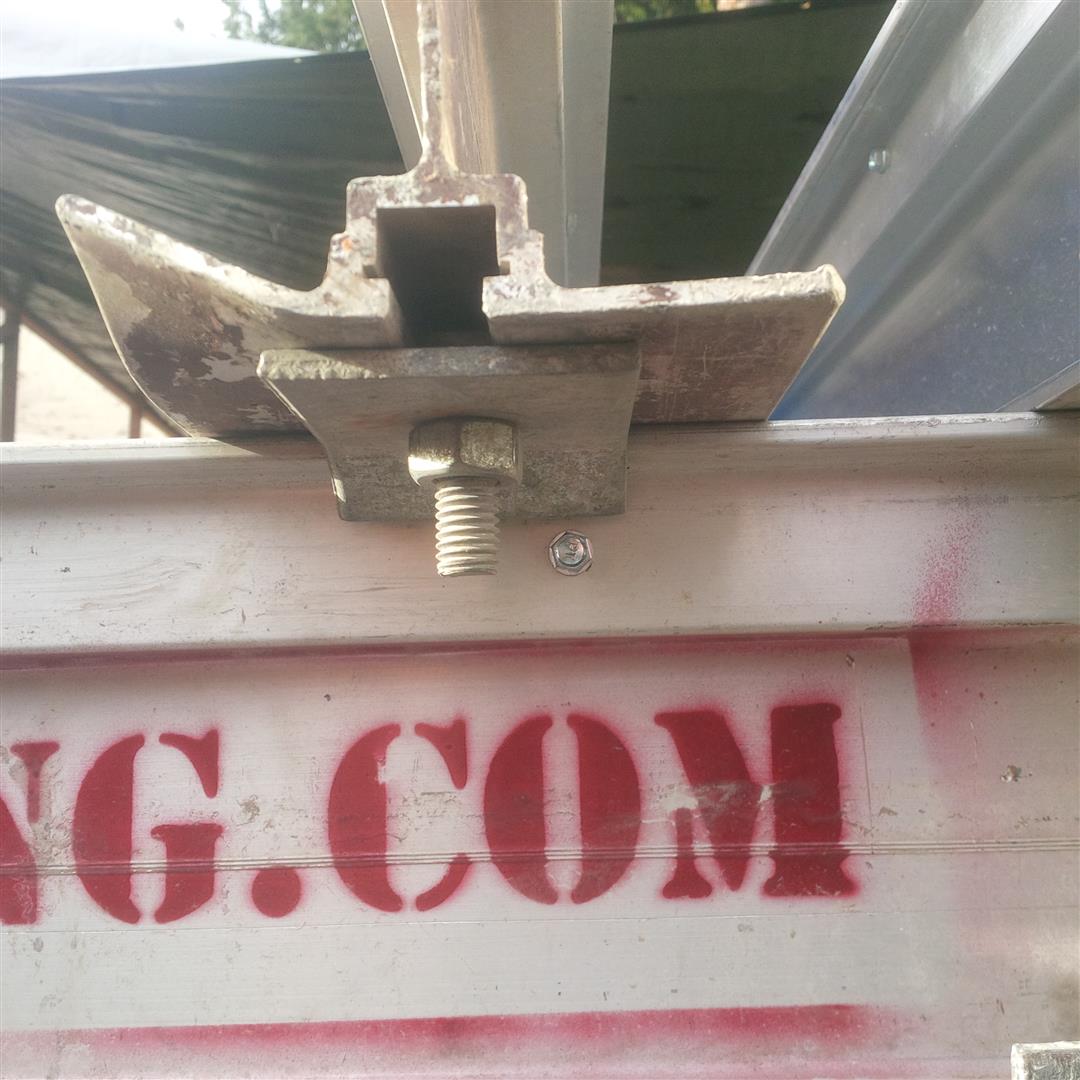
- Once all frames are levelled to the right elevation, install the beams and tighten down the clips. Once again, I made the mistake of installing the beams quite early in the process before I had even raised up the frames. The beams made the raising and levelling of the frames more difficult. Wait till the frames are ready. The beams are made of aluminum and very light so not difficult to get up on the U-Heads after they are at height.
- Make final adjustments to the elevation using a level across the installed beams.
- As I am pouring a garage slab, there will be a slope to the finished slab. To ensure extra concrete was not needed I also sloped the form work so that the bottom of the slab will also conform to the same slope. I did this by measuring down from each end and getting one beam at each end to the right elevation before using a level to transfer to the other parallel beams at each end.
- I then did the same thing down the middle of the shoring where the two beam lengths overlap, by measuring each side’s outboard beam to the bottom of my slopped plywood used to determine the elevation of the slab top surface. I then transferred this to the parallel beams with a level working to the centre from each side.
- Install joists at required centres. My engineer calculated I only needed 3.5″ depth @ 16″ centres for my slab. The shoring rental companies use 4×6 joists, but typically put them on there sides for a 5.5″ height. But as I only needed the 3.5″ depth, I could place the joists on there flat making them safer to work with as now I do not have to worry about them tipping over as I install the plywood.
- Install Plywood. You will probably have to purchase this. I did not find any companies who rented shoring plywood. The typical plywood forming rented is for vertical applications and has the pre-drilled or cut slots for the form ties. This would not be appropriate for a horizontal application as enough concrete would ooze through these holes, and the broken corners and such of used formwork, that you would have noticeable deflections on your finished slab. So I purchased the 3/4″ T&G that I am using for my floors and will cover with plastic before placing my rebar, so that it stays nice and pristine to re-use later when framing my second floor.
Monday the plywood will be delivered in the AM and the rebar should be delivered in the PM. It is my hope that I will have all the bar placed and ready for inspection by my next update at the end of next week.
Thanks for visiting.
“I have no special talent. I am only passionately curious.” —Albert Einstein (1879-1955) Theoretical Physicist, Philosopher, Nobel Prize Winner