Bent out of shape!
Hey Folks,
Slow but steady progress continues at theEnclosure.
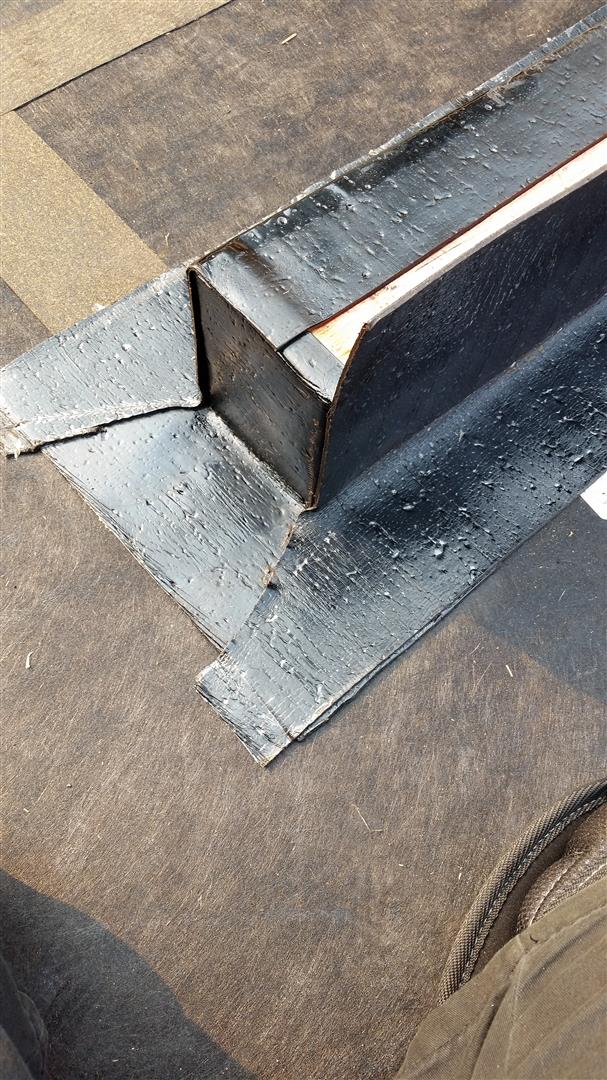
Since my last post, Geoff has been back two additional Saturdays working on torch-on roofing installation. The lower office and garage roofs are complete, upper south roof has all base sheet and most of the cap sheet, and upper north roof has just base sheet. Geoff is scheduled to return Sept 16 to hopefully finish the job (will probably need at least 3 torchers to complete in one more day). The detailing around the PV curbs takes a huge amount of time.
I have generally switch gears away from roofing assistance (I completed all the prep work I am capable of helping with), and moved back to exterior wall assemblies.
Week of Aug 7:
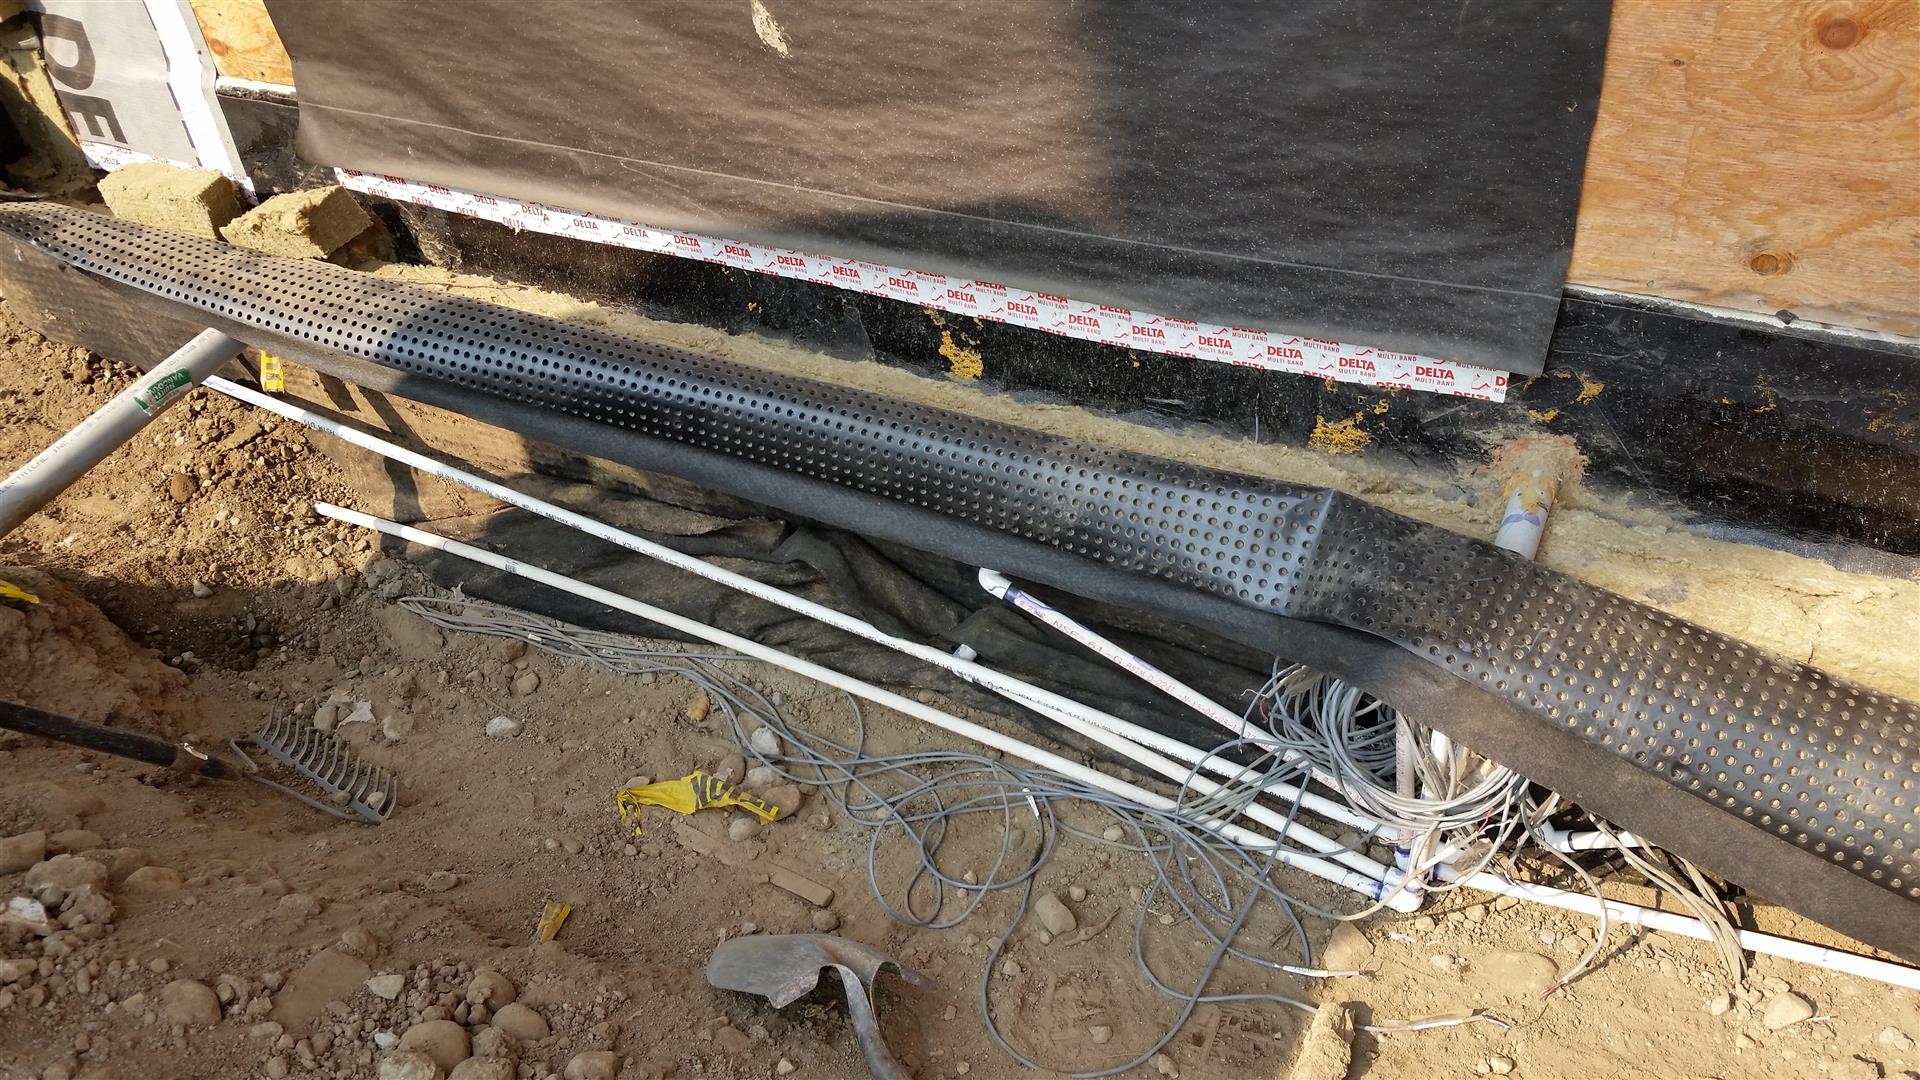
- complete wiring extensions and water injection ports for east wall foundation science lab
- work with nephew Jonathan to back fill, compact and provide close to final grade level on east and south elevations.
- Use tractor to back fill west elevation (this elevation will be a shrub and flower garden, no need to compact)
- Geoff came Sunday (quiet work) to cut and bend up the base of wall rain-screen flashing for east, south, and west elevations (this allows me to start mounting siding)
Week of Aug 14:
- Prep front yard for cedar siding shipment and staining station.
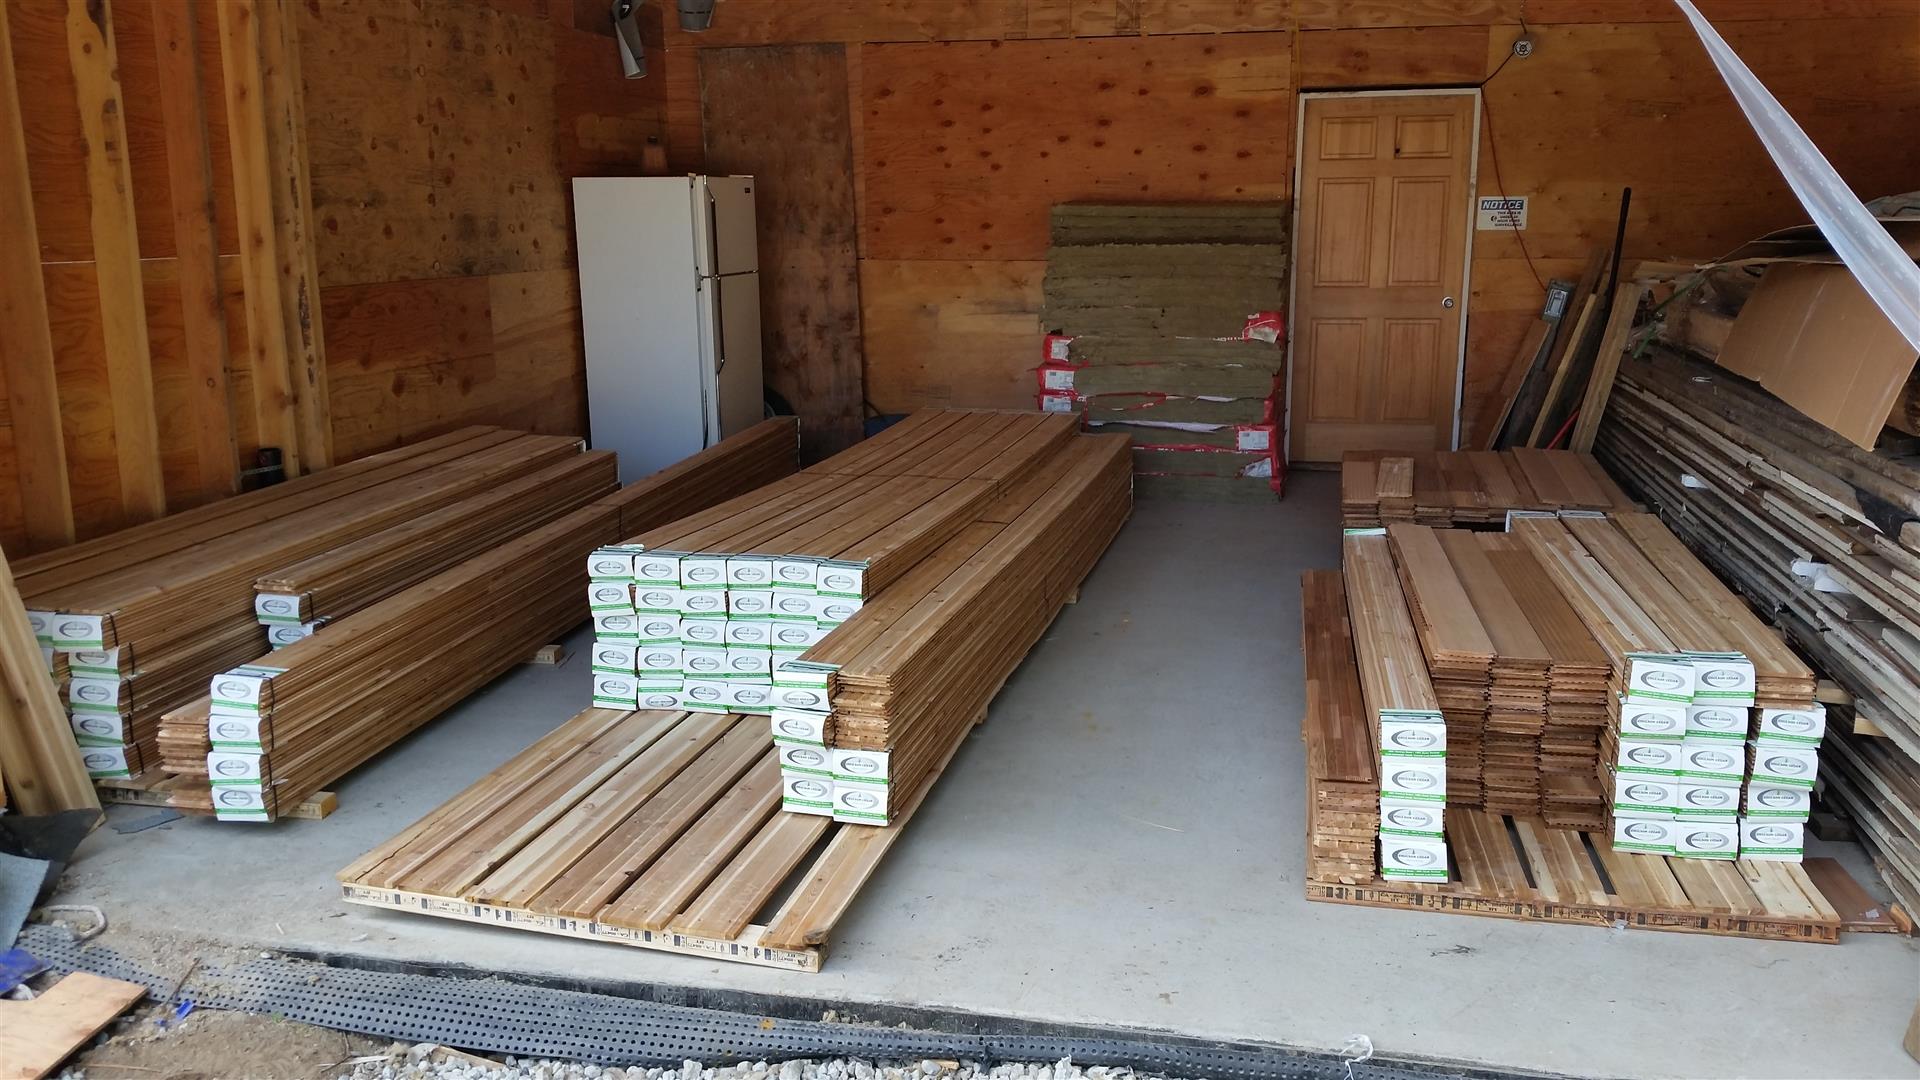
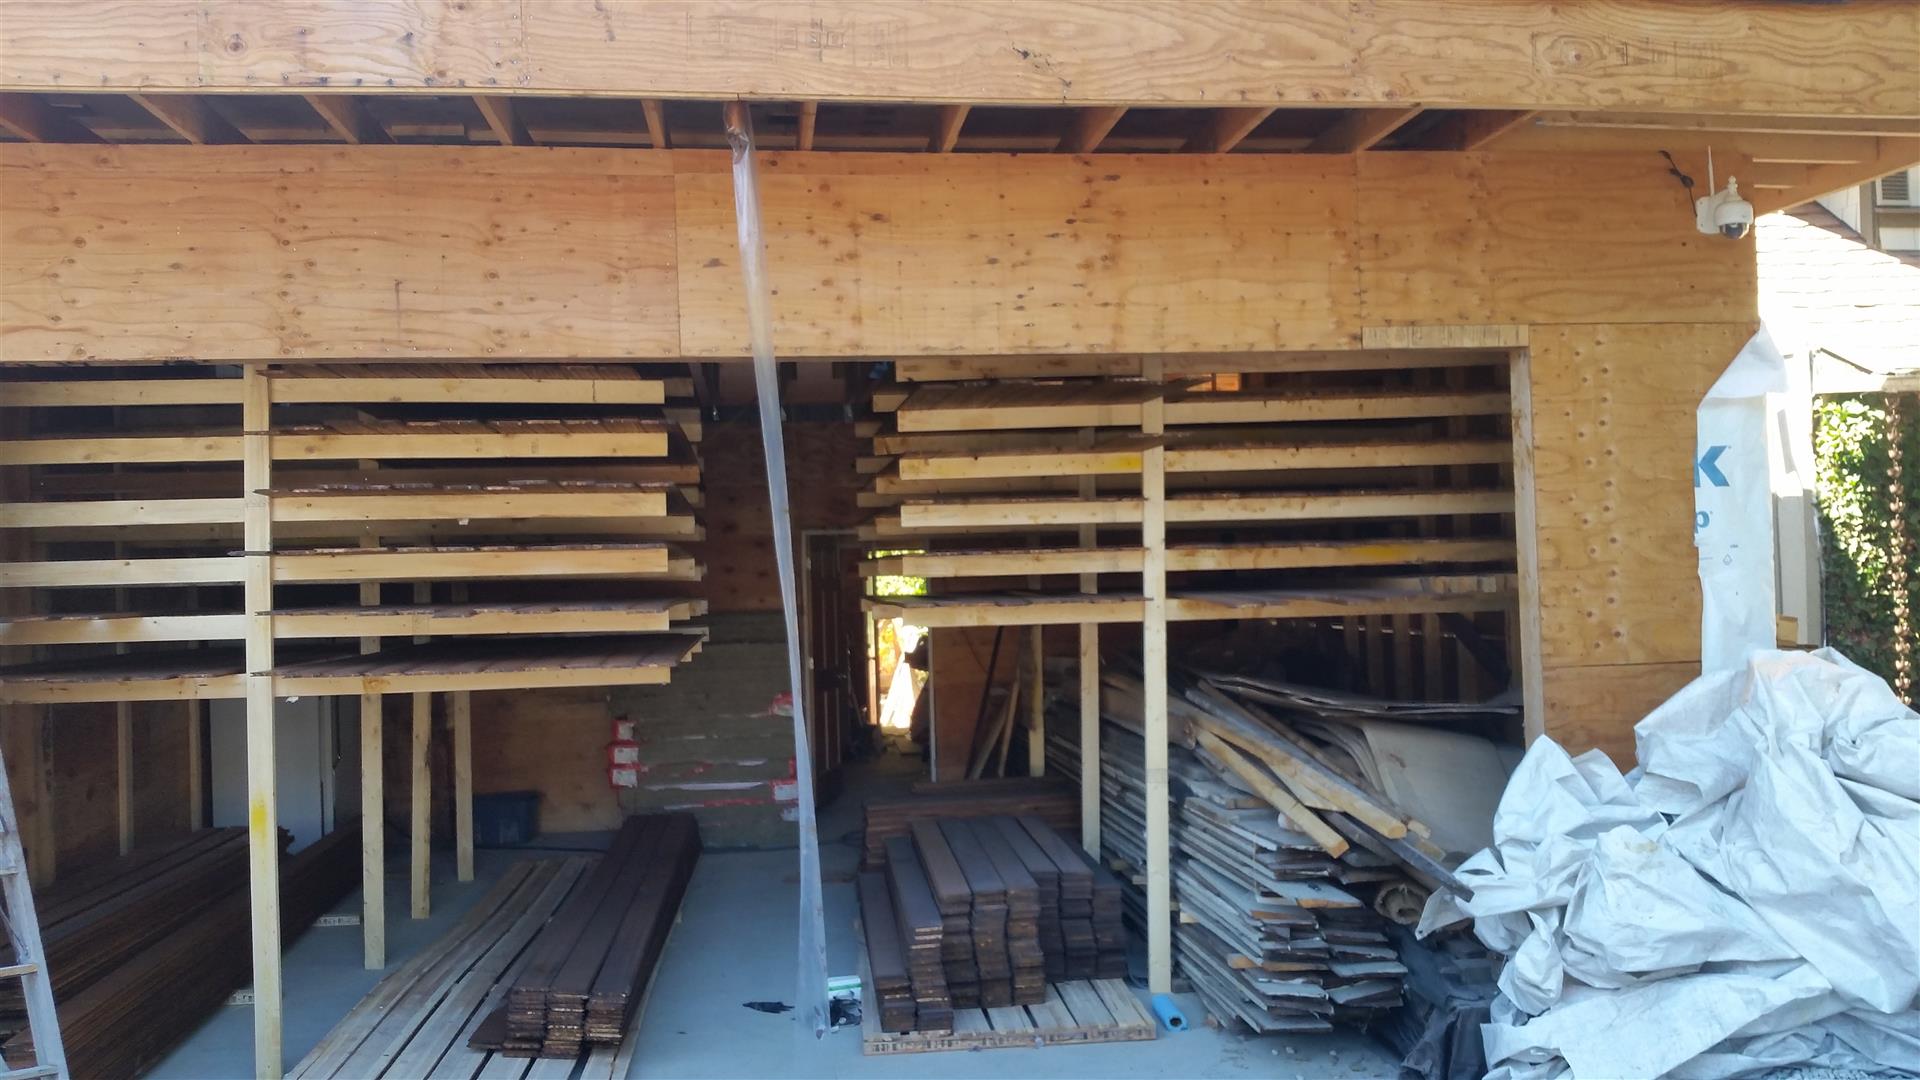
- Aug 15 – Received Cedar Siding Shipment!! Able to place all skids into garage using HIAB and dolly (worried it would to be stacked on driveway making working around the dwelling with machines difficult including an articulated lift I will rent to complete upper floor insulation and siding).
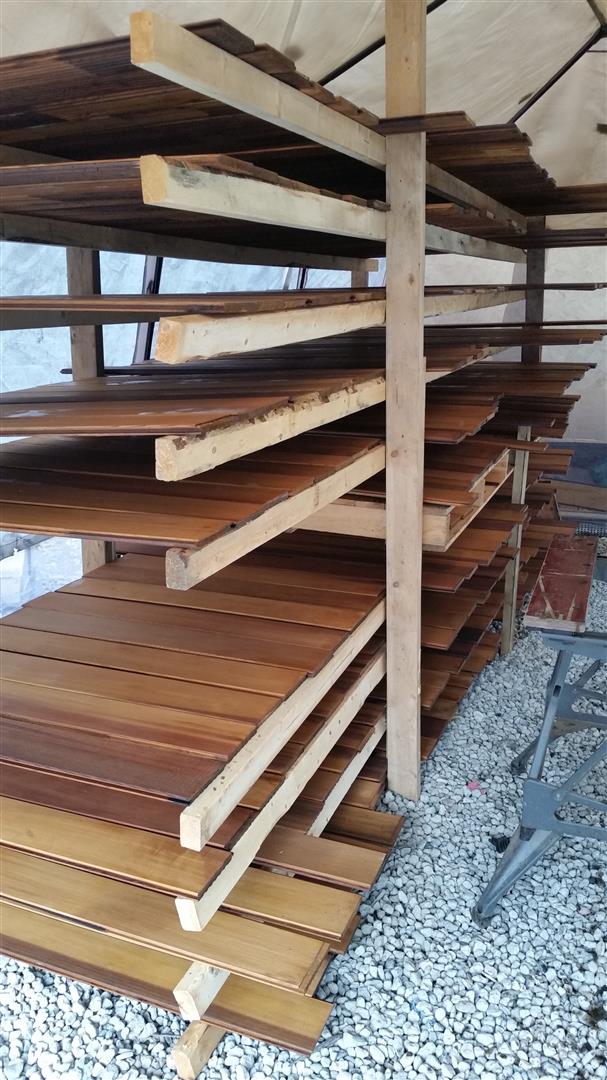
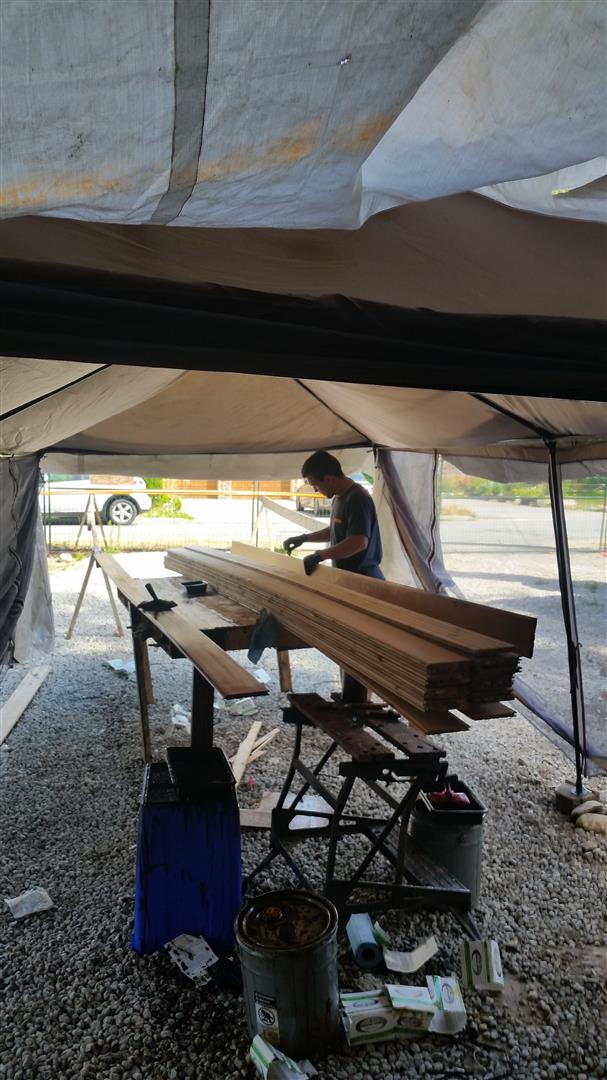
- Setup staining station and drying racks.
- Aug 17 – start staining 2900 square feet of siding on all 6 sides
Week of Aug 21:
- week was dedicated to staining siding. I am very grateful for the assistance provided by neighbour Gail and nephew Jonathan. By Friday, after 93 work hours, all of the siding had the base coat stained on all 6 sides. Once installed, an additional 2 top coats will be applied to front face (UV guard to prevent greying of the cedar).
It is important to stain all sides of any wood cladding to prevent the cladding from absorbing moisture. This will prevent accelerated failure of the finish and protect the cladding from dimensional movement causing bowing and cracking.
- I also spent a lot of time researching best approach for attaching the cedar siding to the rain-screen furring strips. Some installers face seal with S.S. siding nails. This is neither attractive or efficient. Others blind nail through the tongue but this can often split the tongue. I decided to blind staple through the tongue using 1.5″ S.S. 7/16″ crown staples. The nice wide crown provide a lot of holding power. On site testing, with scrap, showed the siding had to be destroyed to pull off once stapled into place. The only caveat, is that you must carefully regulate your air pressure to ensure you do not blow right through the tongue (same issue would apply to nailing), and you want to ensure you are installing downwards at a 45° angle to ensure that you are also biting into the meat of the siding below the tongue (for attachment strength), and staying out of way of next course.
ALWAYS use S.S. fasteners when working with cedar. Not only do you need corrosion resistant fasteners in this wet environment, but the standard galvanized fasteners are often attacked by the resins in the wood resulting in streaking/staining below the fastener. Use 304 S.S. for most areas and upgrade to 316 S.S. if you are within 1 mile of a salt water body.
With the siding ready for installation, I started on the south elevation on Aug 28. This of course is about two months later than I had planned, but what is new!
I am cutting 45° bias at the seams for a nice lapping from one length to the next (instead of butt joints) and will also attempt mitred corners. This is often recommended against for wood siding due to the dimensional movement of the siding once installed and therefore the opening up of the mitred seam. But I have been assured by Coulson that mitred corners is often done with their engineered product without any issues. I will give it a try and down the road, if I do not like the look, can trim out the corners with vertical boards.
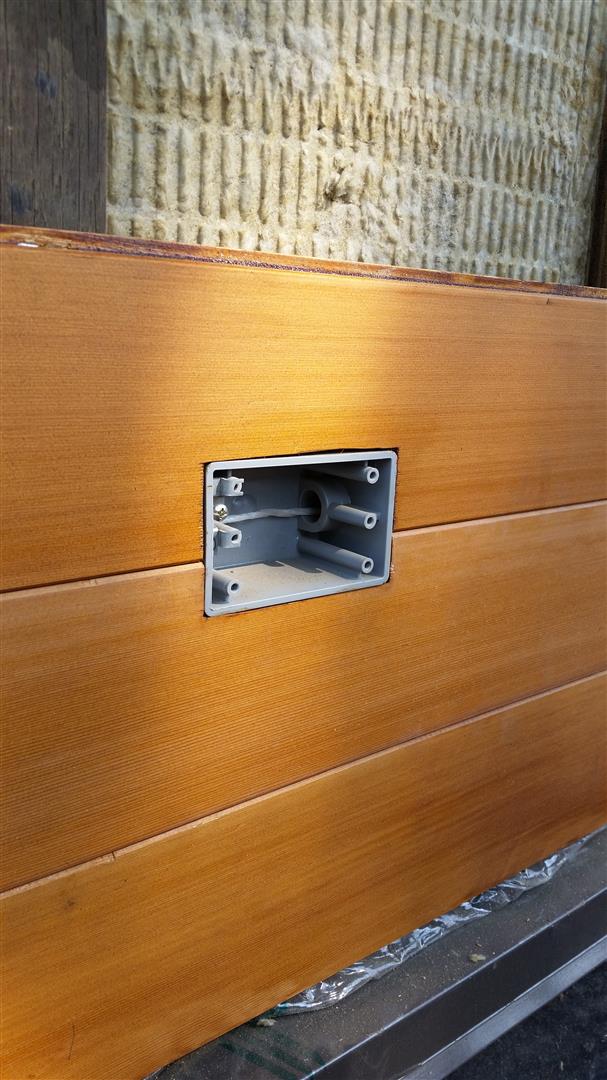
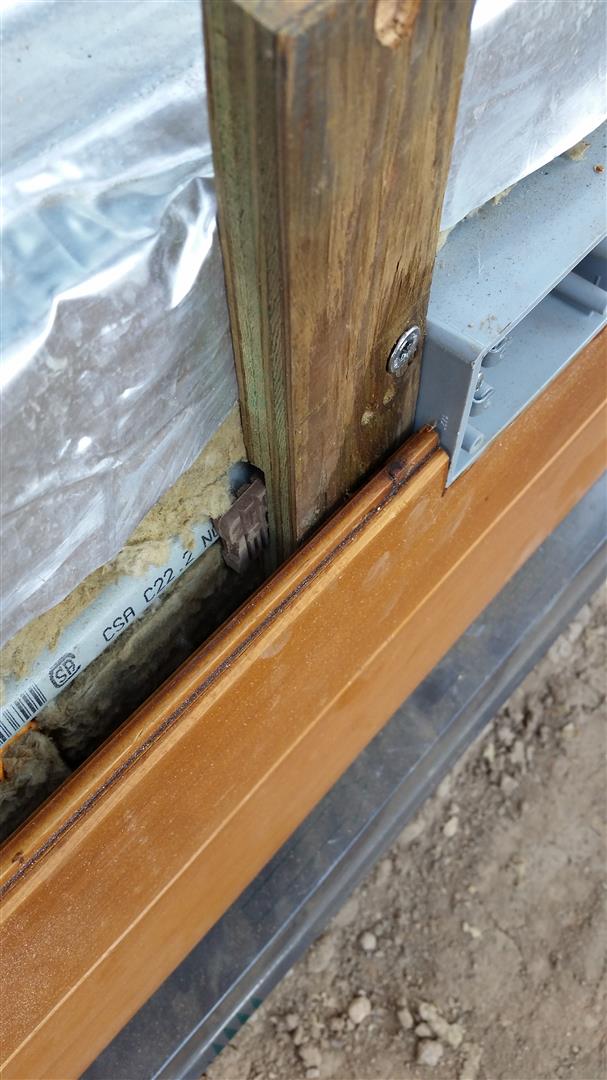
It felt good to finally be installing a finished surface on this house. And things were generally progressing well the first day or so as I worked around the electrical boxes that will provide down lighting for the perimeter side walks. Then I came to my first window sill and things ground to a halt! What had looked great on paper turned out to not be buildable, not because it was a bad design or all the parts would not fit together, but because there was not way to sequence the installation so that you could attach all of the components together. I also had to prototype the intersection between the sill flashing and the jamb returns. Considerations included ensuring a good water shedding surface, and preventing bug entry into the rain screen cavity. After 2 days, I believe I have it figured out and will provide more details this coming week and I actually complete installation of the first sill assembly.
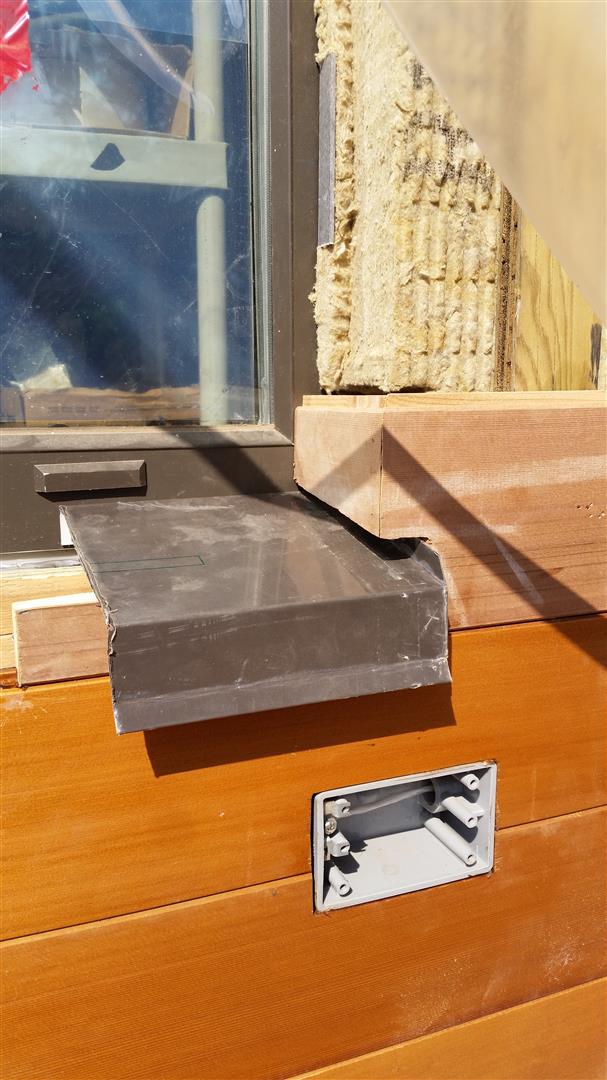
But for now, suffice it to say, the last 2 days have left me bent out of shape!
Till next time, thanks for visiting.
“You are never given a wish without also being given the power to make it come true. You may have to work for it, however.” —Richard David Bach (born 1936) Writer
“If you can’t excel with talent, triumph with effort.” —Stephen G. Weinbaum (1902-1935) Science Fiction Author
“Aim for success, not perfection. Never give up your right to be wrong, because then you will lose the ability to learn new things and move forward with your life. ” — Dr. David M. Burns
“It’s not that I’m so smart, it’s just that I stay with problems longer.” —Albert Einstein (1879-1955) Theoretical Physicist, Philosopher, Nobel Prize Winner
Did you use a water barrier under your footings to stop rising damp into the foundation?
Yes I did. I used a product called FastFoot from Fab Form. I would however not use it again and would recommend against its use. It is highly susceptible to damage during subsequent construction, stretches a lot during pouring (resulting in torn taped seams and a lot more concrete use), is easily wrinkled during pouring (which can result in structural failure of footing if folds are severe and in a high load area.)
But stopping rising damp is important, so I would instead recommend forming in a conventional manner with dimensional lumber and then while the concrete is wet, embedding a good quality non permeable membrane into the top of the footing surface. This requires using a key-way instead of dowels to secure the foundation wall onto the footing so that the dowels do not penetrate the membrane. This also allows you to take the form piece to create the key-way and push the membrane into the footings surface. Here is a good product and graphic https://www.dorken.com/en/our-products/products/residential/delta-footing-barrier.php. Make sure the membrane is wide enough to couple with the exterior foundation water-proofing membrane and the sub slab soil-gas/water barrier.