The End does not always justify the effort getting there.
As I wrote in my last post, I had some significant problems with the pour of the exterior basement walk-up foundation. When a corner of the forms busted open during the pour, I lost a healthy 1/3 cubic meter before the problem was spotted and forms were fortified and holes plugged.
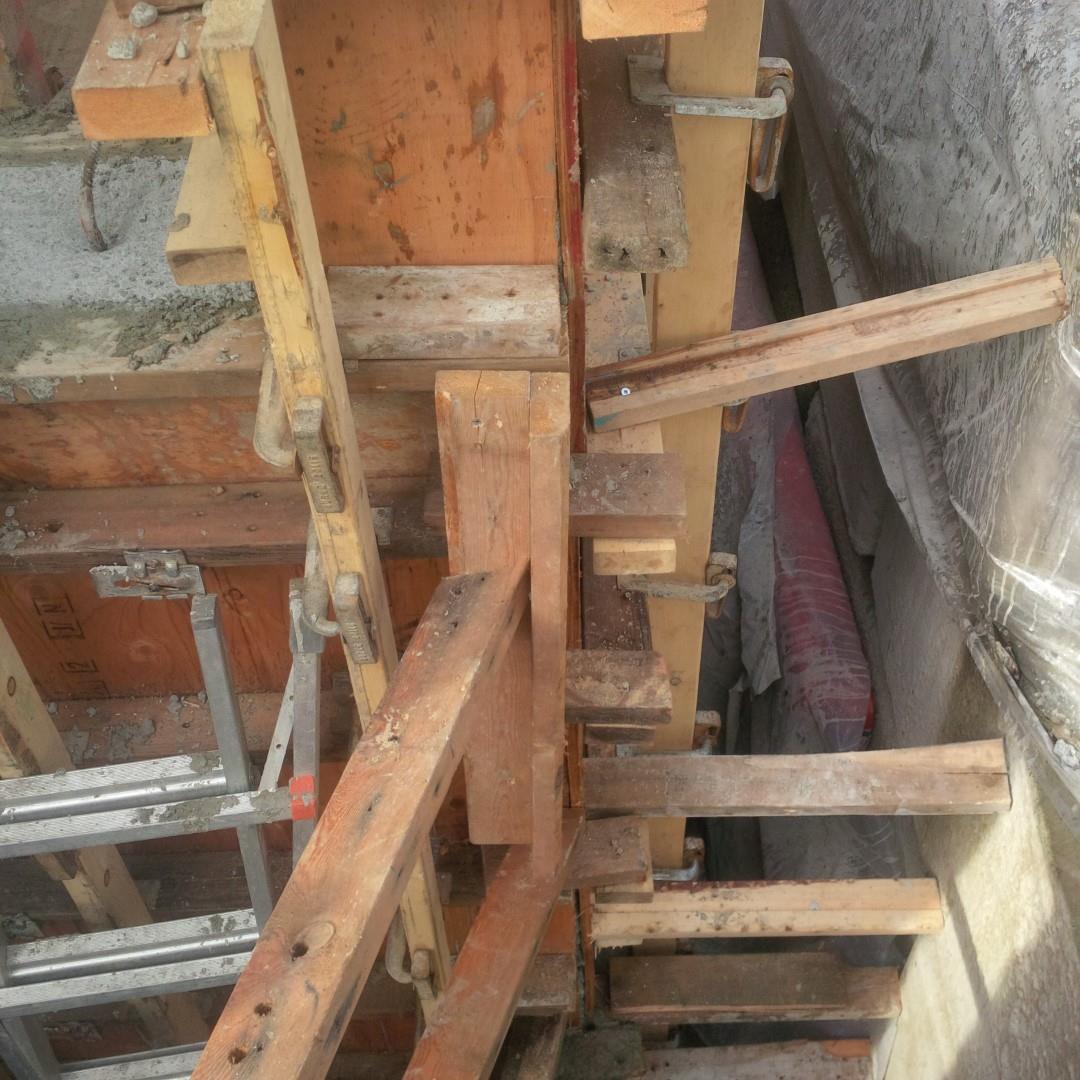
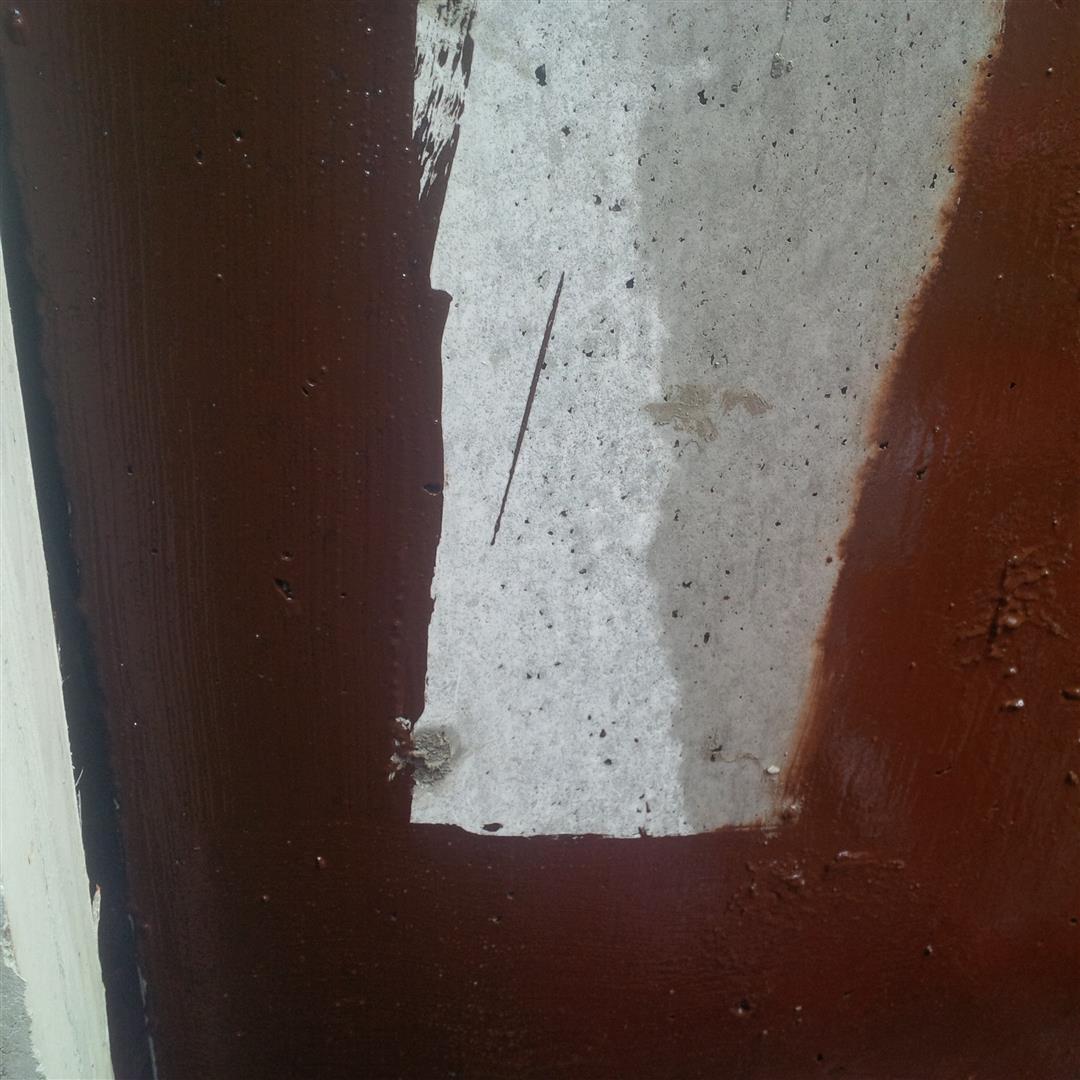
Well, that turned out to not be the only issue I had with the pour. There was also a split that developed on the inboard side of that same corner and was not noticed at time of pour. This was caused when the outboard side opened up and pulled the inboard forms out of alignment. The end result was an approximately 1″x 2″ ‘flash’ on the inboard (visible) side of the foundation.
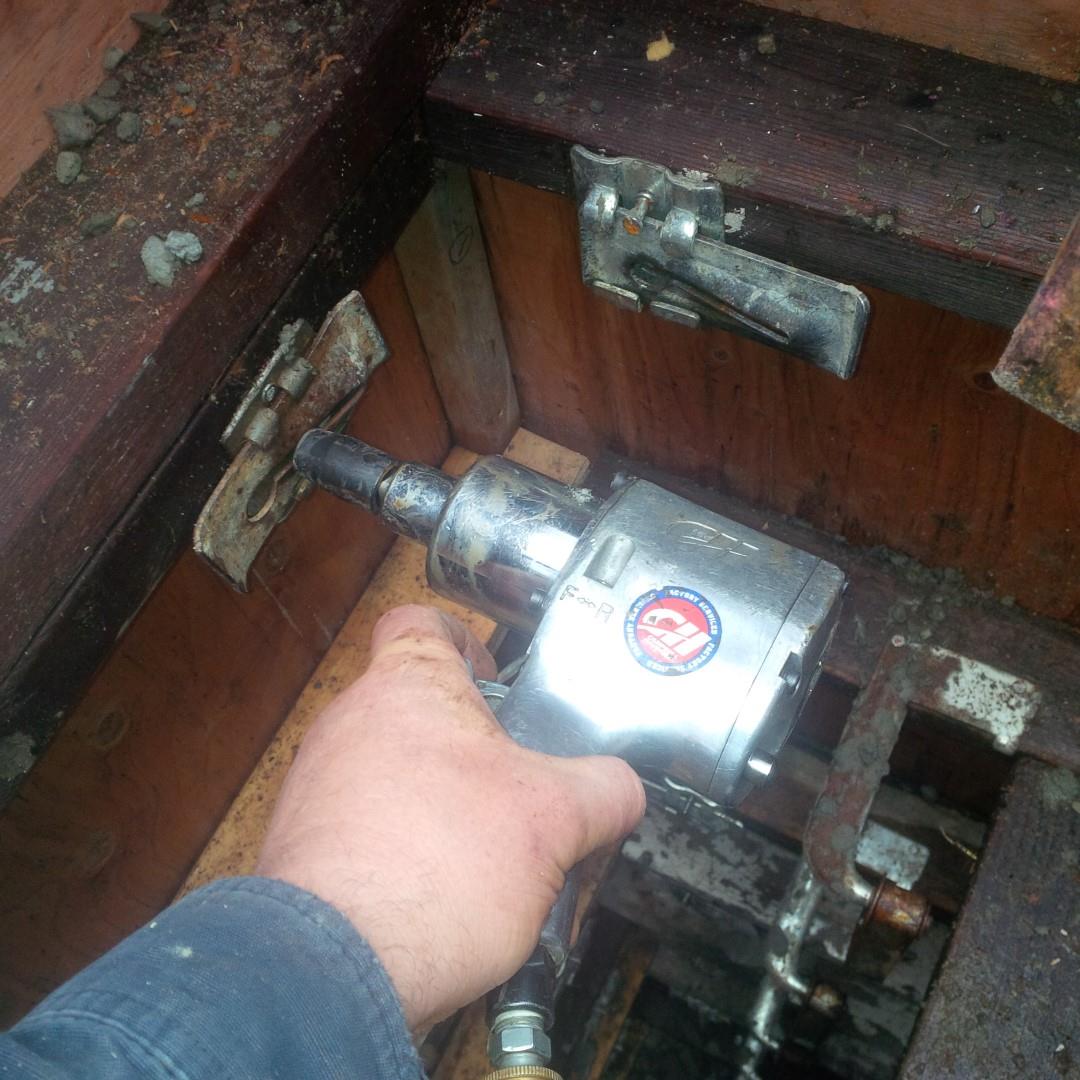
An air chisel and grinder took care of it, but the ground surface left behind was completely different texture than the paper faced form work finish. But it was a small area and I would have lived with it.

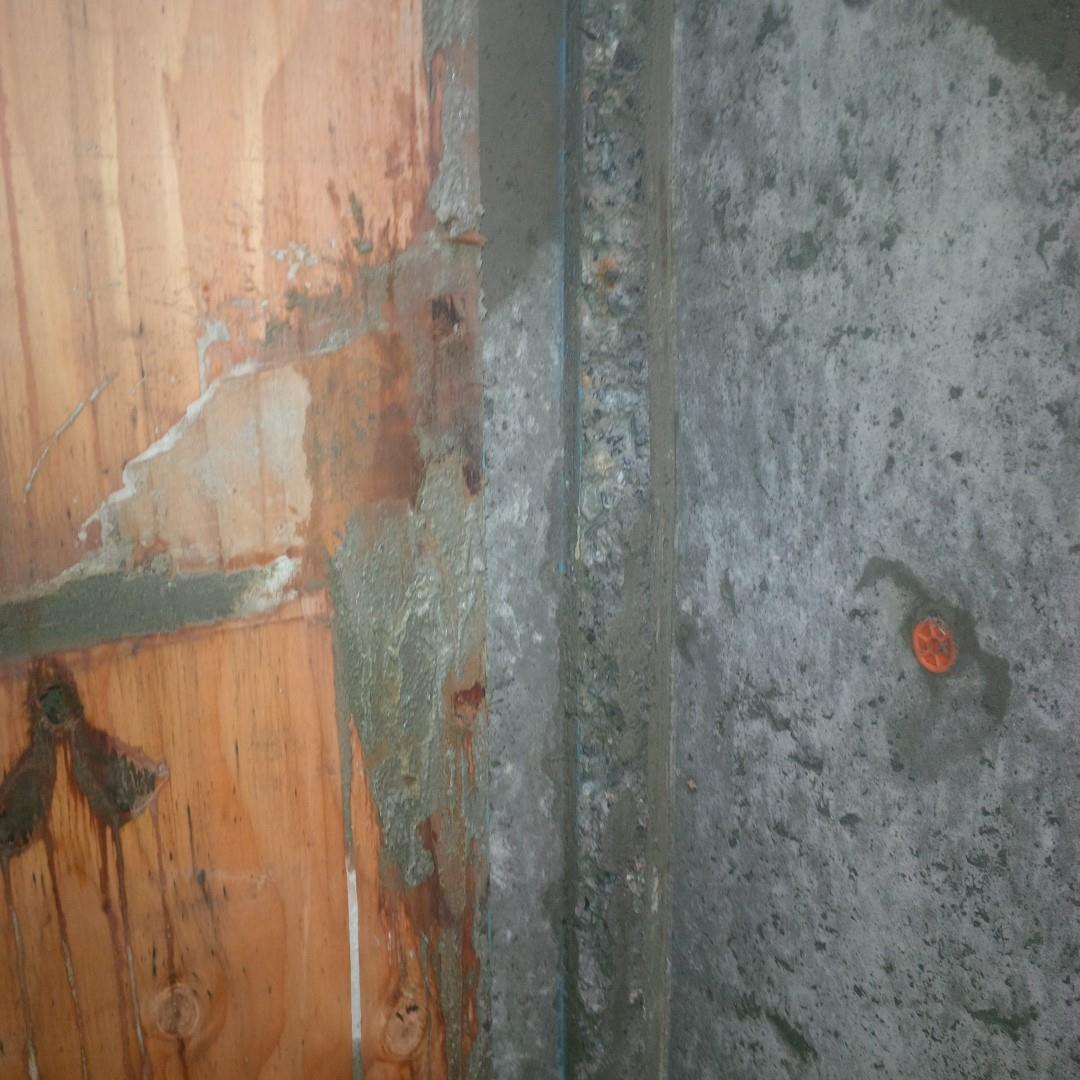
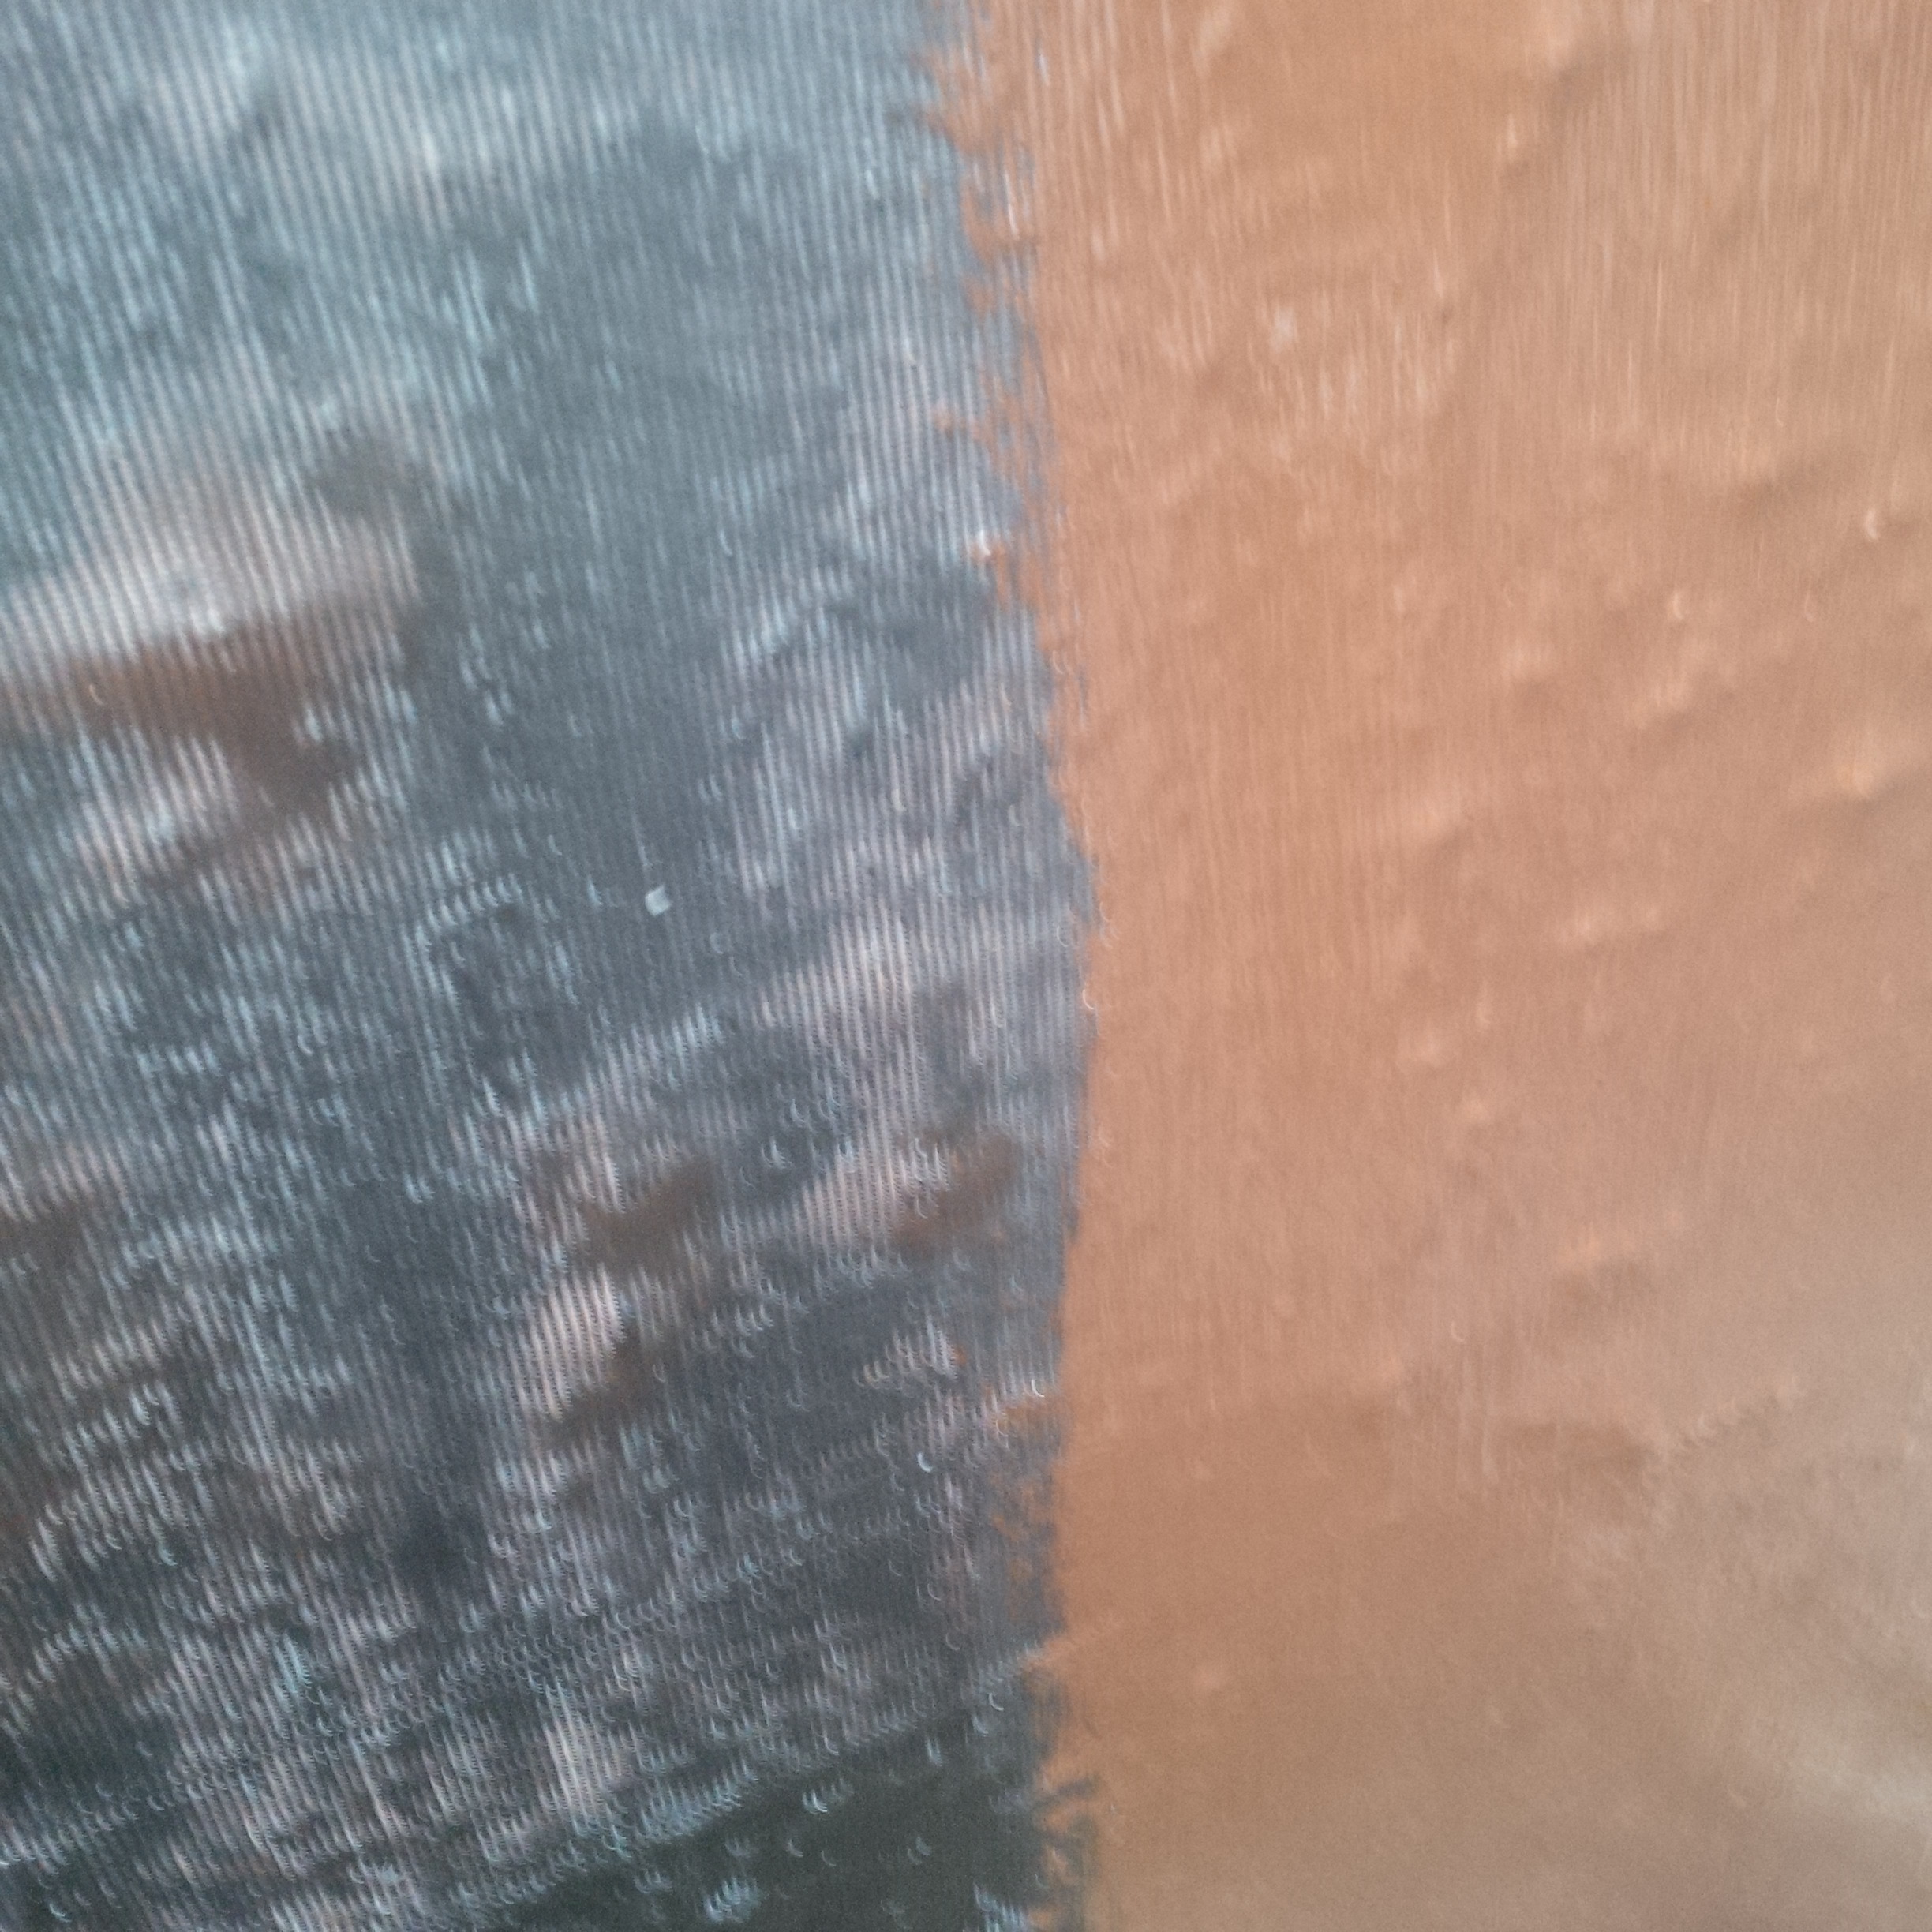
Unfortunately there was one more defect that made this whole process an expensive waste of time. When I removed the form work, the concrete surface was not uniformly smooth as planned and instead looked a little bit like a aged blue cheese.
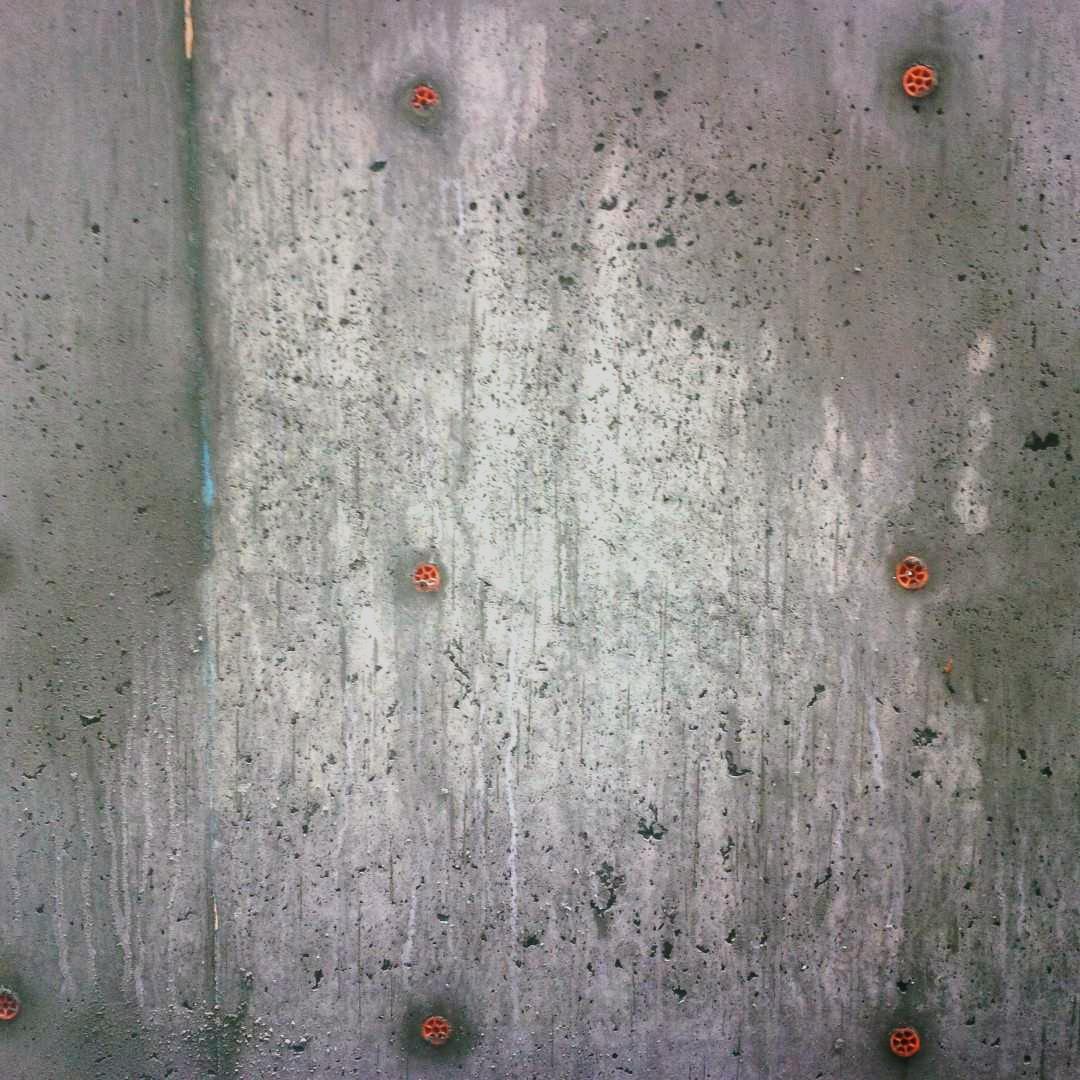
Turns out the concrete did not get vibrated enough to fully remove voids against the form work. This was not a structural defect and also will not permit water to pass through the wall, it was only a cosmetic defect. But it renders my plan to leave the concrete exposed moot if I did not want to be reminded of the failure every time I descended those stairs. I should have been more firm in my request to have the actual forms vibrated during the pour in addition to using the whip vibrator down the core. There was some talk of tapping with a hand sledge at the beginning of the job, but this was forgotten in the commotion of the partial form failure.
So the cost to use paper faced plywood, upgraded concrete to 35 Mpa, small agregate, and extra flow was wasted. I now have four options; ignore the defect and live with it, cover the foundation with something like Hardie siding, look at parging and then grinding the whole exposed surface of the foundation wall to create a exposed aggregate look, or paint/stain it after parging the holes. I will wait till the house is generally complete before making a decision. But all in all, a very disappointing turnout.

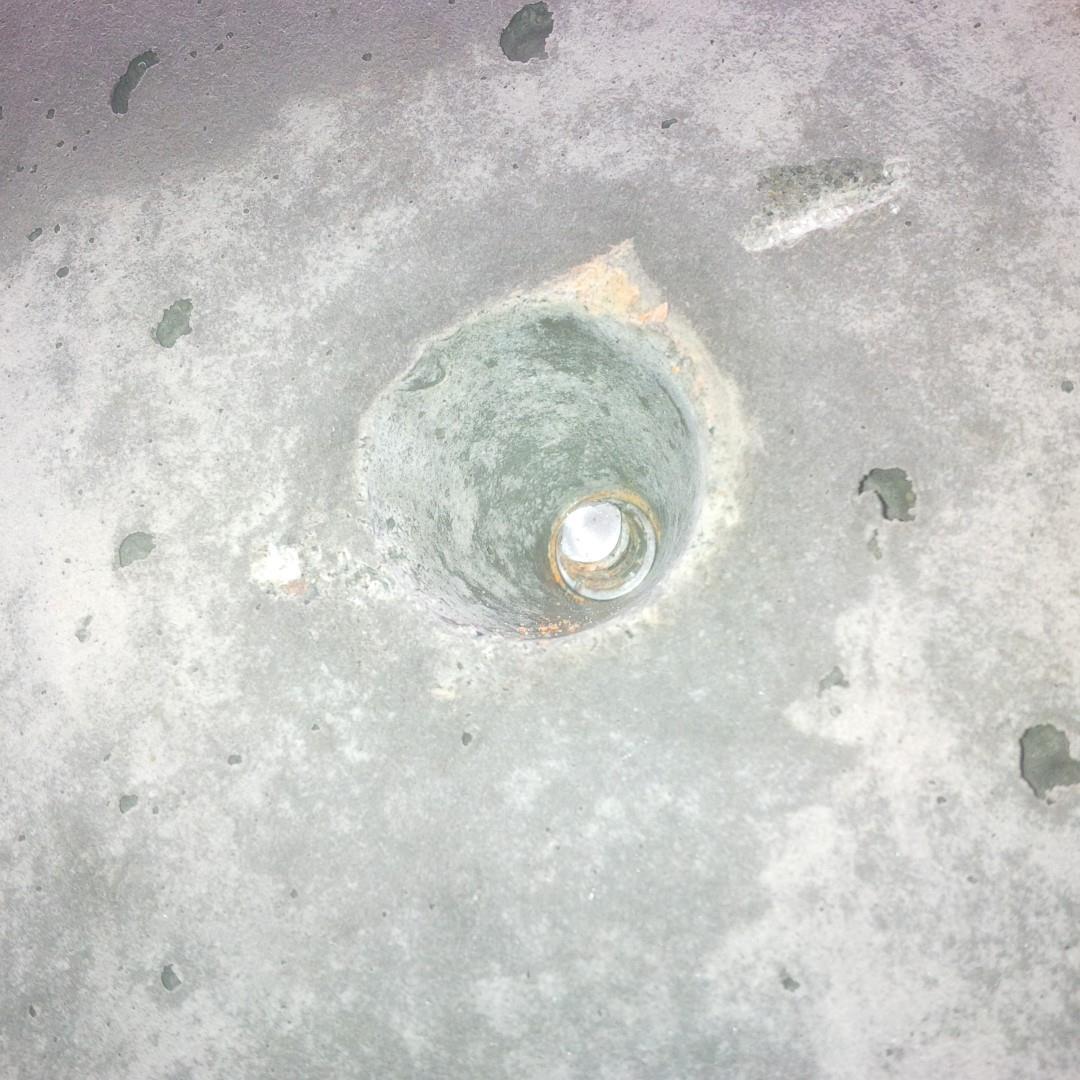
Since stripping the forms the first few days of March, I have been working on prepping for back fill. I have cleaned away all debris, have parged any of the larger holes on the outboard side of the foundation, primed the foundation with a watered down coat of Bakor foundation coating, and then installed the first two courses of fabric reinforced full strength Bakor coating.
Bakor is a cheaper option for waterproofing (compared to torch on membrane), I used for this less critical exterior foundation assembly. It is a bit of an outdated technology and has generally been replaced with fully adhered membranes in areas you are wanting waterproofing as opposed to just dam-proofing. There are also a few downsides. It is a lot more weather dependent. Not only does it have to be fairly dry before applying (wall can be slightly damp), it also needs to be kept dry until it cures as any splashing or very minor streaming of water from above will wash all of the Bakor off the wall. It is also difficult to hold the mesh up while you embed it. In hindsight, it would have been easier to go vertical, but you would have a lot more overlap required and therefore more material use. Finally, it is difficult to get the mesh perfectly flat and it uses a lot of Bakor to wet out the mesh. The mesh is also difficult to find in 36″ rolls. I picked mine up at www.firestopcaulking.com

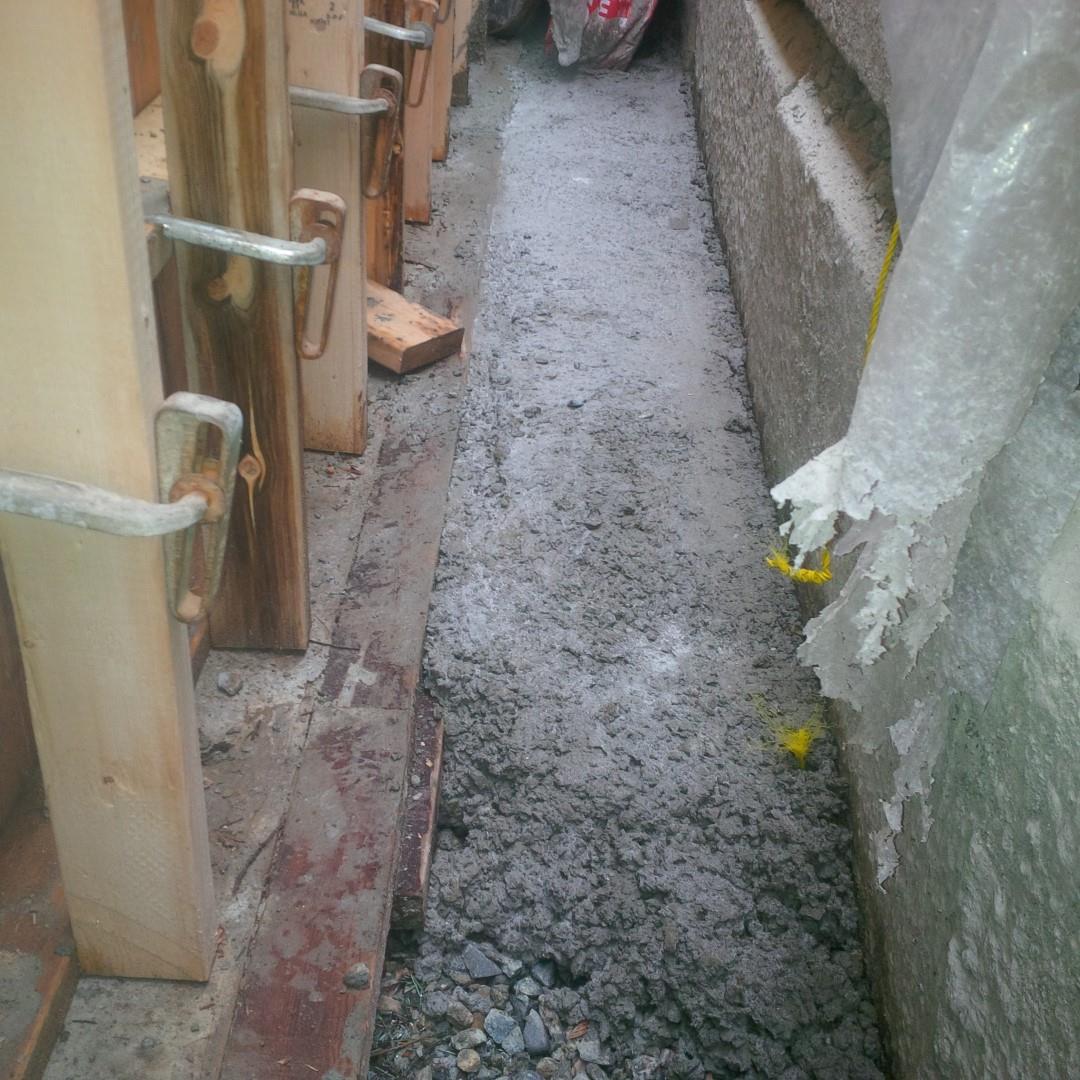
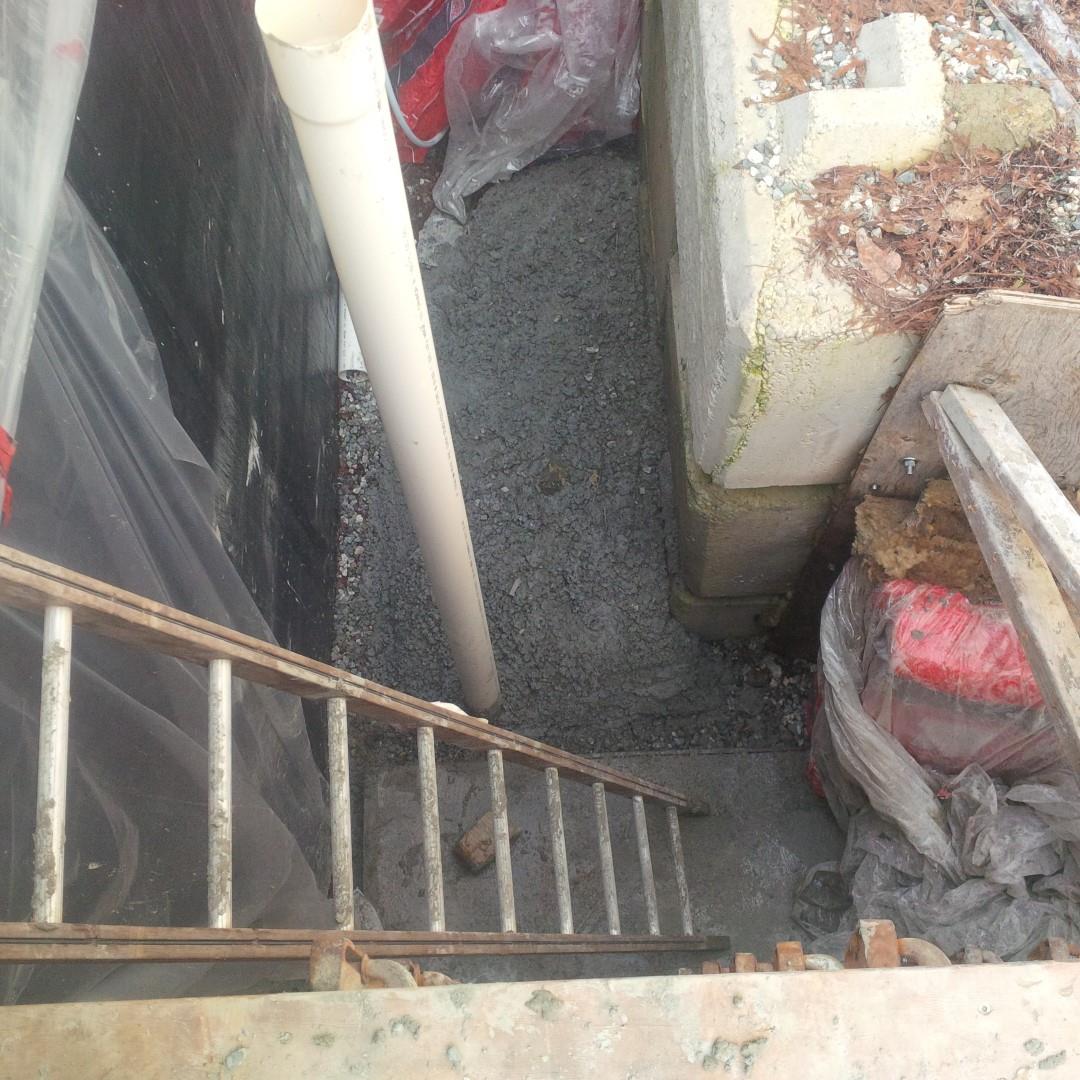
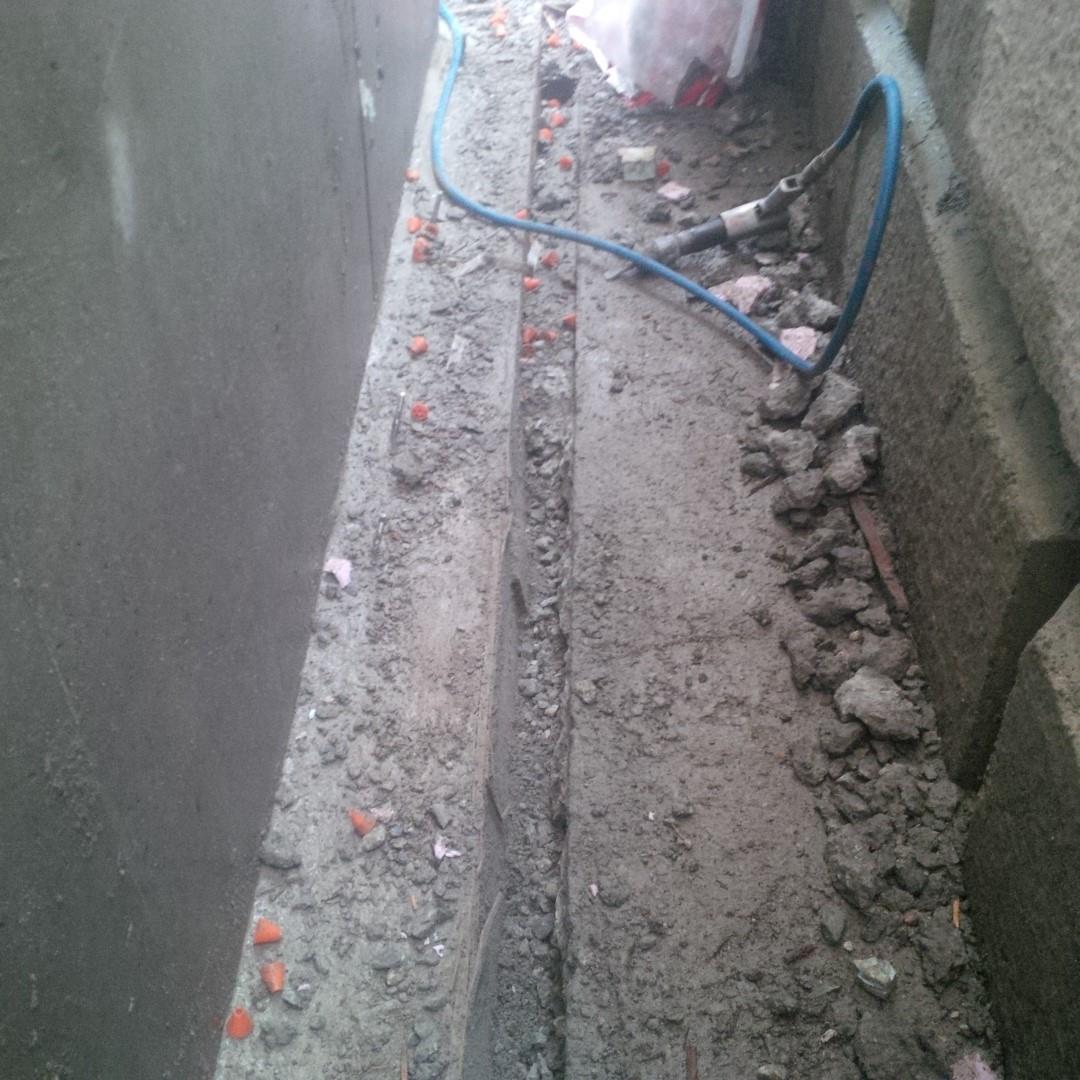
I also had to chip out the spilled concrete along the north wall to maintain the drainage plane down to the gravel and create a protected channel to run my conditioning PEX loop that will connect to my HRV.
I am also going to simplify back fill of the North wall and use granular fill for the entire back fill volume. This will remove the need to compact and remove the need for geotech fabric that I use to separate the soil from gravel in the rest of the house. For the main dwelling, I will still use dimple membrane against the exterior ROCKWOOL insulation, but on the walk-up foundation, I will also skip this membrane.
This decision was made easier by the urgency the geotech engineer was communicating to me to get the backfill completed, the lack of good back fill soil availability from my excavator, and finally by my recalling of the existence of a cost effective granular fill. 3/4″ clean crushed rock is about $22-$25 a ton, but 3/4″ clean crushed recycled concrete is only $14.50 per ton from Richvan Holdings. And what a wonderful way to provide a second life to concrete which already has such a huge carbon footprint.
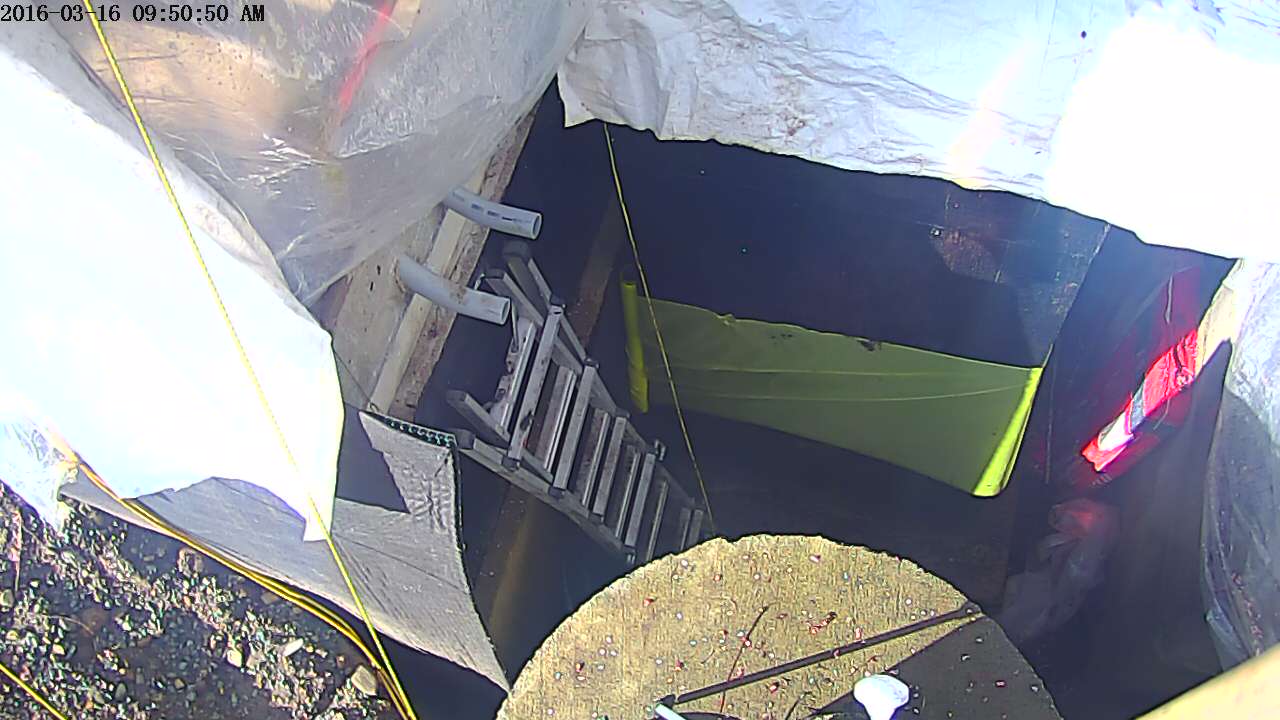
I also took the opportunity to slip away to Tofino for a long weekend, much to the displeasure of my poor neighbour. Of course Murphy had to rear his ugly head. The tarp over the garage I guess had stretched enough to start allowing the water to pool. In no time I had hundreds if not thousands of gallons of water pooled on the tarp. The weight cracked 2×4’s and 2×6’s in the structure. So poor Ron and Ed, his house guest from Saskatchewan handled the issue while I was away. They threw in a small pump into the pool to minimize the weight and prevent total collapse. Ron was out at 4AM turning pump off so it did not run dry and overheat and Ed was back at 6 AM turning it back on because it was raining again. Boy do I have awesome neighbours.
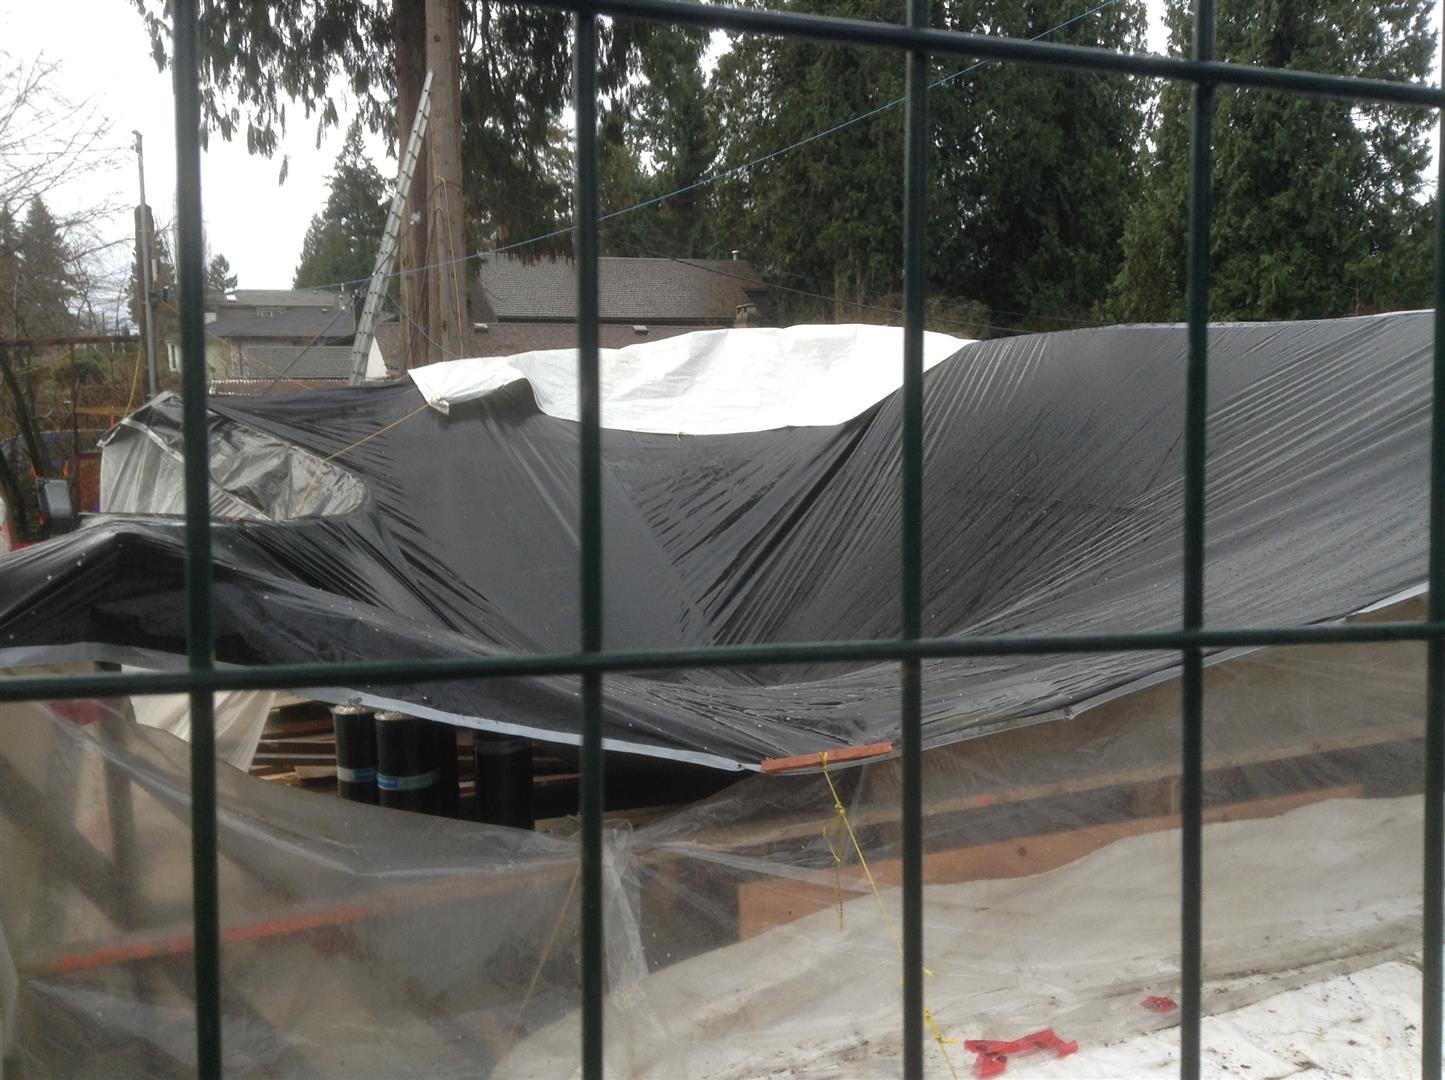
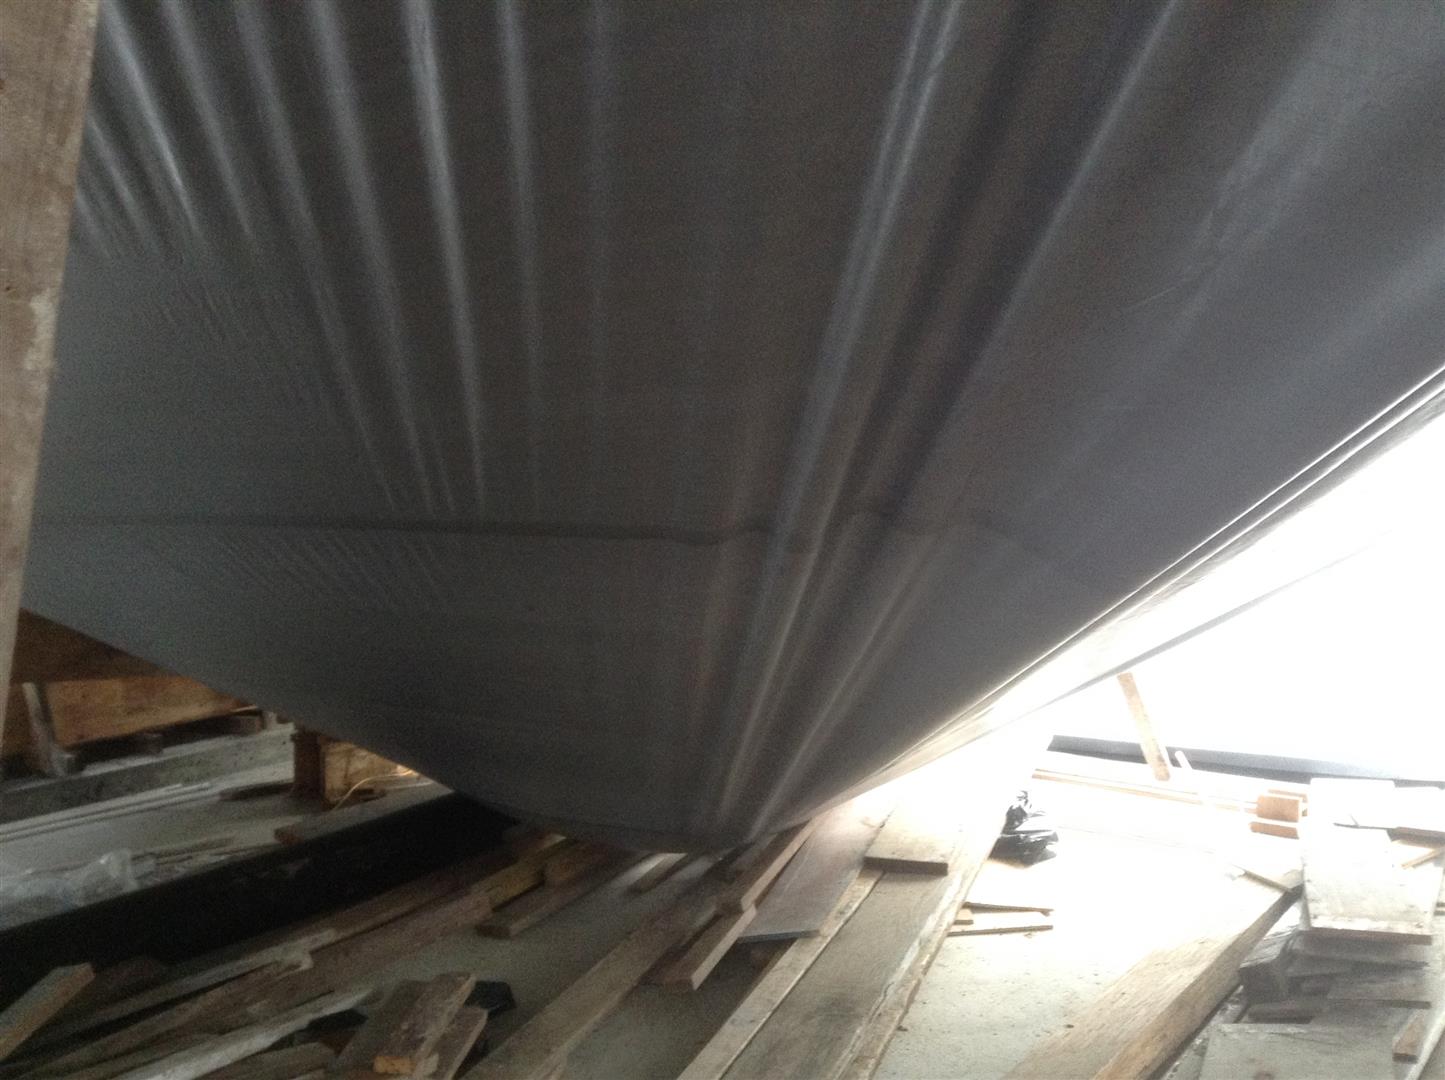
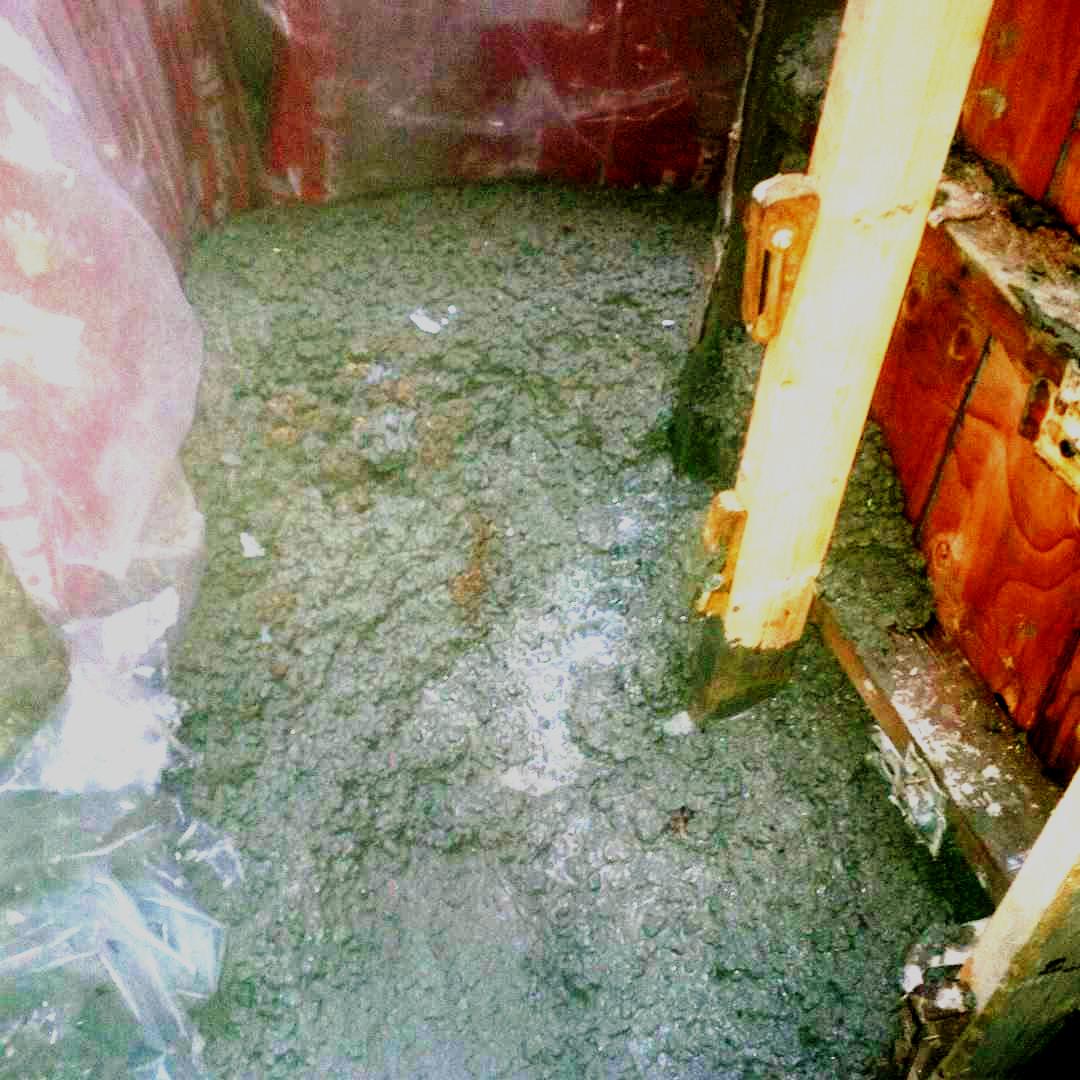
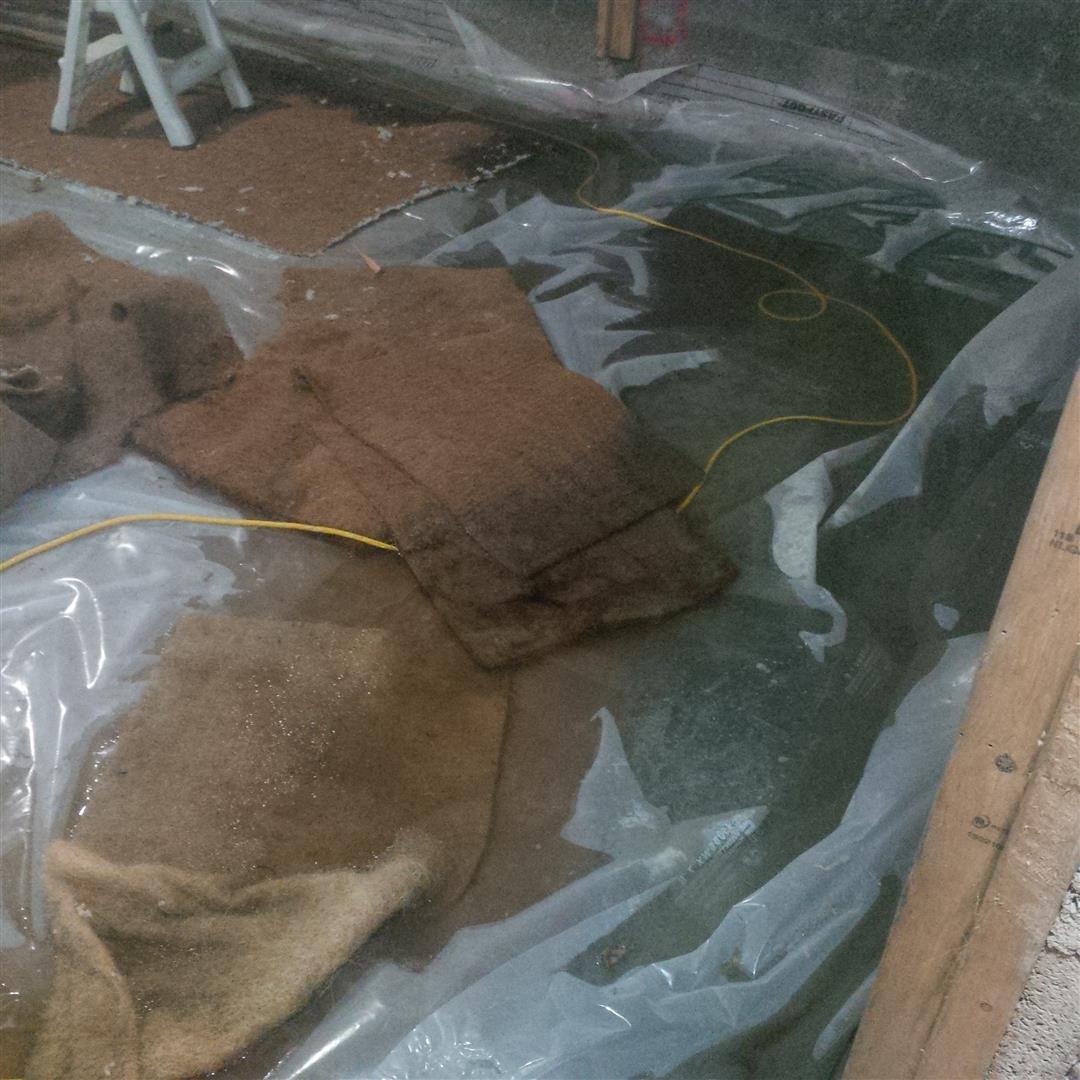
One of the sumps also got hung up and with only one running, it could not keep up with the flow, so the room below the garage flooded. Fortunately, I got back before the water level got high enough to flood the main portion of the basement I have worked so hard at drying out over the last couple of months.
I received two loads of soil from Diamond yesterday and pretty much finished the backfill around the front of the garage today. I have also asked Diamond to deliver 6 loads of the crushed concrete anytime from Saturday on. SO hopefully they will be able to complete by early next week. Even with all of the setbacks, by the end of the month I should FINALLY have all of the back fill complete and officially be out of the hole!

Thanks for visiting.
“Can you imagine what I would do if I could do all I can?” —Sun Tzu (544-496) Chinese General
“Believe you can and you’re halfway there.” —Theodore Roosevelt (1858-1919) 26th U.S. President
“You must give everything to make your life as beautiful as the dreams that dance in your imagination” —Roman Payne (born 1977) Author
“Everything will be okay in the end. If it’s not okay, it’s not the end. ” —John Lennon (1940-1980) Musician, Founding Member Of The Beatles