Help
Monday was uneventful – I was able to strip the siding off the entire south elevation of the house. This took a lot longer once I got to the garage because that siding had been installed with spiral nails and there was no ship-lap behind the siding (or sheathing of any kind). This meant I had to pretty much cut through every top nail before I could pry up from the bottom.
Yesterday was a good day on a couple of fronts.
It was the first day that my Father-In-Law came to site to help. This is going to be an enormous help as he is able to take care of several jobs that desperately need to be done but that I am finding it very difficult to get to. Yesterday he pulled all the nails out of the siding I have already taken off so that that siding is ready to be stacked inside of the shipping container once it is moved.
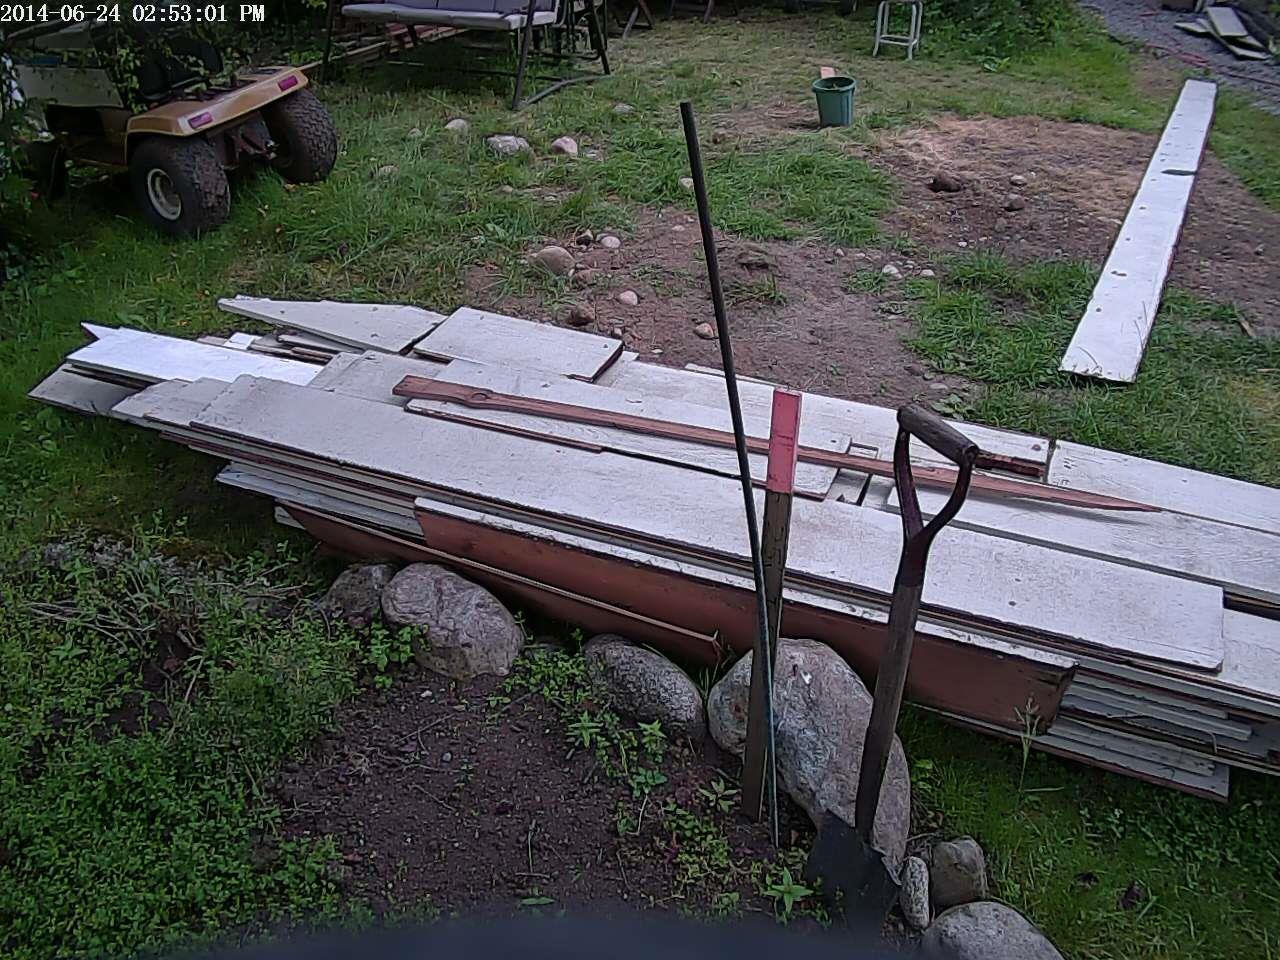
He is also going to take a stab at consolidating the beech flooring into manageable bundles so that I can again stack inside the container. We were discussing how to do this yesterday and the logical way is to somehow ‘reassemble’ it again into mini packs and then stack these packs until you have a manageable bundle and tape all together. When you purchase them, they come loose, but they have a box to contain the pieces. In order to tape up the bundle, it needs some rigidity hence the need to ‘assemble’. I suggested a rubber mallet, but Eric (my father-in-law) suggested some form of clamping system. So I set up the below bar clamps that will allow two rows to be clamped up at one time.
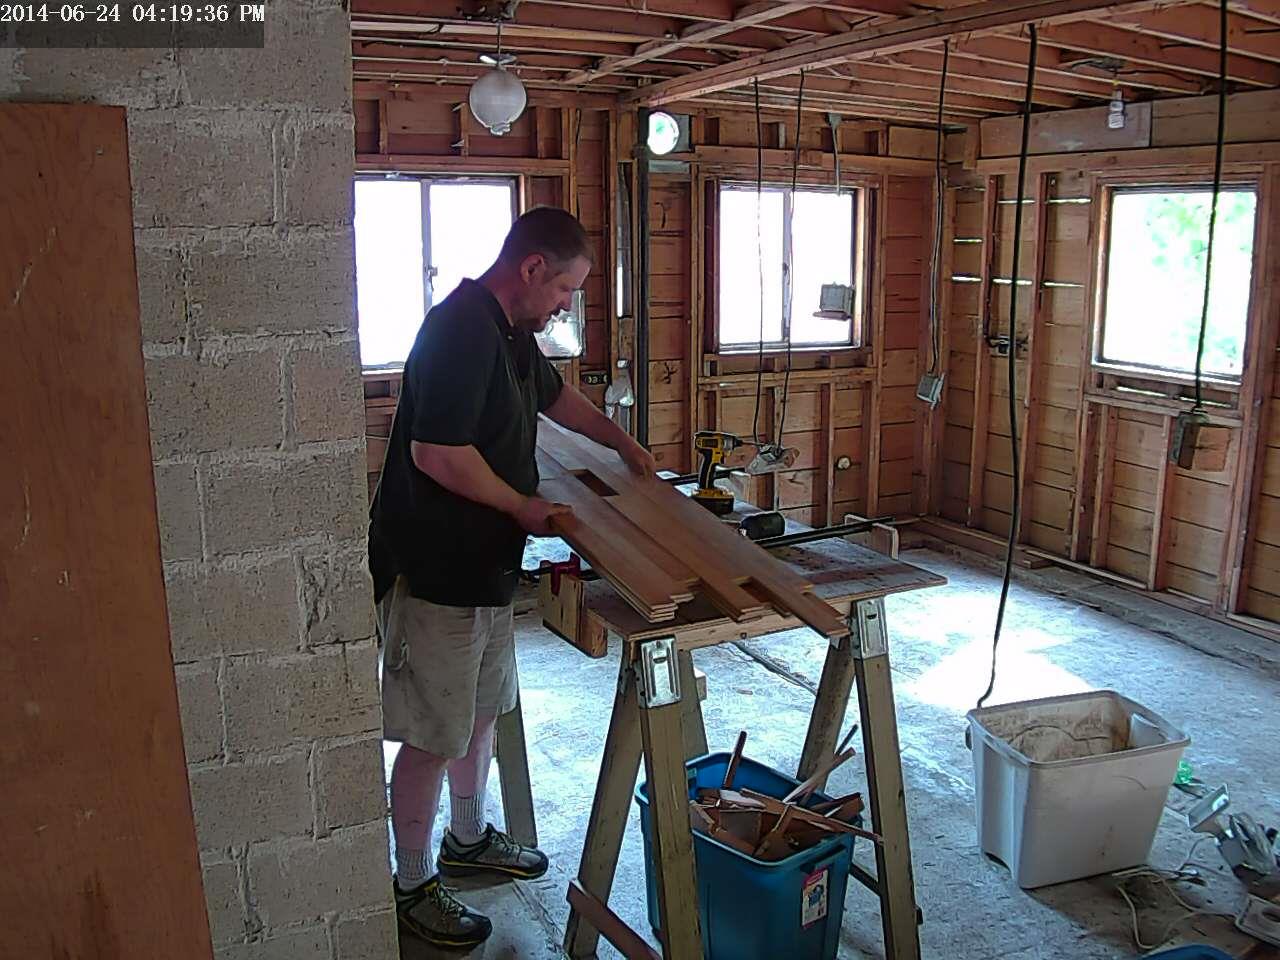
We may need to switch this up and place the clamps on top instead. I am not sure how easy it will be to lift off an assembled layer. It may be better to put cleats below, assemble the layers with the clamps on top and then just continue stacking new layers and not move anything until the whole bundle is taped up.
Going forward, having this kind of help on site will be invaluable to me. It will take care of time consuming jobs that I would typically try to do ‘after hours’ but will often be too tired to get to. This will allow me to better stay on schedule and most importantly, have shorter days so I do not burn out as much.
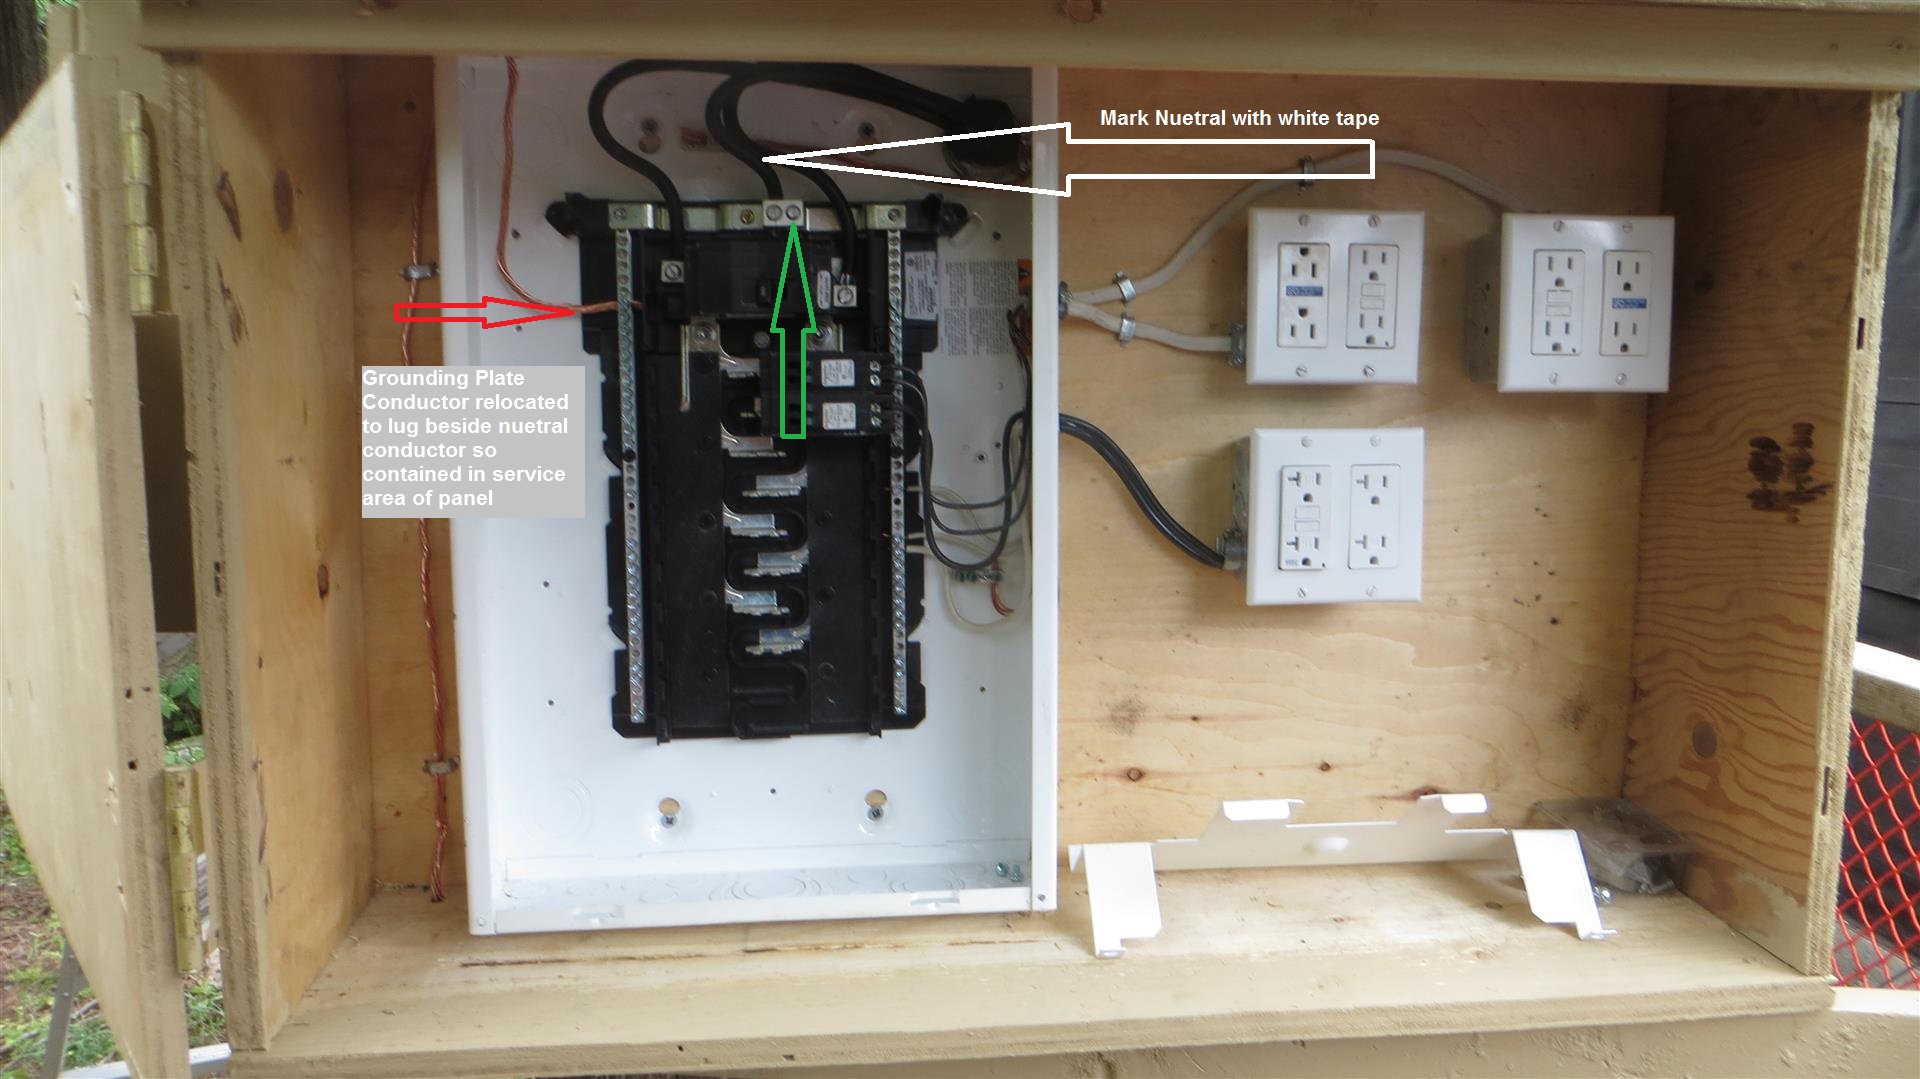
The second awesome part of the day is that I passed my inspection of the temporary electrical service. This had been stressing me out (needlessly) for months as I had already installed the used telephone pole with the tractor some time ago when I then had a conversation at the District desk. In the conversation I mentioned I had installed a used pole and cut in a relief cut at the 12′ mark as required. This person advised this was not allowed and that I needed to purchase a purpose built pole instead and pointed me to the code. I had been using Peter S Knight’s ‘Red Book’ for most of my guidance. But he is in a copyright battles with CSA and so the Municipal staff translate this to ‘there is problems with the technical information in the book’. Well I read all the relevant code sections as well, and there was nothing stating you could not cut in your own relief cuts. So I finally bit the bullet and finished off the installation on Sunday (more on this later – word to the wise, make your enclosure big enough) and called for inspection on Monday morning. Cynthia came by just after lunch yesterday and advised a couple of changes I needed to make (identify neutral with white tape, and move grounding plate conductor up into service area of the panel), but passed the installation on the condition I fix these up. This was a huge relief. I have called Hydro this morning and they will swing the power over onto the temp service within the next 10 days.
It is much cheaper to go this approach plus you then have uninterrupted electrical service to the site. The cost to swing an existing service over to a pole is only $306 + Tax. This is as long as the temp pole is installed in a position that the existing line can easily swing to of course. The cost to have the service removed and then re-installed to a temp service at a later point is thousands of $’s. I also discussed my options for the permanent service with my inspector yesterday. As long as the conductor between the meter base and panel is encased in concrete (so for instance inside my foundation and under the floor slab), I can install the distribution panel and main anywhere within the dwelling basement (as long as the portion exposed above the slab is 5ft or less. This will allow me to put the meter in a convenient location for hydro (and out of my site lines) and place the panel somewhere near the centre of the house so that I have minimum run lengths and allows for the panel to be in a convenient location to access (not in some corner of the basement).
I just have to now discuss with Hydro running a tech cable right to the pole (dip) so that I can eliminate the need for any overhead service. I initiated this process this morning and will hear from a designer within a few days.
I also was able to strip the siding off the rest of the garage and half of the east elevation of the house yesterday between all the various other errands. Today I will finish the siding and hopefully get off all of the brick facing as well (It is screwed on). This would allow me to start disassembling the electrical circuits in the house on teh walls to come down and then move to stripping the roof.
Thanks for visiting!
You can something up basically free using Google’s Blogger. I have a blog there (currently inactive while I complete this build), but it has been very popular with over 57,000 visitors. They have various templates to choose from.
This blog was setup by my web programmer https://www.honeycombcreative.com. and has similar functionality of the Google Blogger but is incorporated into my build website and customized.