This and That
While some of the promised updates are involved and will require their own detailed posts, I will try to take care of some of the others here.
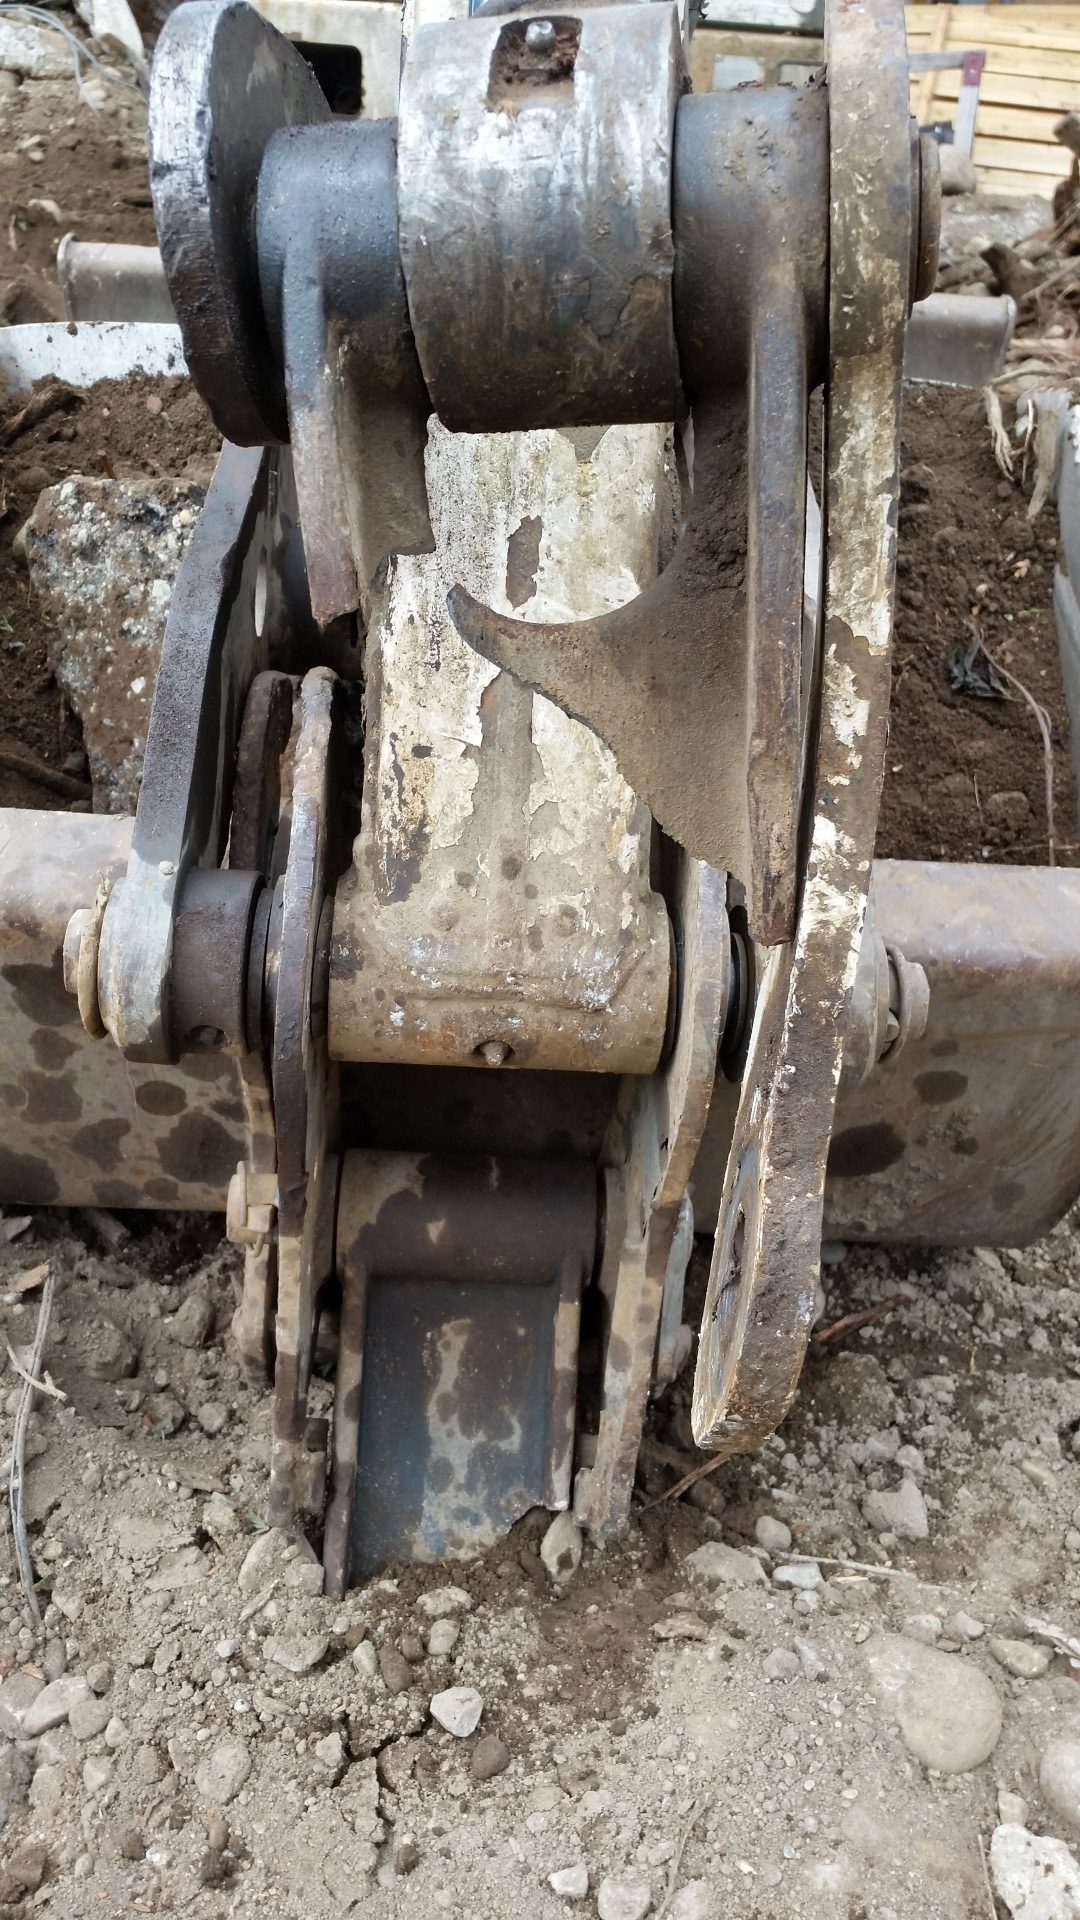
Alfie Broken Wrist
A couple of days after wrangling the remains of the tree stump out of the ground (see timber!), I was using Alfie to start processing through the stockpiled soil I had in the front yard. I went to use the arm, to swing around my undercarriage, when I felt a weird sensation and realized that Alfie’s bucket was not pointing the right direction. After a bit of investigation, it found that his main bucket link had shattered. It looked like one of the pin clips had fallen off allowing the pin to pull out and a twisting torque on the link. I approached the local Bobcat dealer and they wanted $1250 for the part (and over $3500 for all the parts I wanted). Fortunately http://www.miniexcavatorcentre.com/ in the UK came through for me. The link was only £226.60. I was able to get all of the parts needed (including all of the bushings needed to rebuild the arm – something that needed to be done from the time I purchased the machine) for only CAD$ 1350 and now Alfie is as strong as ever!
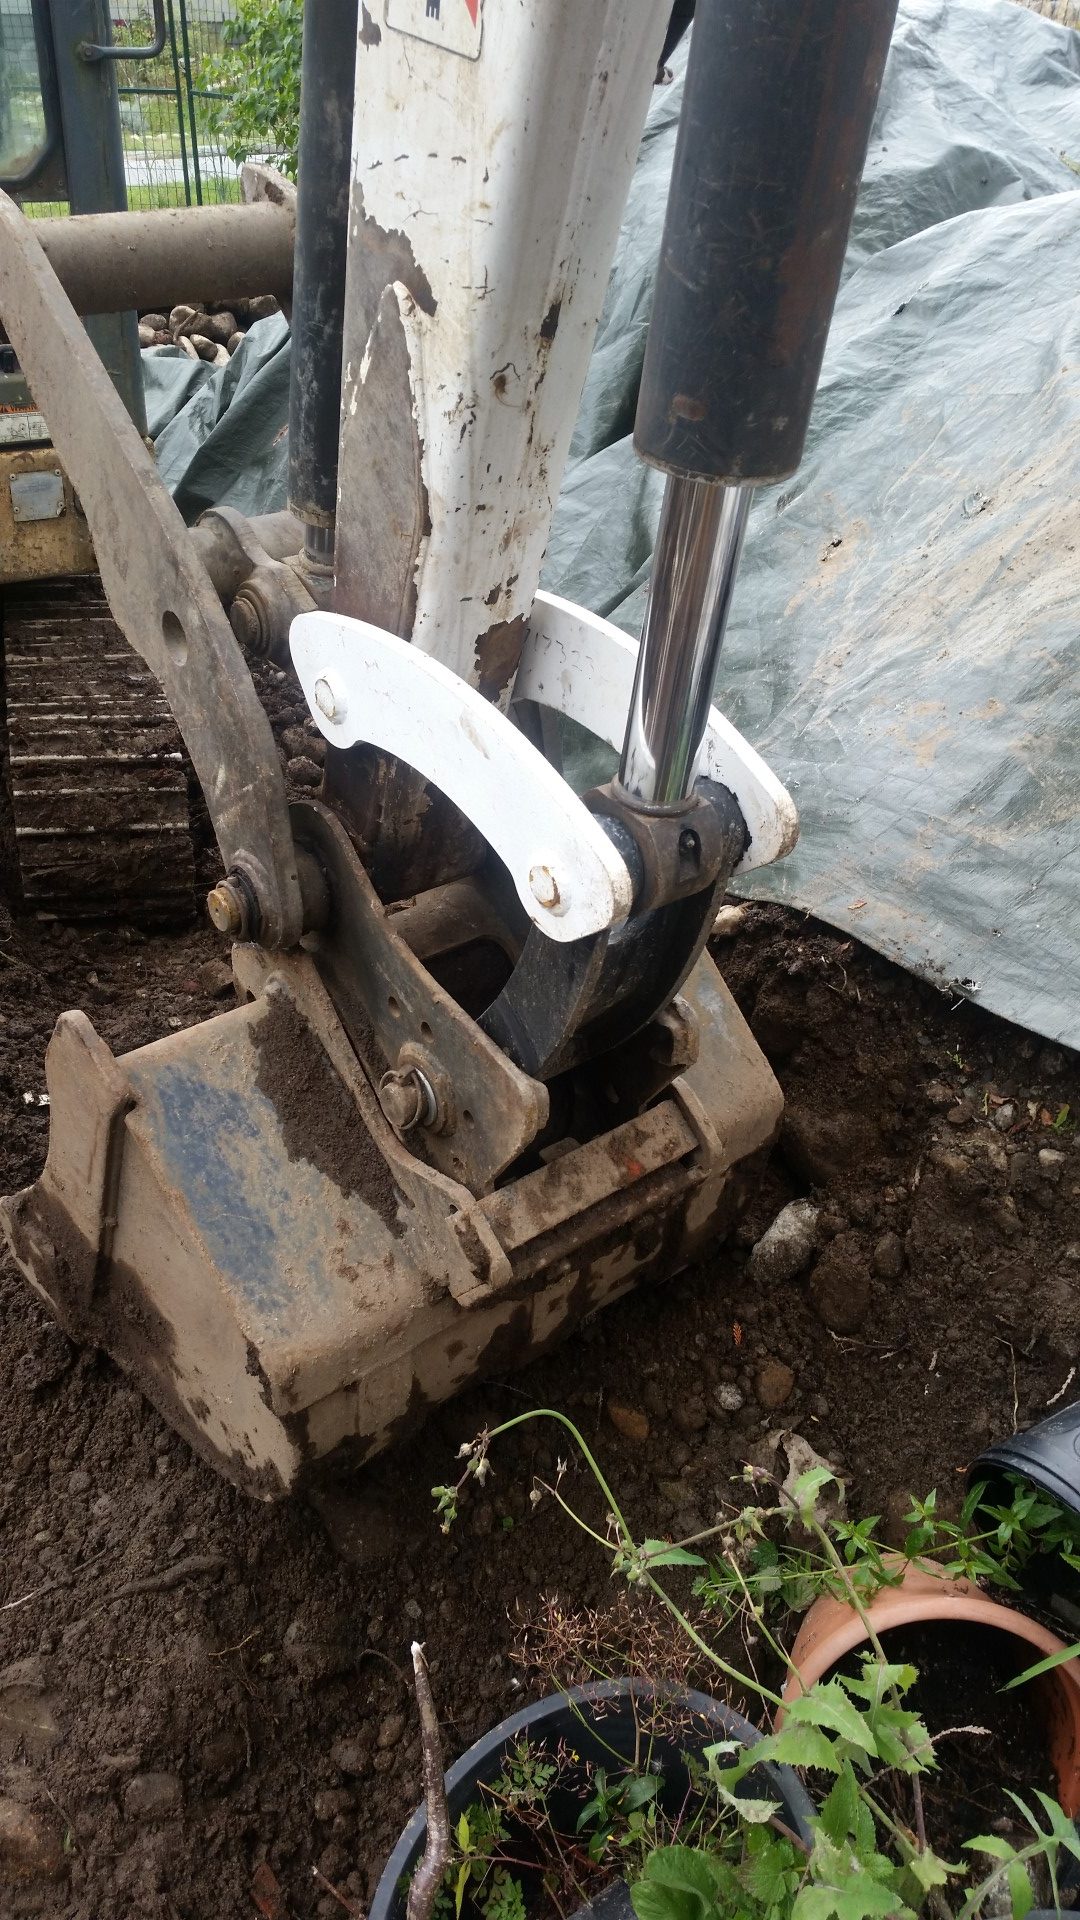
Alfie is feeling much better now!
South Elevation
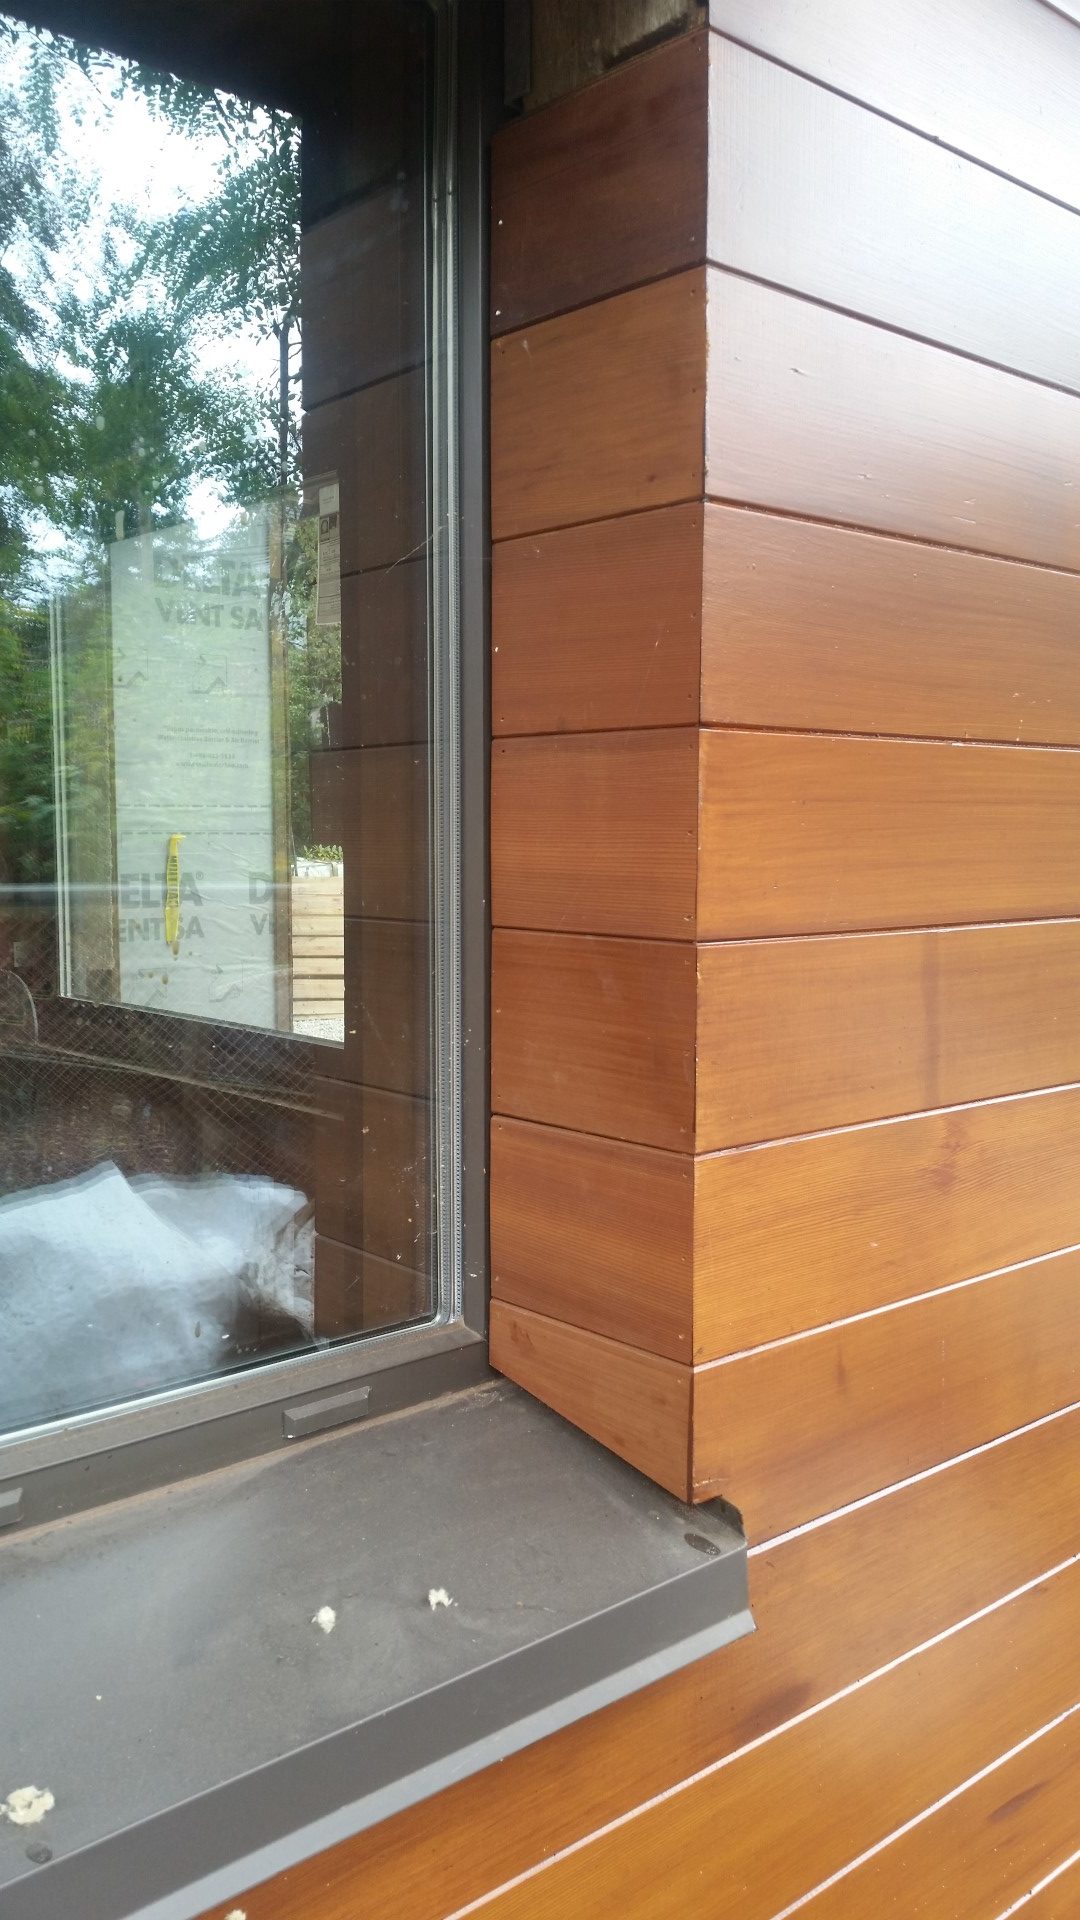
Over the summer, I was able to button up the soffits on the south upper roof and also the final coats of stain on the south elevation. I also completed the siding window returns on the first storey (except for some trim pieces at top). As the walls were now water and UV proof, I was able to take down the tarp and scaffolding on the south elevation, much to the delight of my southern neighbour who was having her annual senior’s tea party.
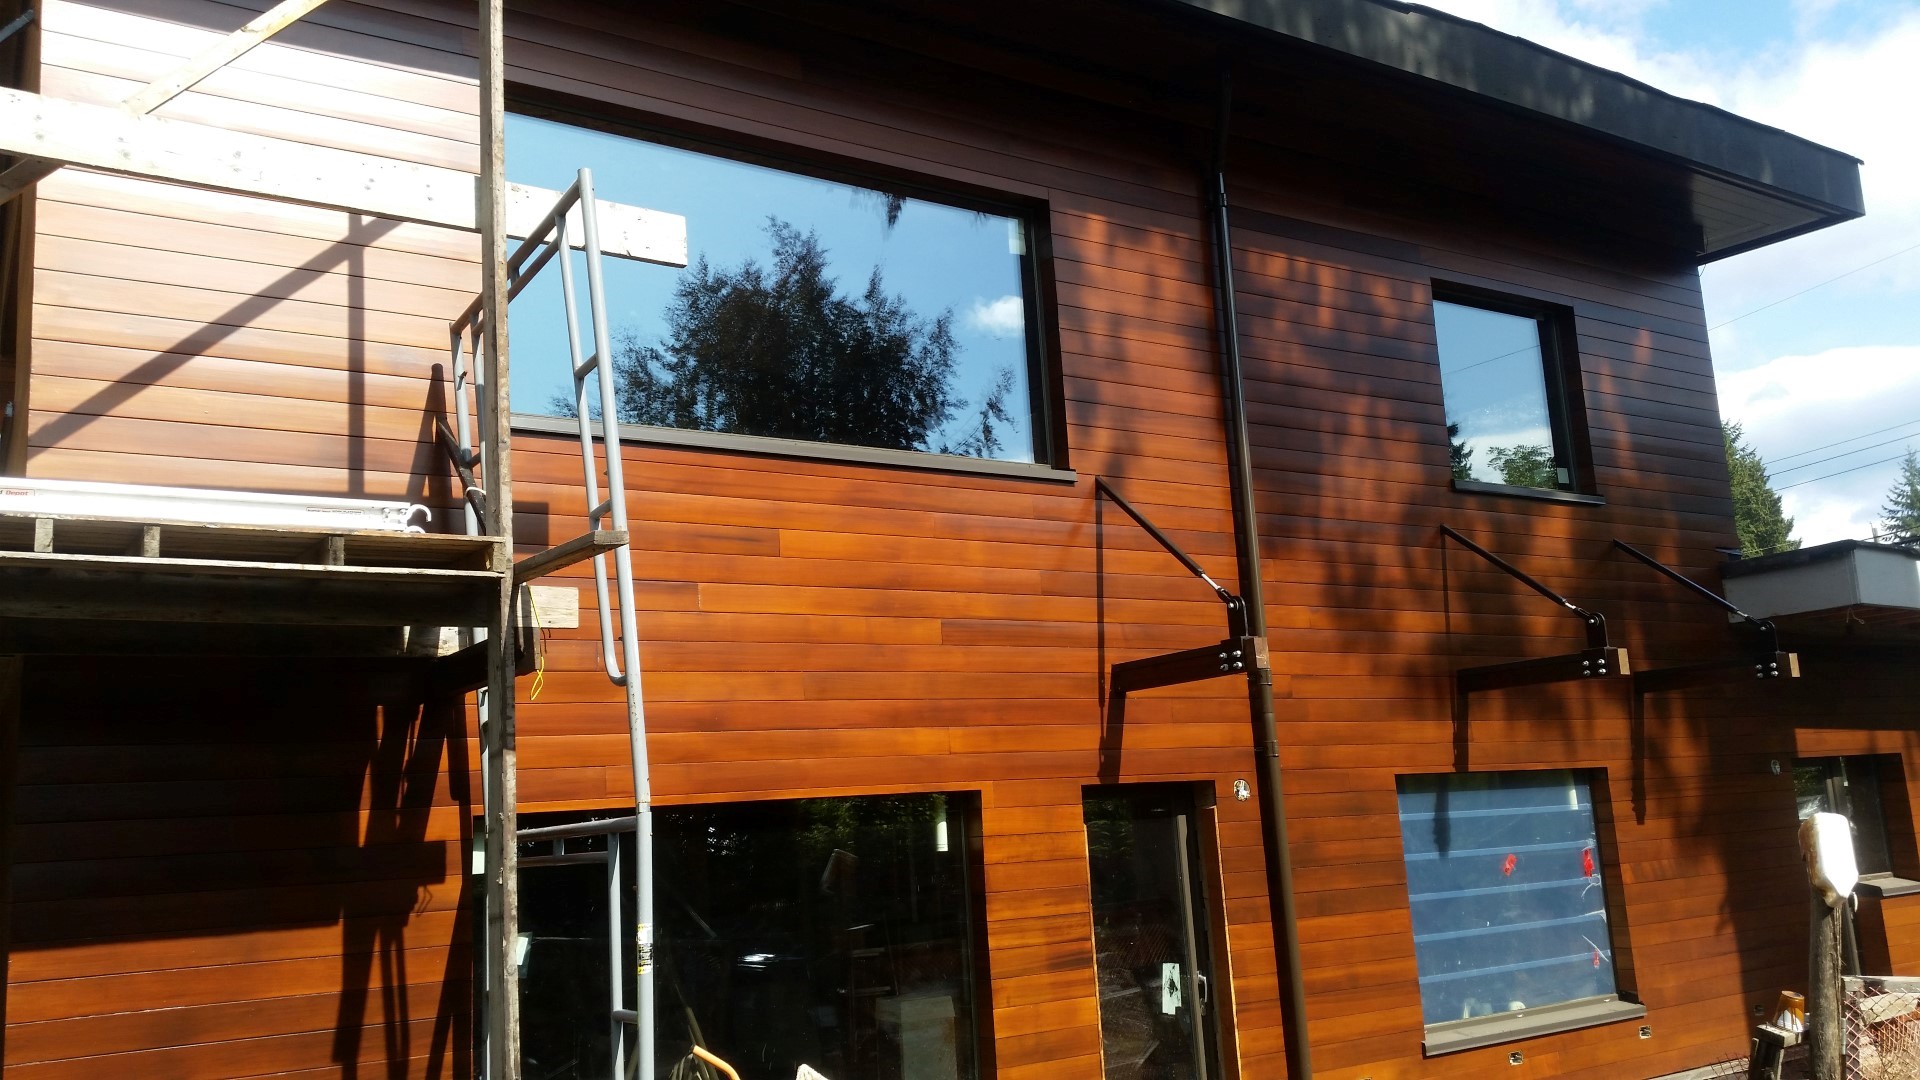
Prior to taking the scaffold down, I also installed the CSA approved version of the LED strip lighting that is providing my soffit lighting. The continuous LED strips, that are dimmable, provide a nice soft glow along the backside of the fascia, illuminating the soffit and walls below. Even at only 12% power, there is plenty of light to navigate the exterior of the house at night and at 100%, the place glows! Later on, when the facias are clad, there will be a custom flashing that will prevent the LED strips from being viewable from below or the street formed into the fascia drip edge. I mounted the LED strips with a silicone bead. This is the best way to mount on an exterior surface. The included peel and stick tape is not up to the task.
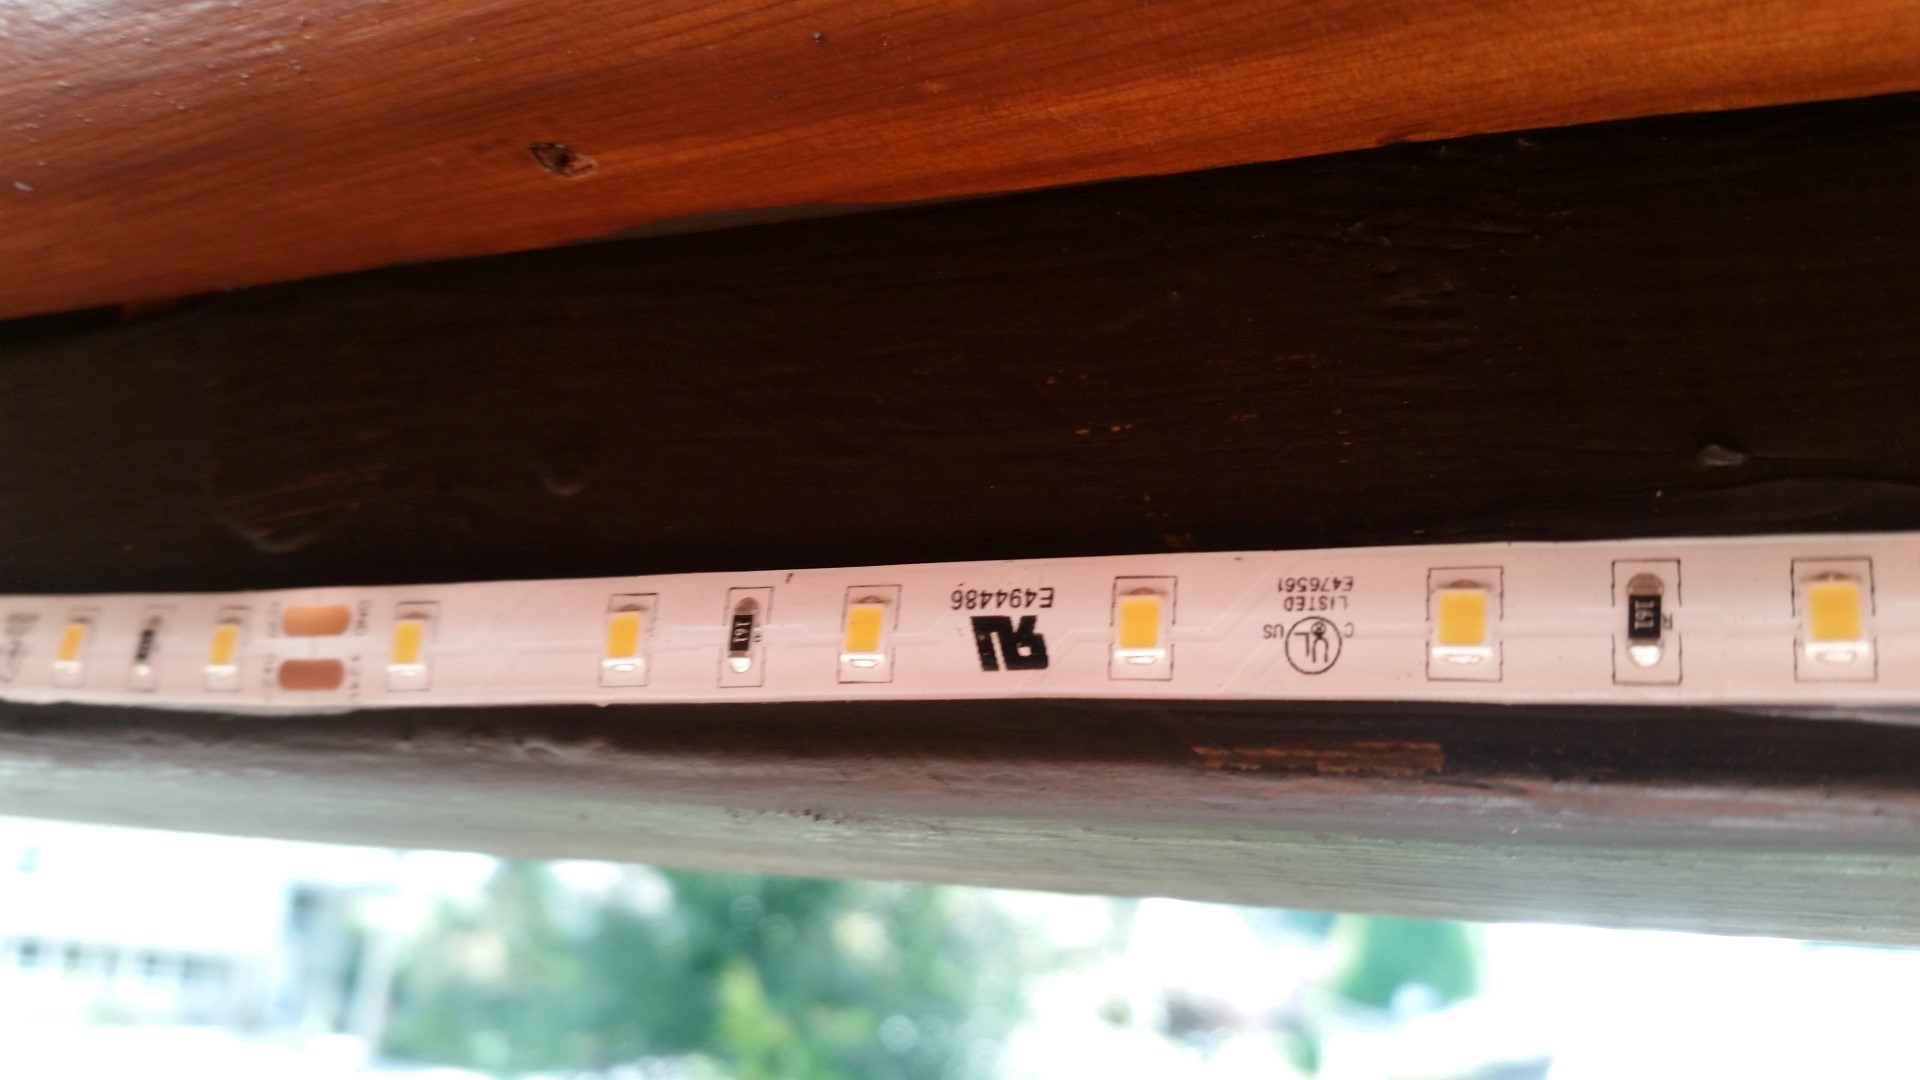
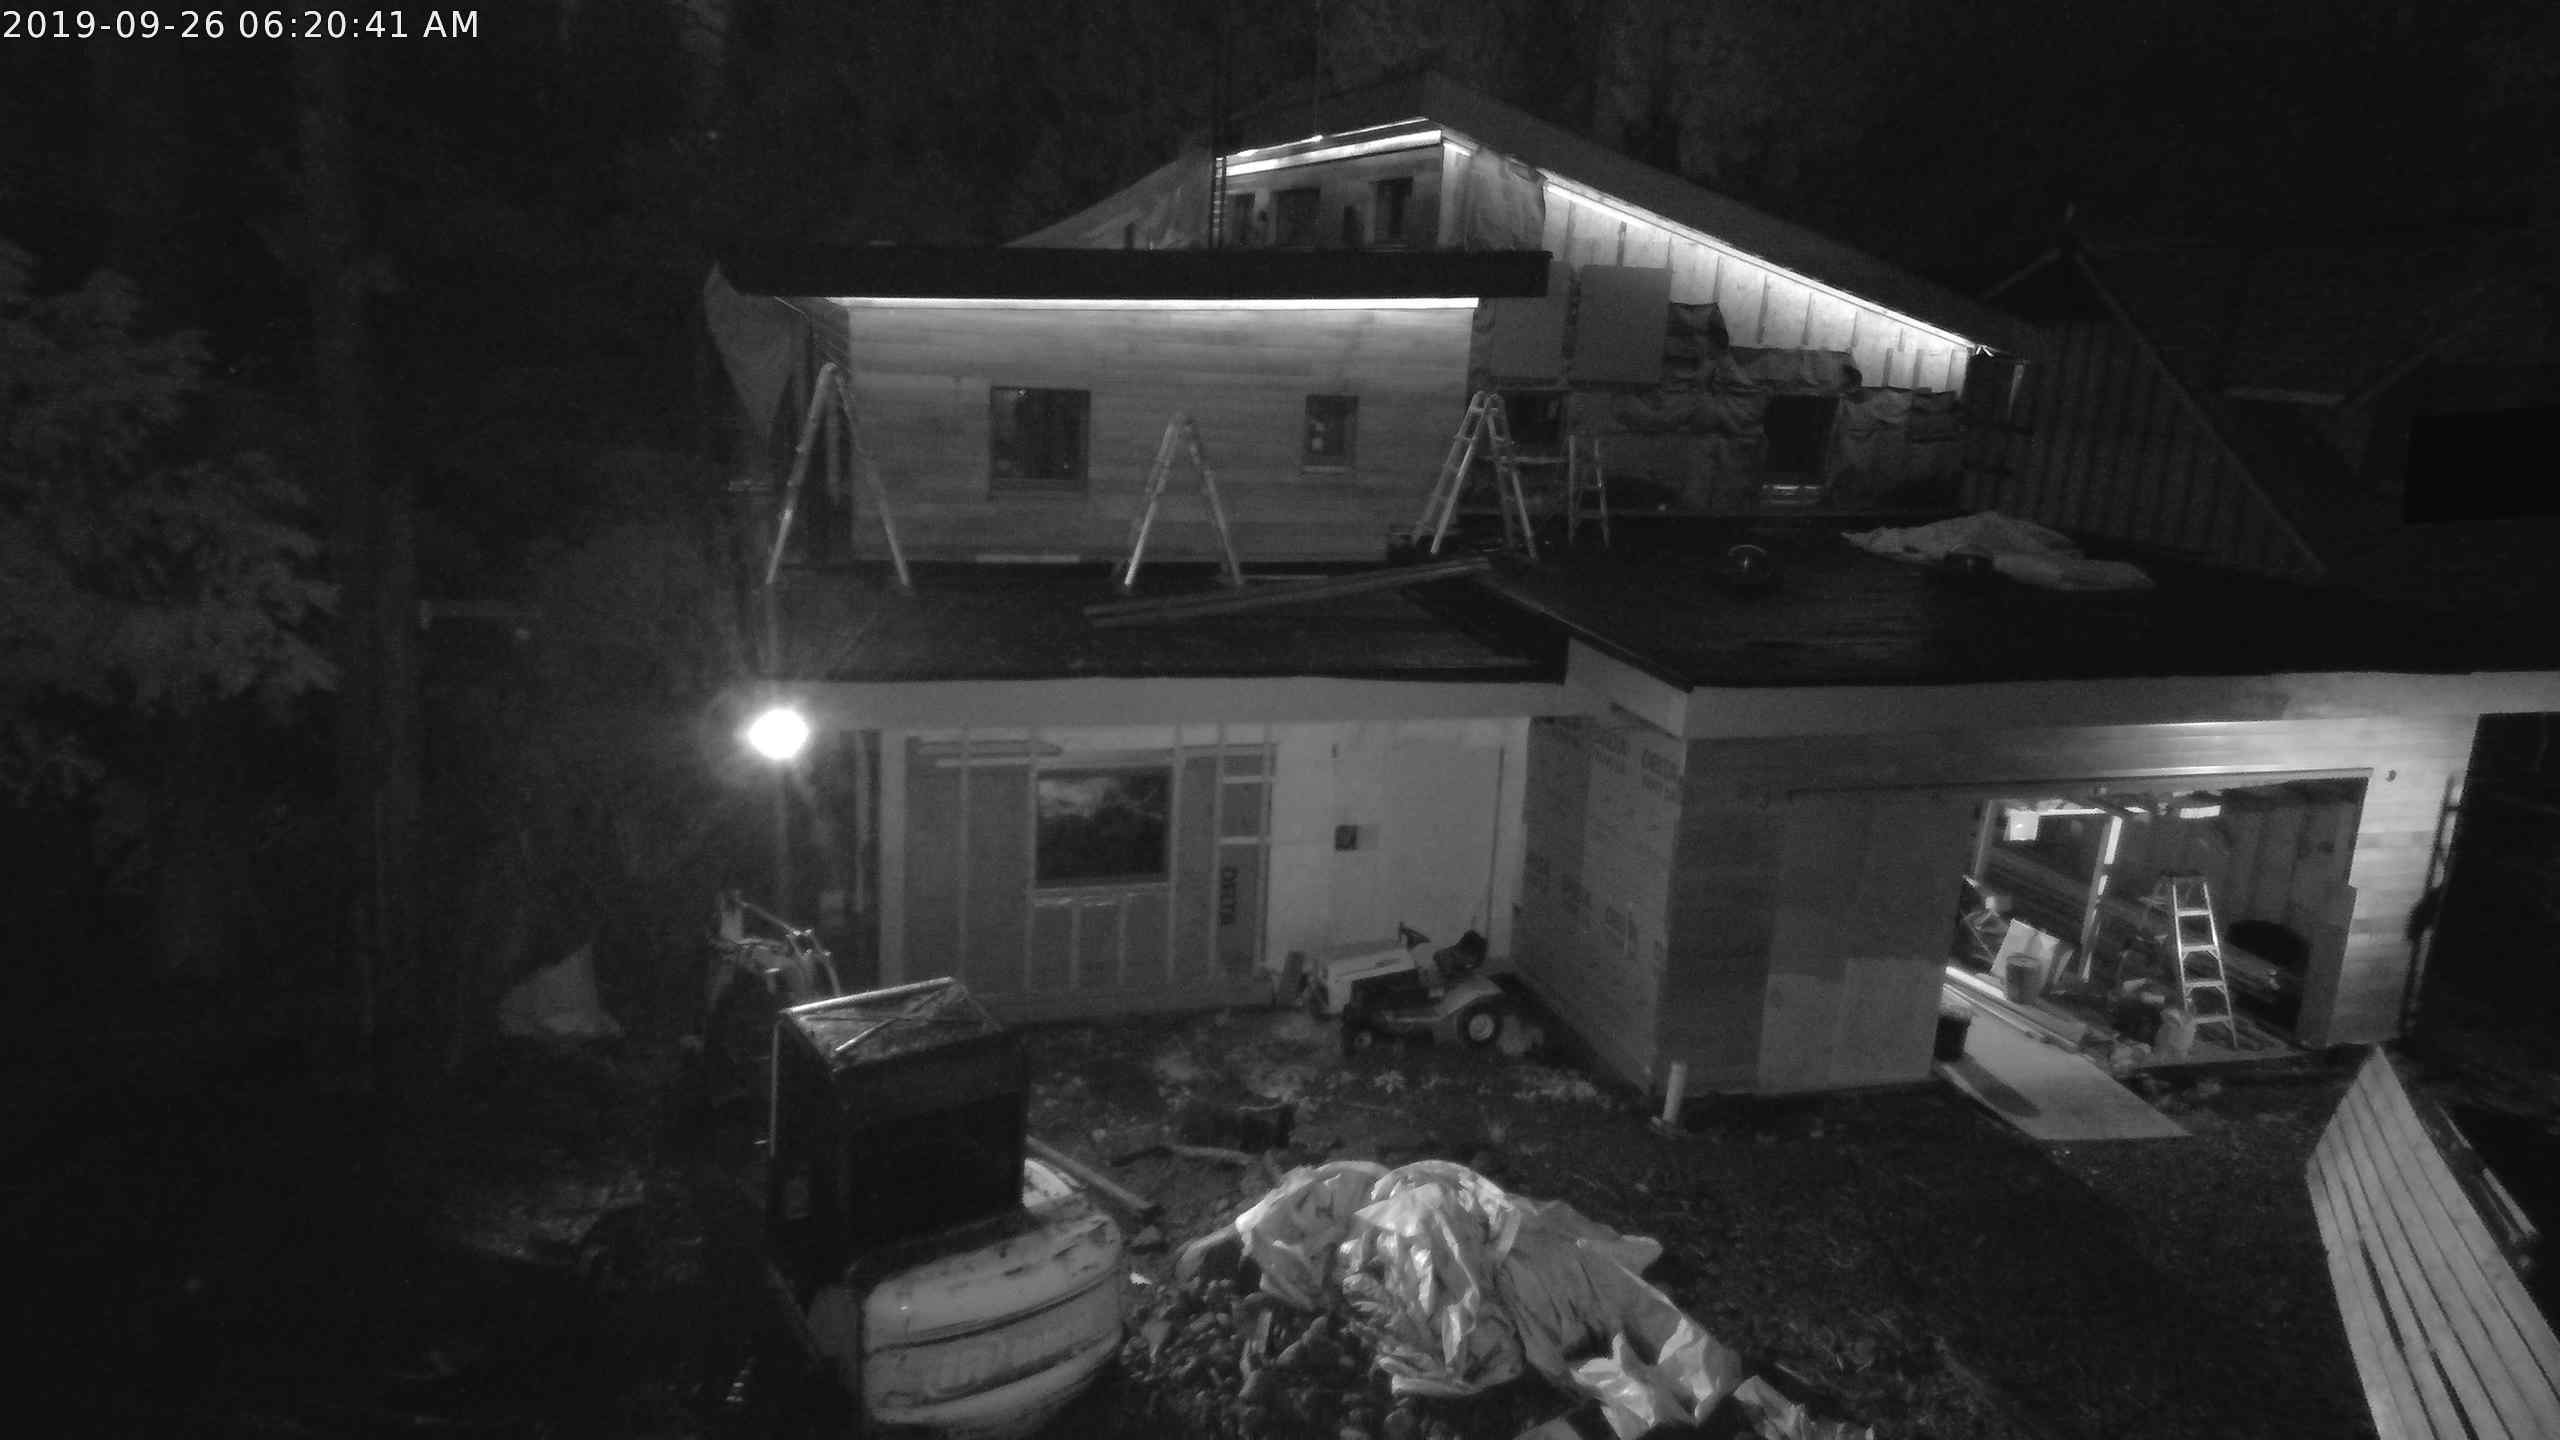
Upper Roof LED Soffit strips complete
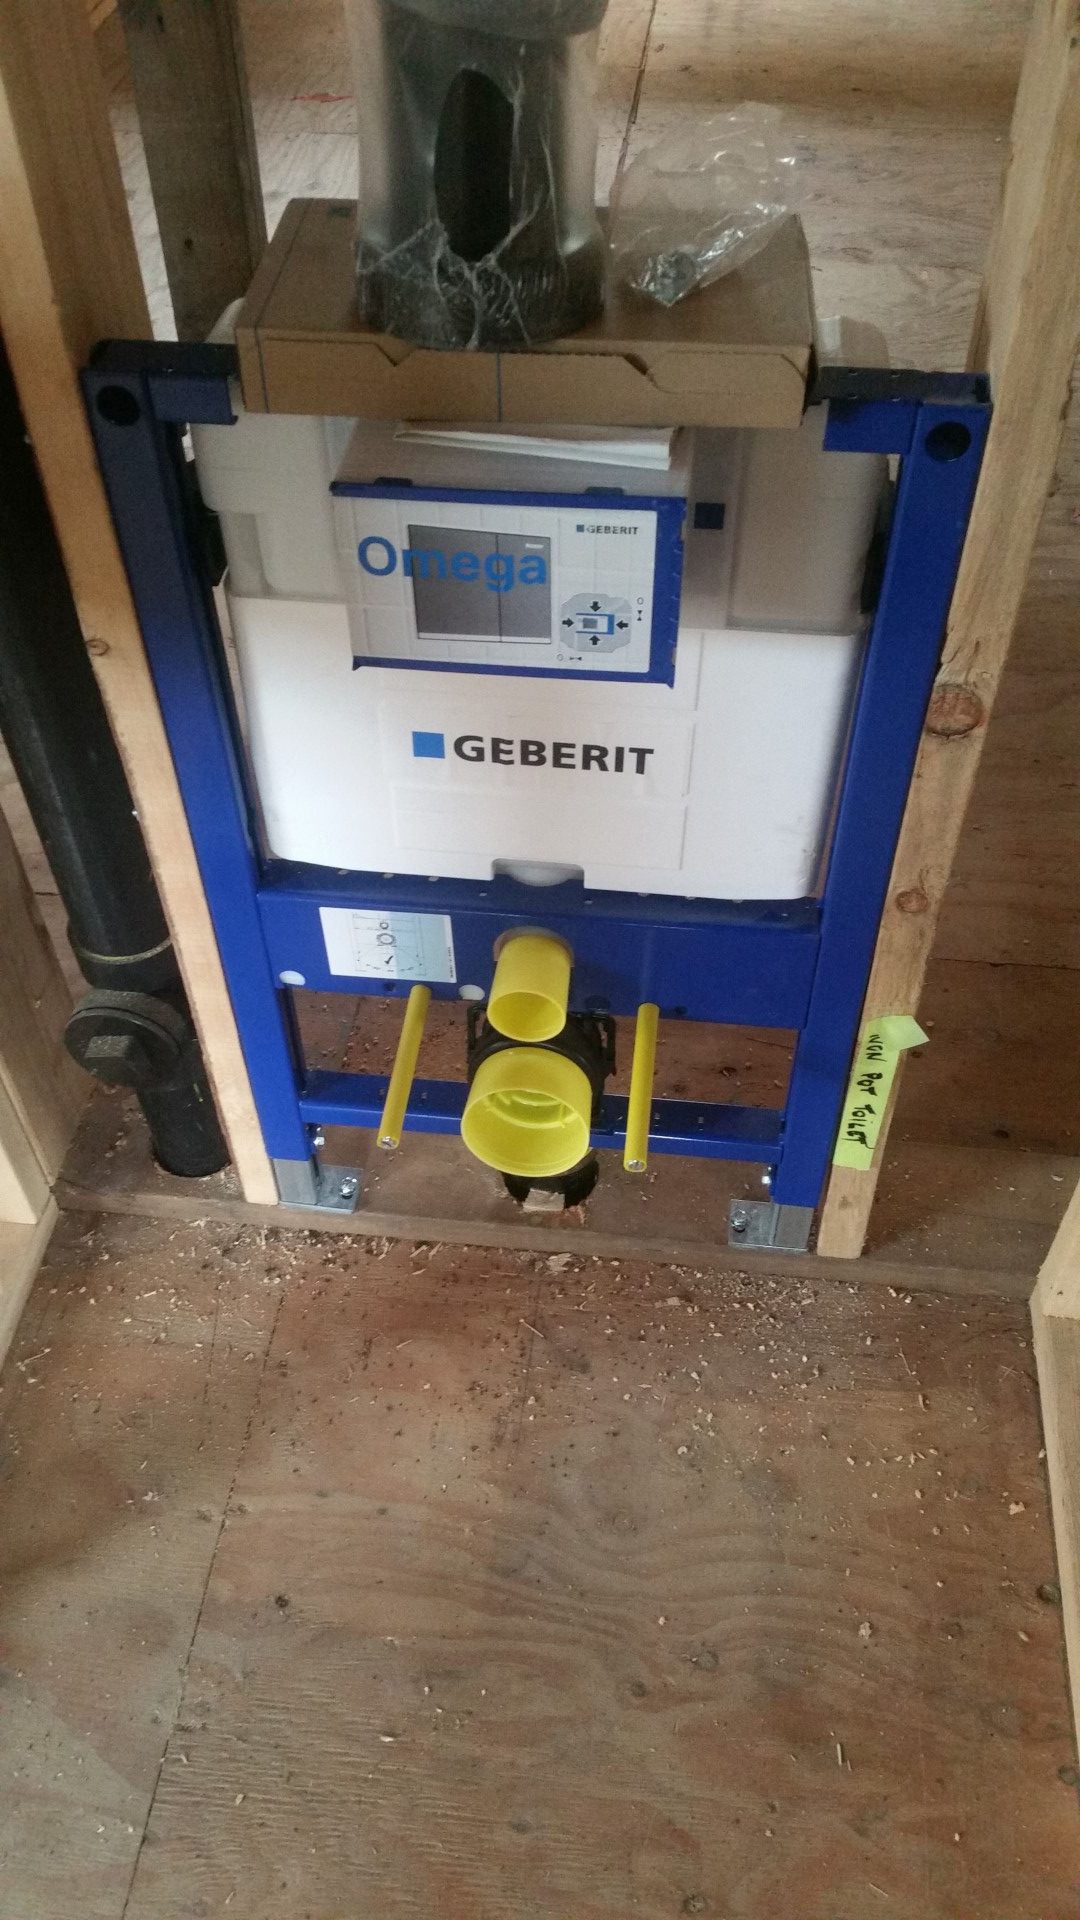
Geberit Wall Hung Toilets
I took an opportunity to install the wall hung Geberit toilet frames on a particular nasty weather day. These allow for more space in the room and a easier cleaning of the floor beneath the toilet. The ‘guts’ of the toilet are accessible via a removable wall plate that contains the flush levers.
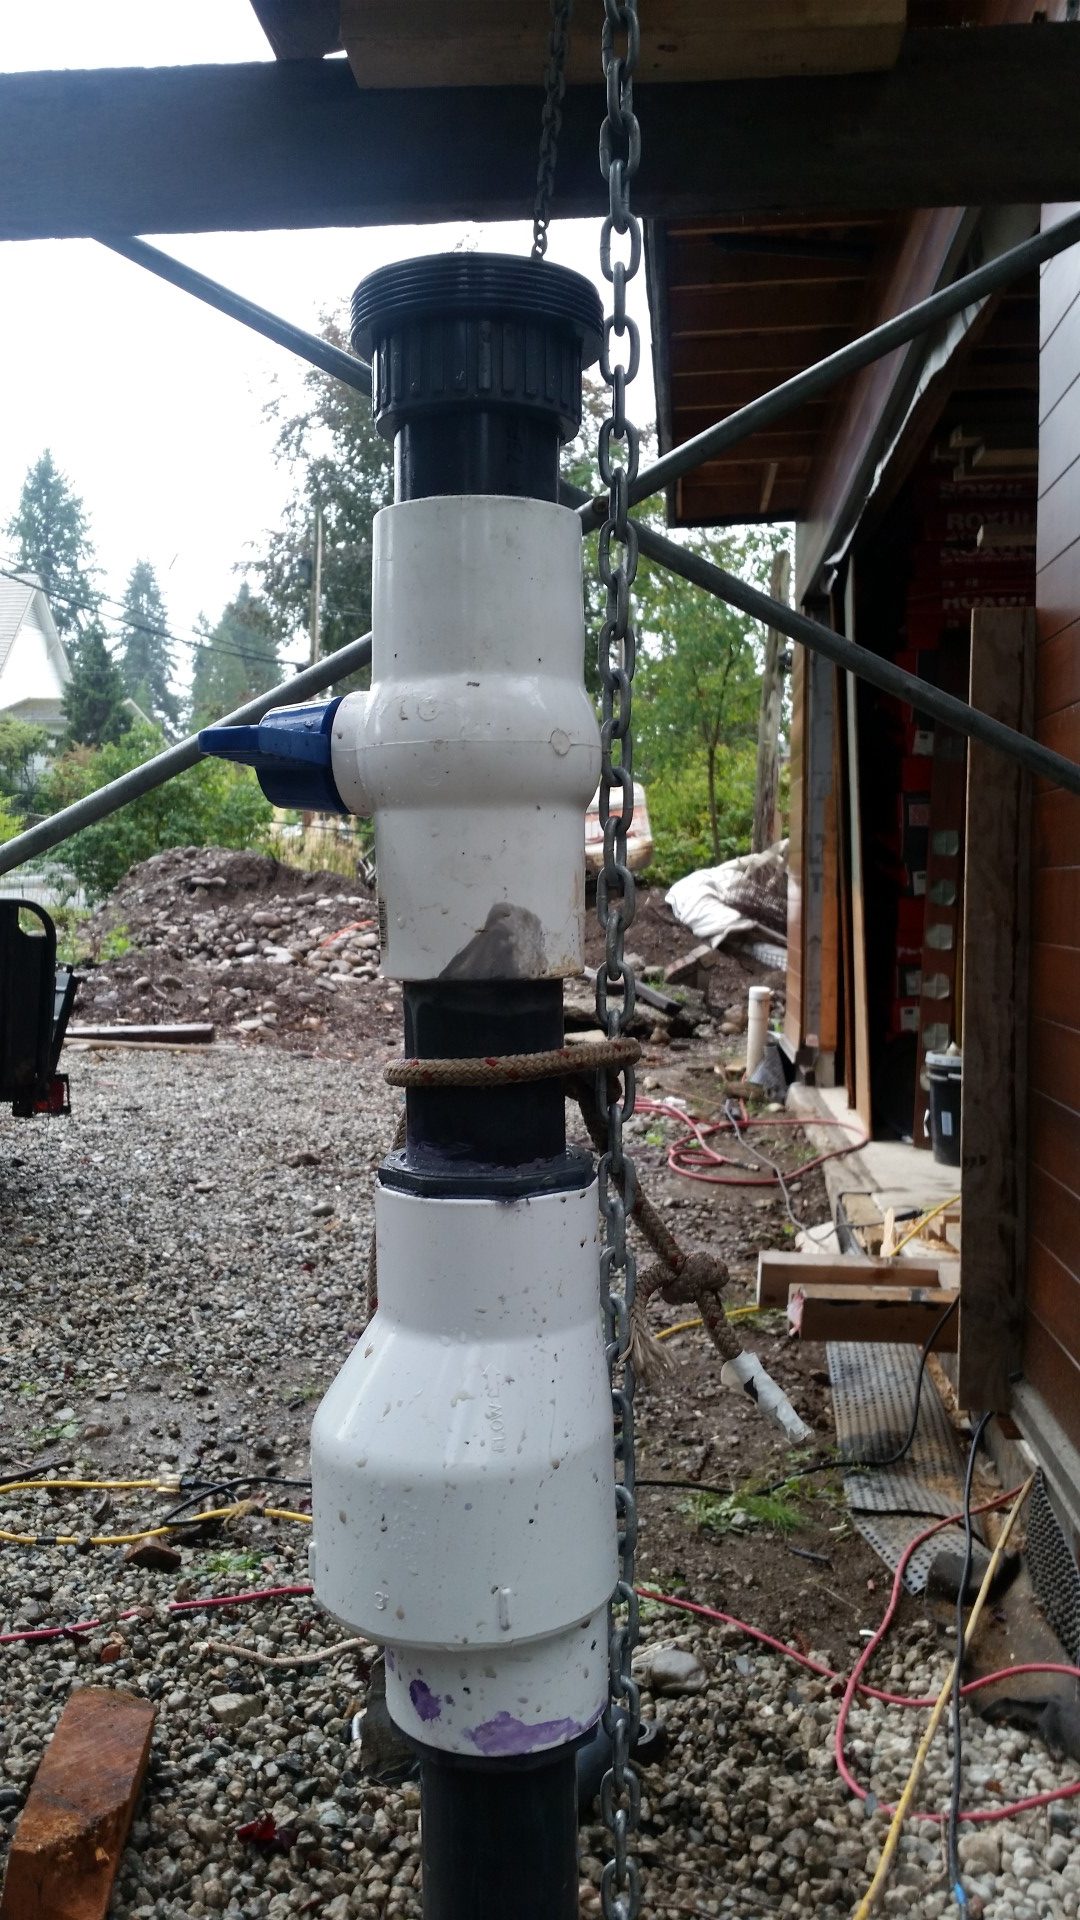
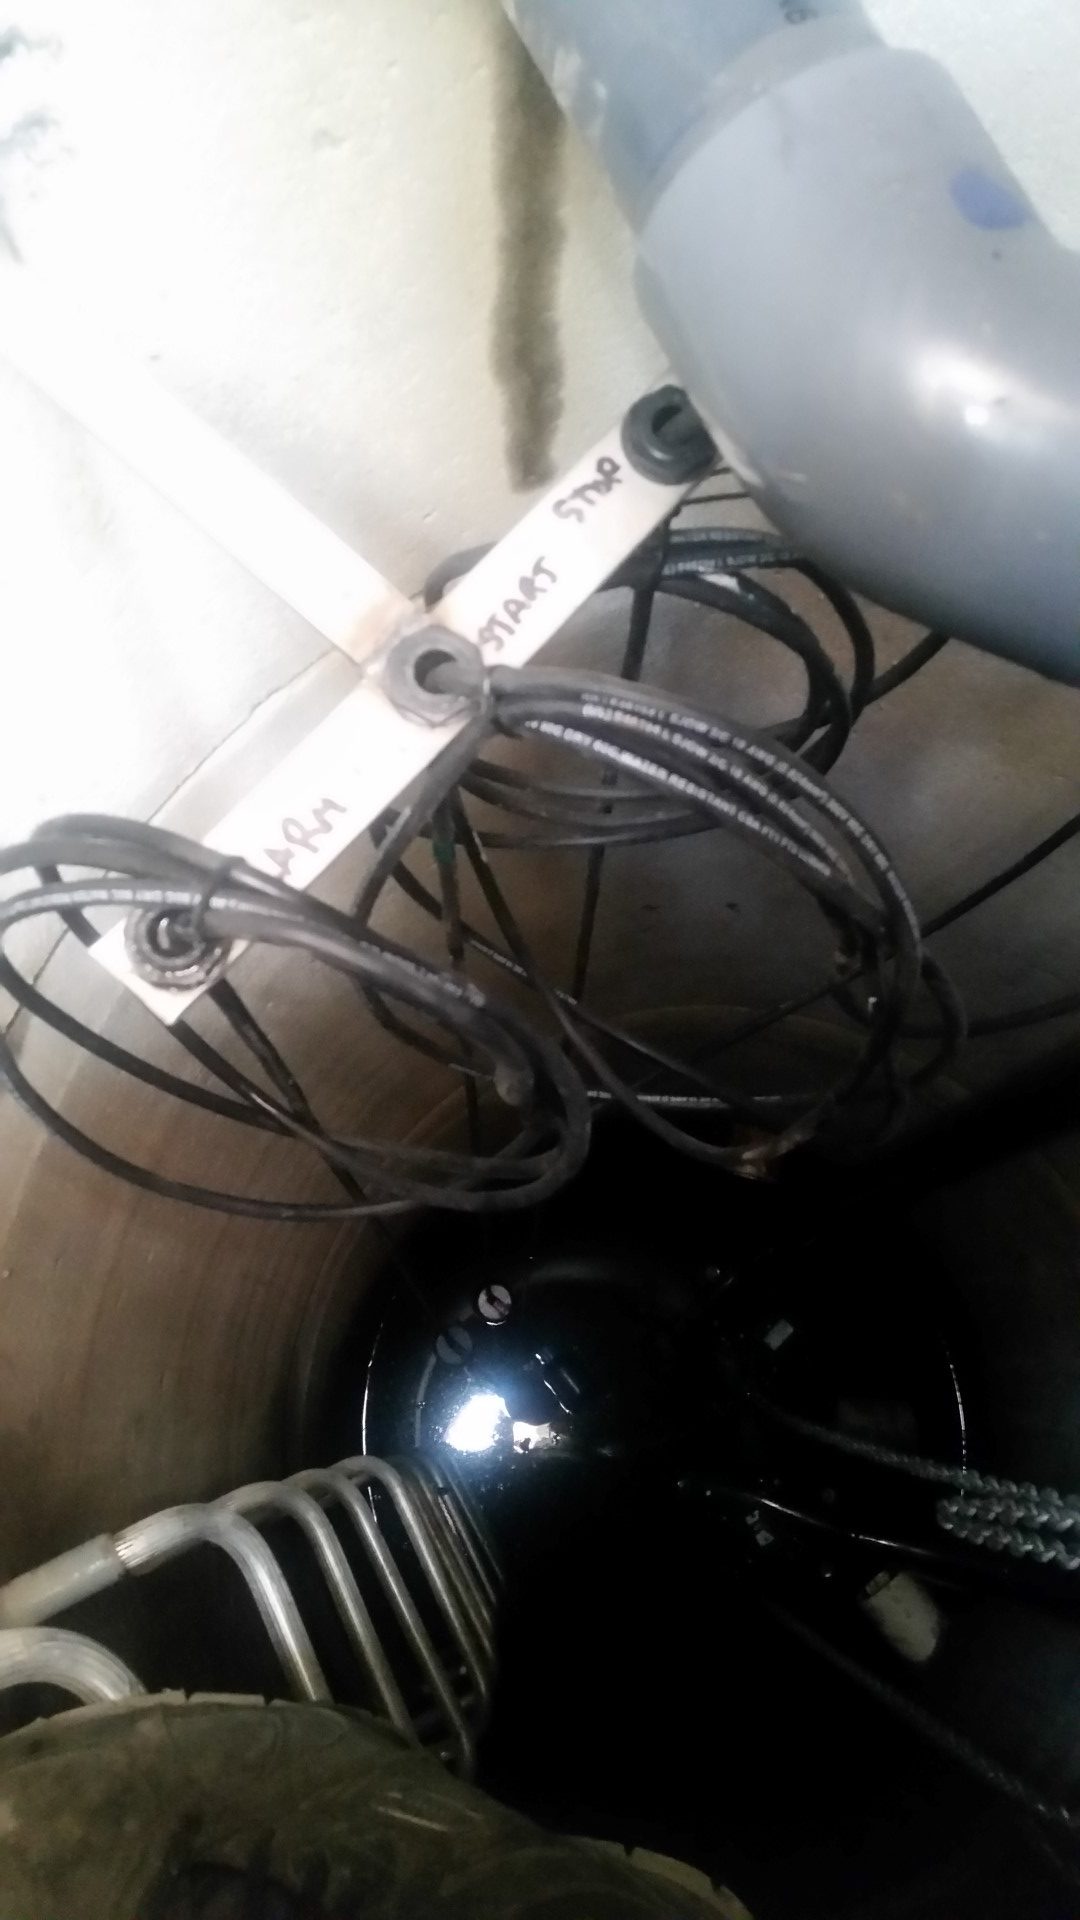
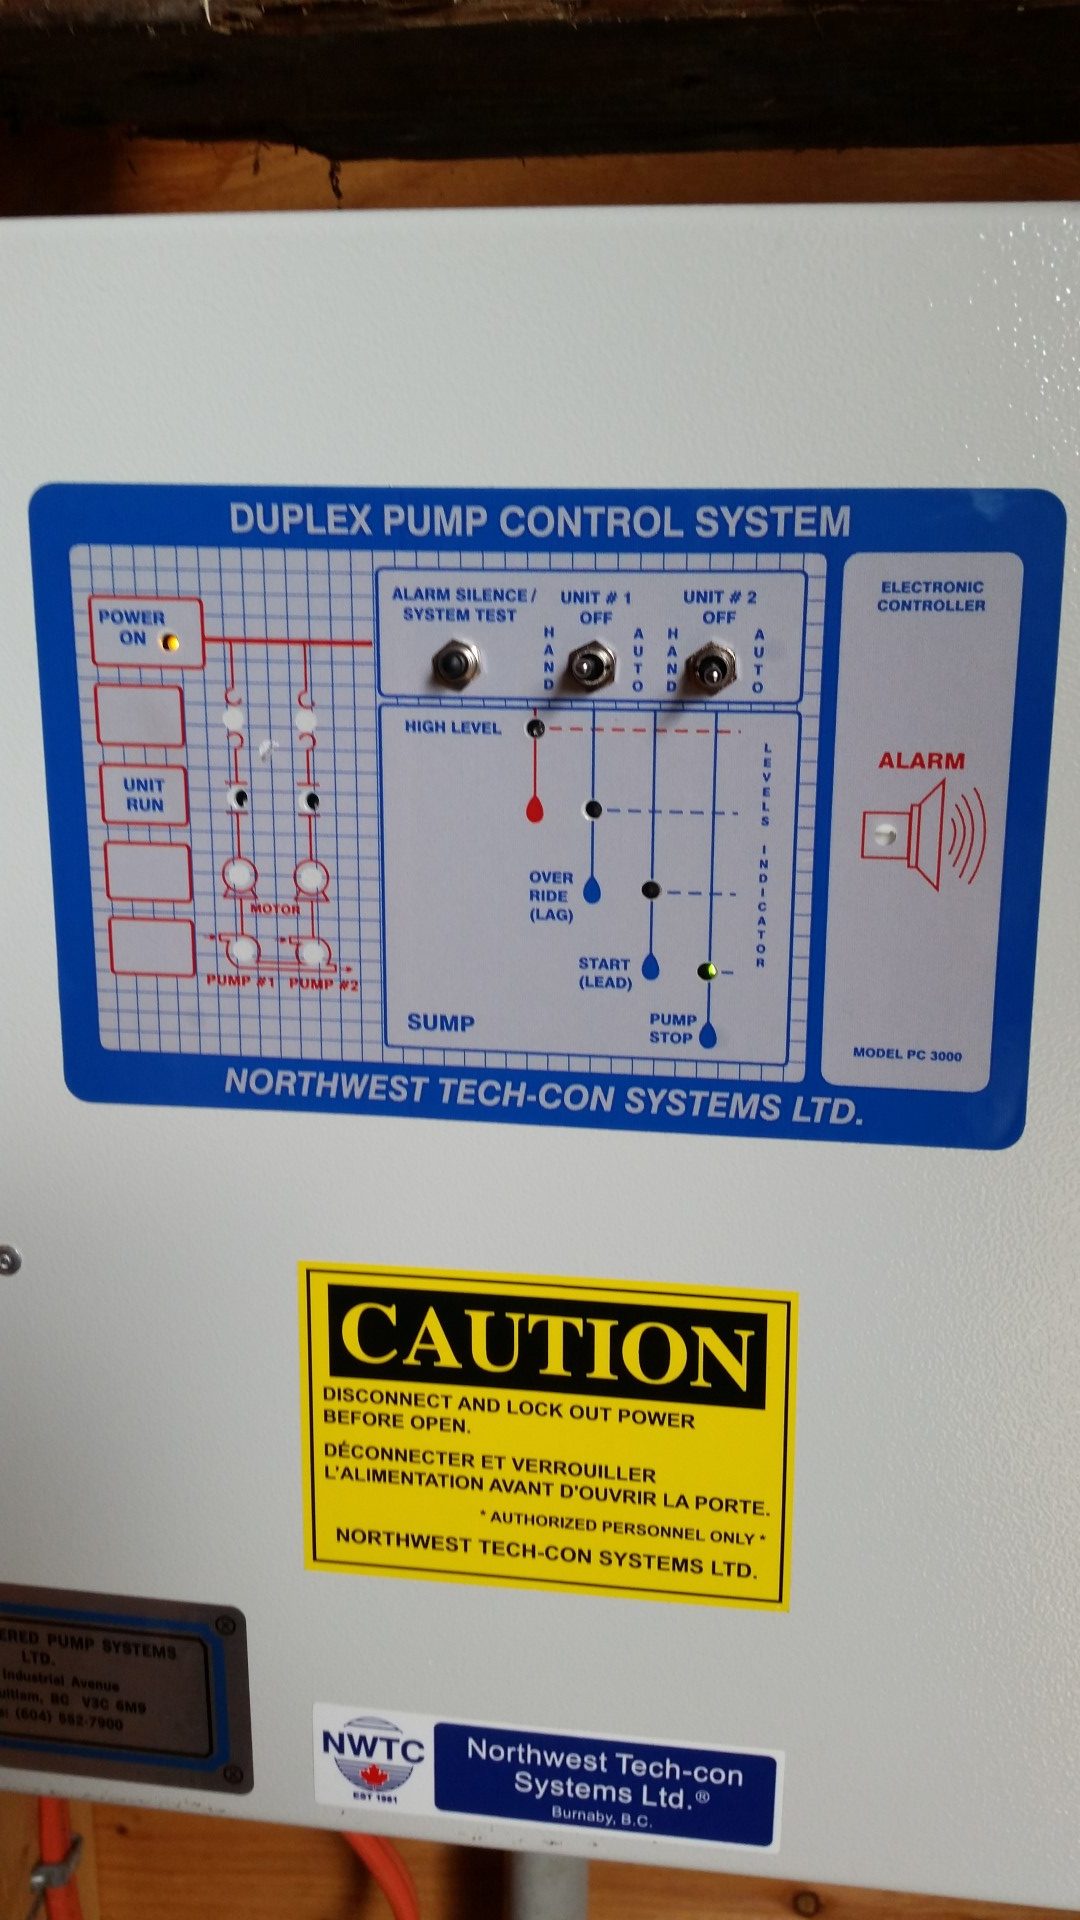
Ground Water Sump – Duplex Station
I have also now finally installed the Duplex Pump station that pumps up the ground water collected from around the foundation and under the floor slab. This is a system that even a municipality would be proud of as my Storm Engineer only specifies best practice and high quality pumps.

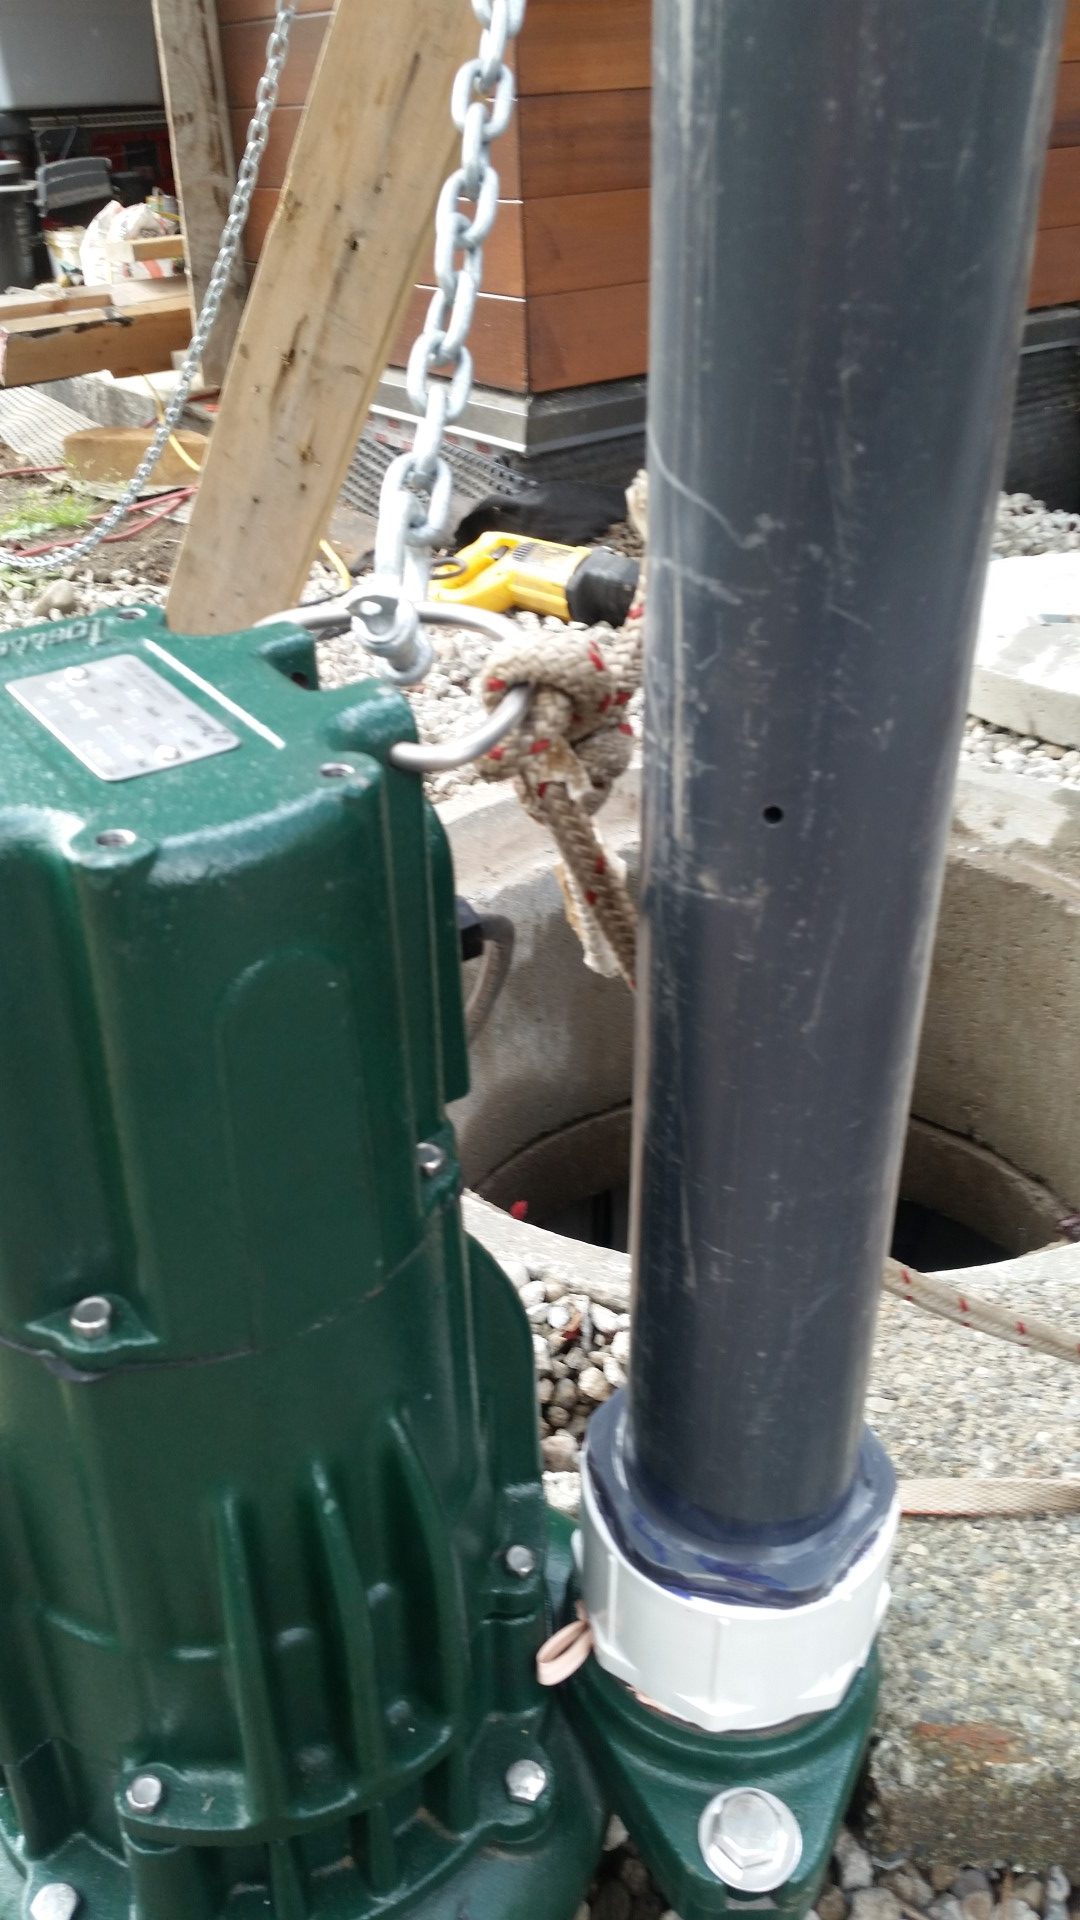
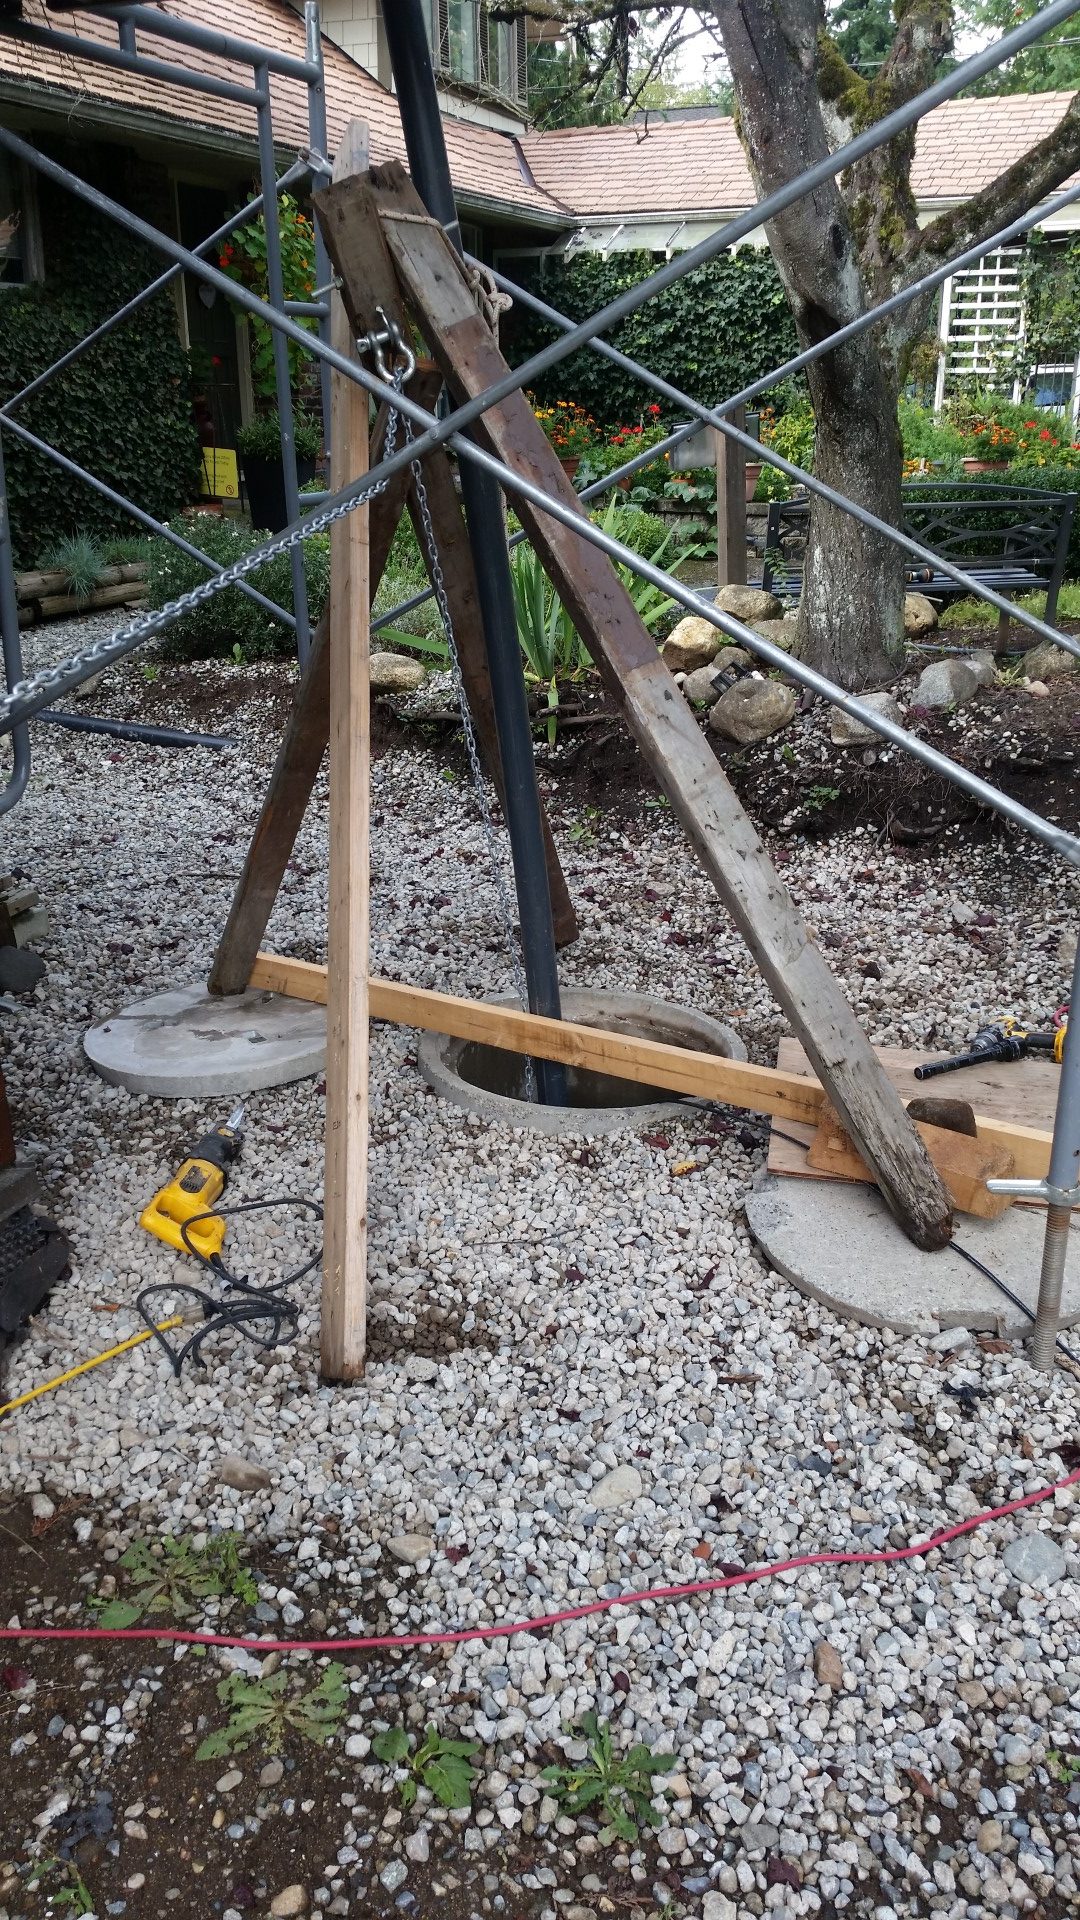
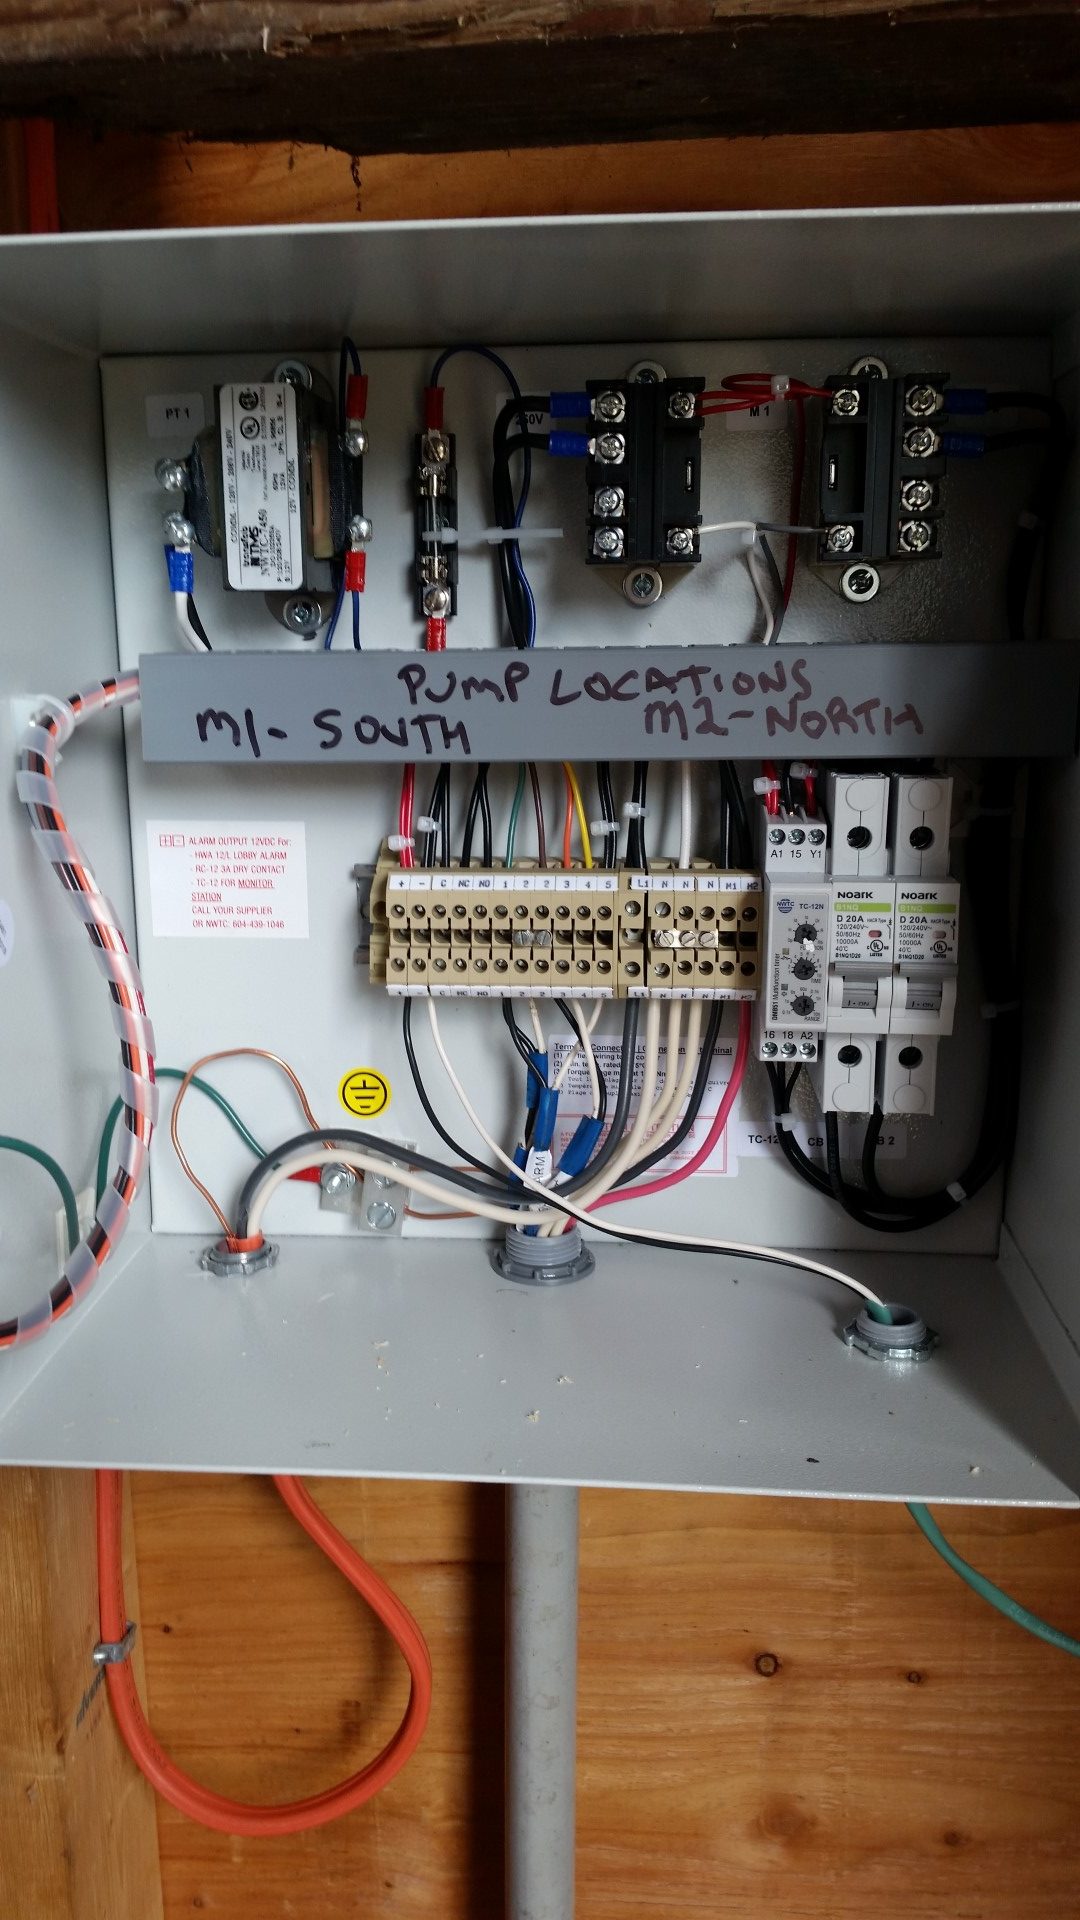
I designed the ground water system to utilize the granular fill below the dwelling as part of its ‘sump’. This allows a much larger volume of water to safely build-up before requiring pump out. This should reduce the number of pump cycles required (saving energy) and also provide a large safety buffer in case of power failure. There is at least 8″ of gravel below the dwelling and as we work towards the deep well sump at the NE corner of the dwelling, that thickness increased to about 48″ closest to the sump.
One key design consideration for this type of system is ensuring that the built up water flows fast enough to the pump, through the granular fill, to provide an efficient pumping cycle. The attached video shows how well the water is pouring out of the granular fill into the sump, through the bottom drain, during the pump cycle.
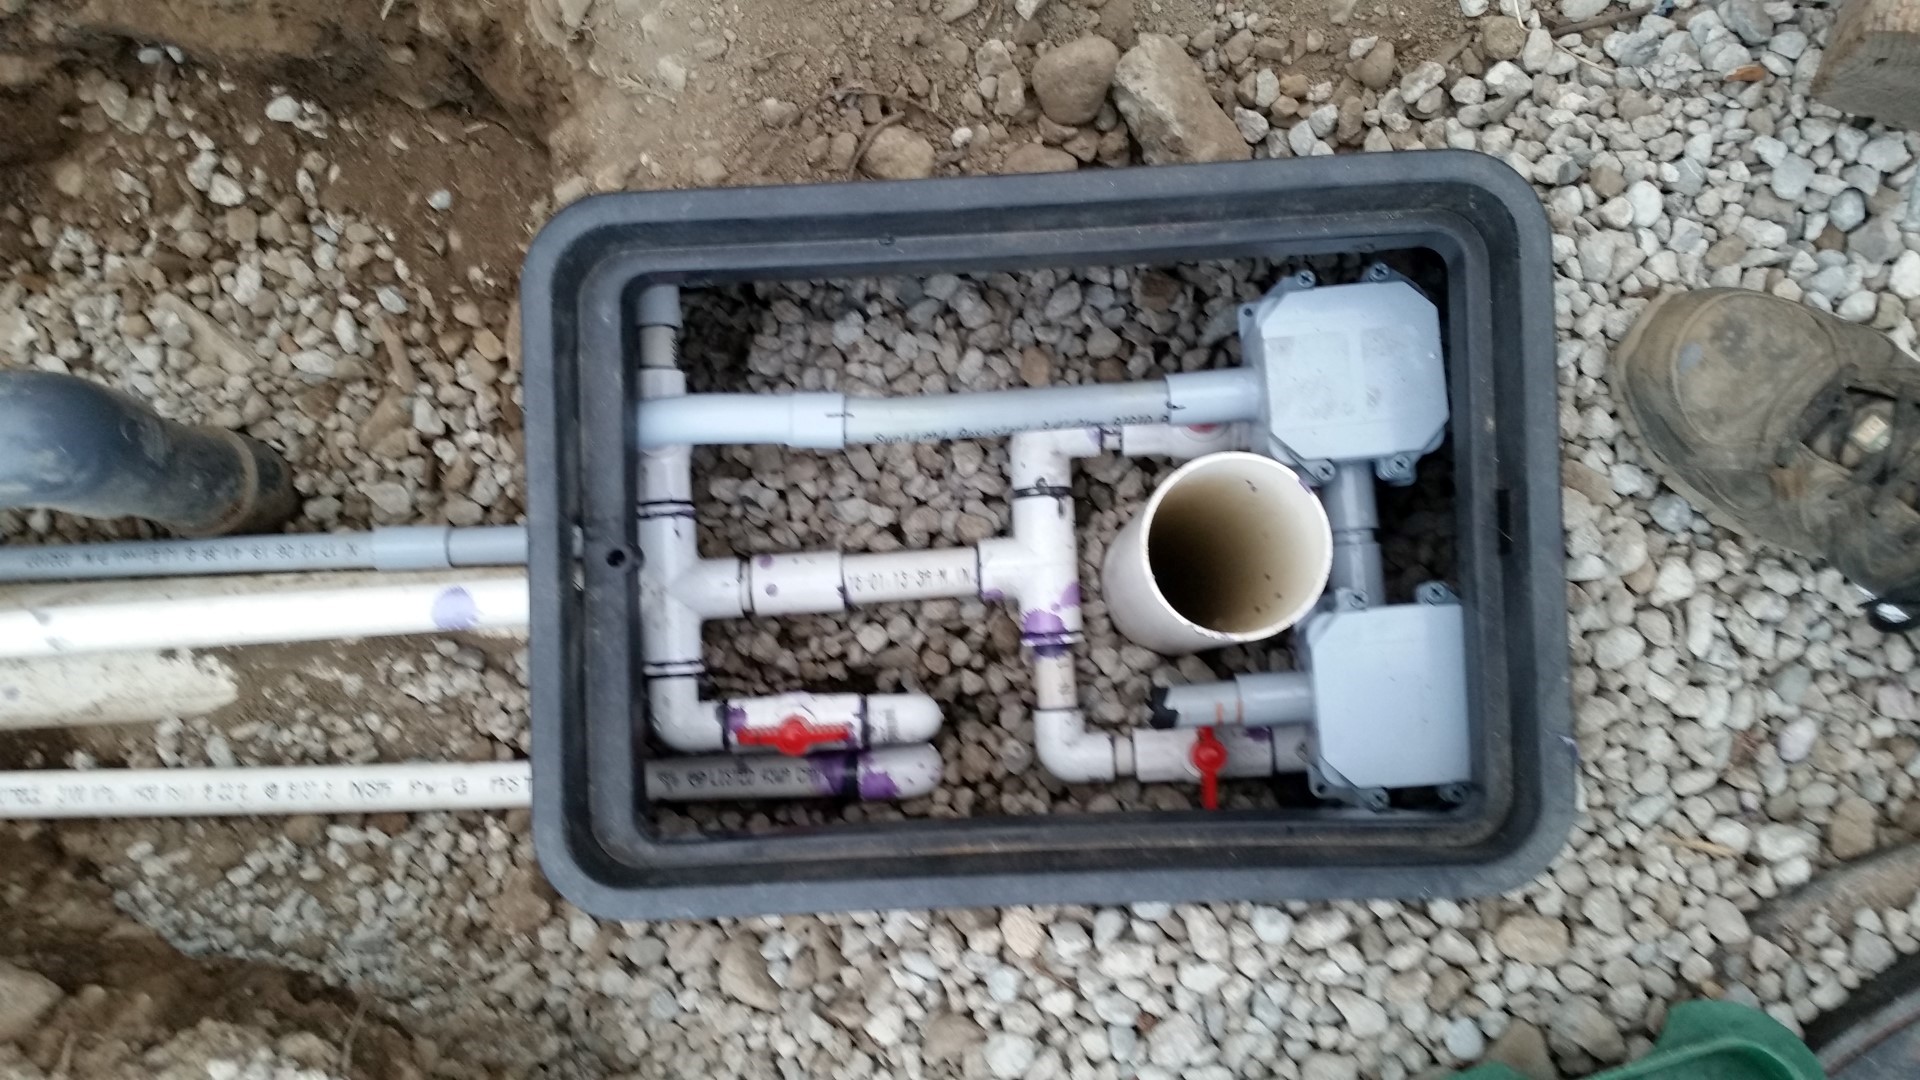
Irrigation Water
The above ground water collected around the dwellings foundation is typically just pumped into the Municipal sewer. But for our dwelling, we have decided to store this water in a 1000 gal cistern to provide a source or irrigation during the summer watering restrictions. (see Good Bad Awesome for cistern instlation). Prior to this summers restrictions, I installed the Grundfos SBA3-45 booster pump that will be used to provide a presure line out of the cistern to all of the exterior irrigation for my yard and my two neighbours, as well as for my interior toilet circuit. The pump has a pressure sensor that turns the pump on each time one of more taps are turned on. It was used all summer by the three dwellings without any indication we will run out of water. The tank can be filled from empty in under 24 hours (we have a lot of ground water flowing into the site at about the 9ft below grade depth on the north (uphill) elevation.
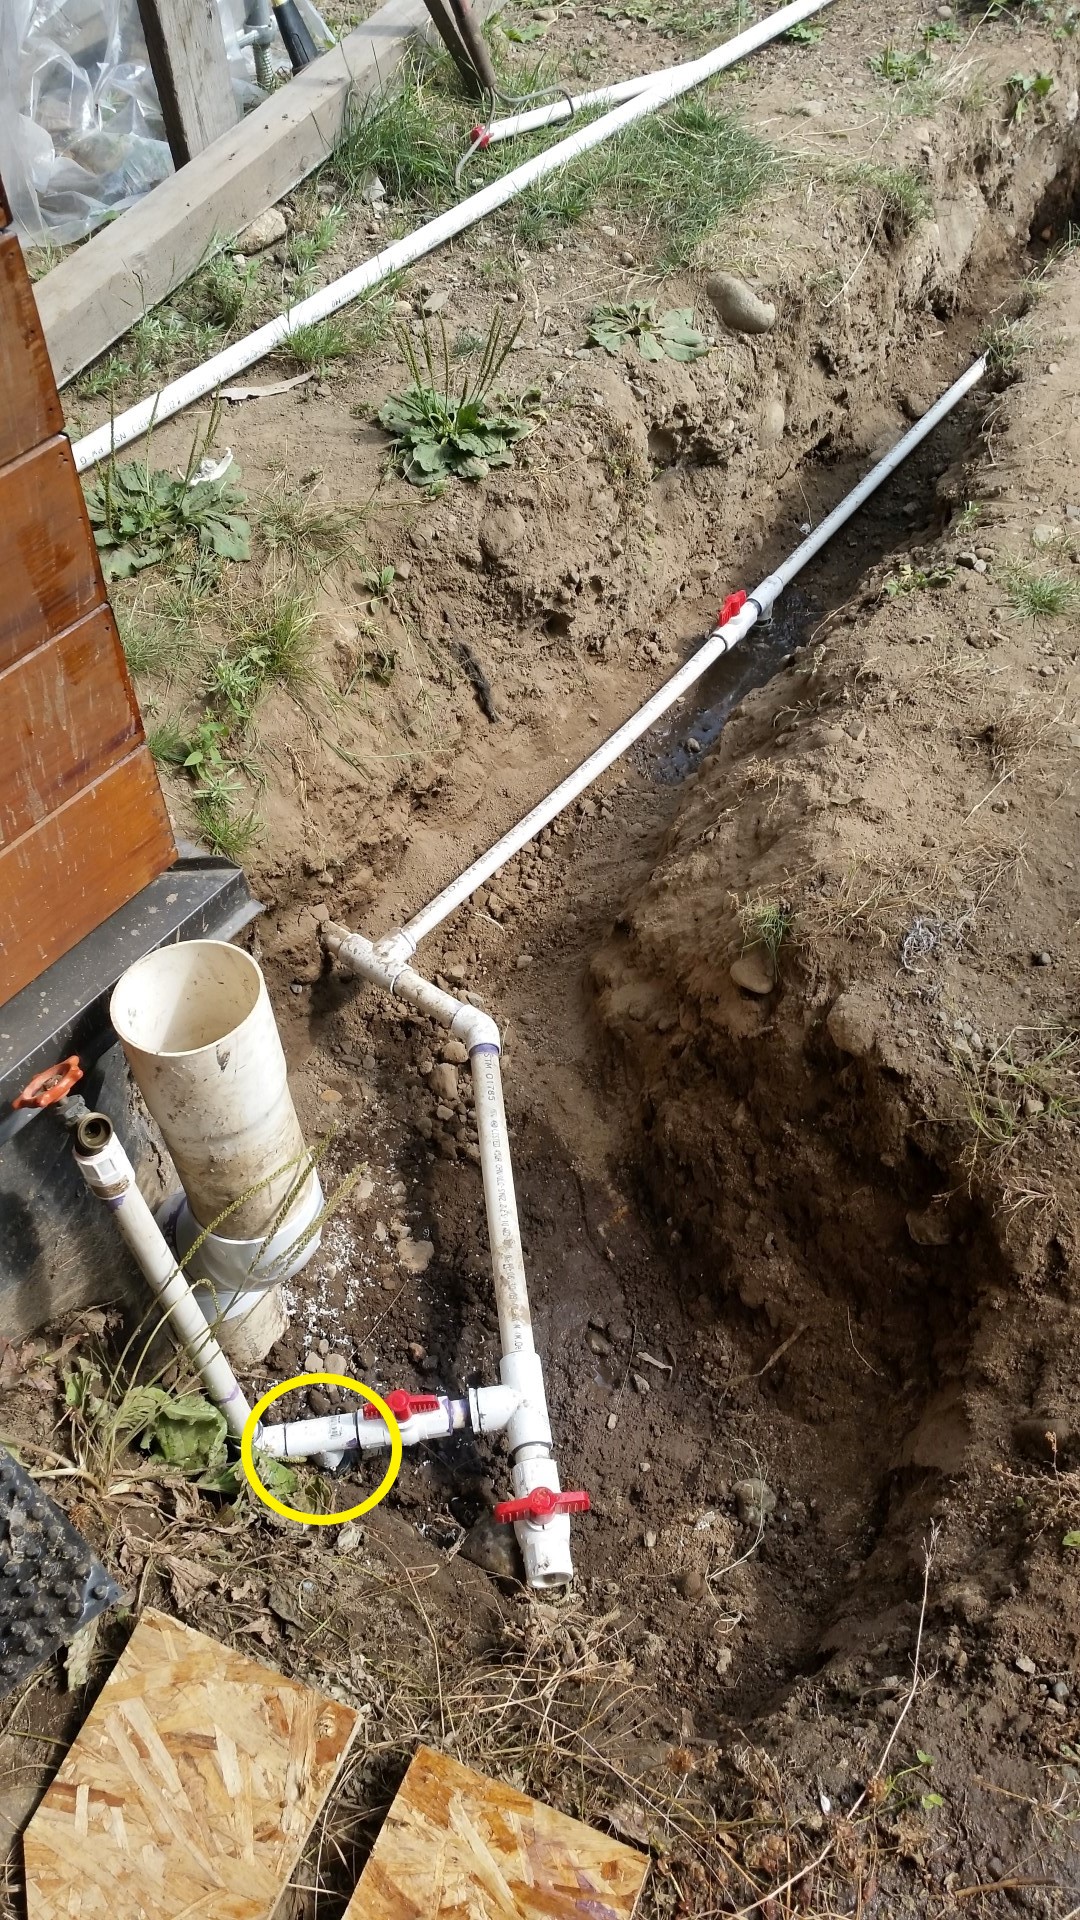
I have used this method of freeze protecting my outdoor pipes for decades with no problems. Prior to first frost, the underground valve (below frost line) and the tap are opened. This drains the line and prevents freeze up. This is a much cheaper option that having to hire a company every winter to blow out your lines with a compressor. It is not imperative that the below grade lines are sloped to drain, only that they are below the frost line and that a valve is placed somewhere along the circuit to remove the pressure on the auto-drain and allow for the water in the risers going above grade, to drain. This also worked for my lawn sprinkler system. I have never once had a cracked pipe.
The final step for this system was to run the power from the house out to the valve box. This will feed the cistern pump as well as all of the garden and Christmas lights in the areas. The below video shows my easy way (usually!) of pulling a set of conductors through a conduit.