Torched
Quick housekeeping: I have been asked by one viewer to be a bit more consistent and post my entries on the same day each week so they do not have to constantly check. Good news, you can now subscribe (just enter your email to the top right), and you will be automatically notified when I post. I cannot keep to a specific schedule as there is times I am waiting for a task to be finished before reporting and other times I am quite frankly too tired to put any more time into the day creating my post.
It has been another reasonably productive week although I did not finish the perimeter drainage yet.
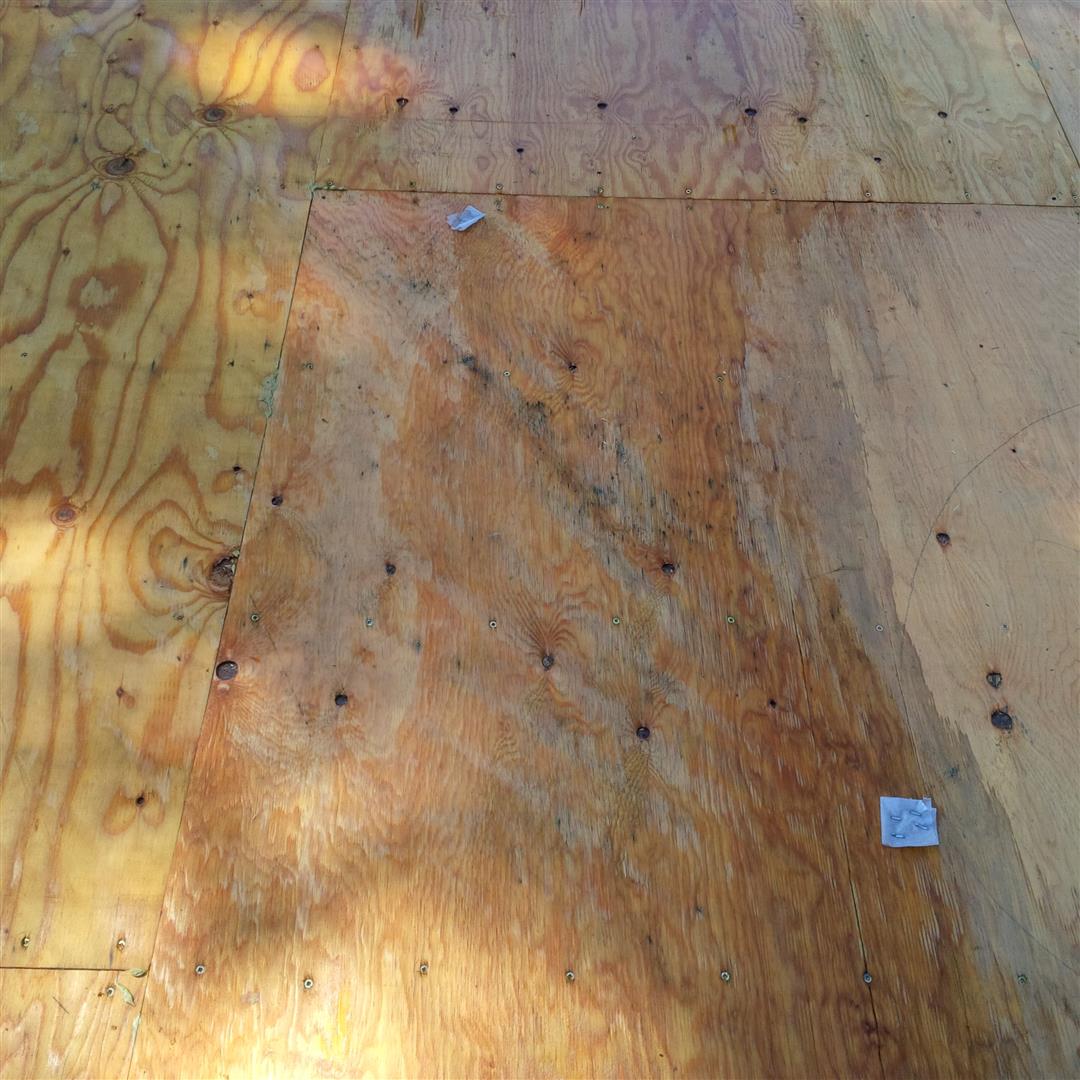
Cory came last Sunday for 4 hours and then a couple of hours on both Tuesday/Wednesday evening and then 5 hours this last Sat and Sunday. In that time he was able to install the torch on for the majority of the foundation. The only part left is 4-5 strips on the North Wall in the area of the basement walkout (this surface does not need to be done for many months), and it was decided not to carry the membrane up over the formed stub portion at the top of the foundation wall due to the number of corners and curves and the relative stiffness of the Colphene Torch’N Stick membrane. This area will be done when the back-fill is close to complete so that we can work from ‘grade’ near the top instead of on 12′ ladders. By the time the remaining membrane needs to be installed, I will probably have enough motion in my shoulder that I can do it myself. The downside to not covering over this interface is that it has left the top edge of the ICF exposed, so I will have to keep it covered with plastic so water does not drain down the ICF and fill up between the poured curb and membrane. In reality this cannot really happen as the blocks have connective webs to the inside of the wall and everything would just drain, but their is no sense maintaining this wall in a soaked condition. I was able to assist Cory last Sunday and this weekend including doing some torching on the lower half of some of the sheets where it was too tight for Cory to come down off the scaffold.
I spent a lot of the week preparing for each of Cory’s visits including priming the walls with Elastocol 500, cutting membrane strips (it is installed vertically), and building scaffold for each area he was going to work next.
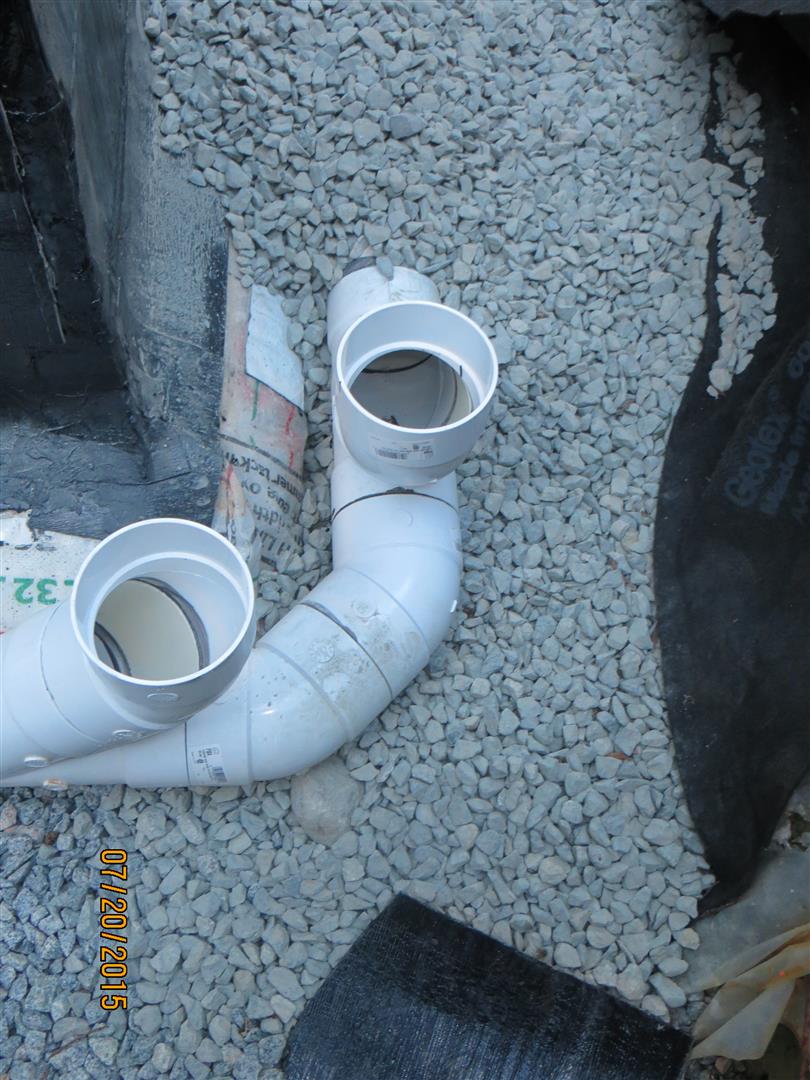
I also started the perimeter drainage. One of the tougher parts of this system was to dig down to the lower invert, I am going to have in the pump-up sump, to drain the granular field below the slab. This is going to be the primary drainage of the ground water. Because I have such a healthy granular field below the slab, it did not make sense to force the water to build up in this layer till the point that it could flow into the base of foundation perimeter piping. So instead, I should end up with a pipe entering the sump a full 2′ below the perimeter drainage system. This extends horizontally about 4′ into the granular field in a deeper area of the excavation that was dug out to place the sump as well as to get rid of the storm water and resulting mud last October. I should have dug this pipe during the sump placement, but I did not have the storm system designed at that point and so I had to do it now that I have 2ft of gravel. Ever tried to dig a deep trench in gravel??? It is not fun, but I got it done.

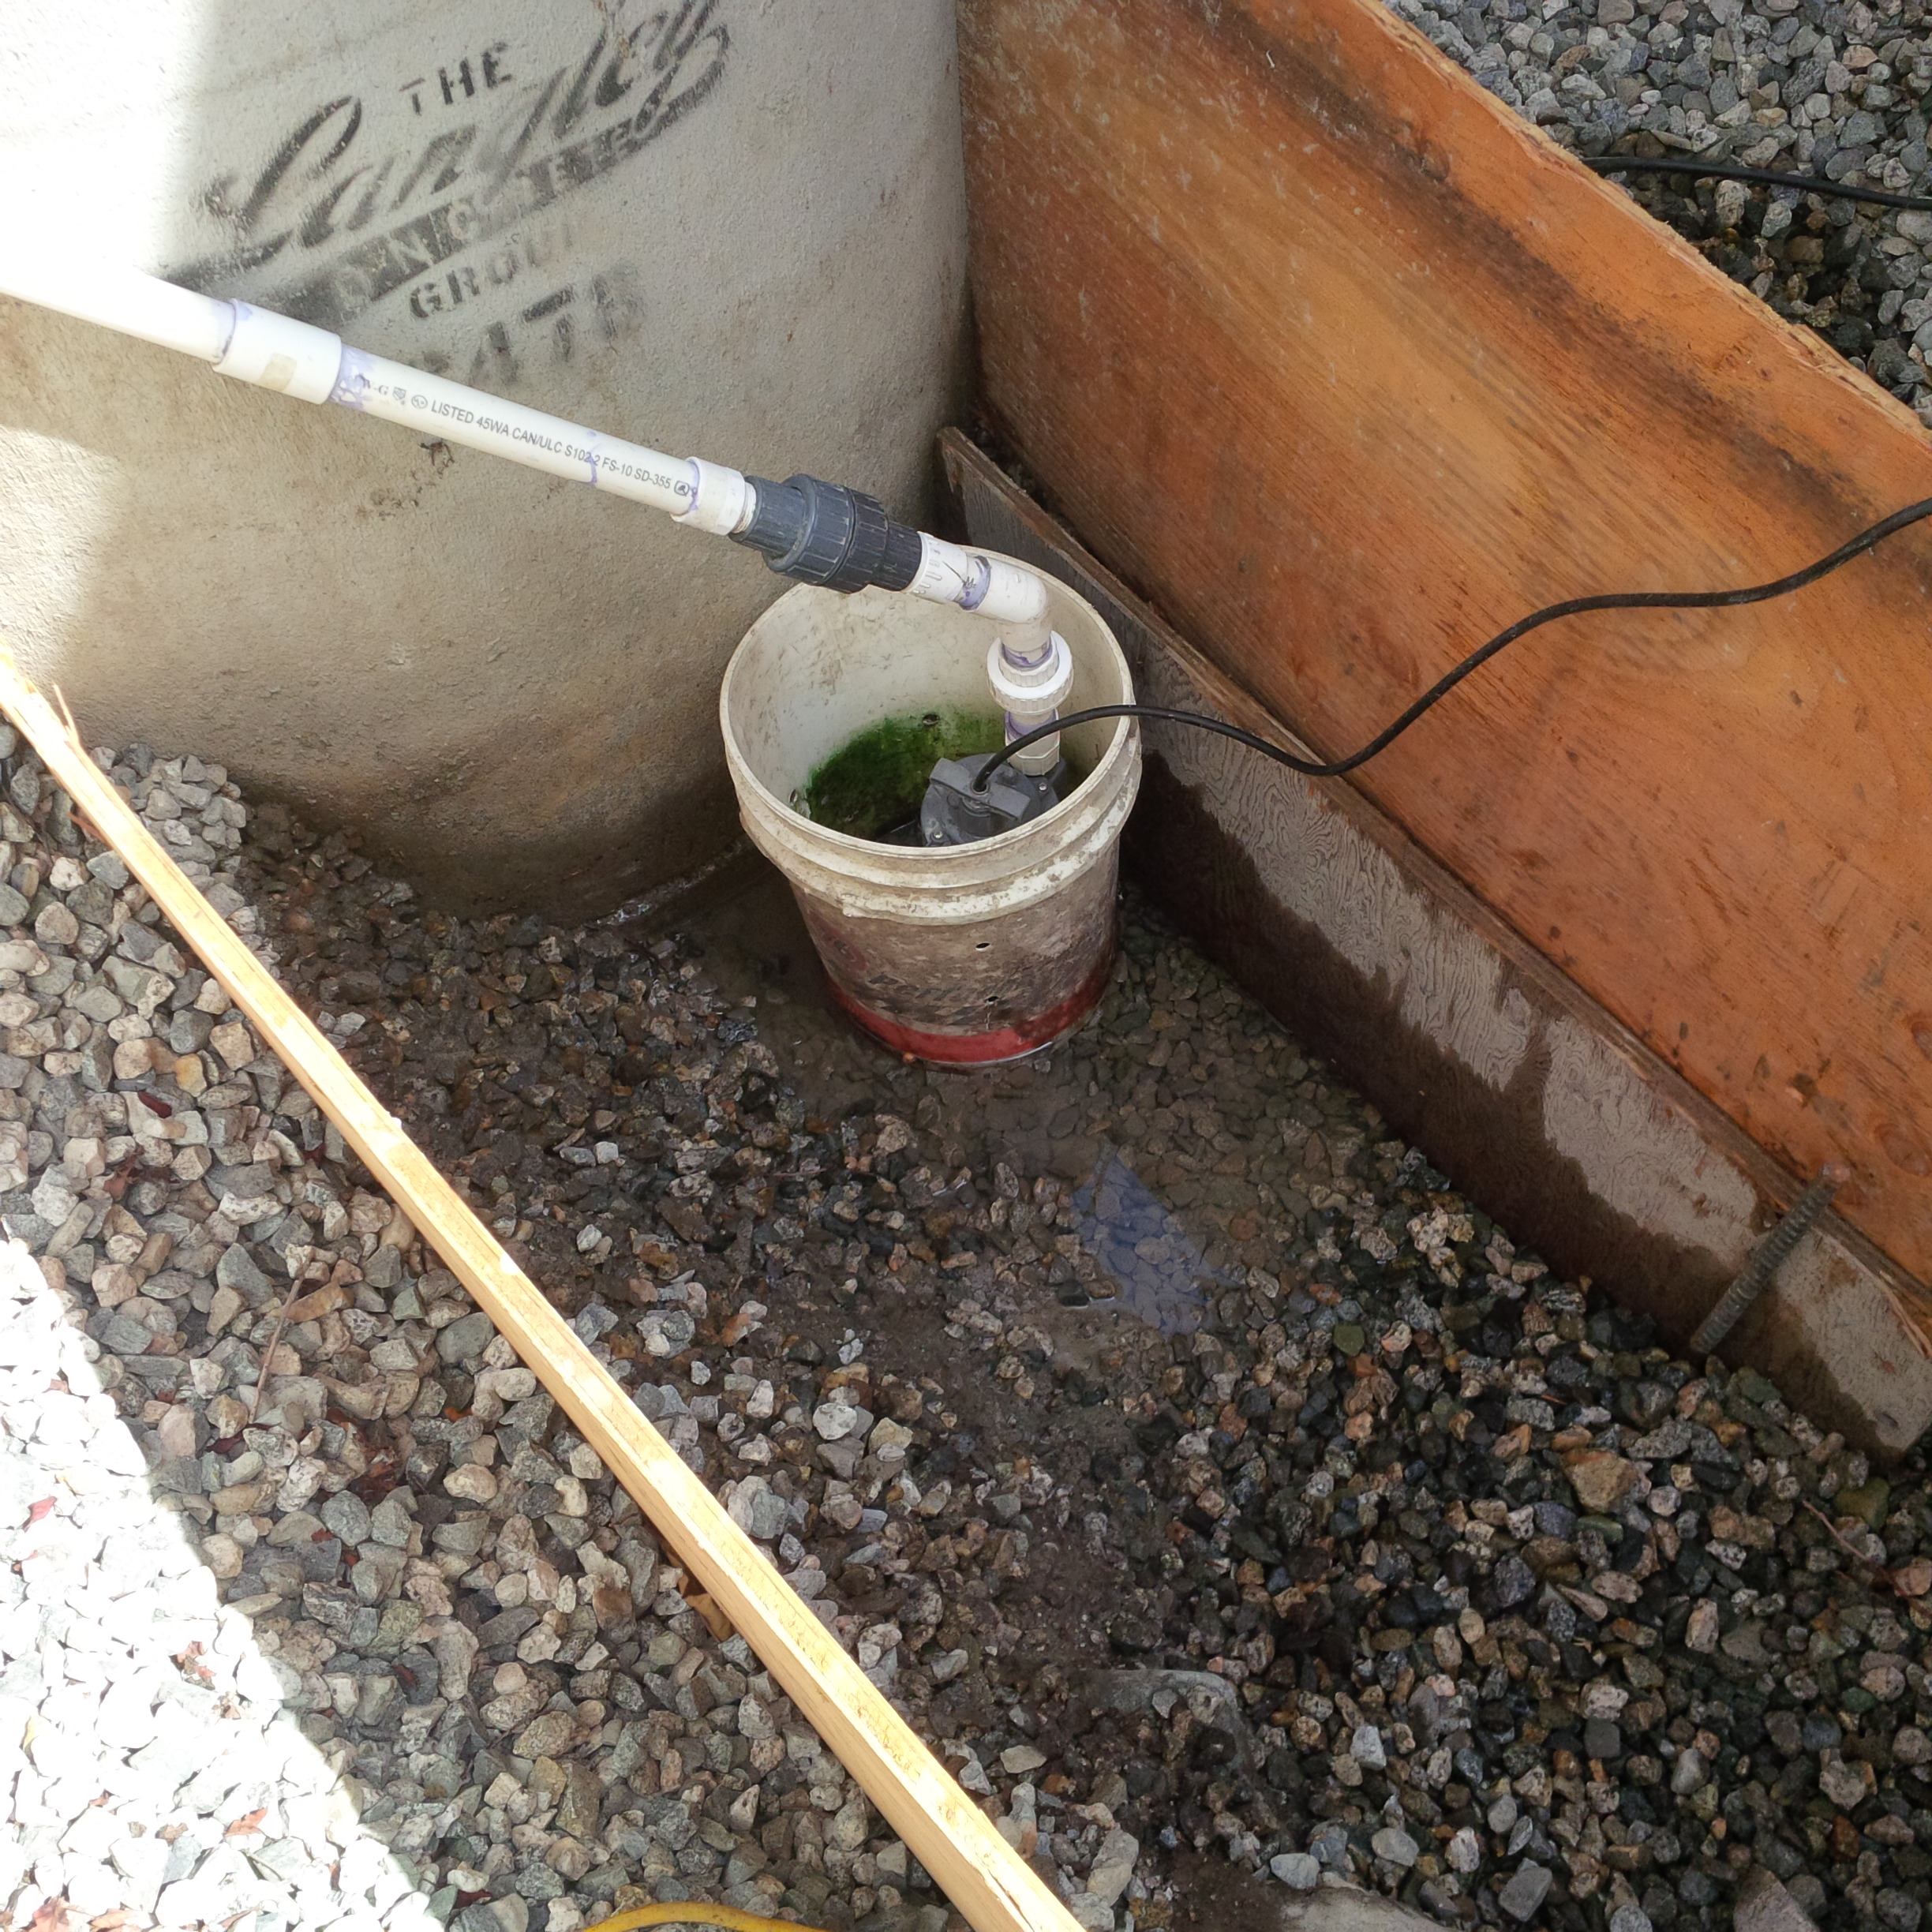
The benefits of this type of system include energy efficiency and greater safety during power failures. As we can let the water buildup to just below the drain pipe entry, we now have a massive reservoir that can be used to reduce the cycling times of the sump pump and downsize the sump pump speed. In the case of a power outage, as this is just ground water with a constant but moderate flow, we will probably end up with at least a days storage capacity before the water level built-up to the point where it would make contact with the underside of the slab. The key to sizing the pump is to not ‘over draw’ so that the drainage from the gravel field can keep up to the pump’s flow and not allow it to suck air as this creates cavitation and damage to the pump. This has been a bit of a hard sell to the sump engineer but he has accepted the concept as has the Geotech.
Another green feature I am looking at with the storm water system is to capture the pumped up water in a cistern for the use of irrigation and the dwellings purple pipe system used to flush toilets. There is many benefits to using ground water for these non-potable needs vs. the more traditional grey water or rain water capture. The ground water is typically much cleaner than either grey or storm water and will not require any filtering. It therefore only requires the addition of a cistern to capture the water. Like all systems it would require a pump to transport the captured water to the irrigation system or toilets, but it would not require the complex filtering that is needed on grey and storm water. The storm water can get especially complex in areas with trees, as you then need the logic built into the system to flush away the first 30 minutes or so of water that comes off a roof to discard all of the leaves and needles that would otherwise be present.
It appears that I may be one of the first to try this capture method as I have not found evidence of such a system in my research on the net, and a post to a linked in group has not turned up anyone who has experience with such a system. The only problem would be if the water was not the right PH and I will be taking the water in for testing in the upcoming weeks. Otherwise, it should be full of minerals and metals that plants just love and I will be able to fully irrigate my landscaping with impunity of any District watering restrictions.
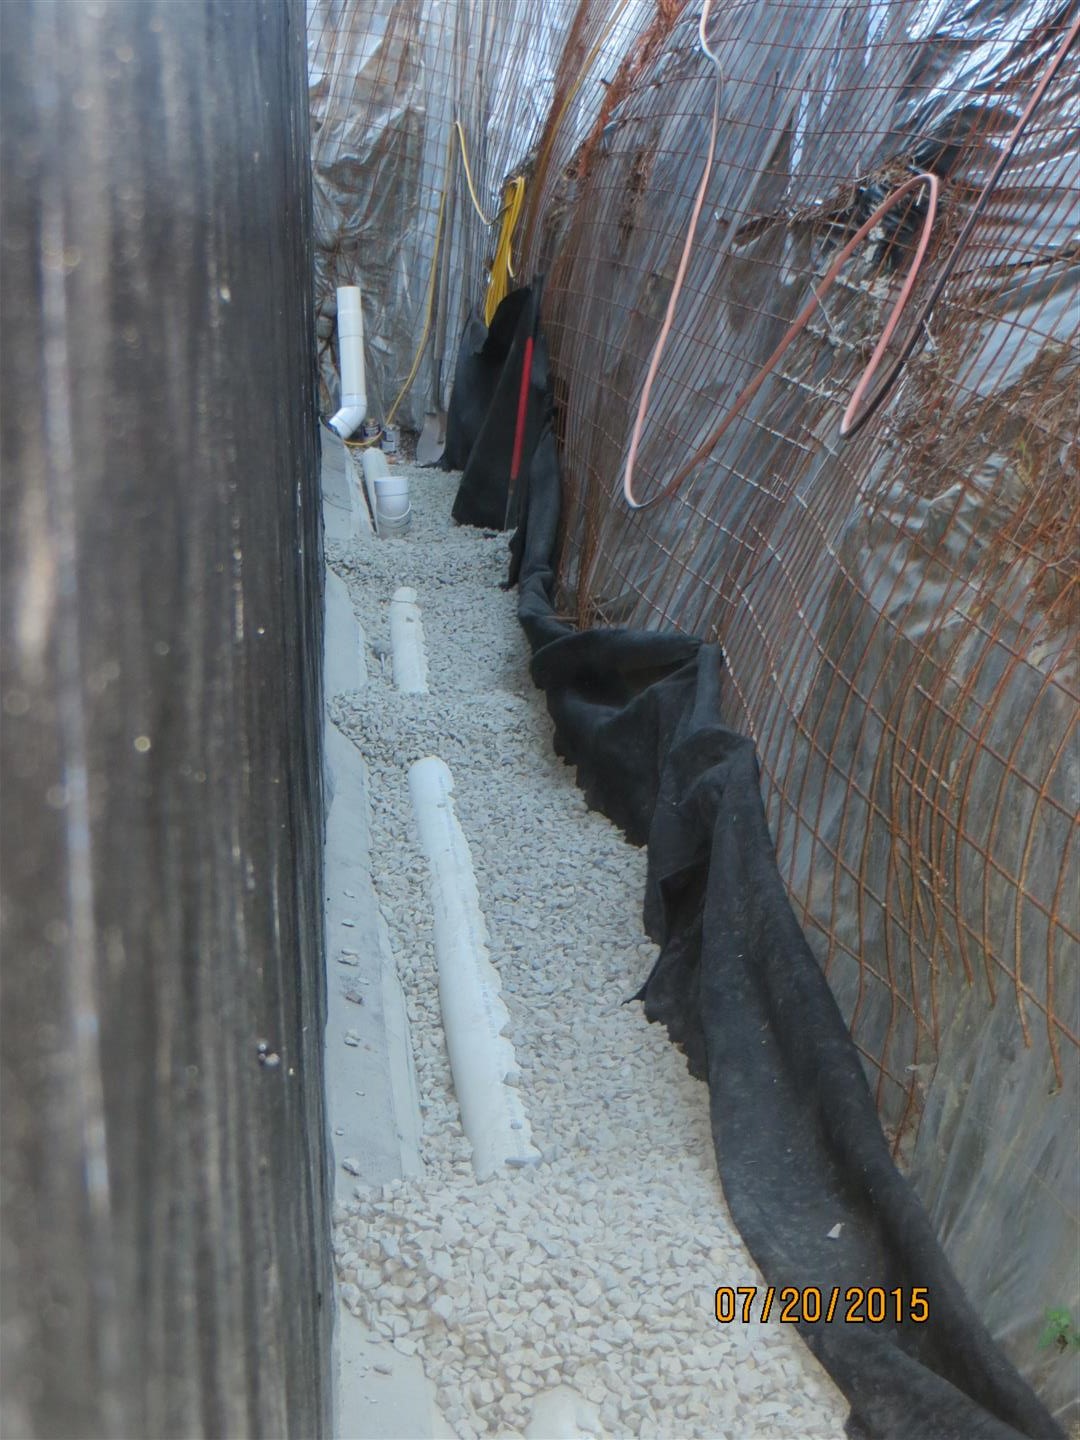
In addition to the trench for the deep sump invert, I also placed the south wall perimeter drain and embedded in gravel. If have 3″-5″ of drain rock below the pipe with the holes facing down (5:00 and 7:00). The pipe is laid at a .5% slope. I am using a 7′ level with a 2′ digital level. Now the the foundation membrane is complete, I hope to concentrate in this system during the week and have it ready for inspection by Monday.
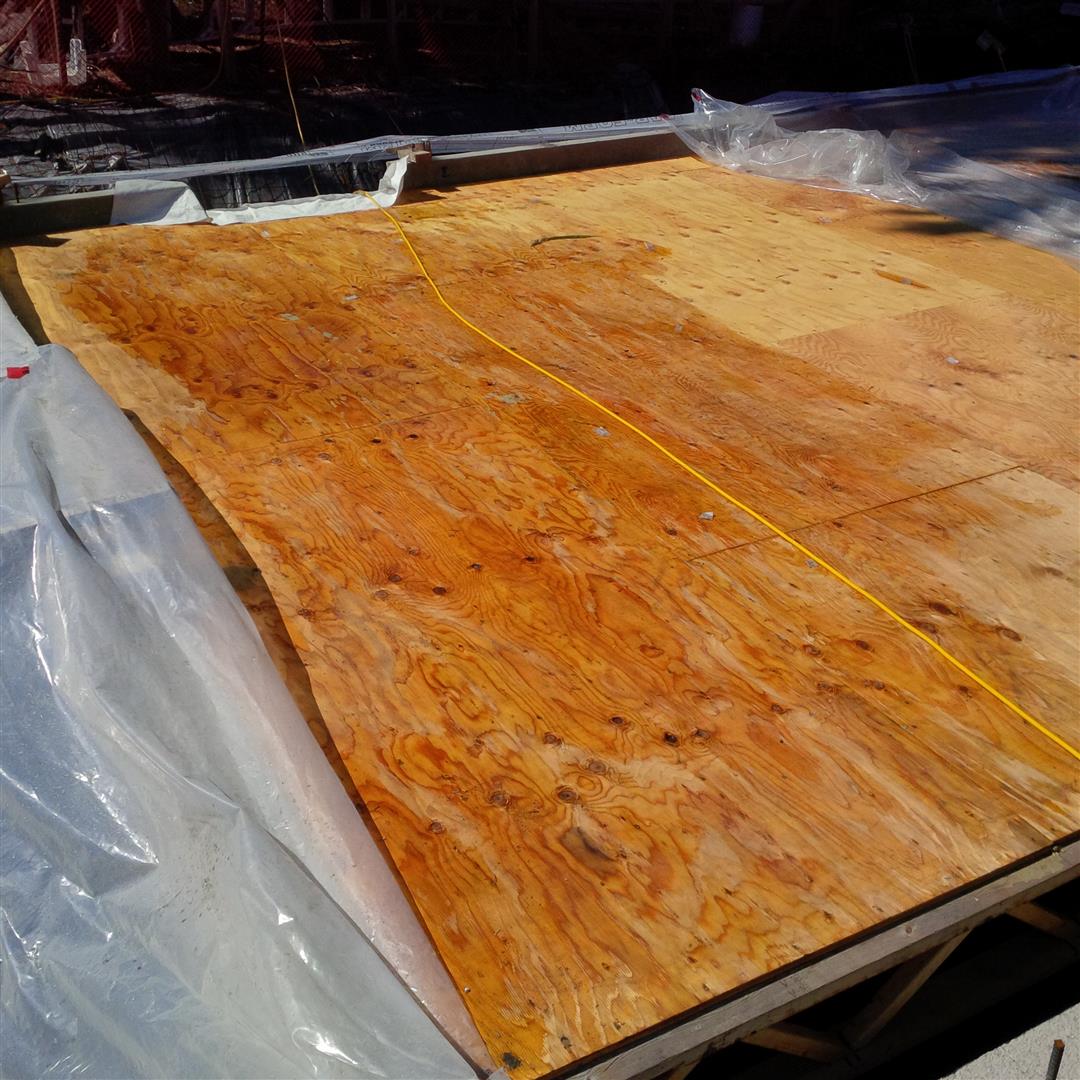
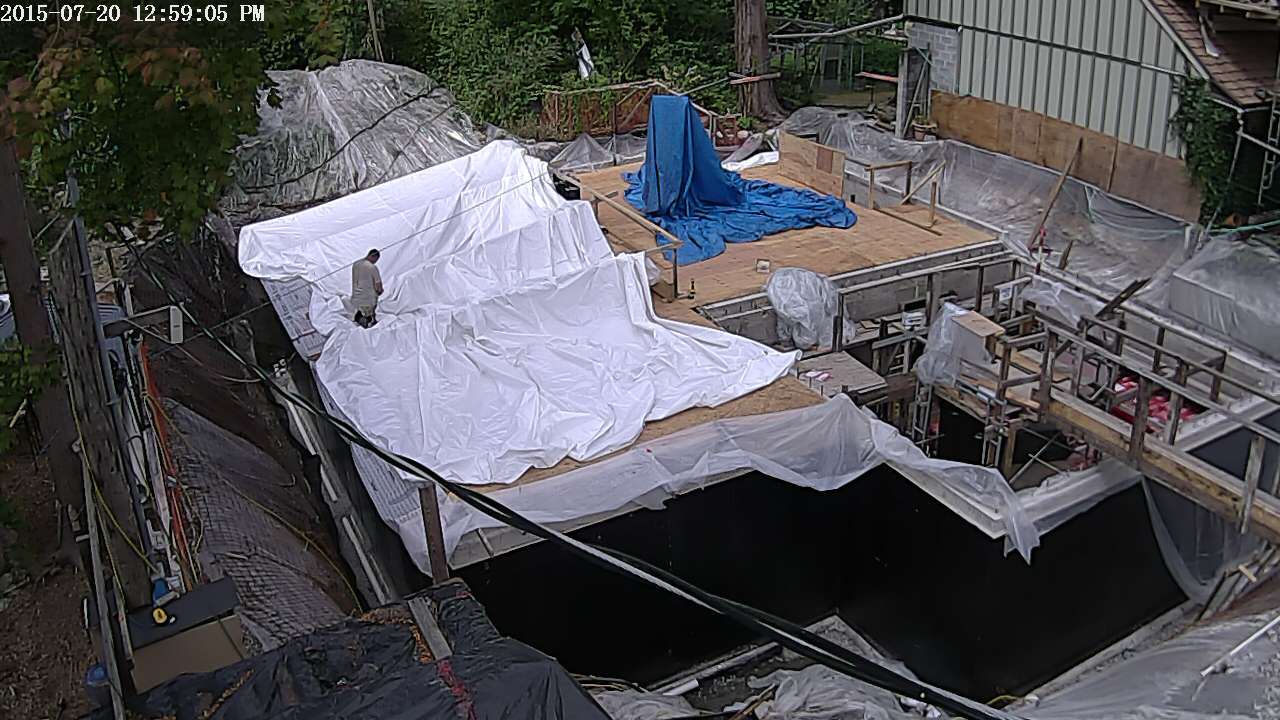
If you were watching the video feeds today, you will see that I now have B.A.T. Jr. 3.0 in place. While the plastic stapled to the deck did keep off the majority of water, some of the pooling water did seep through tears and staple holes resulting in a mild wetting of the deck. This in itself was fine, but as the plastic was now in intimate contact with the deck, there was no air flow and the plywood would have just started to mould. So I stripped the plastic off during last weeks heat and allowed the deck to dry. Today I installed a new tarp on 2×4 stringers. 3rd time a charm?? Time will tell.

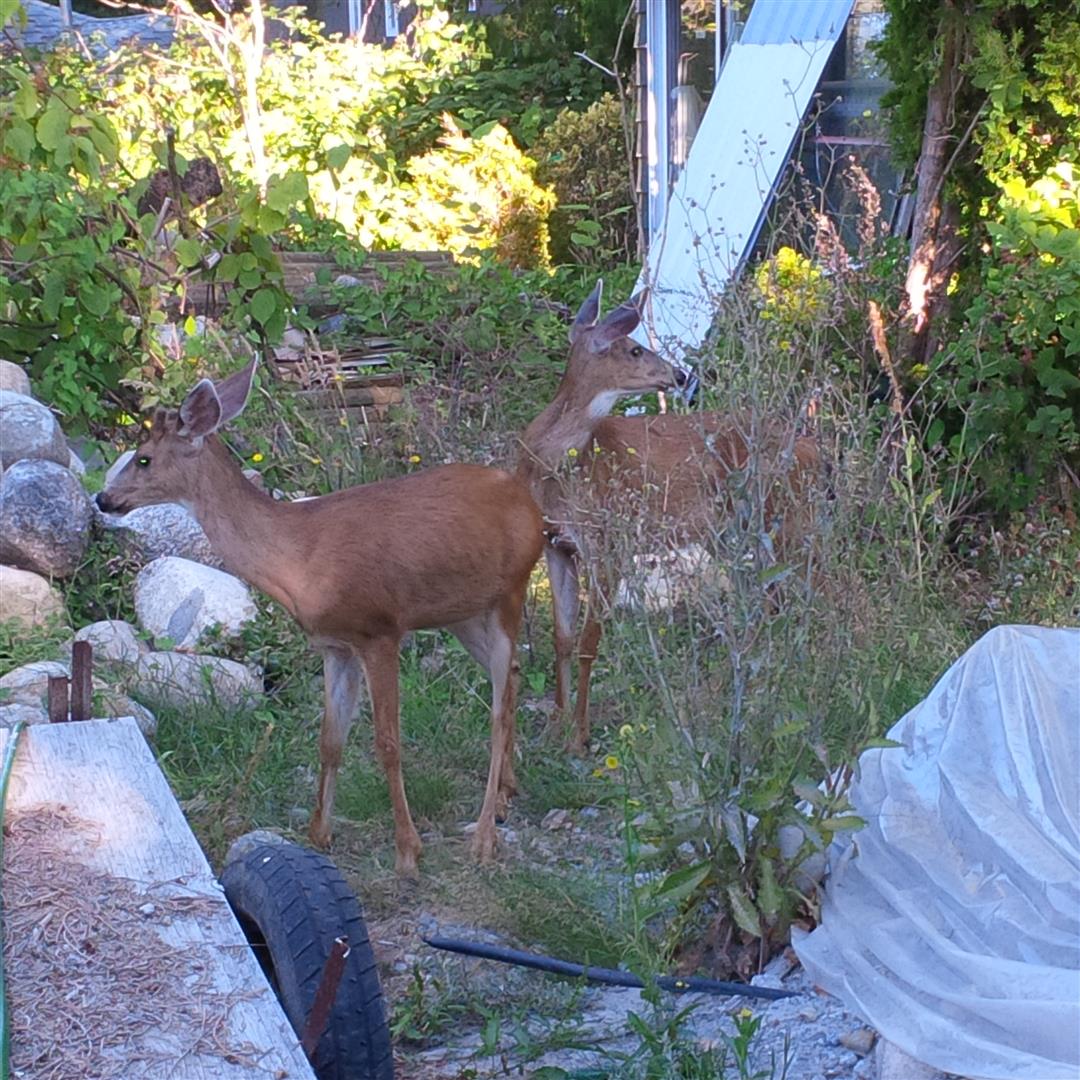
The final excitement to the week transpired on Sunday morning when I had a new species of visitor to the site. This is the first deer that I have seen and both my neighbours have been there since at least the 70’s and it was their first as well. The list of major species that have been seen in my yard since I moved in (in order of frequency) comprises of the following: Humans, Cats, Raccoons, Squirrels, Crows, Skunks, Bats, Black Bear, Dogs, Hawk, Blue Heron, Mallards, Coyote, and Deer.
“Excellence is the result of caring more than others think is wise, risking more than others think is safe, dreaming more than others think is practical, and expecting more than others think is possible.” —Ronnie Oldham
Thanks for visiting to both the deer and you the reader 🙂