1st Hydronic Circuit Complete!
Now that I finally finished all of the ‘cavity work’ and finally have all those cavities insulated, the final major system to install, prior to drywall, is the hydronic ceiling conditioning panels. This system will create the heating AND cooling for the house.
The most common comment I get when I mention how I am going to condition the space inside the house is “heat from the ceiling, how does that work?”
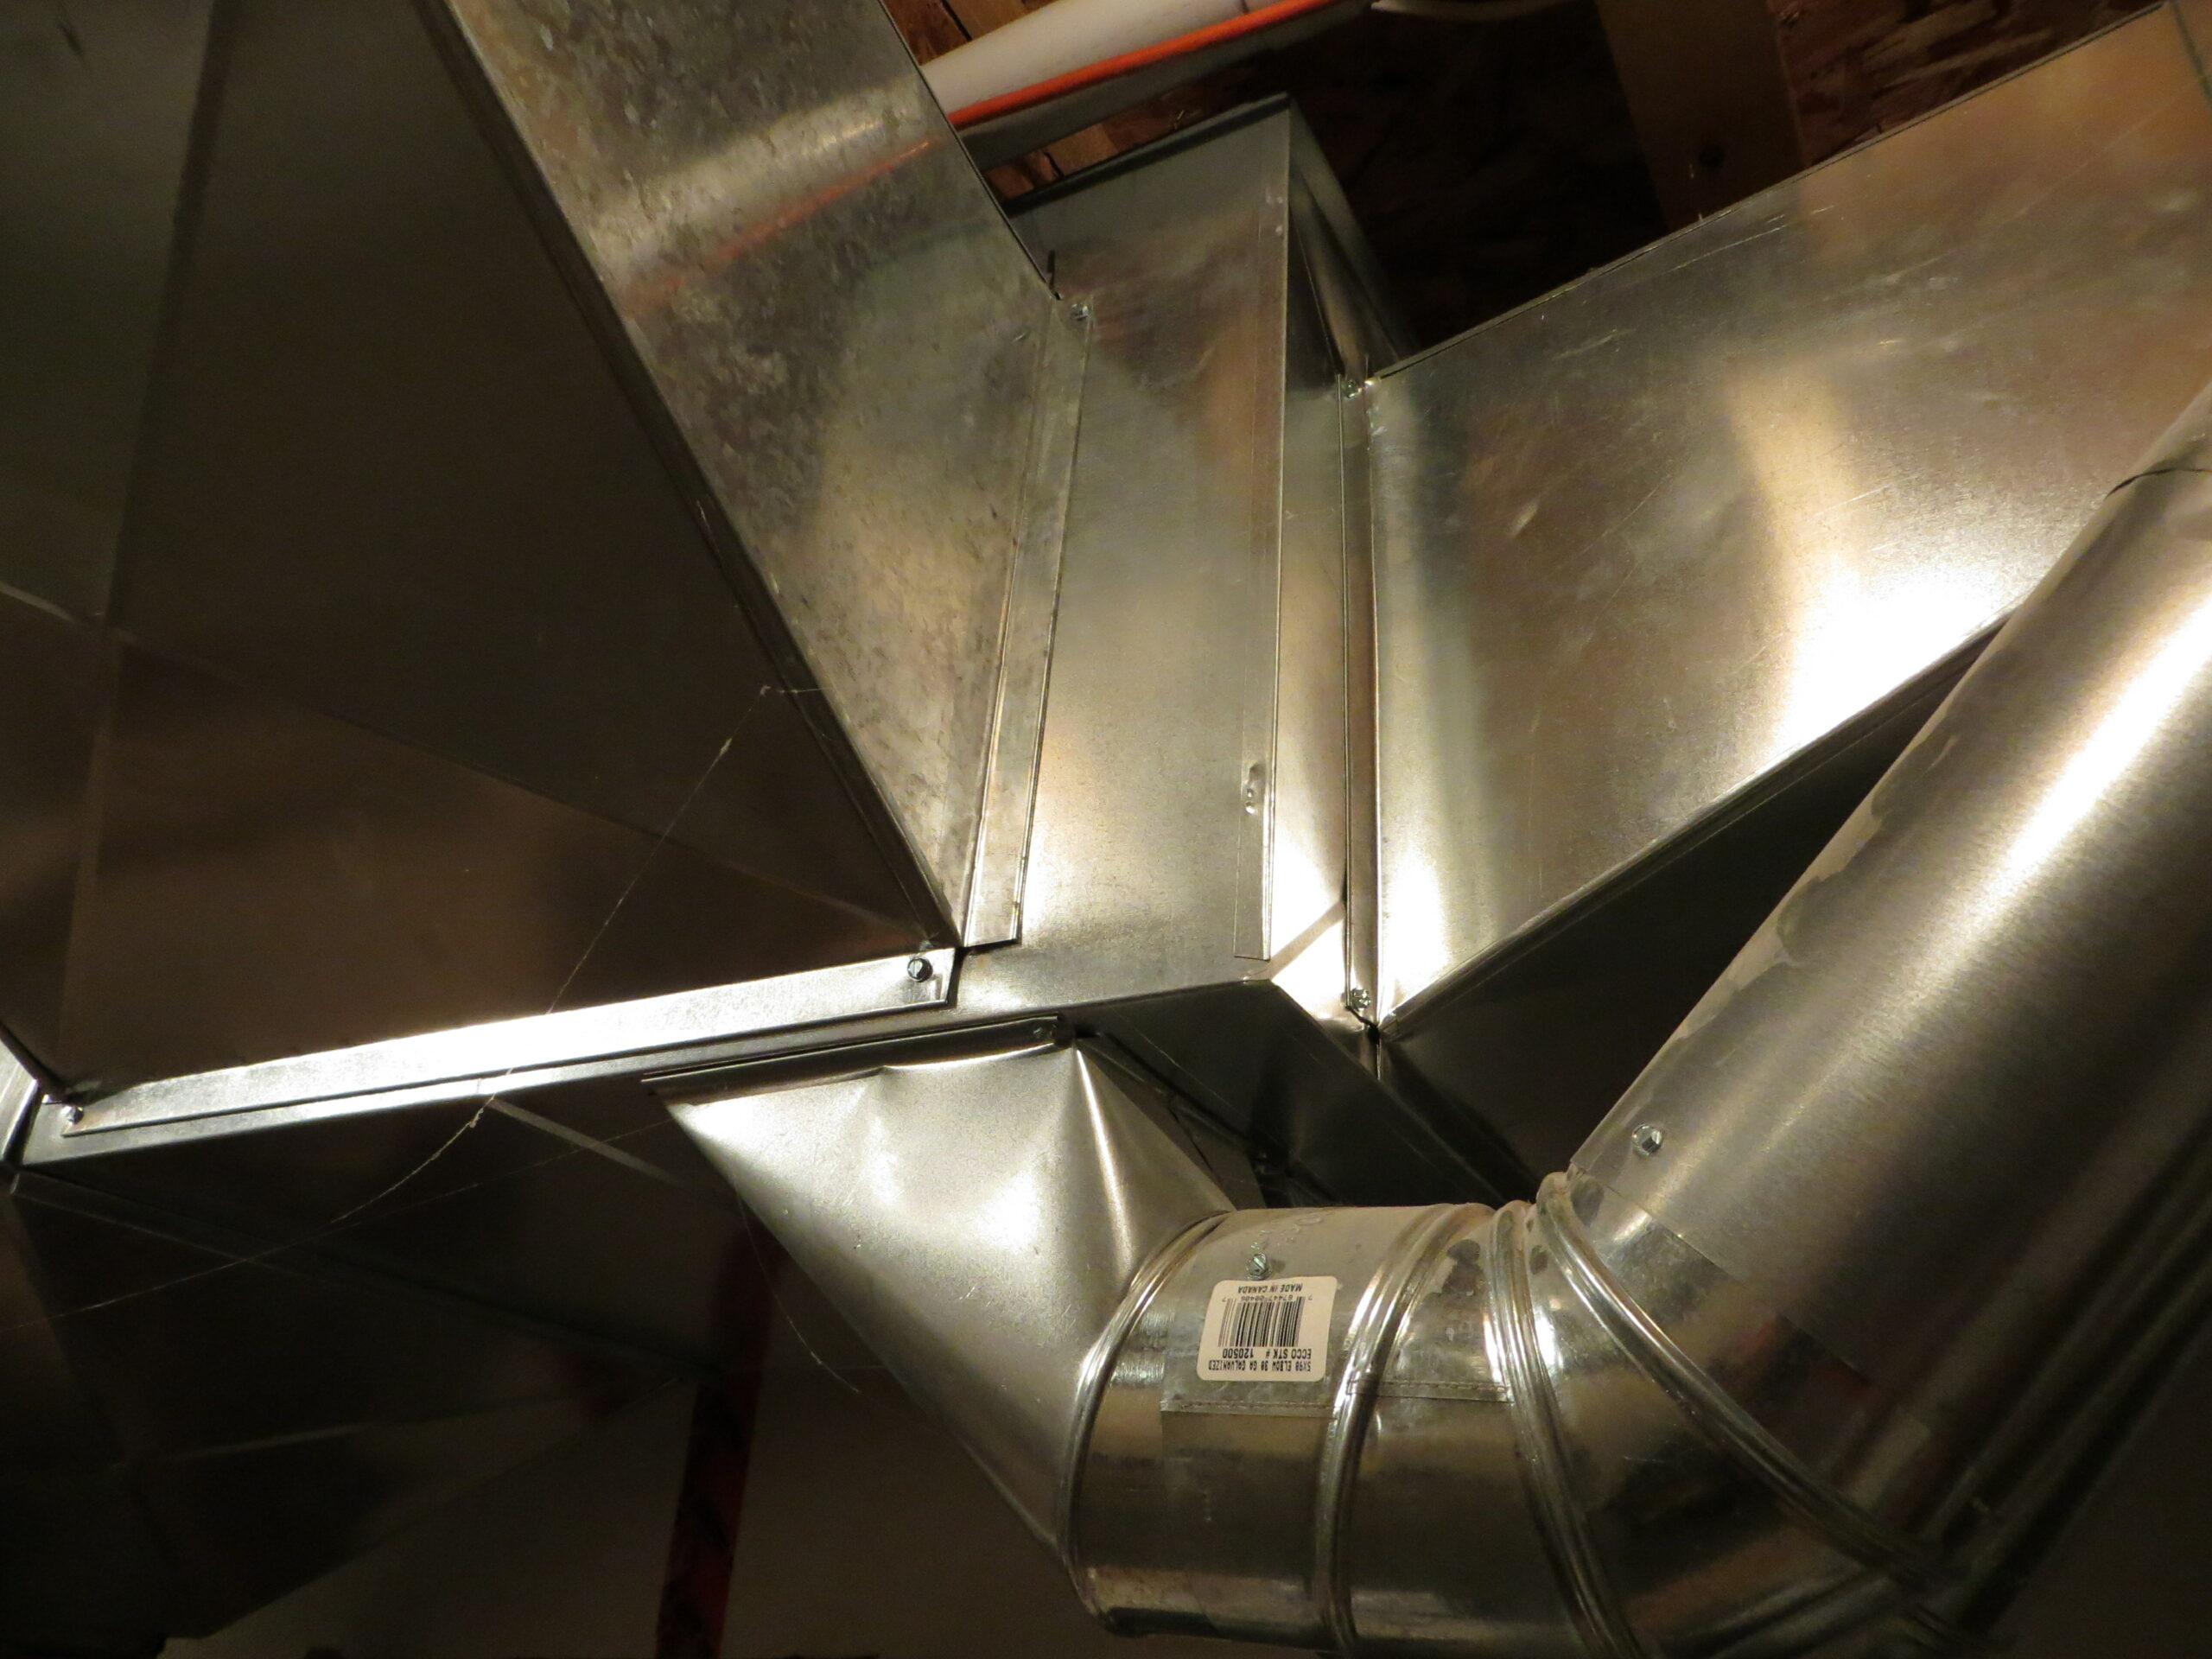
Most people are familiar with forced air systems. These systems work by convection, the movement of heat by means of air flow. The air is heating by means of a gas or electric furnace, and then moved through the house by a large fan pushing the air through metal ducts. The heated air entering the rooms gradually heats up the objects in the room. Air is an insulator, so the process in general is quite inefficient. This is why forced air ducts are so large, you need a very large volume of conditioned air to do the job.
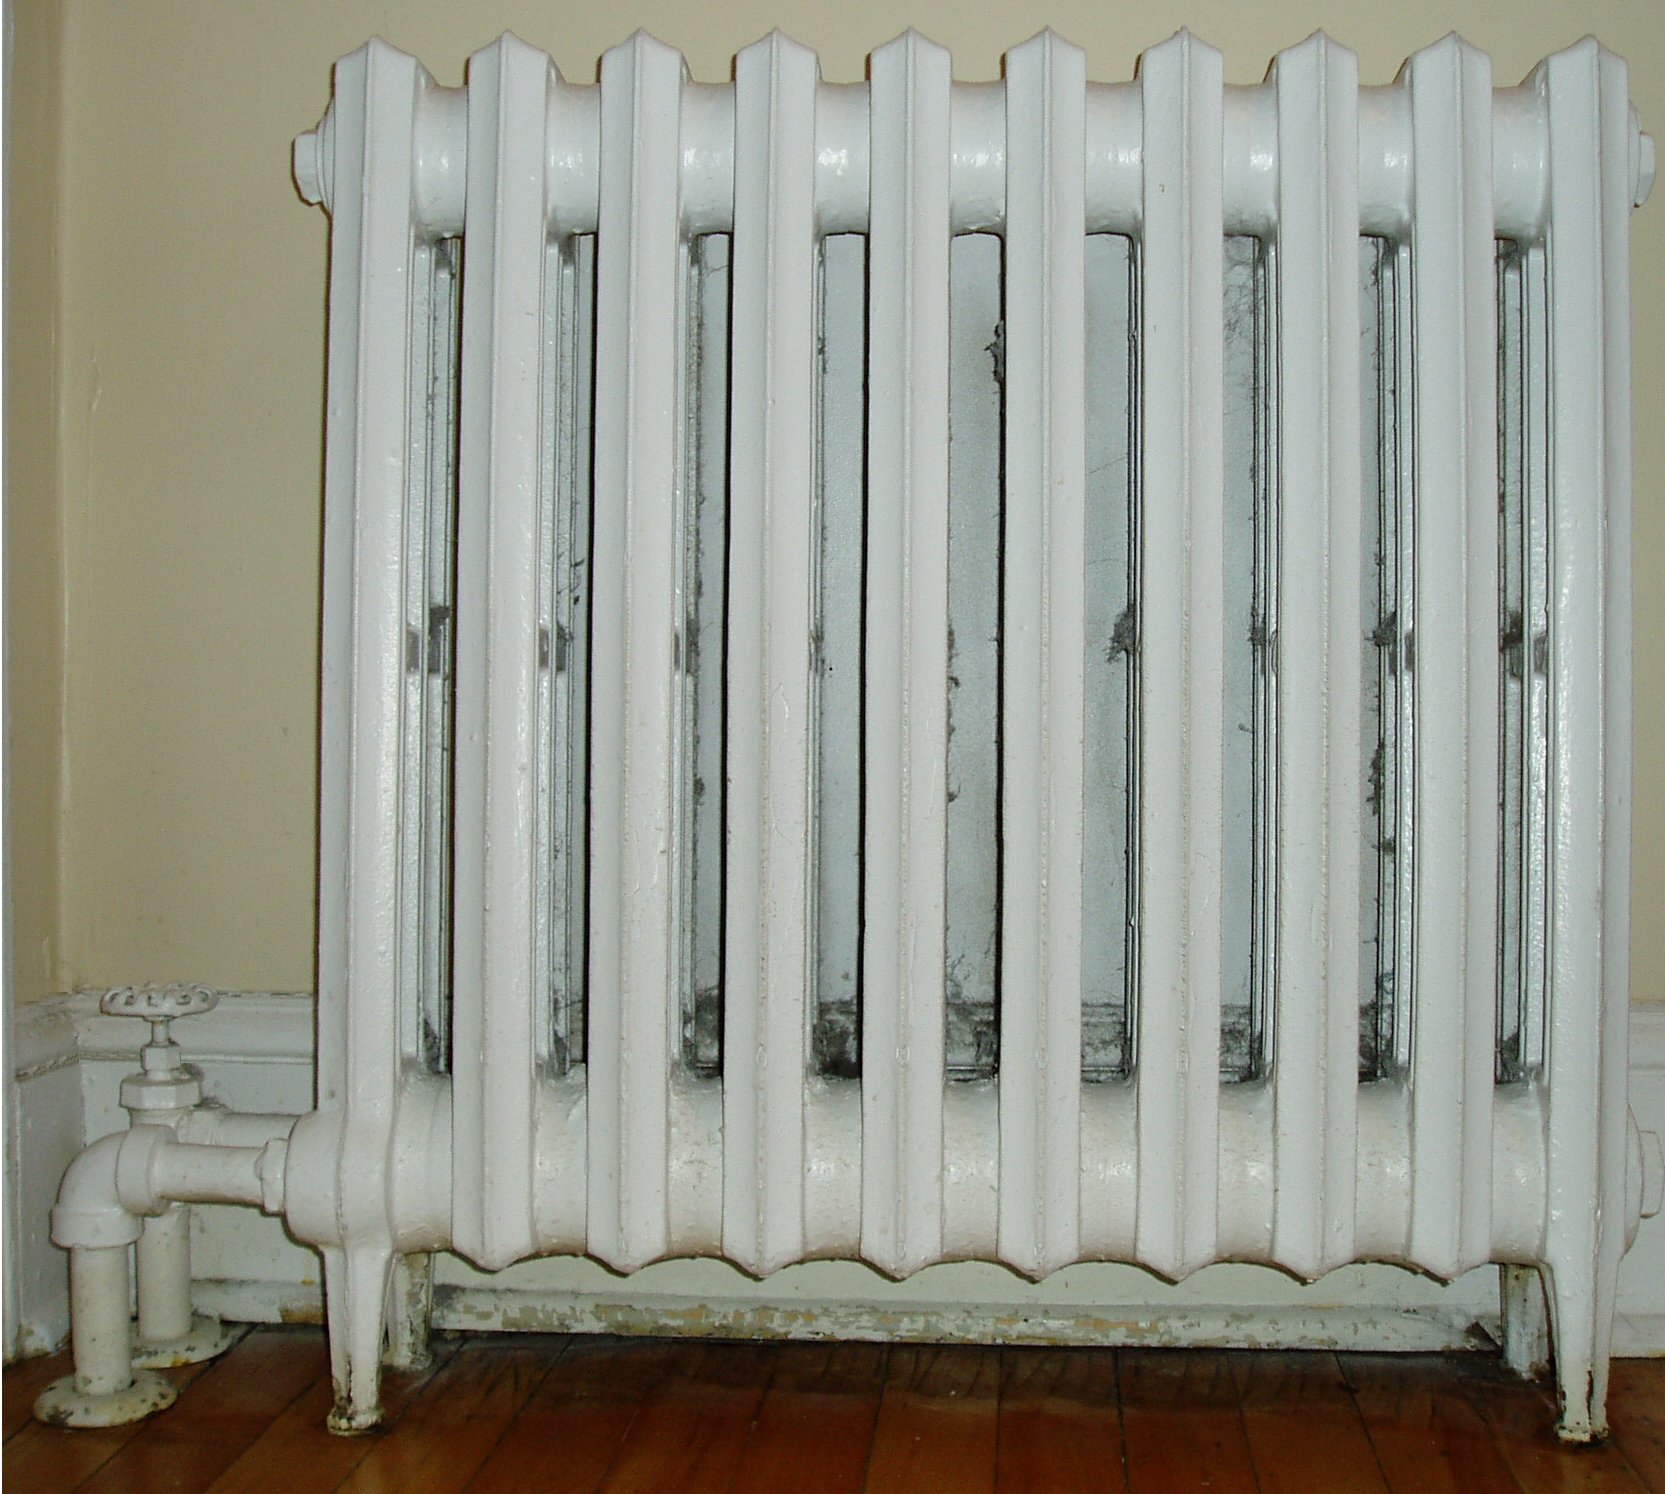
The next system most people are familiar with, or aware of, is radiant hot water systems. Earlier systems, from the last century, were large cast iron radiators, typically placed under windows.
These were gradually replaced with ‘based-board’ convectors. These combined a ‘radiation’ heat method, with a convection heat movement.
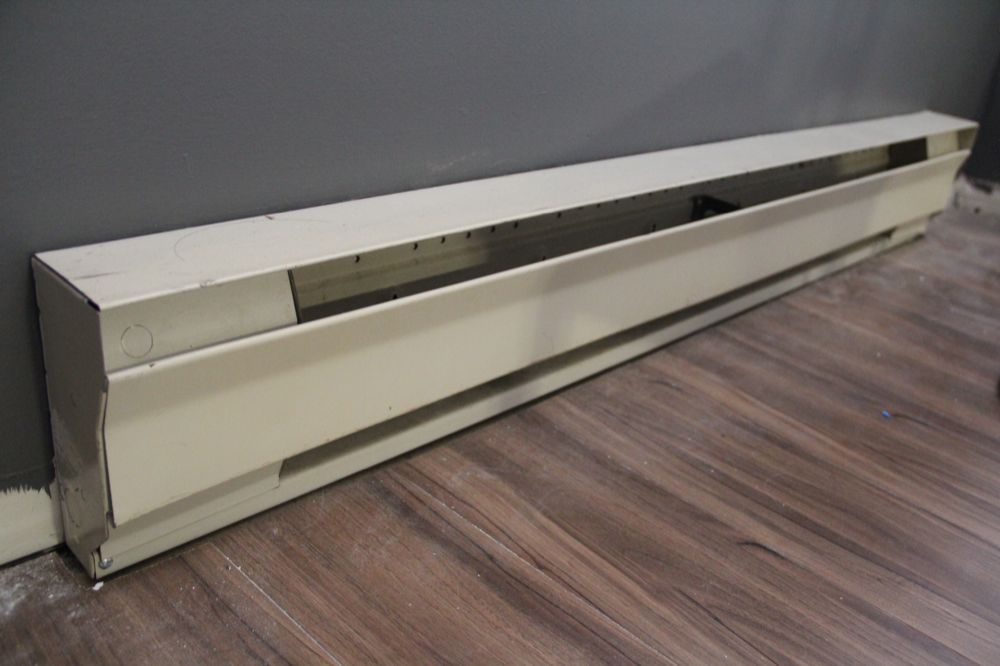
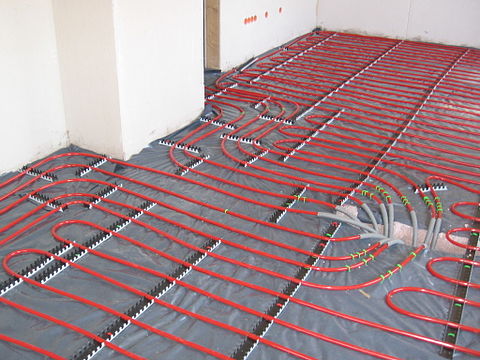
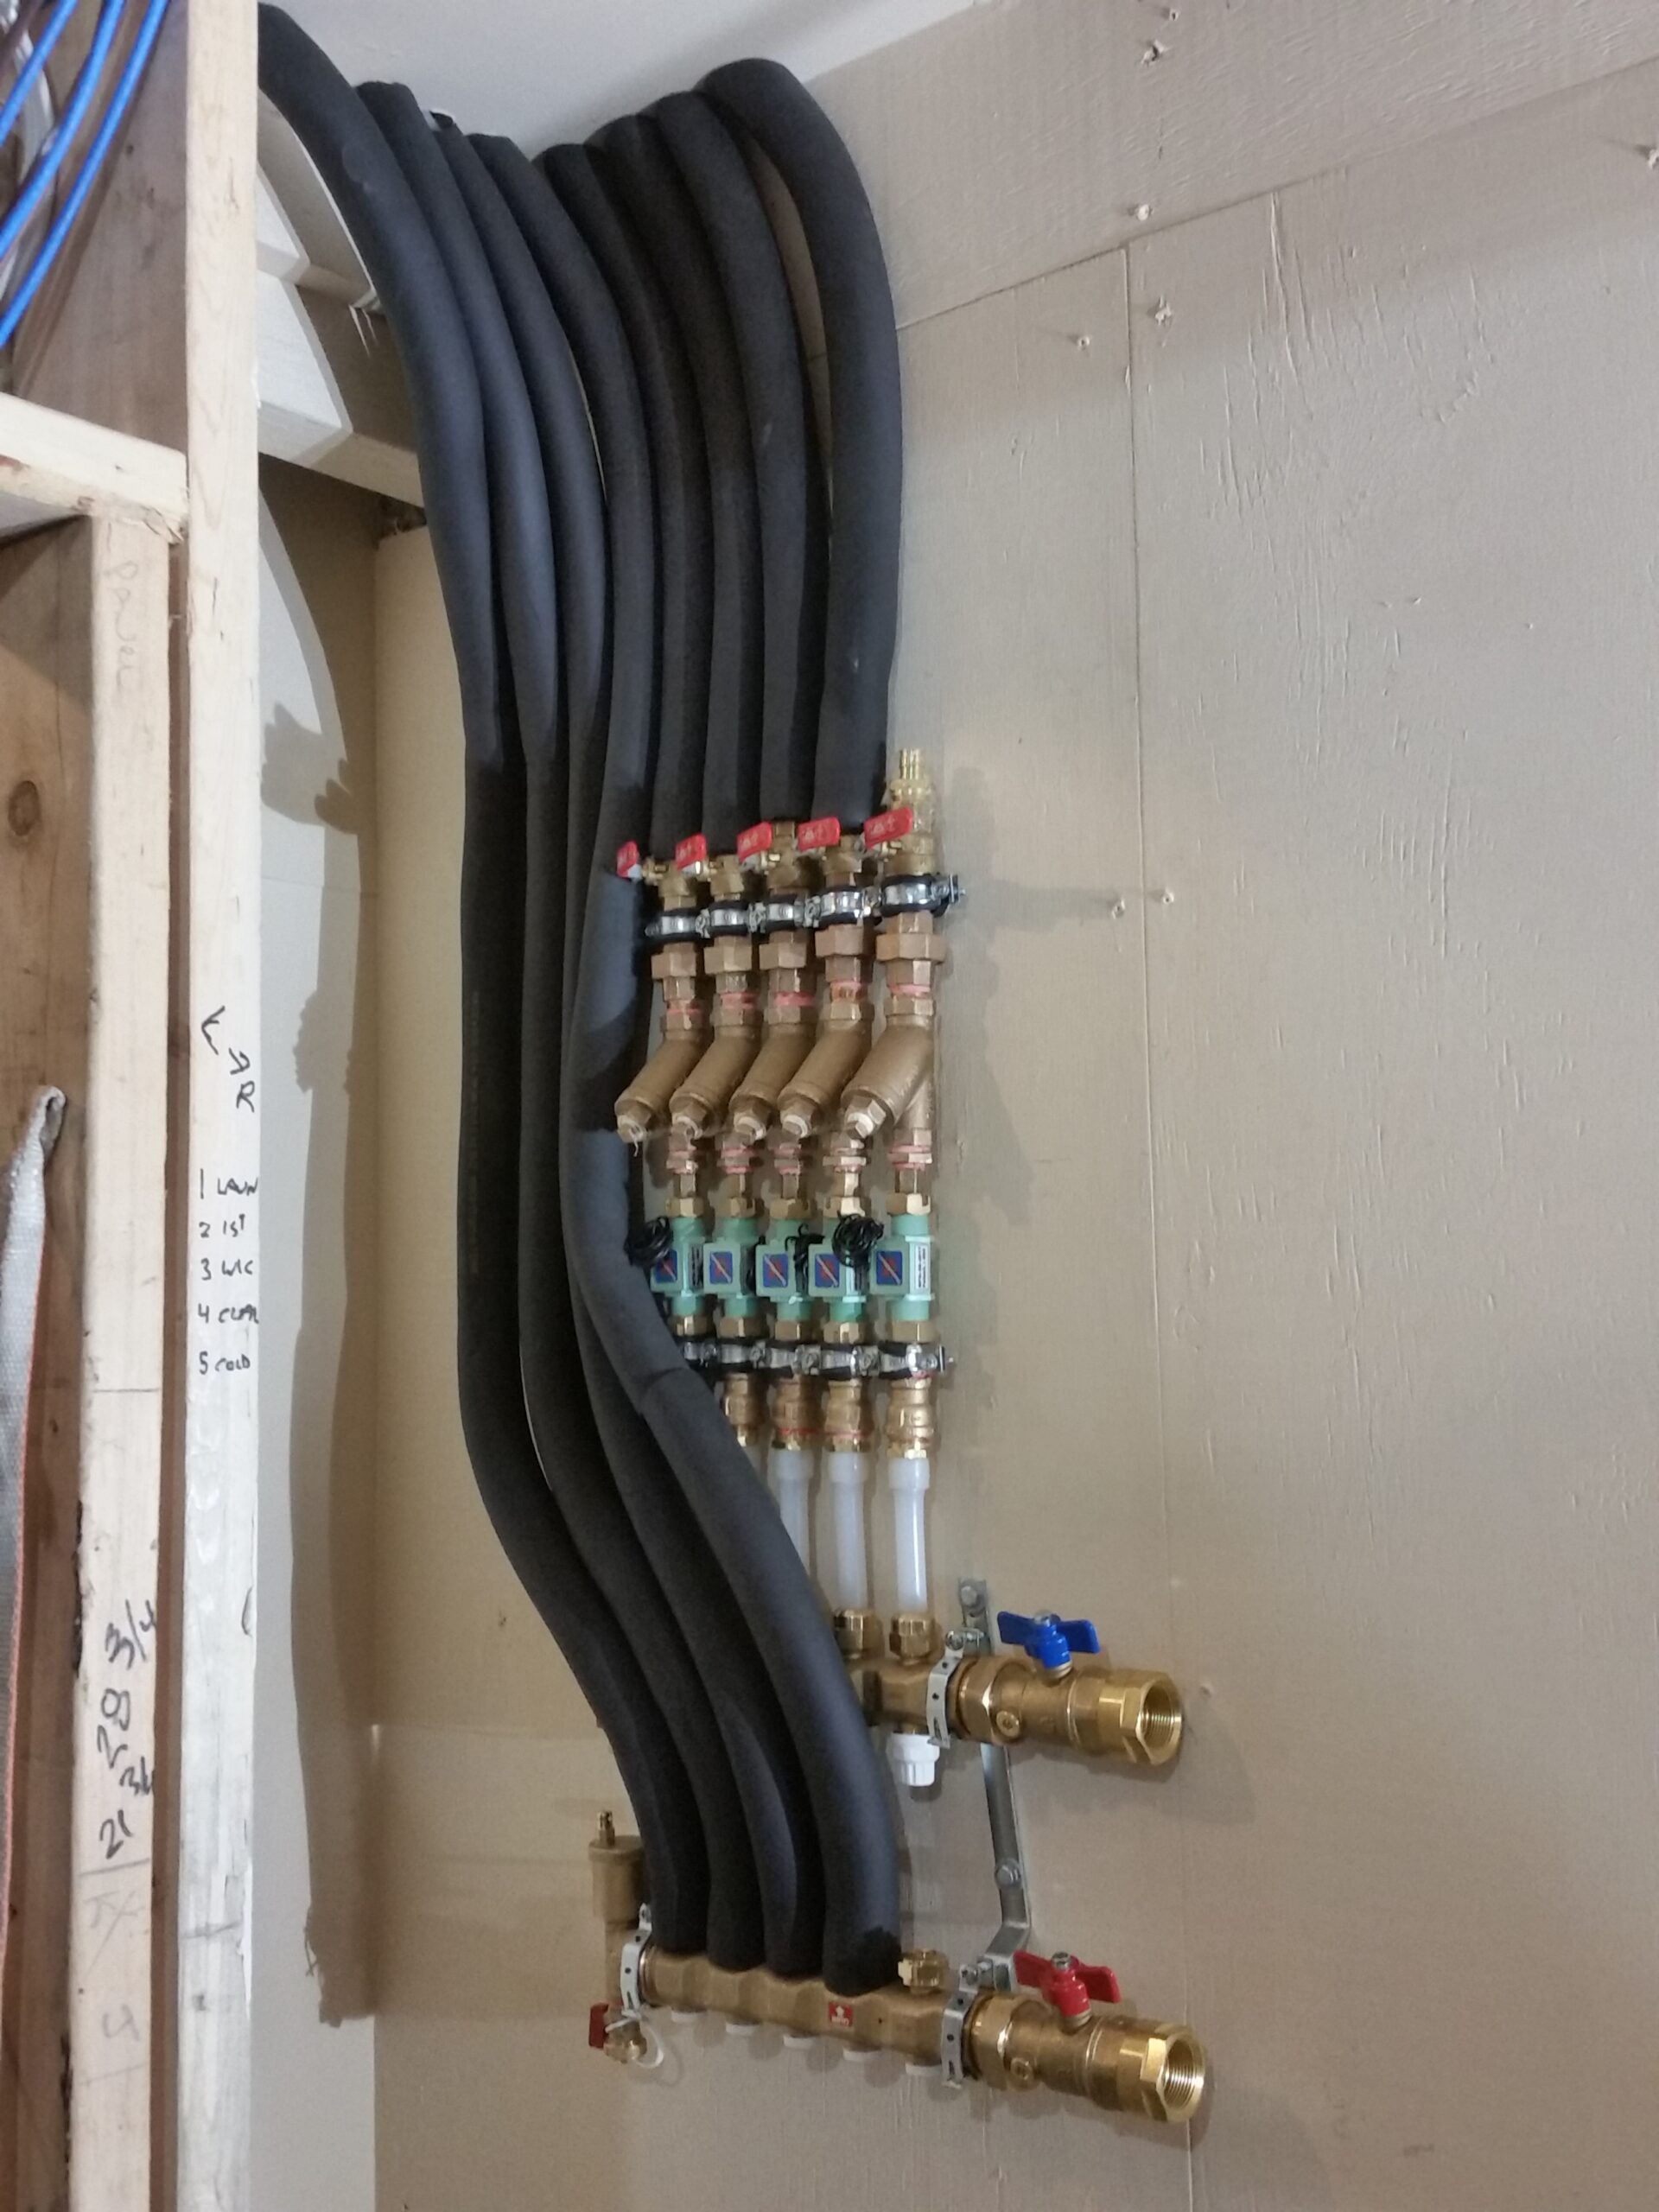
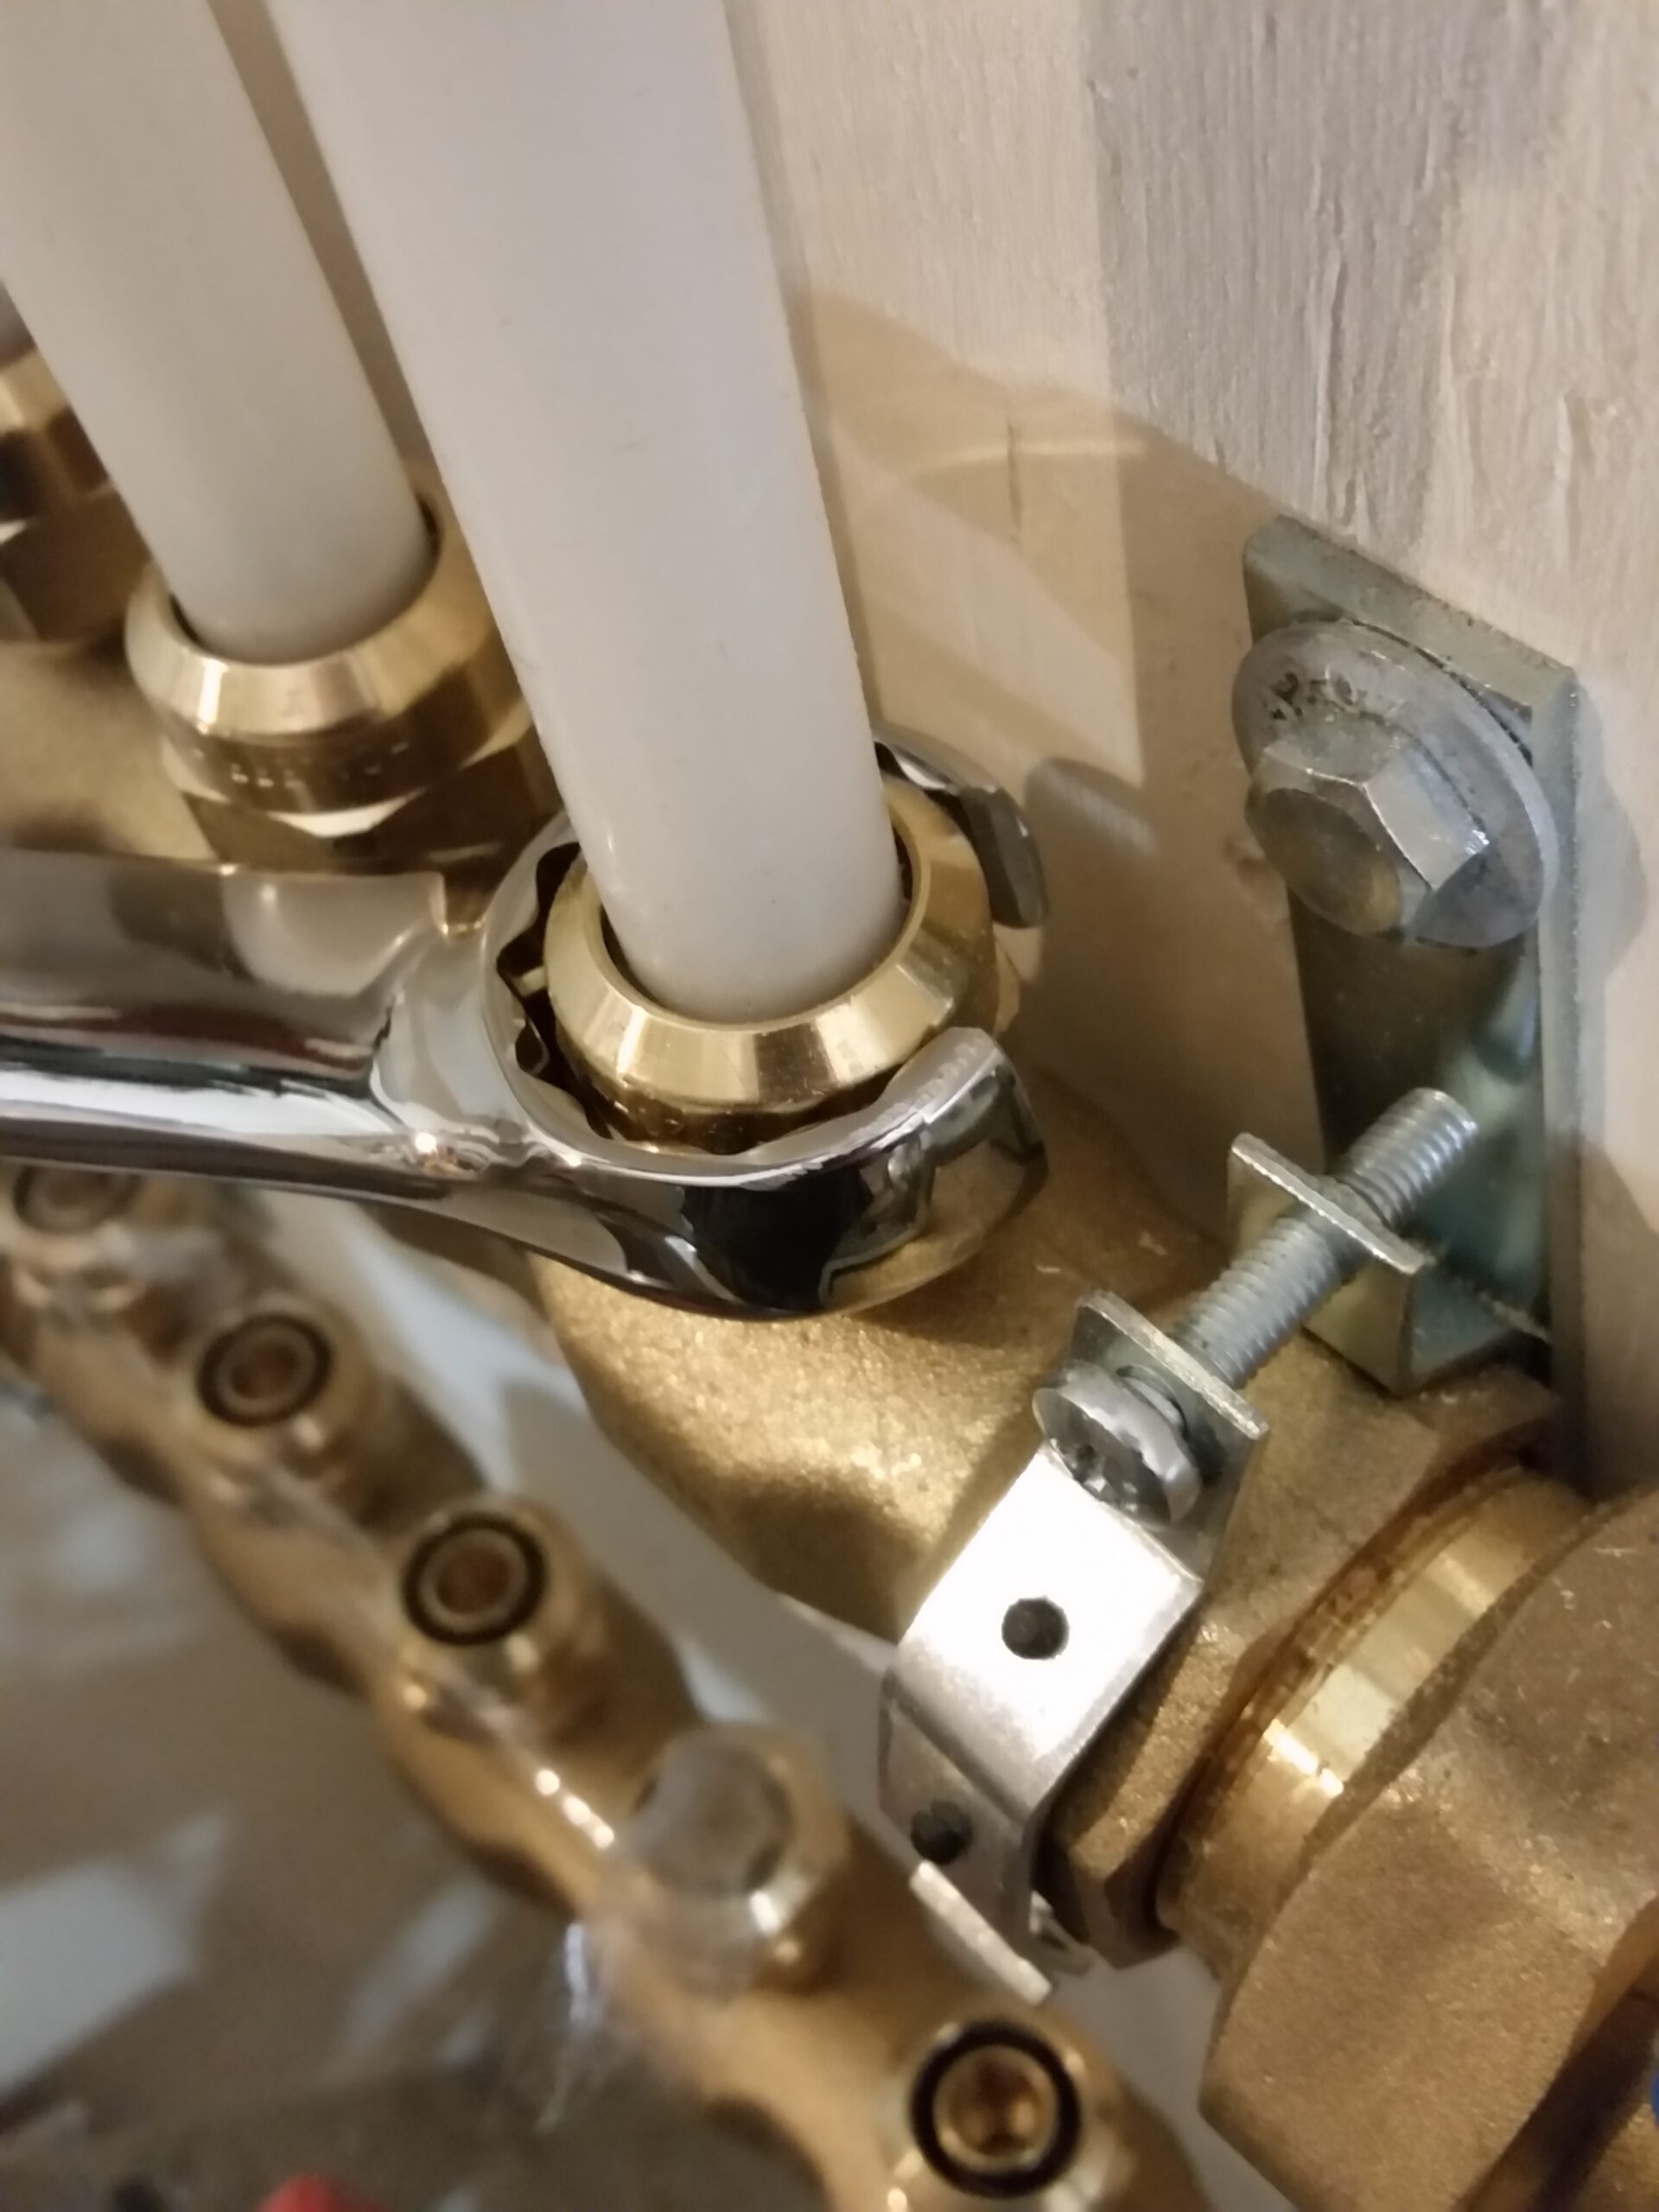
Convectors are still used, often in condos, but in single family dwellings heated with hot water, the convectors have generally been replaced by hydronic radiant panels located under floors (“radiant floors”). There are various methods used to create these panels, but the typical method is to embed pipes into concrete floors (either full slab for basement, or a thin slab on top of the wood structure for upper floors). Hot water flows though the pipes (usually PEX with an oxygen barrier), and then heats the concrete. This in turn radiates heat into the room heating up the objects, and not the air.
Hydronic radiation is a very efficient heating method. A given volume of water has 3400 times the heating potential as air due to the differences in density of water vs. air). This is why a 3/4″ hydronic pex line, has the same heat output as a 14″x8″ metal air duct (for the same temperature change). Radiation is also directionless, it consists of infrared light rays. If the radiating source can ‘see’ an object, that object will be heated. This is how the sun heats the earth and the objects on its surface. When you go out on a sunny day, does it matter that the sun is above you? Of course not, you feel the sun’s rays. While you can see the visible sun rays, what you are feeling is its infrared rays.
The fact that radiant heat is directionless, is what allows it to work to heat (or cool) a room regardless of whether the source is on the floor, walls, or even the ceiling. And in fact, there are many benefits to placing the source on a ceiling.
When on the ceiling, you do not have to worry about changing floor coverings over time. When the pipes are at the floor level, the designer has to take into account the floor covering. Carpet for instance, is an insulator, so you need to pump more energy into the loop to overcome this. If the panel (the name of the collection of pipes serving a room or portion of the room), is designed for tile or hardwood floors, and sometime in the future, the flooring is changed to carpet, that panel will not provide enough heat to the area, unless it was heavily oversized originally. You are also able to run hotter (colder) water when the panel is in the ceiling, boosting the output of the circuit. When on the ceiling, you also have a much larger area to work with, as when designing a floor panel, you do not place tubes under cabinets and other built in furniture.
But what appealed to me the most about a ceiling panel, is that it is considered a low mass system. There is no concrete involved, and so the system does not have a large mass that it has to heat up. This makes the system respond quickly.
Let’s say it is a very cold winter’s day and generally is cloudy, the system will be close to, or at 100% output. Now lets say the sun makes a brief appearance for an hour. If the dwelling has been set up to harvest solar gain, like mine has, it will heat up quite quickly during the sunny periods, regardless of the outside temperature. Under construction and without a heating system, I will often get a 2º-5º C gain when the sun comes out on these winter days where it is freezing outside. If I had a floor system with concrete mass, that mass would still be radiating heat for hours after the thermostat shut off the water flow, when the room had reached its setpoint, because of the volume of mass that was heated up. This would combine with the solar gain, and you would overheat the room.
With a low mass ceiling panel, when the thermostat shuts off the water flow, the panel components cool down quickly (minutes) and do not add to the solar gain. This allows you to take advantage of the solar gain, when available, without overheating the room. When the sun goes back behind the clouds, and the room cools down, the thermostat turns the water flow back on, and the ceiling panel is back up and running is a few minutes.
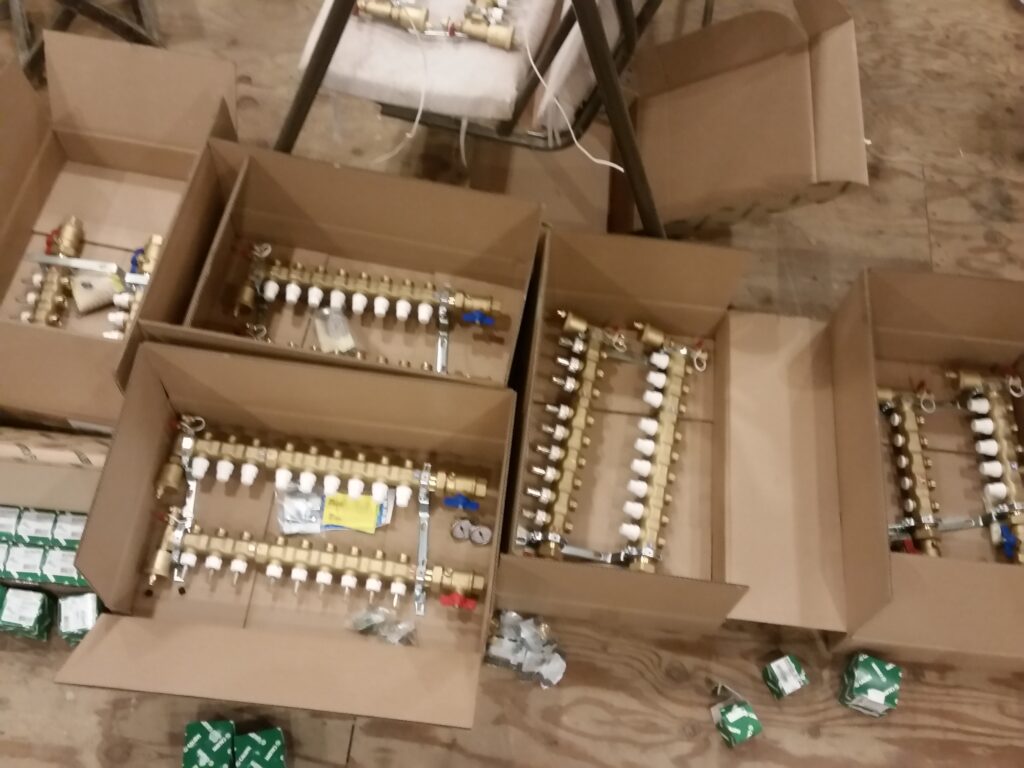
I have now turned my attention to installing this system and at the time that the below video was shot, I had installed my first panel!
As of this posting, I have finished the circuits for the office, guest entrance, dining room, 1st floor bathroom, family entrance off garage, upper SE bedroom, and upper hallway family bath. As of today, I have also finished installing the plates and returns for the living room. Tomorrow, this room will be complete as well. This will leave the kitchen, upper NE bedroom, and the upper hall including clerestory to finish prior to drywall. The rest of the upper floor and all of the basement will be completed after occupancy.
.container {
display: grid;
grid-template-columns:20% 20% 20%;
align-items: center;
}
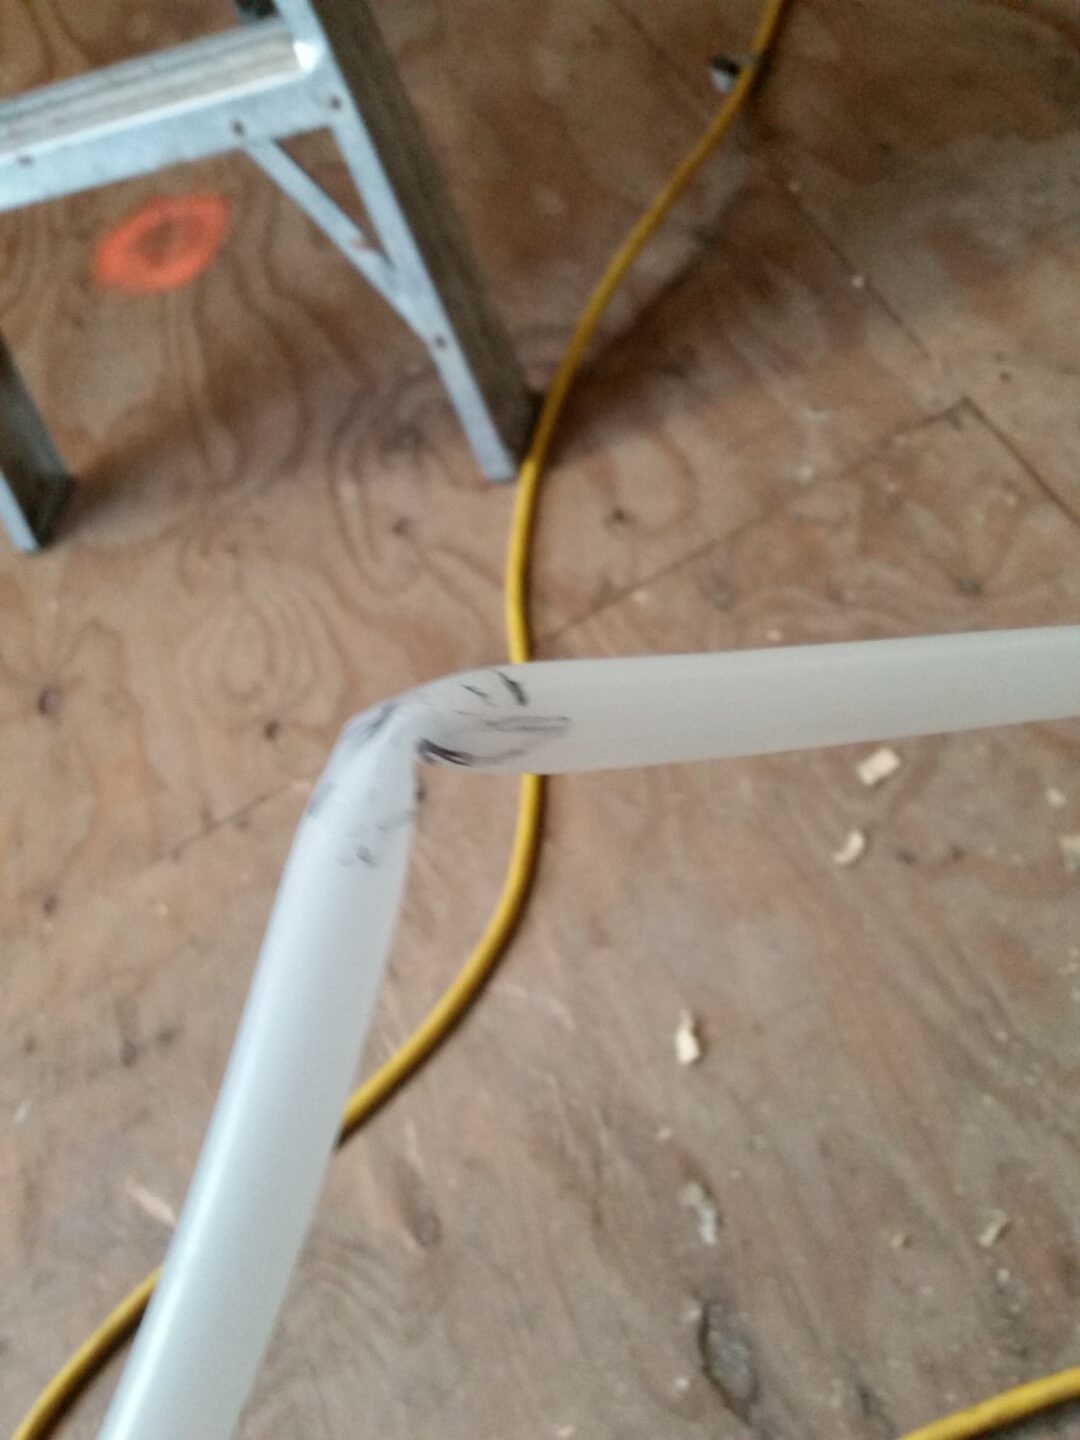
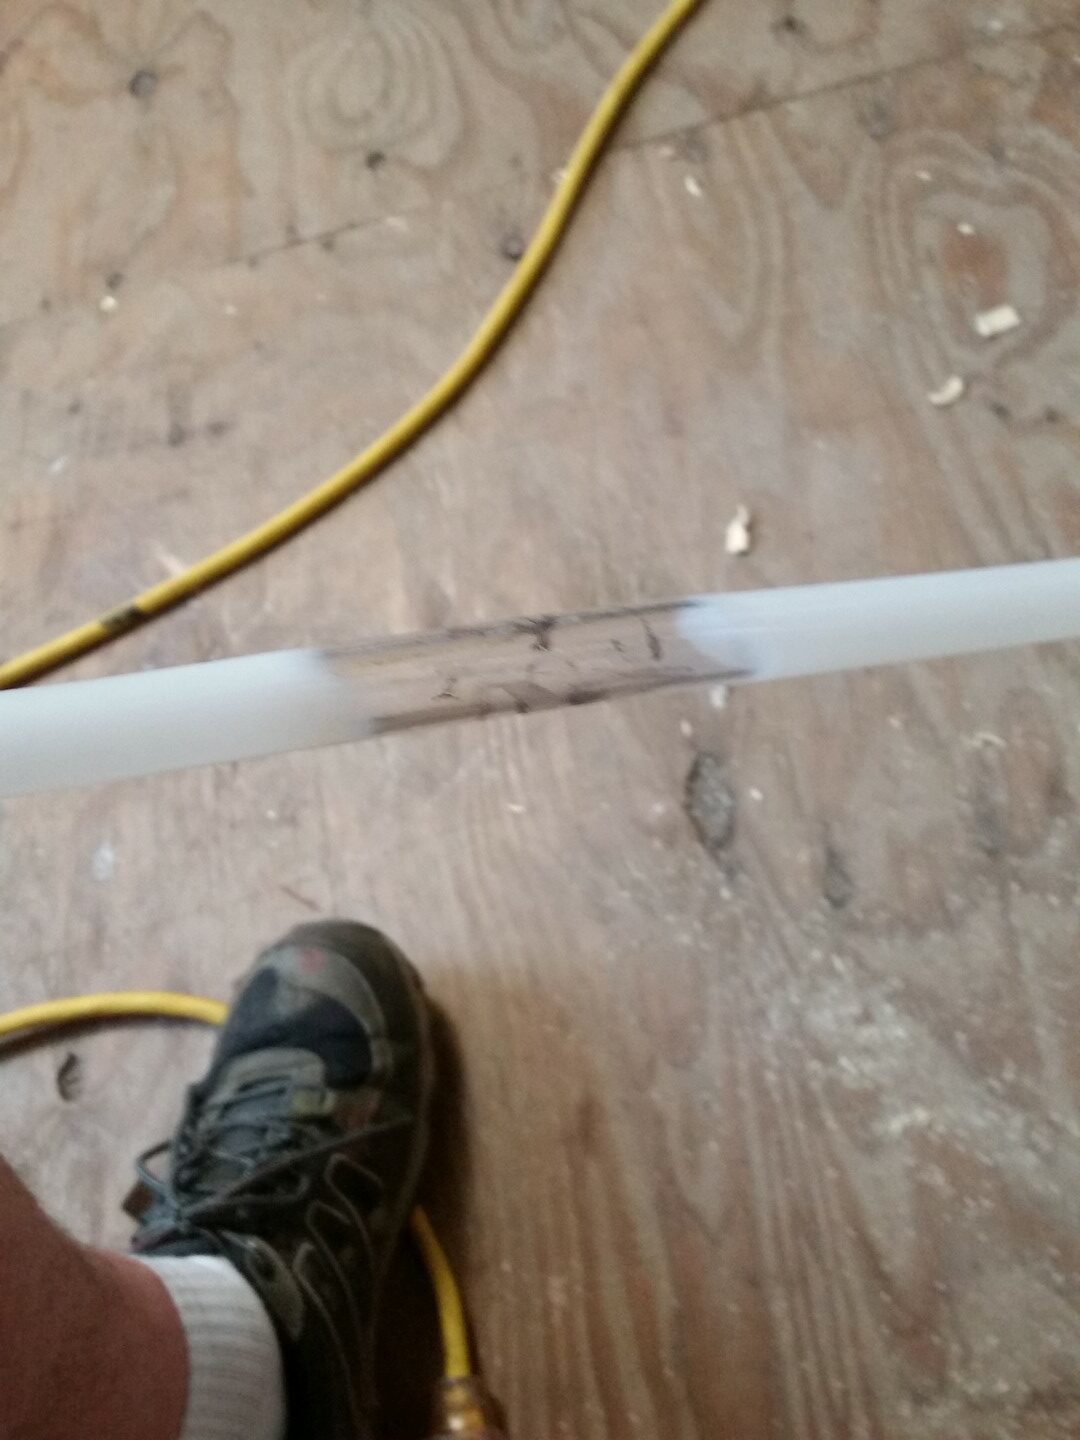
Beauty of type A PEX. If you have a kink, even a bad one like this, you can heat the tube till clear with a heat gun, and then let cool and you are back in business.
Well, that’s it for tonight, will try to have another update next weekend with some additional details on installing these panels.
As always, thanks for visiting.
Life has many ways of testing a person’s will, either by having nothing happen at all or by having everything happen all at once.” —Paulo Coelho (born 1947) Poet, Writer
“Life is short but there is always time enough for courtesy.” —Ralph Waldo Emerson (1803-1882) An American Essayist, Lecturer, And Poet Who Led The Transcendentalist Movement Of The Mid 19th Century.