Air Tight - Certified!
Well the results are in and they are phenomenal. Patrick (my HRV consultant) came by on the 16th to do the duct-blaster test on my HRV supply and exhaust ducts. I am thrilled to advise that both are air tight! Not bad for my first try!!
|
|
|
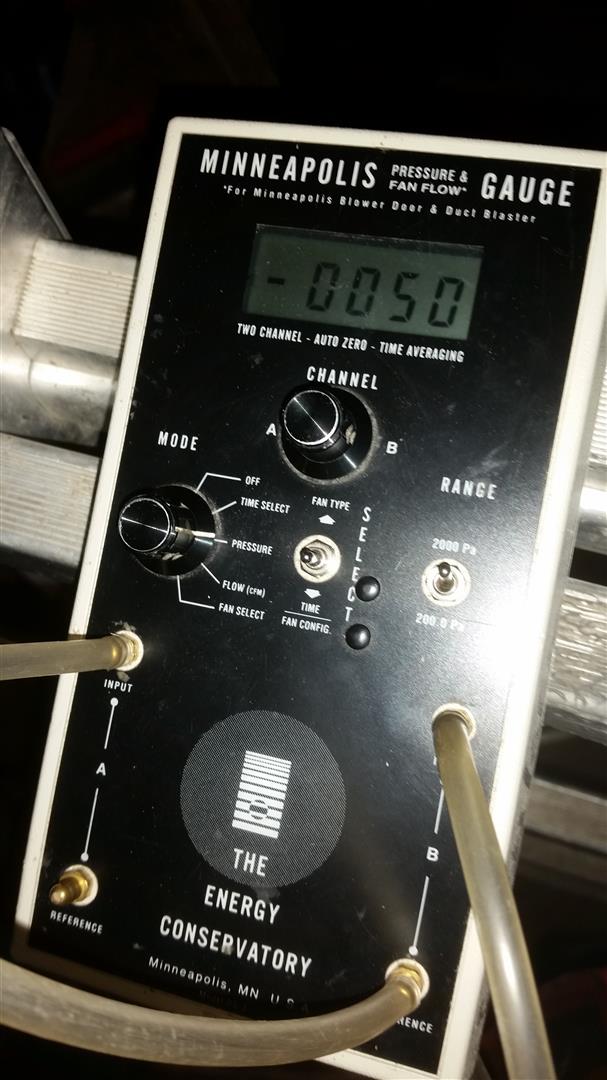

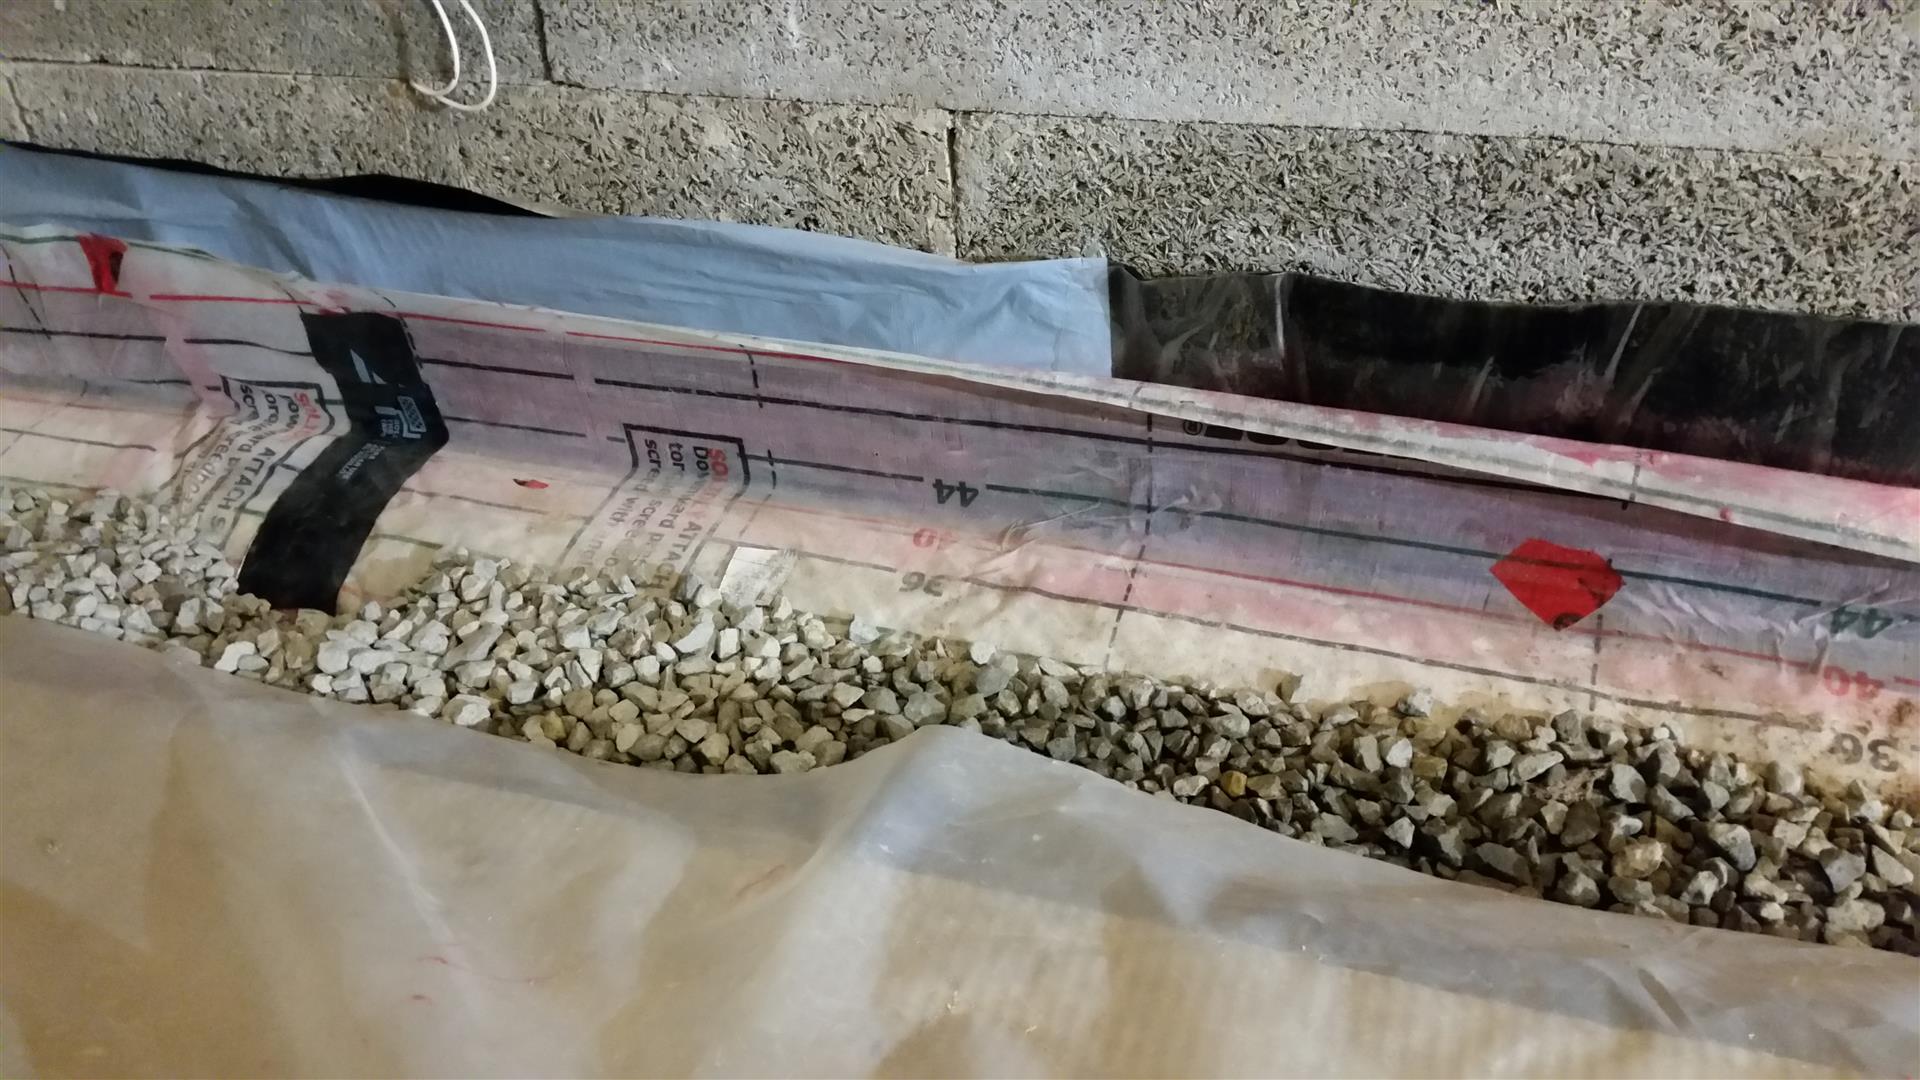
There was a scare when we first ran the air flow test on the exhaust run as the gauge was indicating 16 CFM of leakage. While this would have still been an acceptable result and would have represented a hole that was only 1.6 square inch in size, Patrick could see I was disappointed. So we pressurized the system and started introducing theatrical smoke to trace where the hole(s) were. During this process, I noticed that the only termination I had sealed with red tuck tape instead of Metal Foil tape, had a giant gaping hole between two strips of tape. This was the same tape covered termination I could not get sealed in the videos showing the testing of the HRV Duct Sealing.
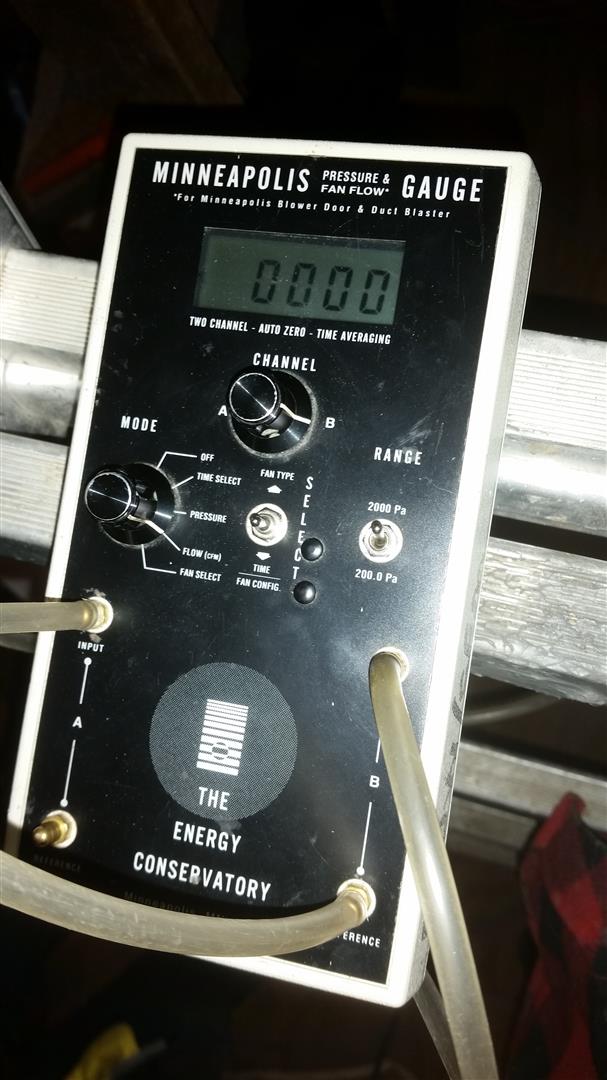
I knew I should have replaced that junk! 5 minutes later we had the gauge reading zero and I was vindicated. I am proud that I achieved this result on my very first attempt at installing air ducts. If I can do this, anyone can!
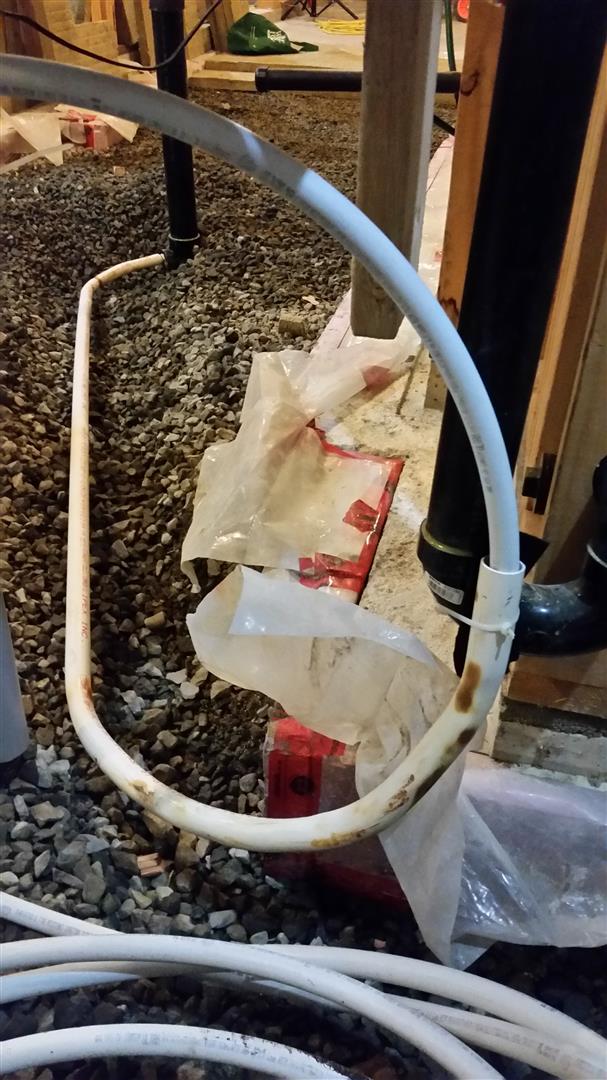
After confirming that both circuits had zero leakage, we then tested the longest runs in the exhaust side and confirmed we had adequate flow through those branches. I had 112 CFM through the 6″ grill in the master bedroom en-suit , 73 CFM through the 4″ grill in the upstairs hallway bathroom , 115 CFM through the 6″ basement sauna grill, and 80 CFM through the basement 4″ shower room grill (the four farthest points in the system).
Love it when a plan comes to fruition! To give you an idea on how long these runs are, the en-suit is a run that includes a bull wye, standard wye, two 45 and seven 90 degree elbows, for a total equivalent run of around 125ft. This would have been an equivalent run of 161.5 ft if I had used the standard 1.5 radius elbows instead of the special order 2.0 radius elbows. The basement sauna had a total equivalent run of about 110 ft.
As the code only requires 20 CFM for a continuous exhaust flow in bathrooms and my consultant only needed to see 55 cfm on the 4″ lines to ‘pass’ me, these results are awesome and should allow the evacuation of moisture and smells with only short bursts of the HRV in high gear, leading to increased efficiency of the system.
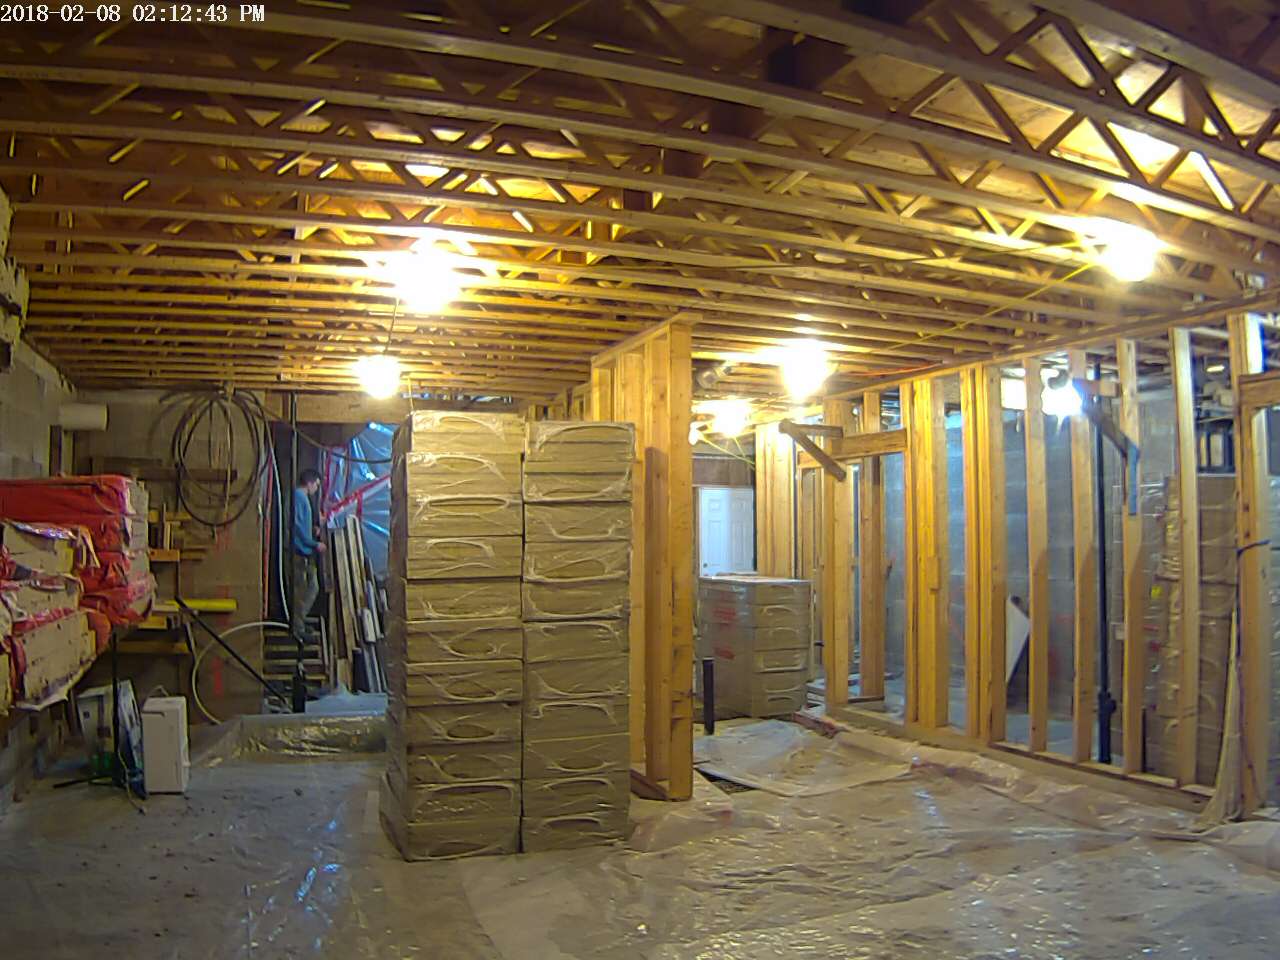
Although I now have approval to proceed on the building enclosure, it is still too cold for membrane application so I am instead working towards pouring my basement slab. On Feb 7th, 90 bundles of 2″ and 10 packs of 3″ Rockwool ComfortBoard 110 were delivered and my nephew Jonathan and I moved all of the packs down to the basement the following day.
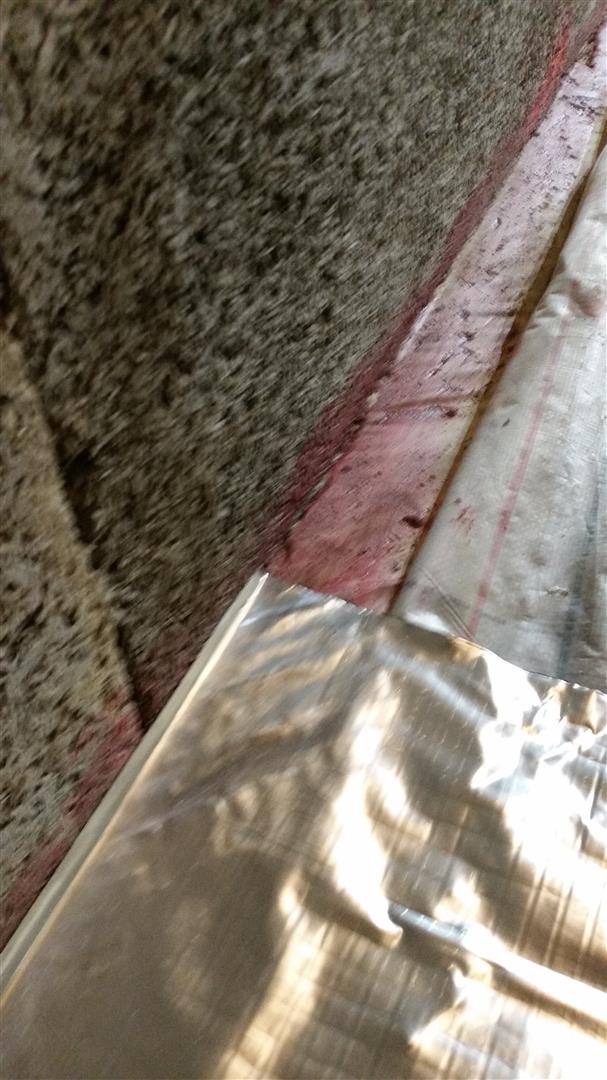
After a long weekend away from the site, I started detailing the interface between the footing membrane and the to be installed vapour/soil gas barrier installed between the sub slab insulation and the 4″ concrete slab. This is a difficult detail to make air tight because of my use of an air permeable ICF block (Durisol). So I came up with a plan to attach a 12″ membrane to the back side of the footing fabric, that will then extend over the top and seal to the surface of the sub slab membrane. I also extended the bottom side of the membrane down and sealed onto the bare concrete footing, so that the air flow could not by-pass this interface.


I have completed most of the main house and am now working on the bonus room below the garage. As this room will also house the sub-slab insulation testing lab, I have test panels utilizing mineral wool in 4″ and 10″ thicknesses and test panels containing 4″ of XPS and 4″ of EPS. I hope to have this room including all instrumentation finished by the weekend and the last of the main house finished by early next week. The balance of the week will entail installing the soil gas/vapour barrier and some form work needed for the slopped floors in the areas of the floor drains. Then we will finally be able to set up the pour!
Thanks for visiting.
“If your actions inspire others to dream more, learn more, do more and become more, you are a leader.” —John Quincy Adams (1767-1848) 6th Us President
“The moment you accept responsibility for EVERYTHING in your life is the moment you gain the power to change ANYTHING in your life.” —Hal Elrod (born 1979) Motivational Speaker