All Decked Out
Well, it took a LOT longer than expected, but I am pleased to say I am all decked out. No, I am not talking about my Christmas decorations, or a new wardrobe. I have finally finished decking all of the roofs of the house.
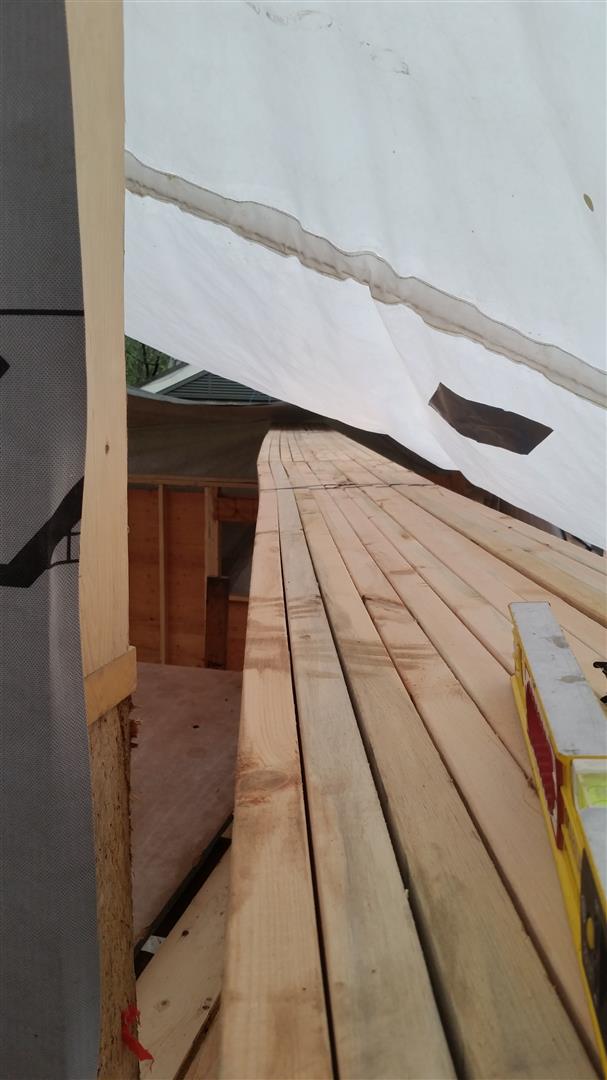
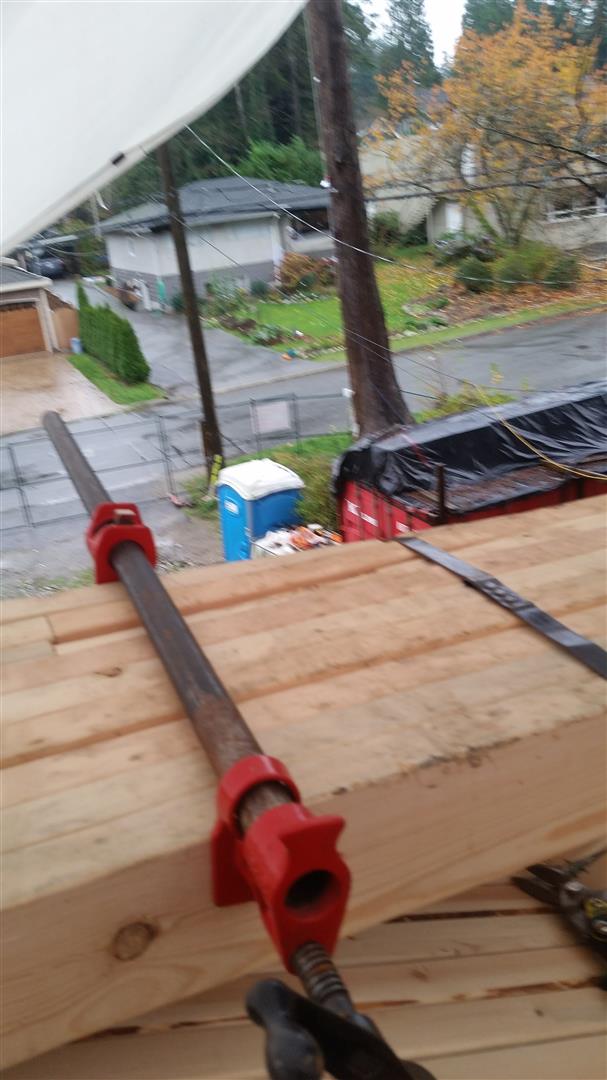
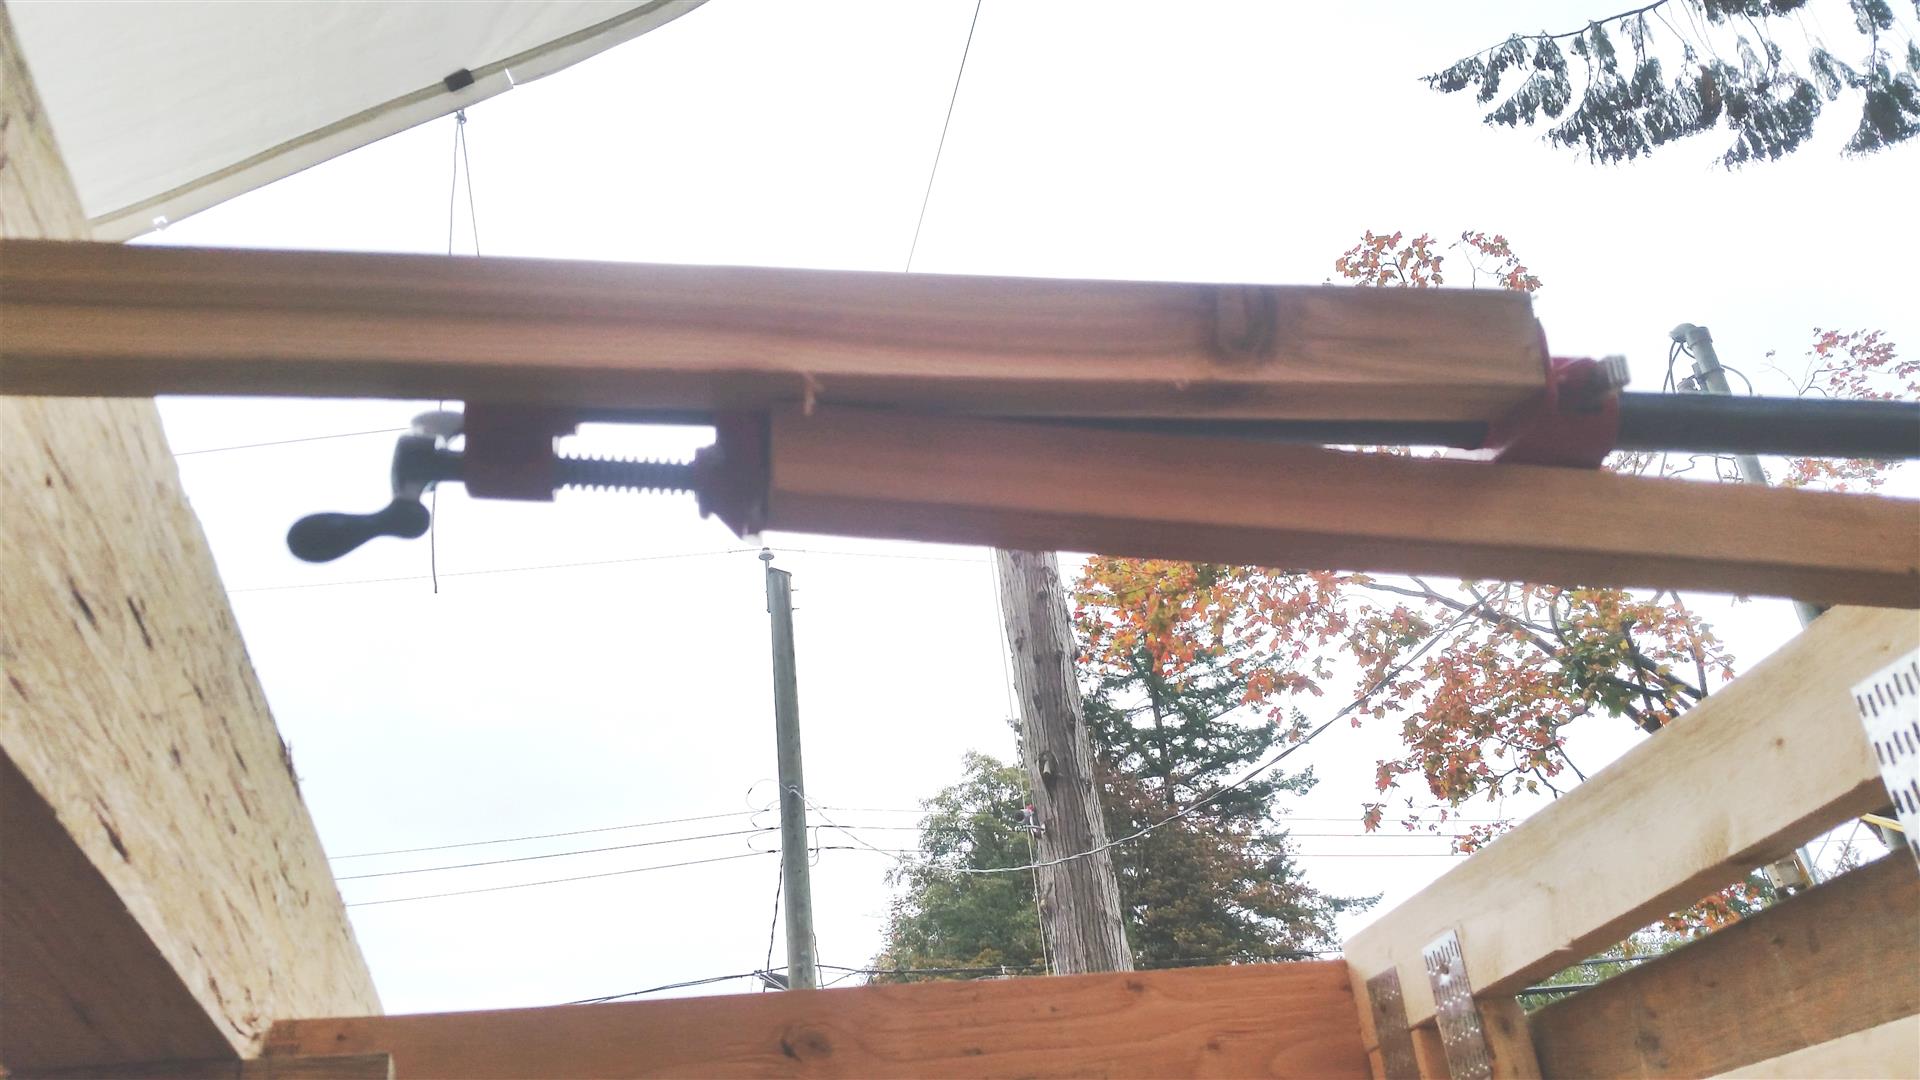
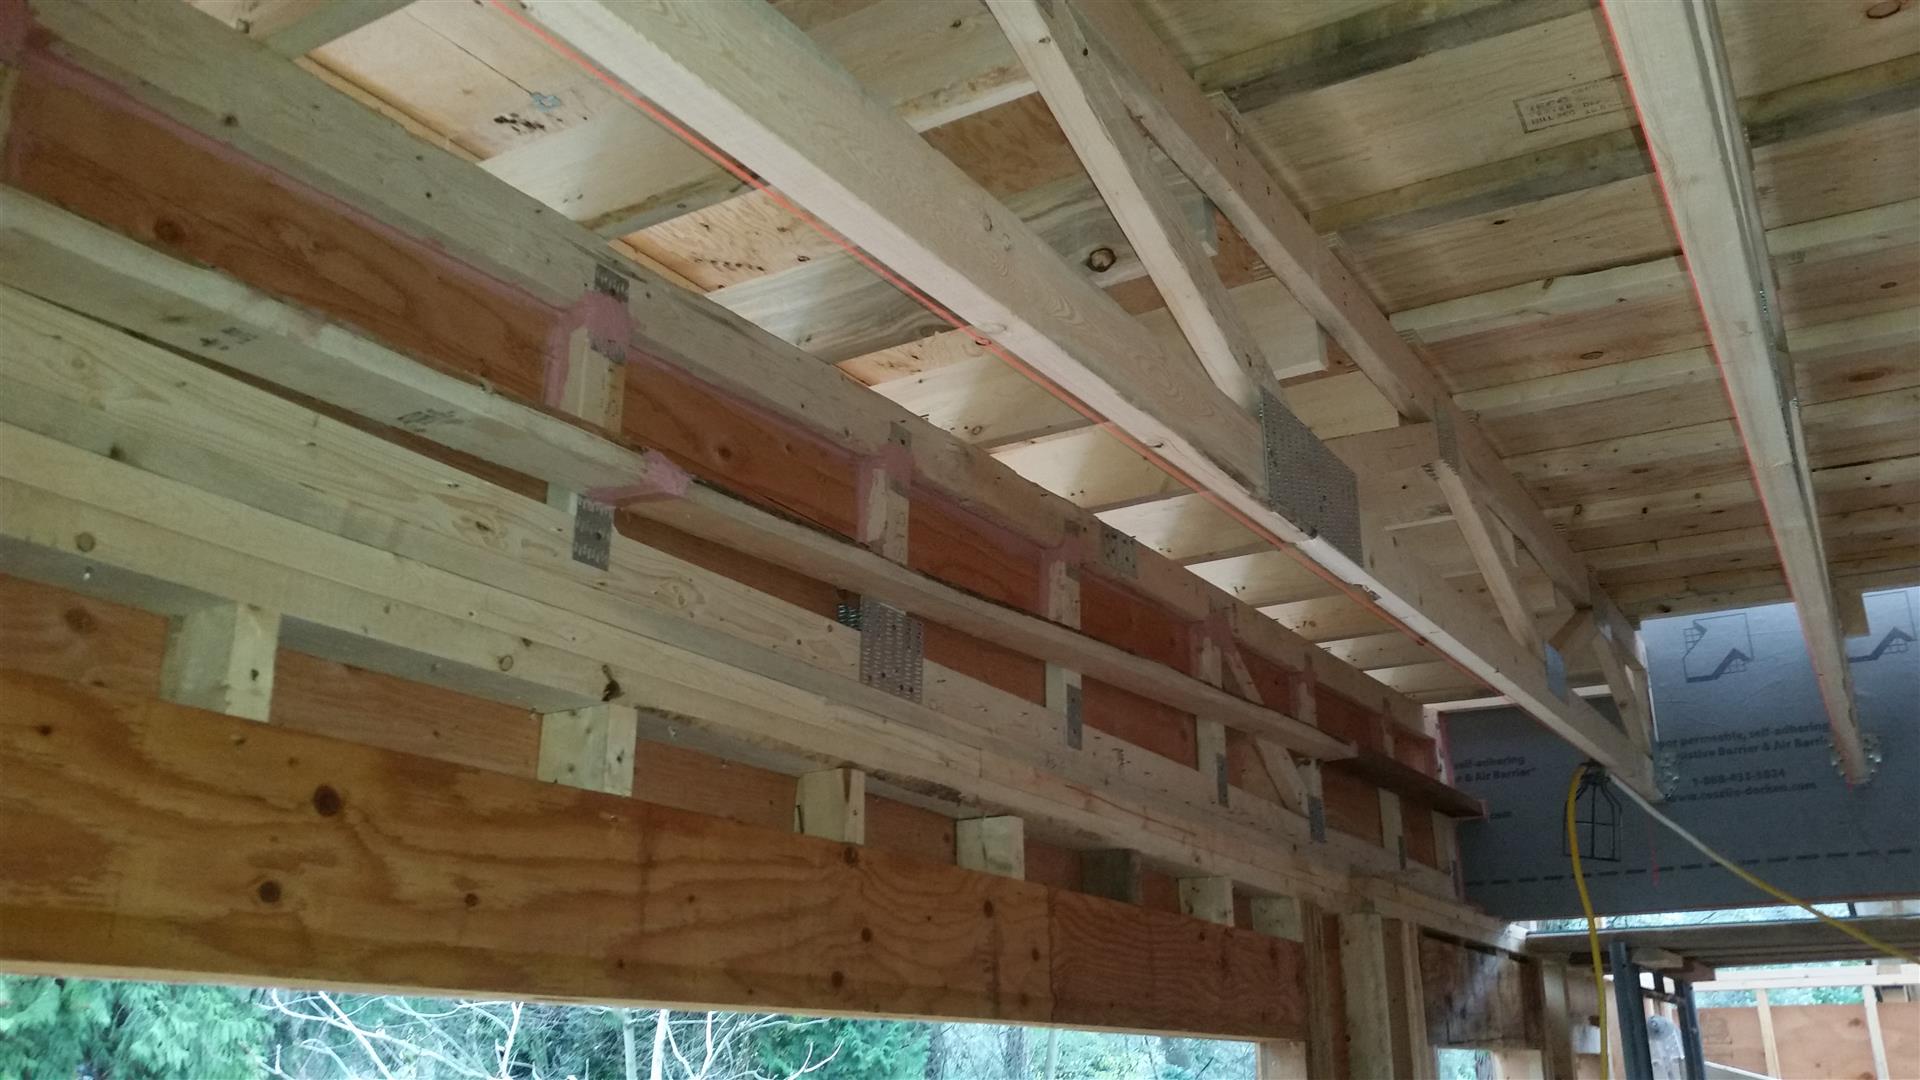
Originally I thought I would have them done in September, but was delayed in both framing the walls and receiving the truss package until late September. First trusses were not laid out till September 26. I then thought I would be done by end of October, but the low pitch roof design using cross purlins and spacer blocks took WAY too long. This was made much more difficult by the extent that the trusses were bowed and the engineering requirement that they be within 1/2″ of a string line. The problem with the bowing is that it was not consistent across the truss. It would be much more pronounced at joints in the truss, meaning I could not just align at the centre point and call it a day. I basically had to continually align as I attached the cross purlins.
So then I though I would be done early December, but both my body and Mother Nature felt differently. When I last posted on Dec 4, I thought I was done with the cold, but it then moved back into my chest and dropped me onto my butt again for several days. Then the snow came and made me a prisoner in my own house. It is very hard to finish framing a roof and start decking when it is covered by a tarp that is smothered with hundreds of pounds of snow and ice. I ended up with ice dams (3″-4″ thick) and pools of water behind. I had some pretty damp floors for a few days until I was able to address.
I did not get back to actual roofing until Dec 8. Then I lost a day because the very last truss I put up was not made right (go figure). It took the better part of the day to get approval from the vendor to cut down the bottom chord by up to an inch.
But the biggest difficulty, was that I installed the north upper roof from below while standing on a ladder (tarp was too low to deck to stand above, and I was not thrilled with working on top of steeper slope. I would get to the point where the roof was about chest high while on ladder and then screw in all of the cross purlins. But this required raising both arms above shoulder height and my broken shoulder really did not like that.
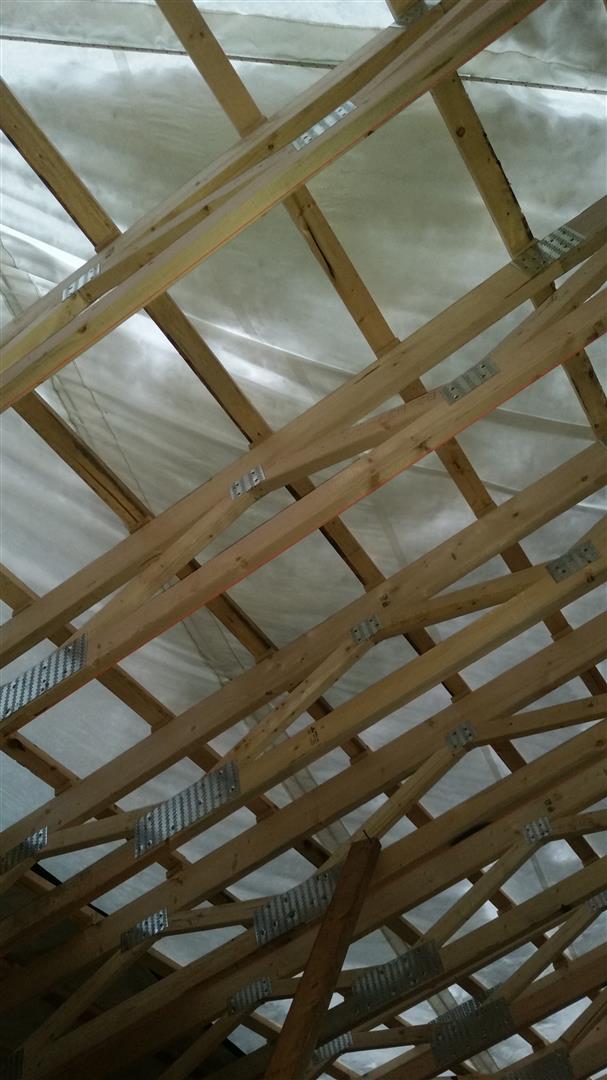
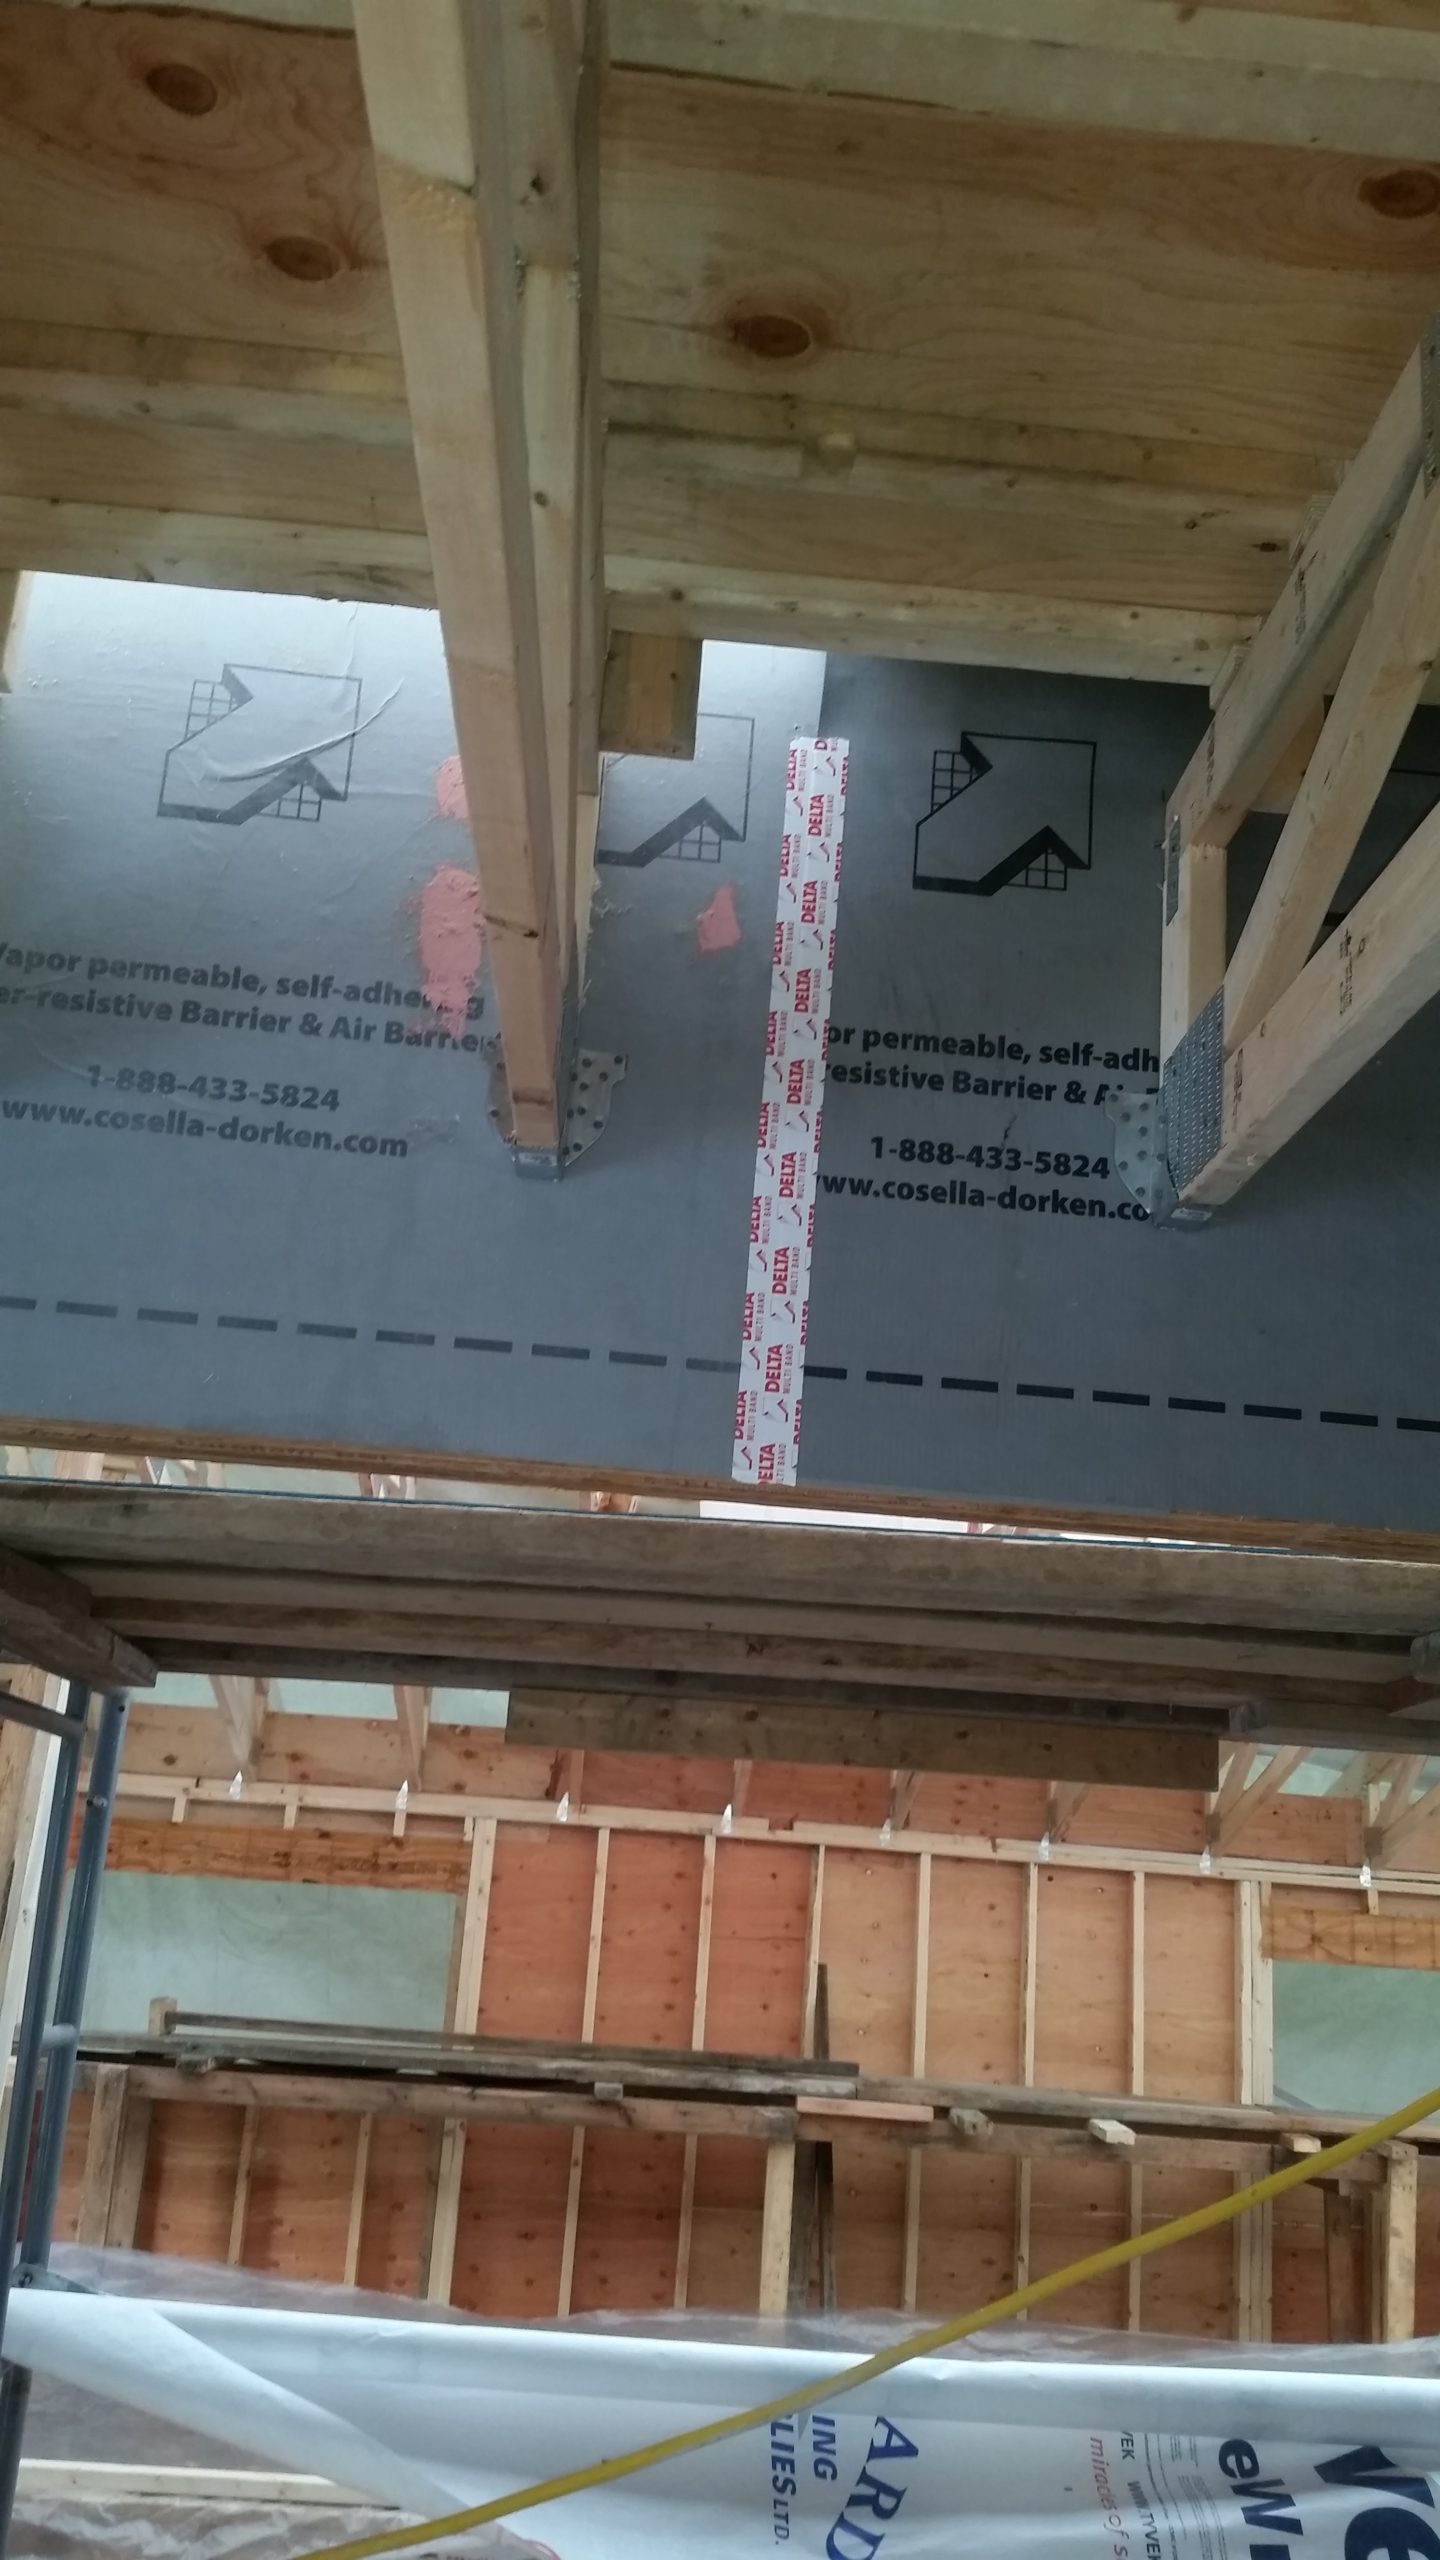
While I was installing the roof trusses and gables, I was always thinking about the continuity of the air barrier. My air barrier will be generally provided by the self adhered sheathing membrane adhered to the outside of the wall sheathing. This is a very easy air barrier to detail (will talk about this best practice more down the road when installing the main membrane). At the top of the structure, my air barrier transitions to the inside and will generally be met by plywood I will attach to the bottom of the roof trusses as part of my ceiling assembly. This leaves three areas I need to address during the roof framing stages, if I am to be assured of a continuous air tight barrier.
- Where ever a truss is attached to an exterior wall, you need to first apply the membrane before anchoring the truss hangers.
- You need to transfer the barrier from the exterior to the interior at top of non-gable walls
- For gable walls, you need ability to transfer from exterior to interior at proposed ceiling heights (not top of truss).

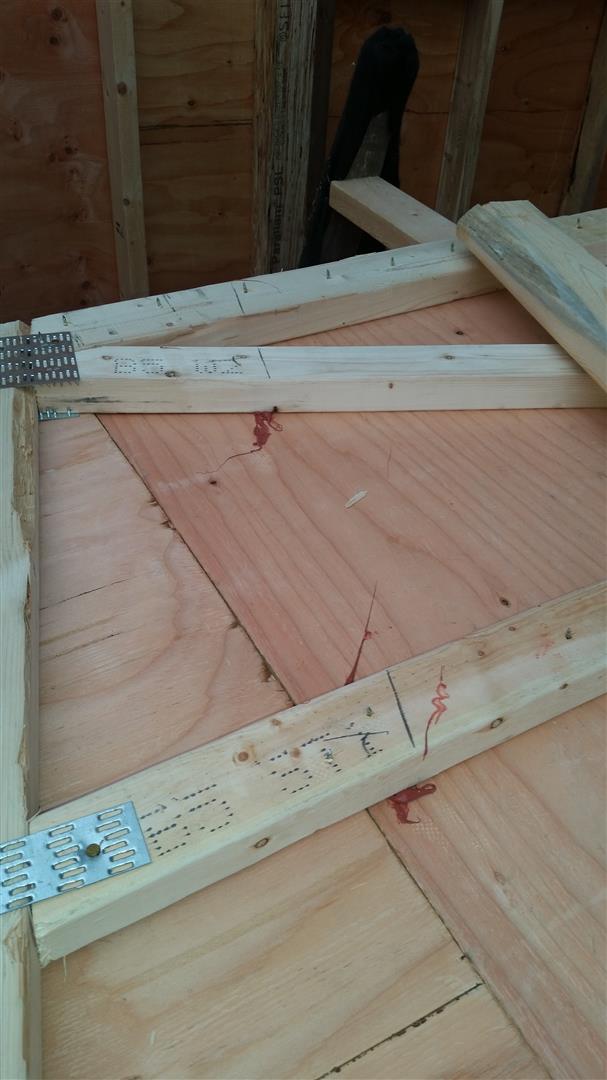
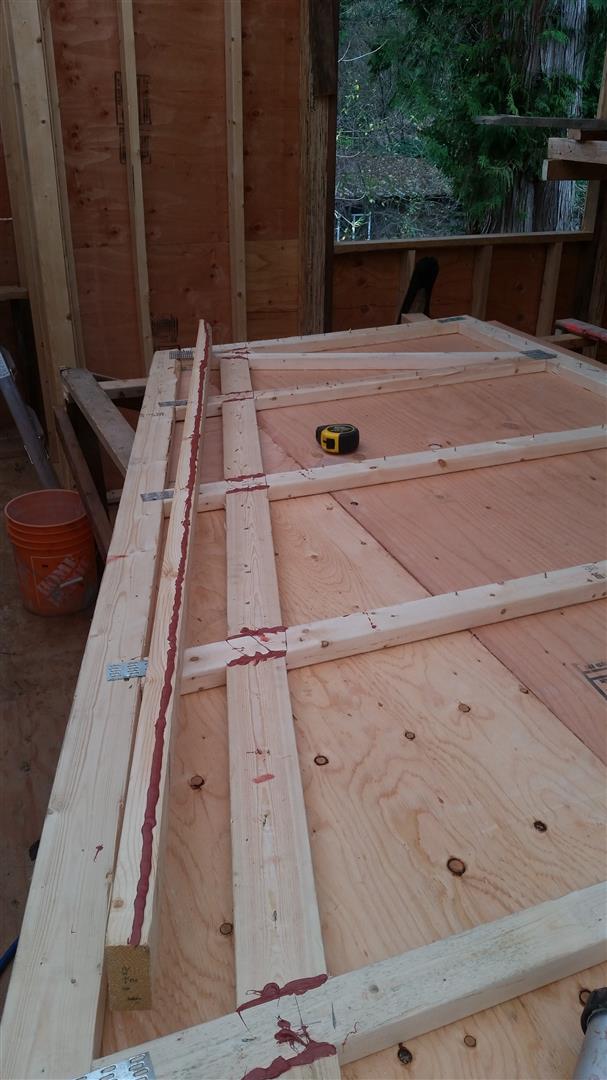
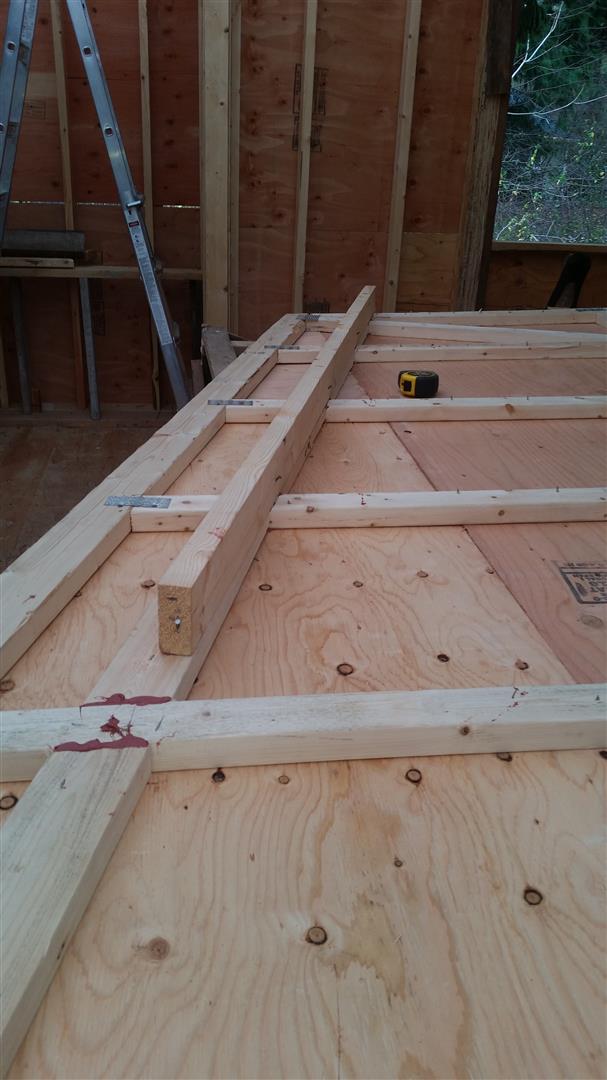
Identify where ceiling plane is located on truss chords/studs and seal plywood to truss components along this line (can just see red sealant under truss studs).


All in all, I put 317 hours into laying out the trusses, securing the purlins, framing the overhangs, and decking the 4 roofs. And I am SO glad it is over. I will spend the last couple of days of 2016 cleaning up and then will start prepping the window and door openings in the new year.
With that, I would like to wish you all a Happy New Year and all the best for 2017.
Hi Sean
I hope you have enjoyed the Christmas Holiday.
I wish you a very happy new year ahead.
Thank you Homayoun. Stop by any time for a visit.
Hi Sean,
we wish you all the best in 2017.
Great to follow all the steps in your very interesting project. Nice that its all covered before the winter. Succes with the rest and finishing!!
Nico Straatman (father of Victor)
Hi Nico,
Great to hear from you. Thanks so much for your comments and for visiting the site. Wishing you too the best for 2017. When do you think will be your next visit? Roy and Yuri are sure enjoying the snow but I could definitely do without. Take care. Sean