Blowout Blues and My Friend Murphy
This week saw a return to the job site after spending ALL of last week catching up on the bookkeeping and preparing our taxes. I was a lot further behind than I thought and had not reconciled the accounts since last August. I also had some technical hurtles associated with the QuickBooks file crash in May of last year. But all were concurred and I finished off on Saturday and actually took Sunday off (first in a very long time).
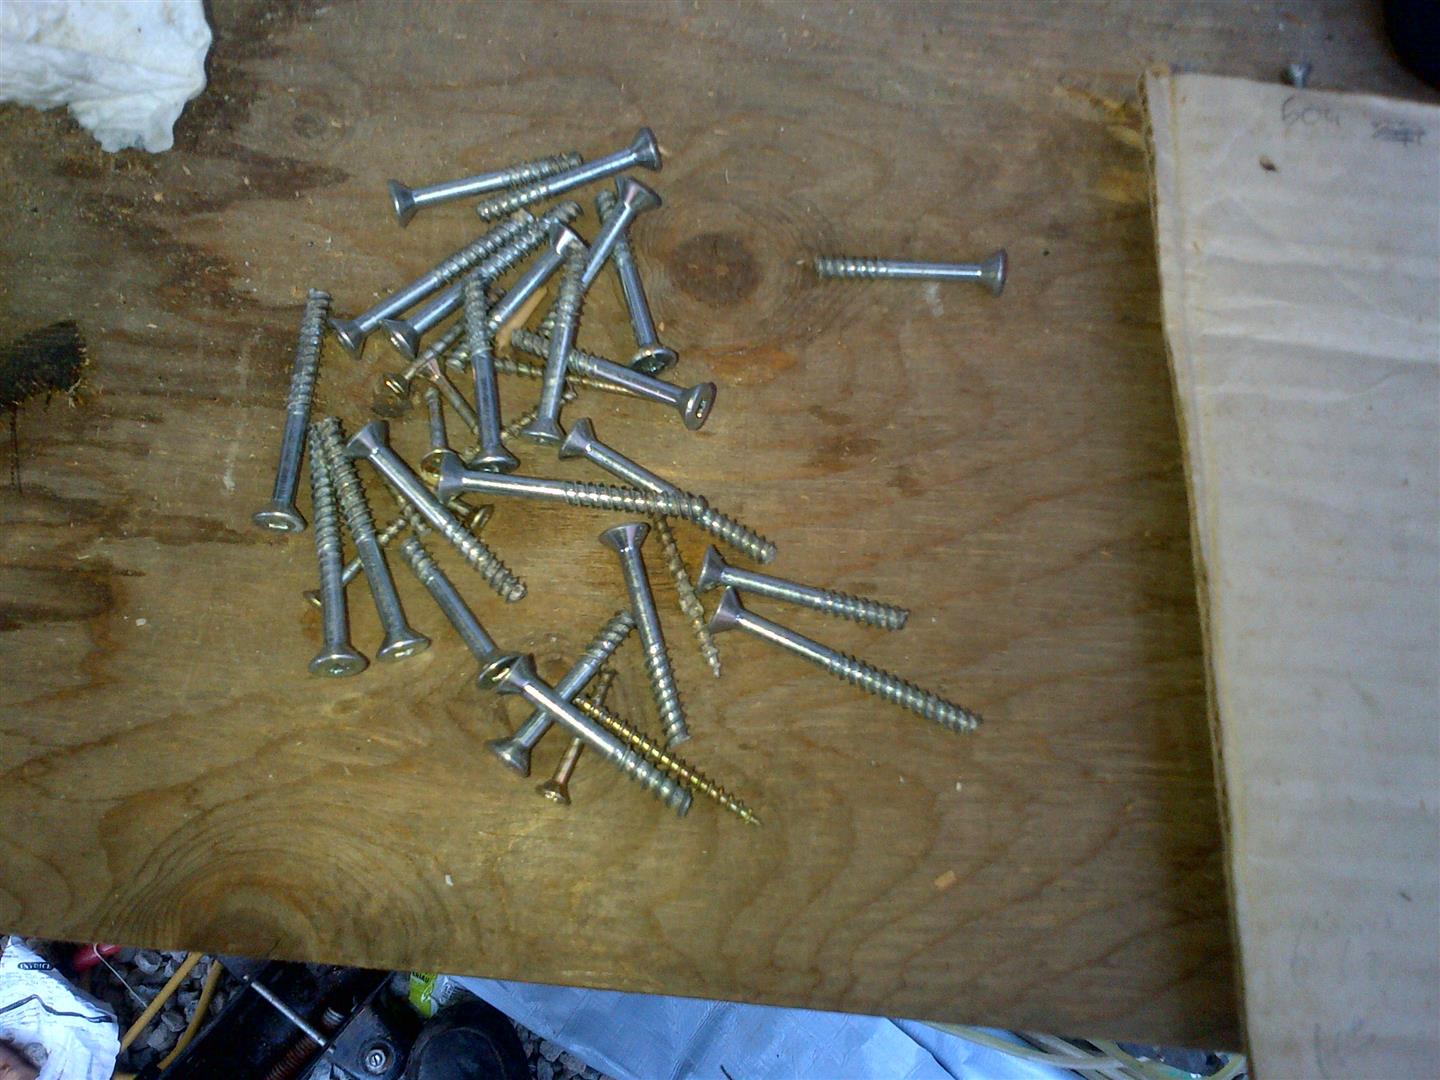
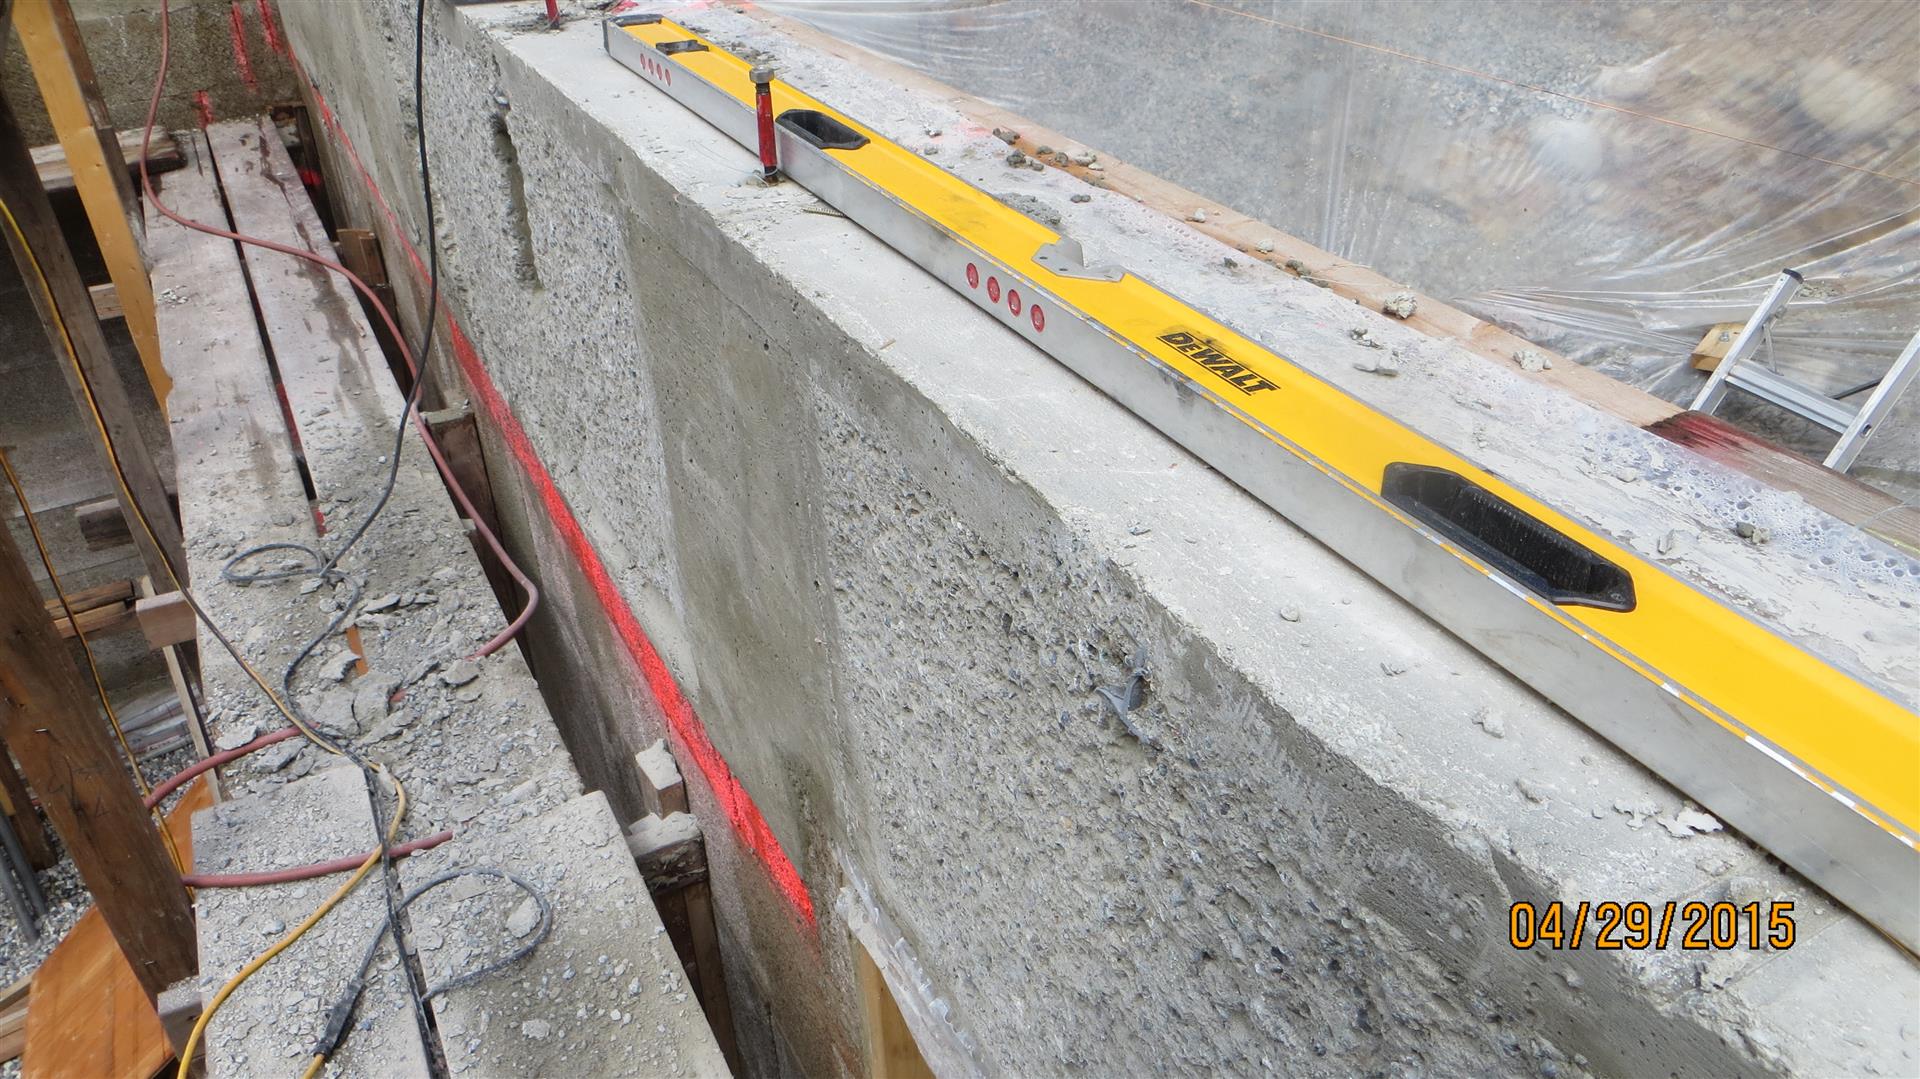
This meant Monday was the return to the site where I started to strip the forms. The forms came off quite easily and were not too time consuming considering the number of screws involved. What was a surprise was the number of snapped screws including the #14 x 3.5″ ones used to attached the vertical supports and 2×2 cleats holding on the bottom edge of the plywood forms. At least this showed they were holding fast into the ICF, but if I had not used as many fasteners as I did, we probably would have had a lot more problems.
As I stripped off the forms, all looked pretty good until I got to the North wall and then it became apparent that I had actually had a fairly significant form blowout that was going to cause me problems. It was the perfect storm with the following contributing factors:
– Because this wall has the basement to ground floor stairs running along its length, there was requirements for the 20M rebar that was running horizontally through the 9th row of ICF. This meant the ICF was cut down and therefore the height of the plywood formed curb on this wall was about 12″ taller than any other wall (representing a lot more form pressure).
– I had originally made a mistake when forming this wall. The fix had a 6″ tall strip of plywood seamed along the top edge of the inboard plywood panels. This created a weakness in the forms.
– Further compounding this weakness was the fact that I completely forgot to brace some of the seam and also forgot to screw some of the plywood to the whalers in this area.
– This was the wall that the placing crew attempted to use a vibrator to ensure concrete was flowing around the profiles of the plywood formed top curb. After seeing some movement in the forms, this task was skipped for the rest of the foundation. Even then, from the exterior of the forms, the full extent of the blowout was not clear.
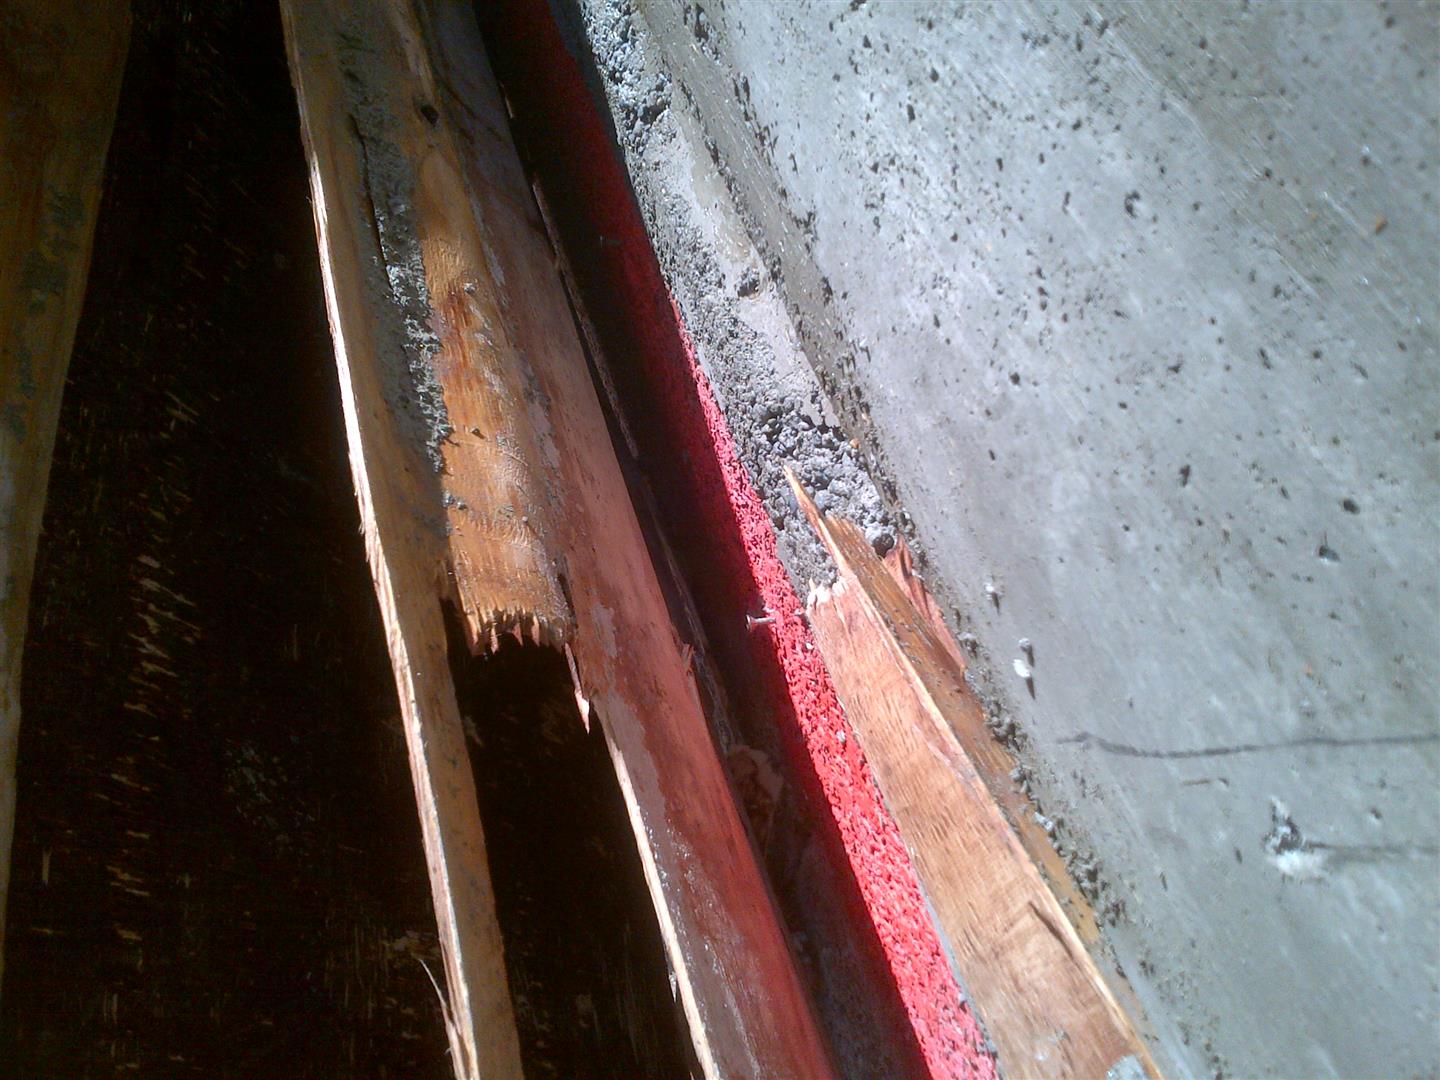
– For some reason, the plywood delaminated in this area and concrete was flowing BETWEEN the laminate layers of the plywood further reducing the strength of the already stressed 1/2″ Ply.
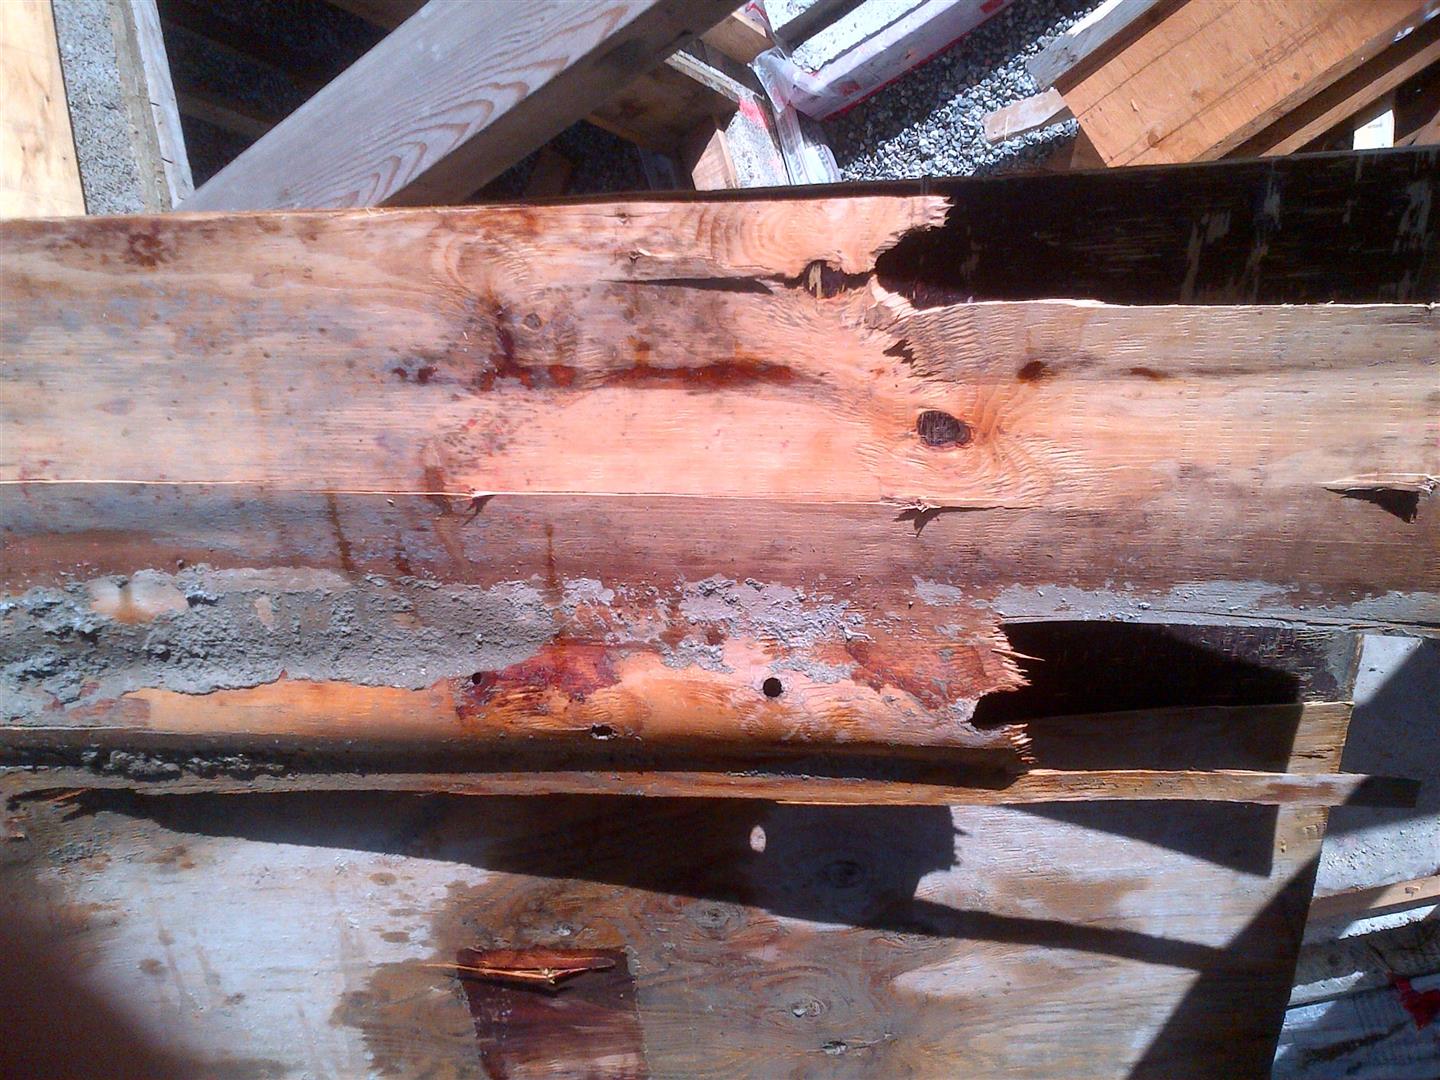
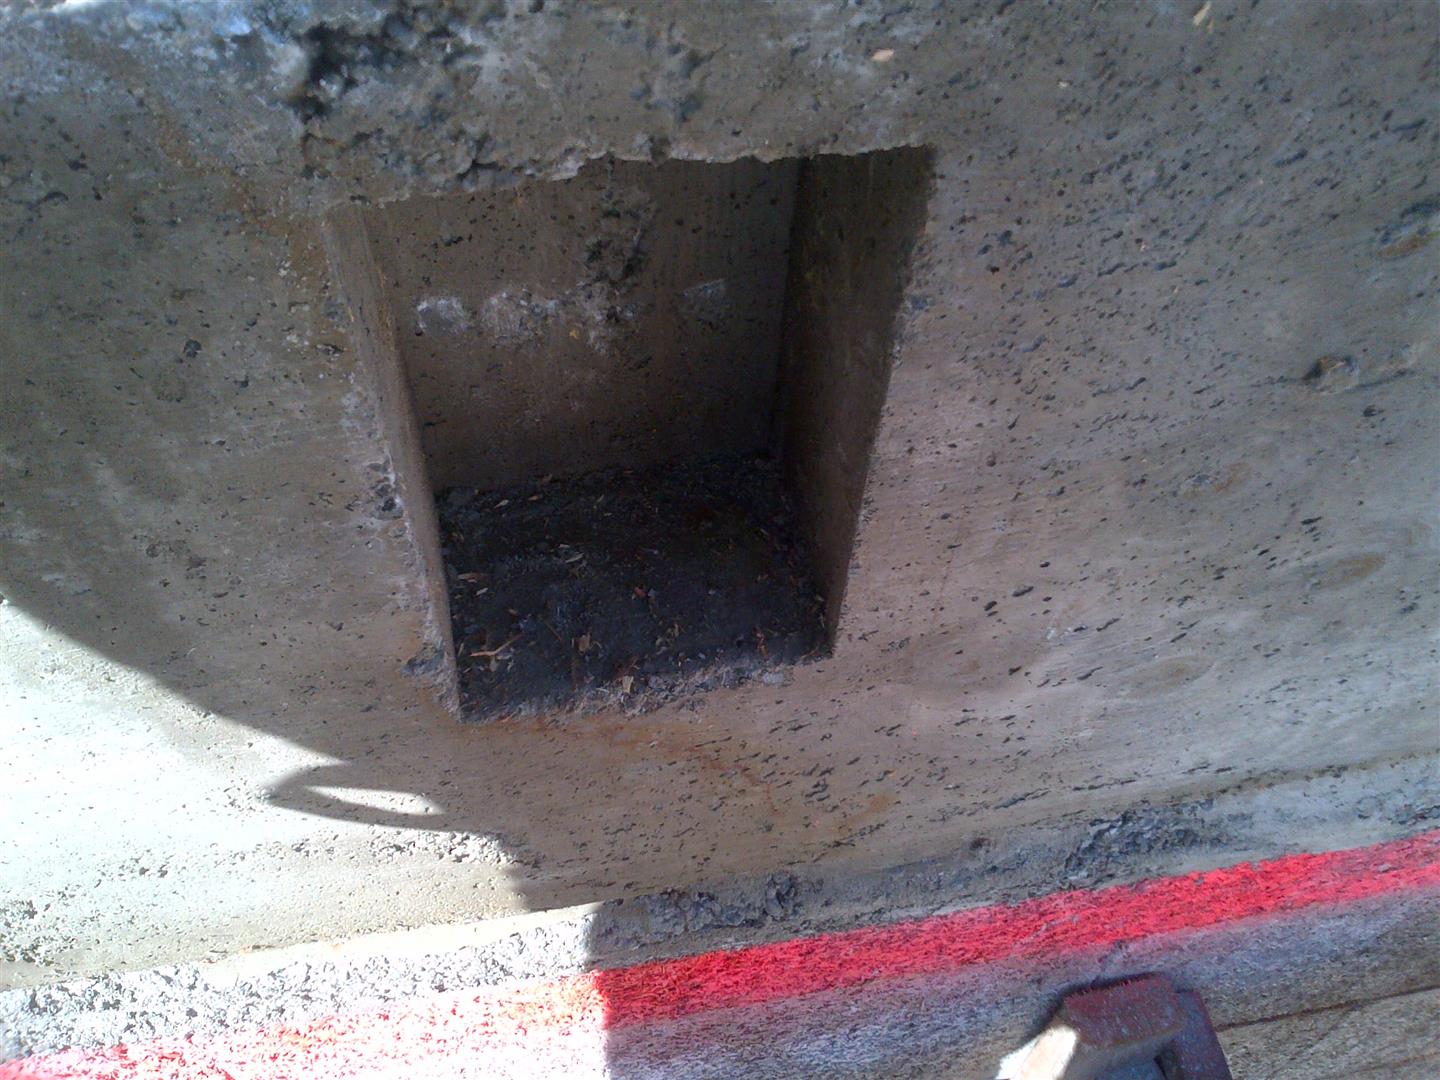
This is where Murphy and his law stepped in – Out of every wall in the house, this is the one and ONLY wall where a blow out mattered. I do not have a stud wall in the basement beside the stair opening. I plan to attach the drywall directly to the ICF and of course it needs to be continuous and line up with the drywall on the first storey. SO, I would have no means of furring out around a blowout this large (3+” at its worse).
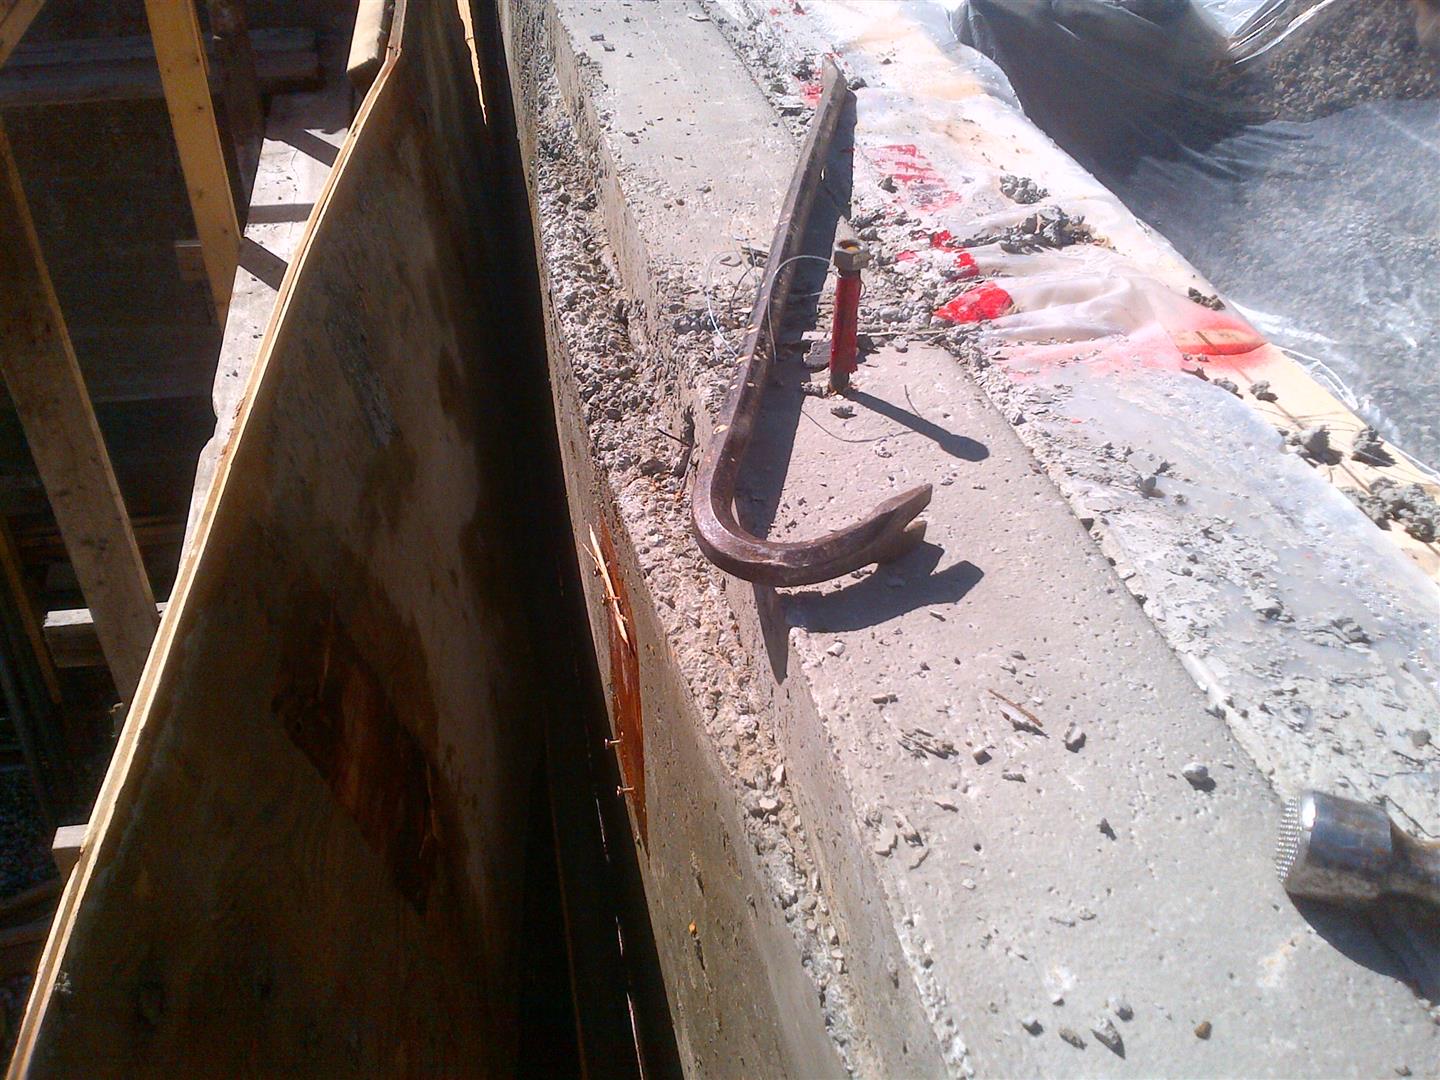
Only one thing left to do – chip it away and it was best to do now while the concrete was still fairly green and would chip away easily. A 4 hour rental from the local tool shop and the blowout was a distant memory (OK not so distant – I had the blisters as a nice parting memento).
Over the next day or so I will finish stripping the forms. I then will need to do a massive cleanup of the pit floor (stack all lumber and whatnot on the scaffold cross ties so nothing is on the ground), use some of the plywood from the curb form to protect the bag and rigid foam footing forms, and then order a couple of trucks of gravel from the stone slinger to bring the depth in the basement up to the required finished depth as this task will obviously not be possible once the floor assembly is in place.
I will then start framing the basement and getting the first floor assembly in place prior to starting the foundation waterproofing, insulation, and finally back-fill.
Hopefully in 6-8 weeks, I will be finally out of the hole!
Thanks for visiting.