We have Construction Power
When I woke up this morning I had a funny feeling that BCHydro would come today and at 10:30 they arrived.
I was amazed that they work ‘live’ but really, what else could they do. They are not going to take down a block every-time someone needs power connected. There procedure was to clamp onto the temp power pole and existing services with a hand winch. After placing some tension on the service they cut and tape up the first line conductor, then the second. A single wrap of their tape is good for 600V they said (there was several wraps). Once the two line conductors are cut and taped, they then move to the neutral which is the bare conductor and also acts as the support wire.
With all conductors cut, the service swung over to the new temp power pole. They start by securing the neutral to the wire holder and then crimping it to the neutral conductor from the meter base. They then untape the first line conductor and crimp it to one of the line conductors off the meter base and then the second. The whole process took 20 minutes.
The rest of the morning was generally preoccupied with emails regarding my floor truss order.
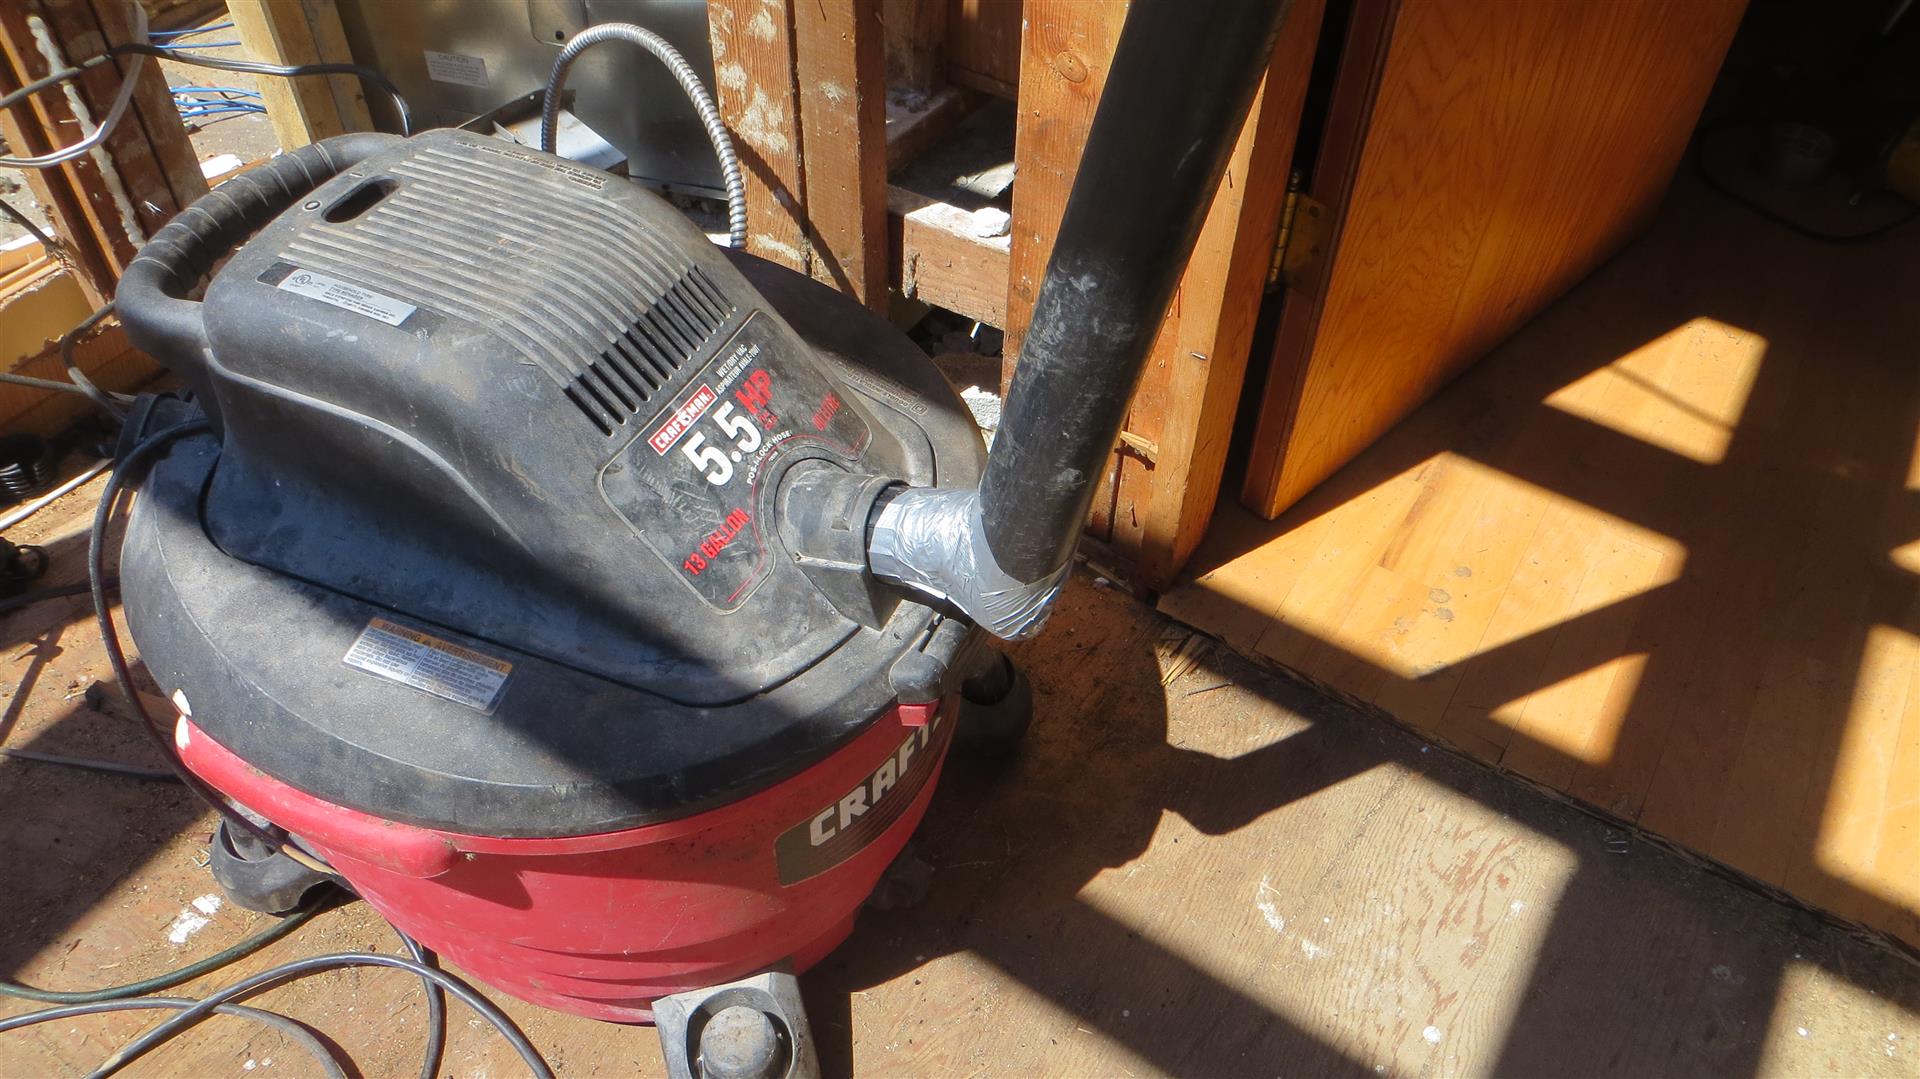
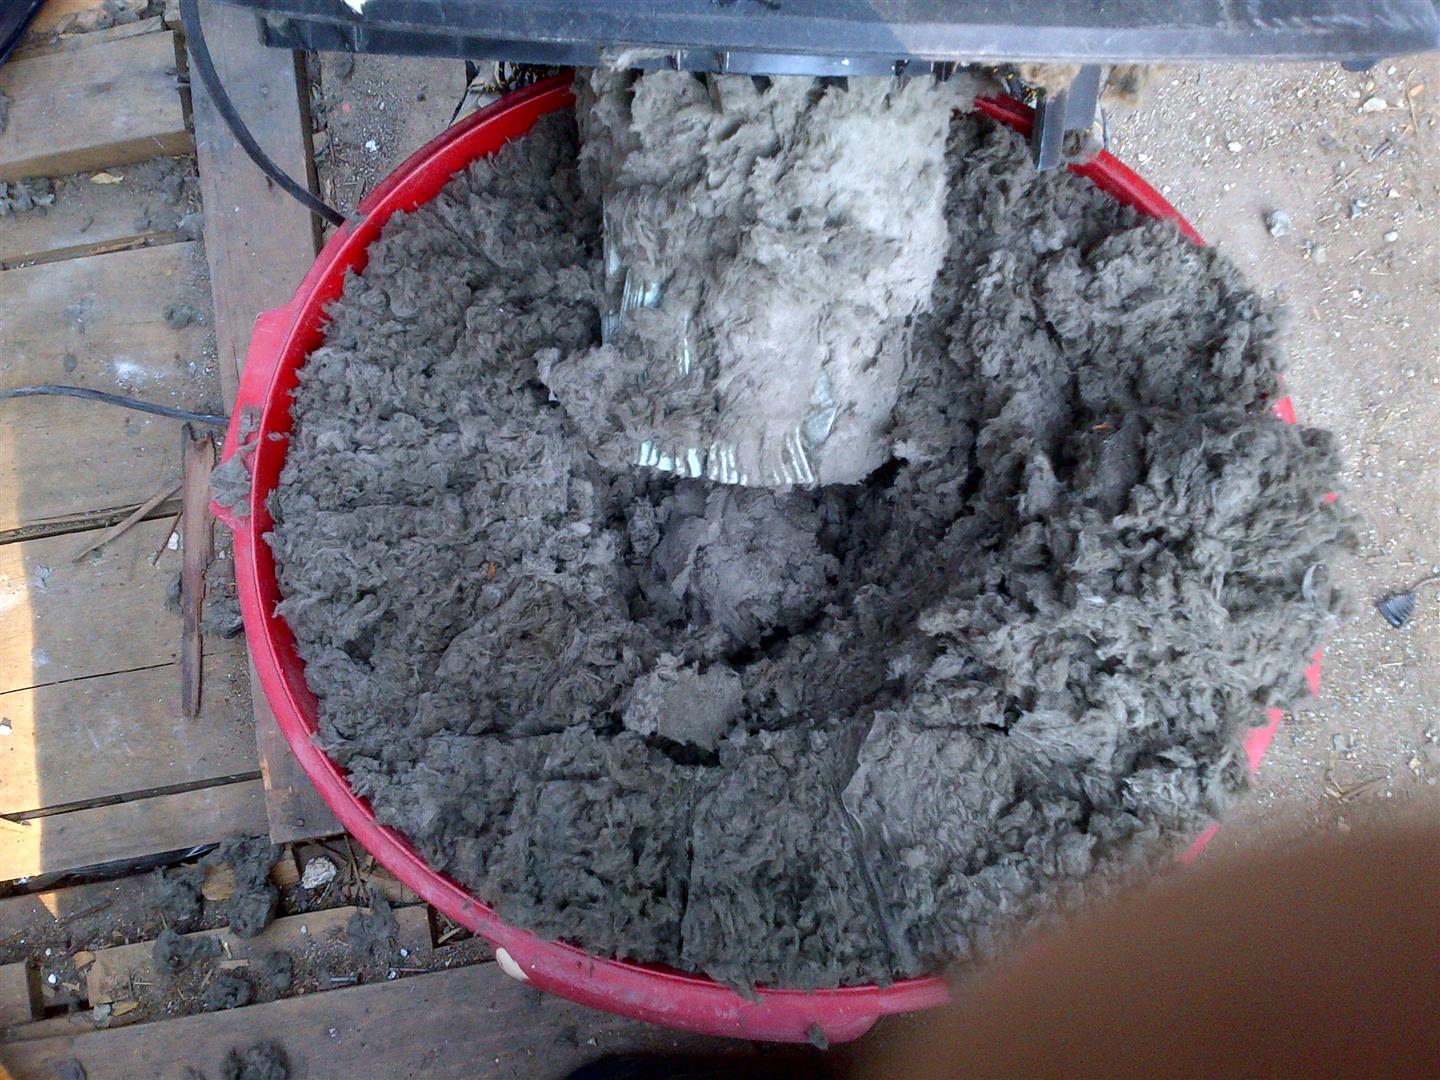
After lunch I got to the task at hand of vacuuming out the insulation above the master bedroom. This took the rest of the day. This was not the fastest method, but a lot more comfortable to work with and when you factor in cleanup time needed if you just pull the whole ceiling down, it did not take that much longer.
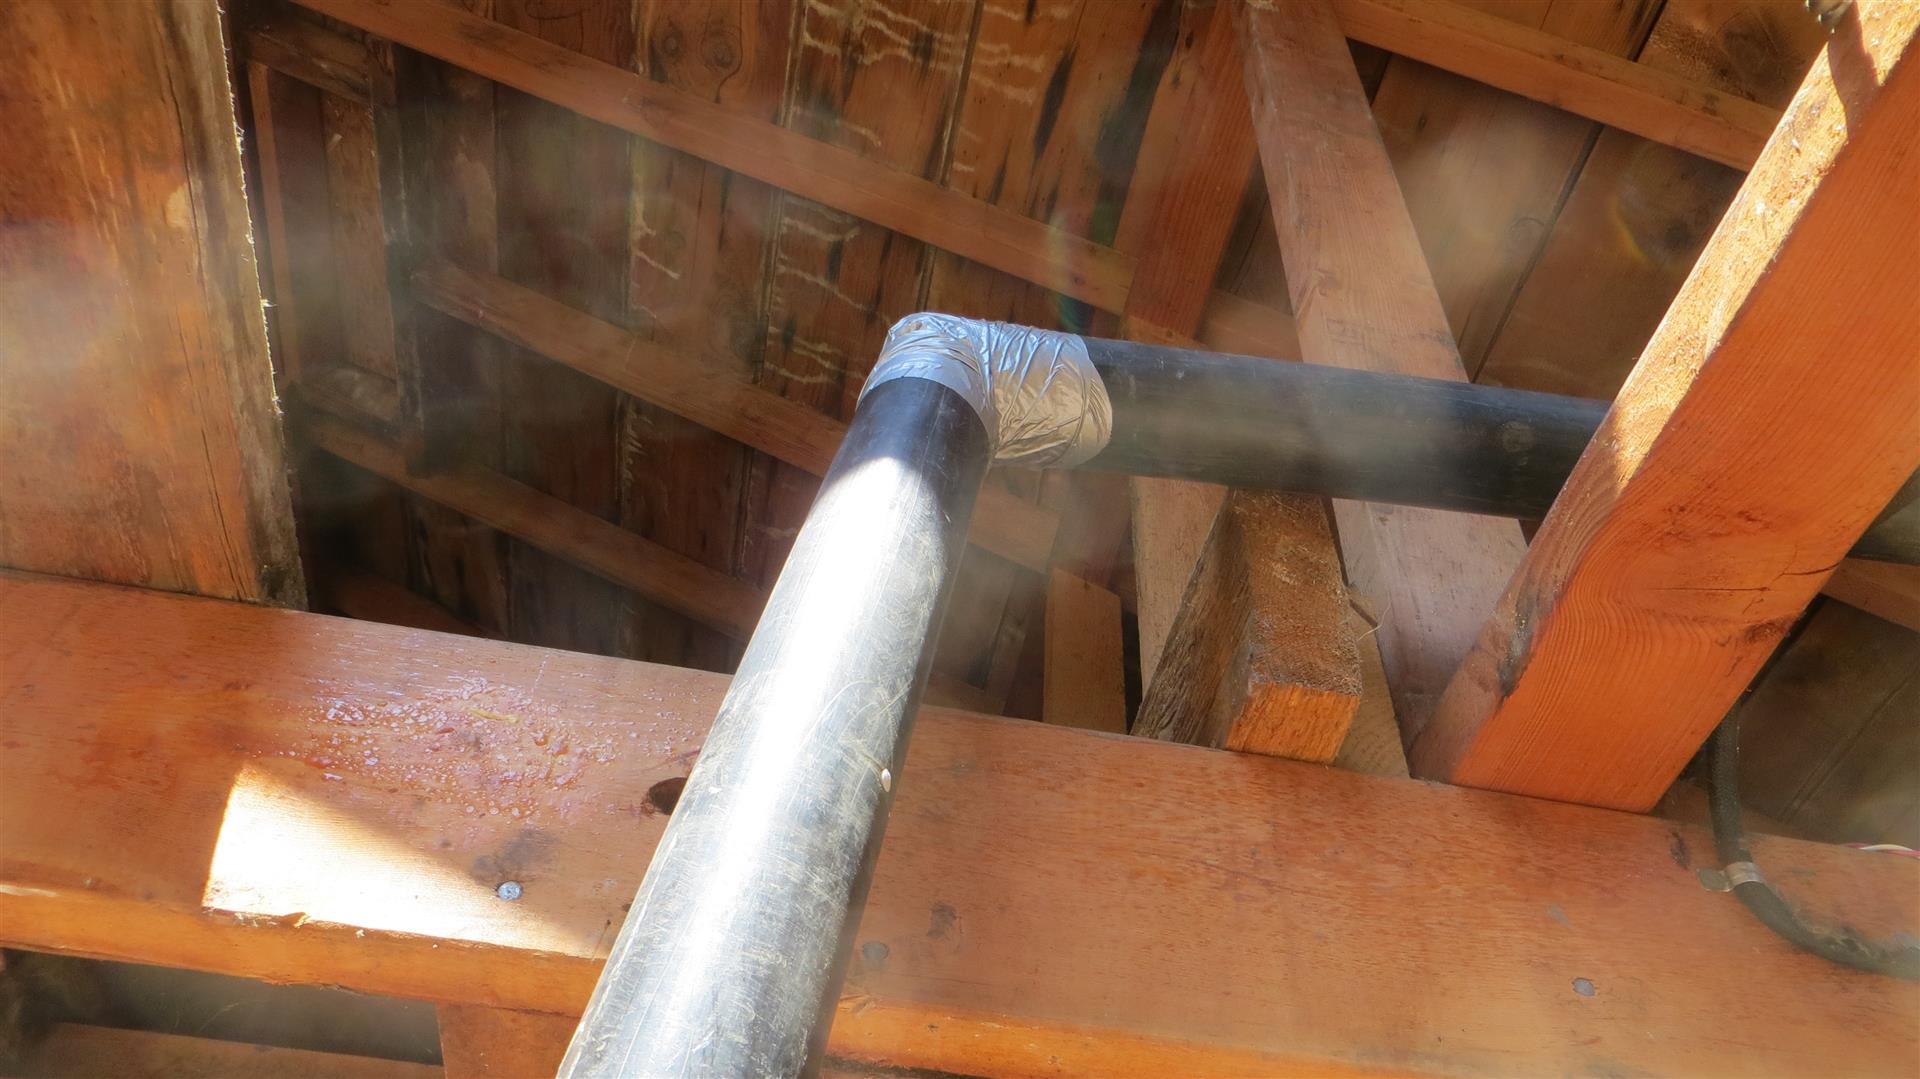
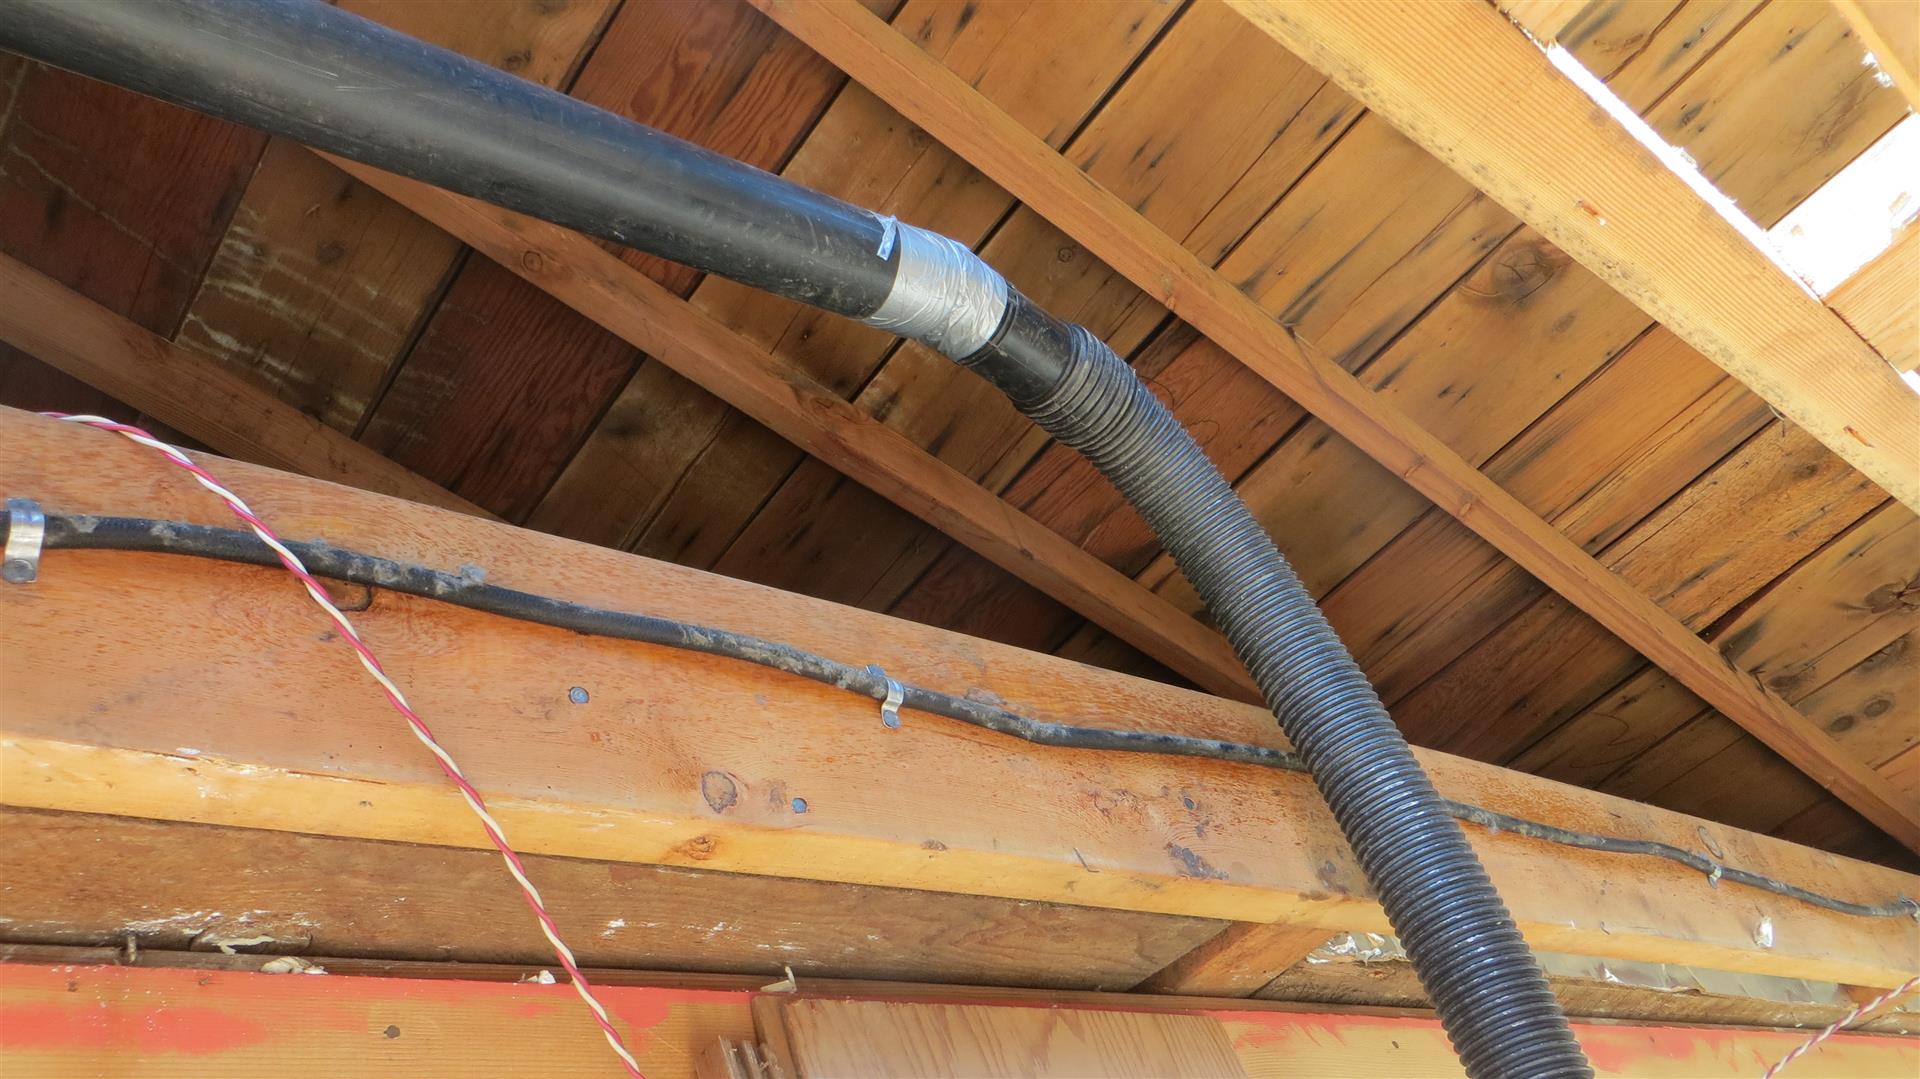
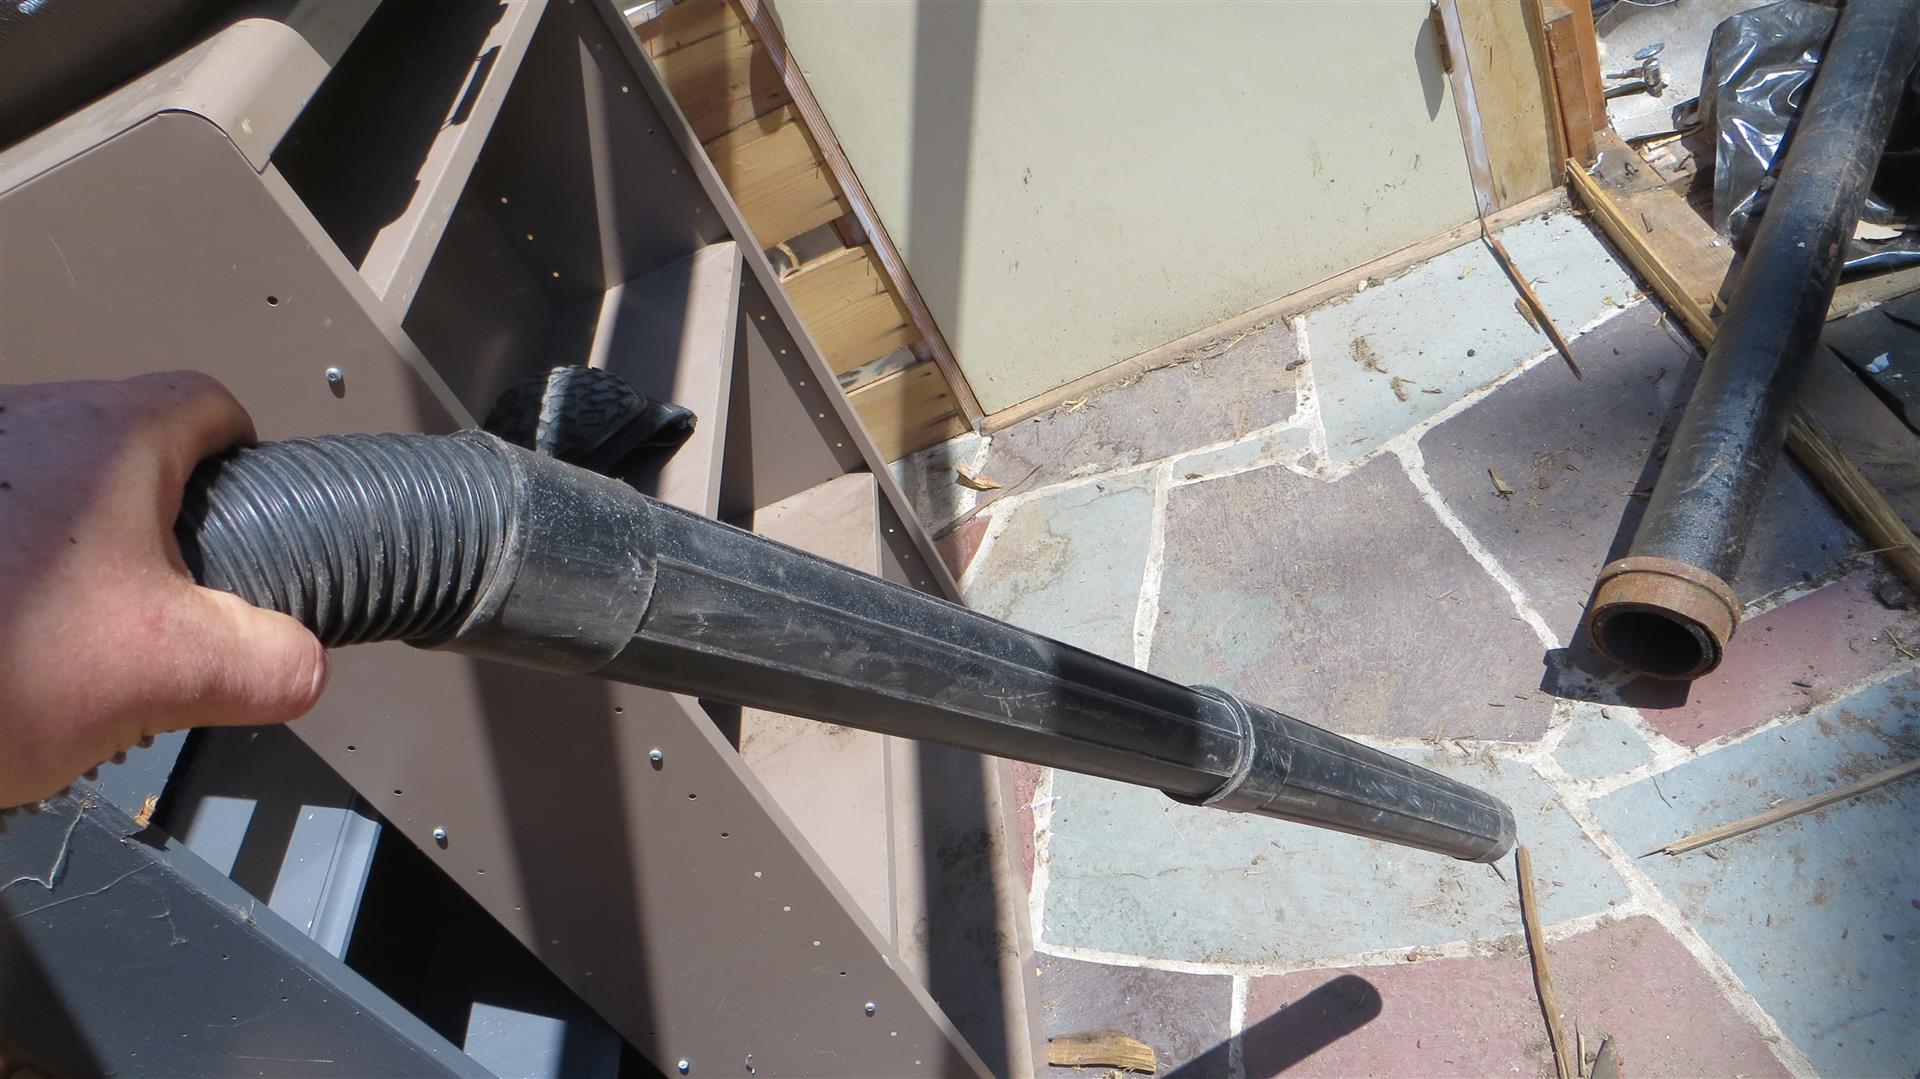
I McGyvered a home made vac truck using my large shop vac and some lengths of ABS pipe. This ended up working quite well, but would have worked better if I actually had used elbows instead of just cutting a 90 degree slots in the pipe and bending it (would have resulted in less plug-ups), but it worked well enough and I only lost 10 or so minutes to freeing up the jams compared to the 30-40 minutes to go get fittings.
The end result was that I had a system that effectively sucked 7 large contractor garbage bags of loose blown mineral wool insulation out of the attic including all the debris that was on top (re-roofing jobs, general dust and grime, chimney removal from an earlier renovation). Now I do not have to worry about any of this coming down when I pull the ceiling in the bedroom which will make that job much faster and more pleasant.
Because the insulation was so porous, I was able to get the canister very full before needing to come down and empty.
I have been continuously impressed with the quality of the build of the old house. Yet another best practice that Keith followed was installing batt insulation at the eaves before transitioning to loose blow in. This keeps the blow-in out of the eaves where it would block the air flow and also prevents wind washing stripping back the insulation near the eaves. You would be shocked at the number of new homes I see that still do not follow this practice.

All in all it was a good day. Tomorrow should see the rapid start of the demolition of the balance of the house.
Thanks for visiting.