Hangers, Humps, and Roadside Bumps
The last 2.5 weeks has seen some reasonable progress on the floor assembly, but as usual, things have been taking longer than planned, with some of the delay’s out of my hands. I had just finished installing the first two beams at my last update. Since then I have finished lifting all beams up onto the top of the walls. All now are also in final position and secured except for the very long FB11 that will frame in the west side of the stairwell (see dwg S03).
The South side of FB11 will sit into a plate pocket on a 2 storey metal square post that will sit on a metal I-Beam installed in the basement (BB2) and continue all the way up to above the second storey walls where it will support a massive 27′ x 5.25″ x 19″ beam that extends from the west to east side of the dwelling to support the peak of the roof assembly.
So it is critical that all of the supports for the beam and the 2-storey post all line up. This has taken more time than I hoped and I have worked on it over two different days including several hours today when things were just not agreeing with my drawings when I was confirming alignment with a string line. I have observed that I have a weakness with measurements. What looks great one day will be off the next time I visit that particular area. Today’s investigation identified that a support cripple over the kitchen window lintel was way off (more than a foot out of place). An easy fix now, but should not be happening. At least my thorough measurements today showed that in general, things are very close tolerances and I seem to be catching any mistakes as I make them.
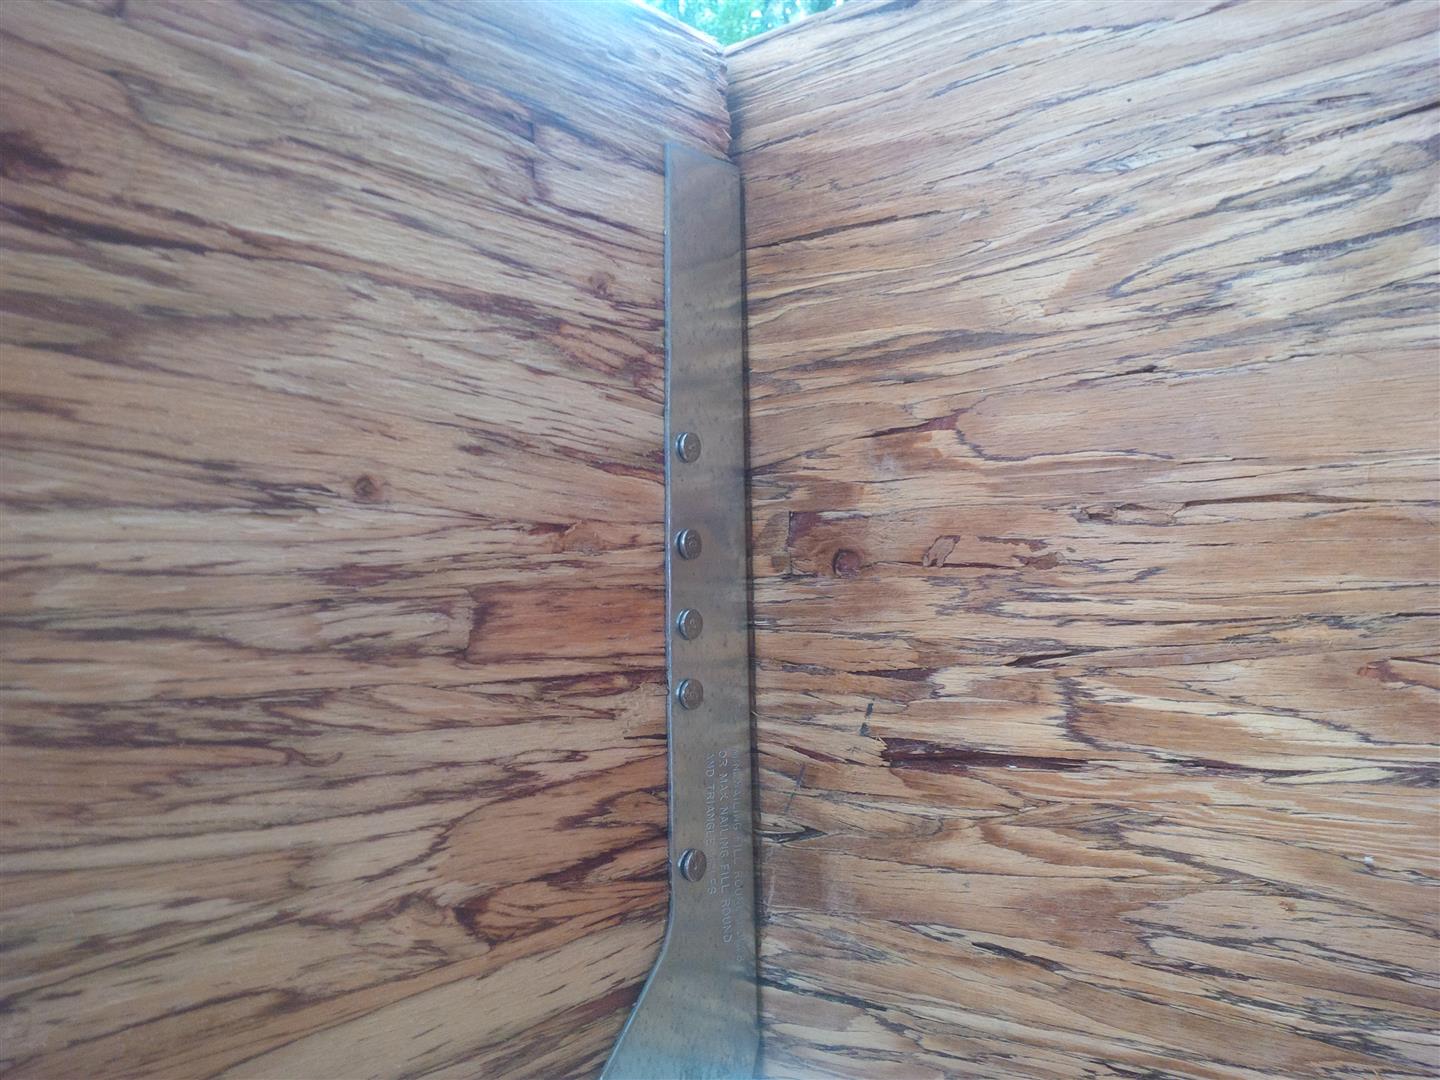
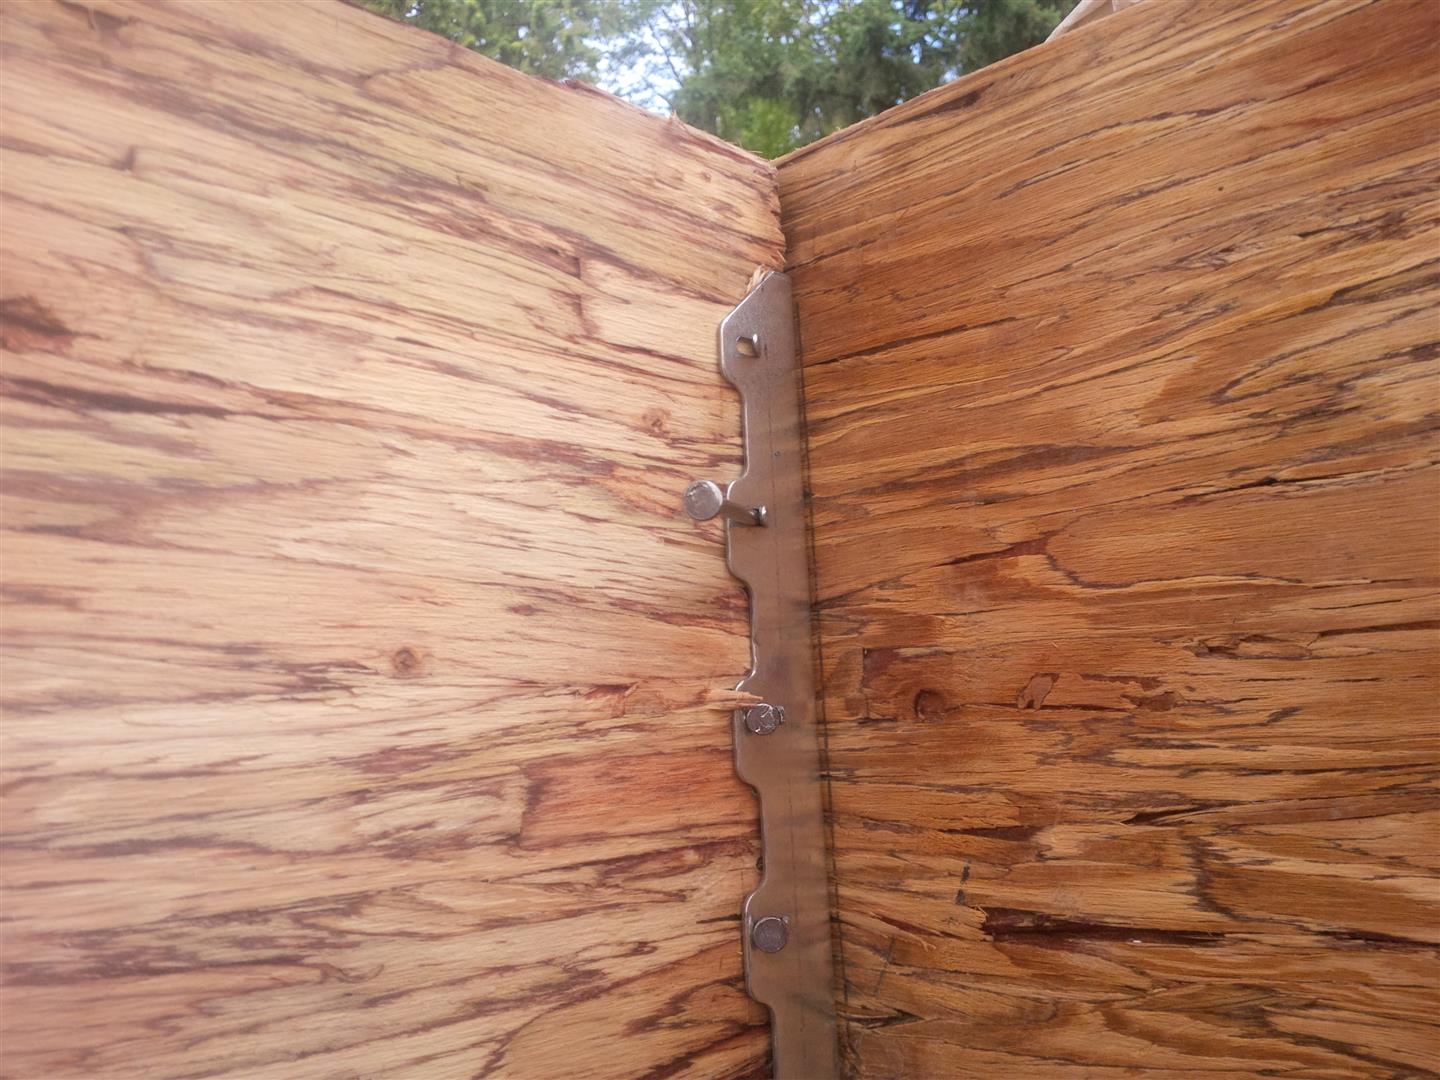
But the whole west wall of the house in general including the area above the kitchen window has plagued me with problems. When I lifted up the rim board on top of the top plates, there was significant humps above both the living room and kitchen windows. The cripples I had installed above the window lintels were too long, in some cases, close to 1/2″. As the rim board is an engineered item, It is dead flat in the vertical plane, so shows any humps or valleys in the framework below. The fix was to cut down the cripples using a reciprocating saw and my neighbour’s oscillating tool, until the rim board sat flat along its entire length. I had to do the same thing to a lesser degree along the south wall when I installed the rim board there. There is times when I just want to say it is “good enough”, but then I know that I would judge myself every day going forward till it was fixed, and it would be harder to fix later.
The straight nature of the rim board also allowed me to see that I had about a 3/8″ hump between my dining and living room floor (over top of where the trusses overlap on the centre bearing wall in the basement). I had known that my internal footings in the basement were off a bit as far as elevation and had tried to grind off the high points before framing the basement walls, but the 24 foot rim board stock sitting on the floor showed just how much of a hump there was. So you guessed it, I went down to the basement and spent the better part of day trimming down the studs in the basement so that the entire middle portion of the floor assembly dropped and allowed the rim board to sit flush with the floor sheathing along its entire length. This was a bit more difficult as there was already a floor framed above this wall. SO I had to tie all the studs together with 2x lengths so they kept their spacing and vertical alignment and then would start cutting down the studs in a swath about 6′ or so across. Once that part of the floor was level, I would toe nail the studs back into the top plate and work on the next 6′ swath until the approx 16′ wall was trimmed level.
While I was installing the rim boards and truing up the floors and such, I was also ordering all of the misc hardware I was going to need to install the floor trusses. This led to a very frustrating and unproductive week of investigations by email with a rep from Simpson Strong-Tie. I just wanted to know what nails to use with which hangers. And I never really got a firm answer. Many hangers call out what are termed 16d common nails. But in general no length is easily found when looking the hanger up online. Through my week long education, I found out that all the hanger specifications are listed elsewhere on both the site and the catalogue (see catalogue pg 22) and that 16d ALWAYS represents a 3.5″ nail. But here is the kicker, no one sells a 3.5″ 16d ‘HANGER’ nail. The staff at the lumber store just state to use a standard 3.5″ common nail. But these have totally smooth shanks and the official hanger nails have little rows of divots that help prevent pull out. When I pointed this out to the rep, I was told that there are no ‘barbs’ (what I had first called them), and that there nails were just repackaged ‘common’ nails.
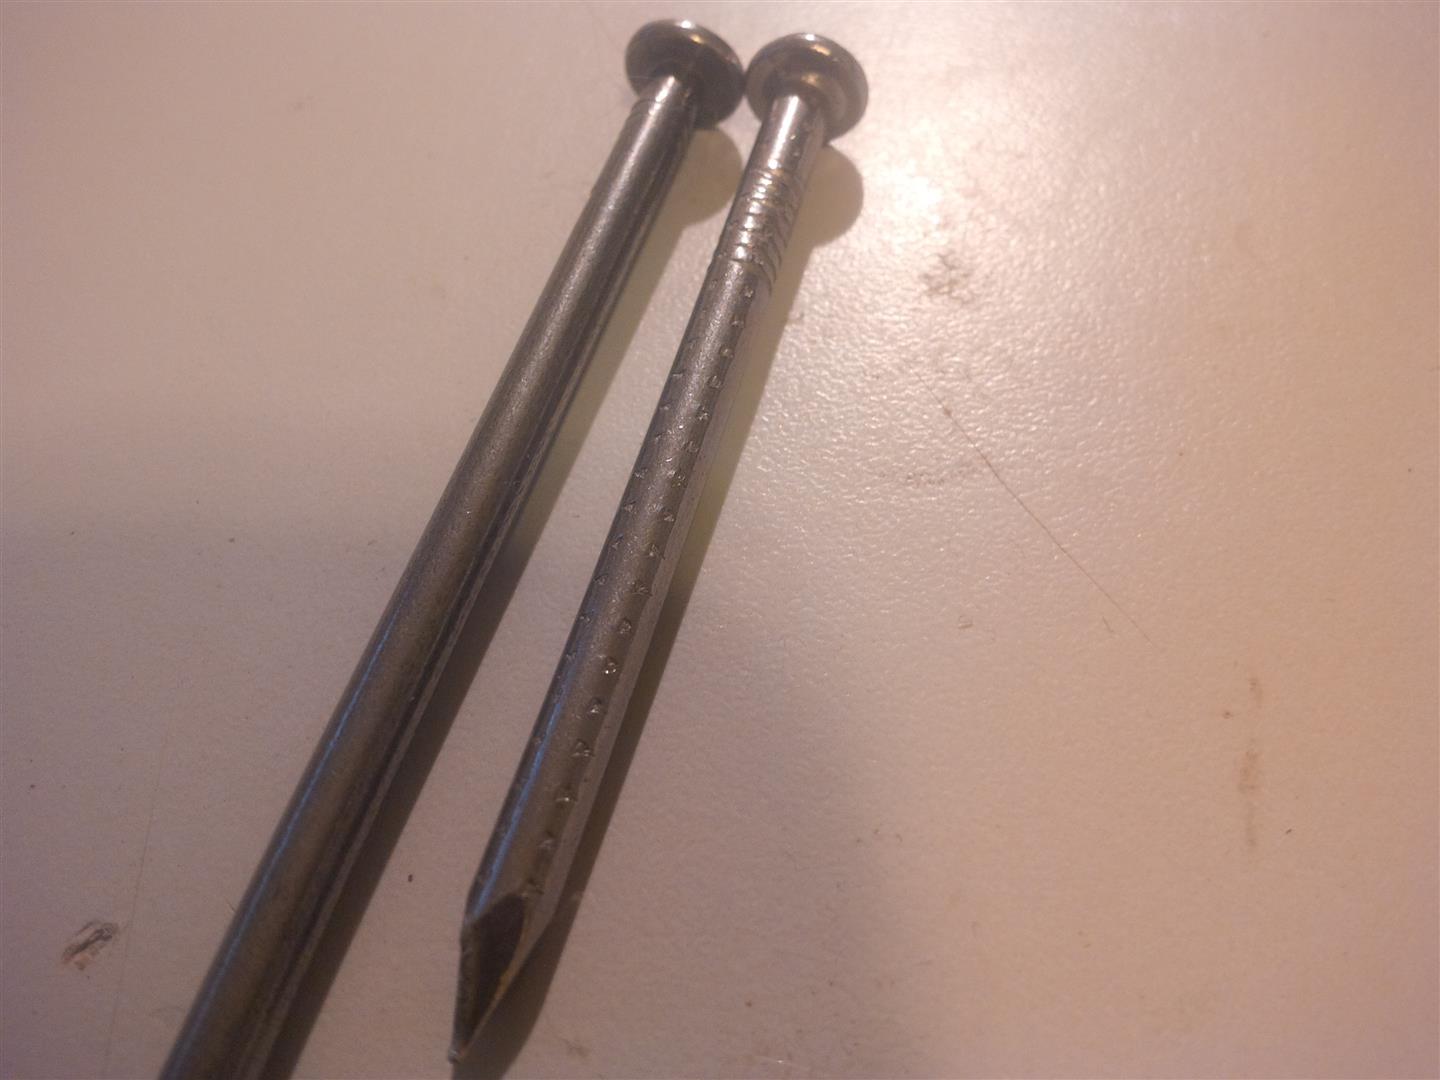
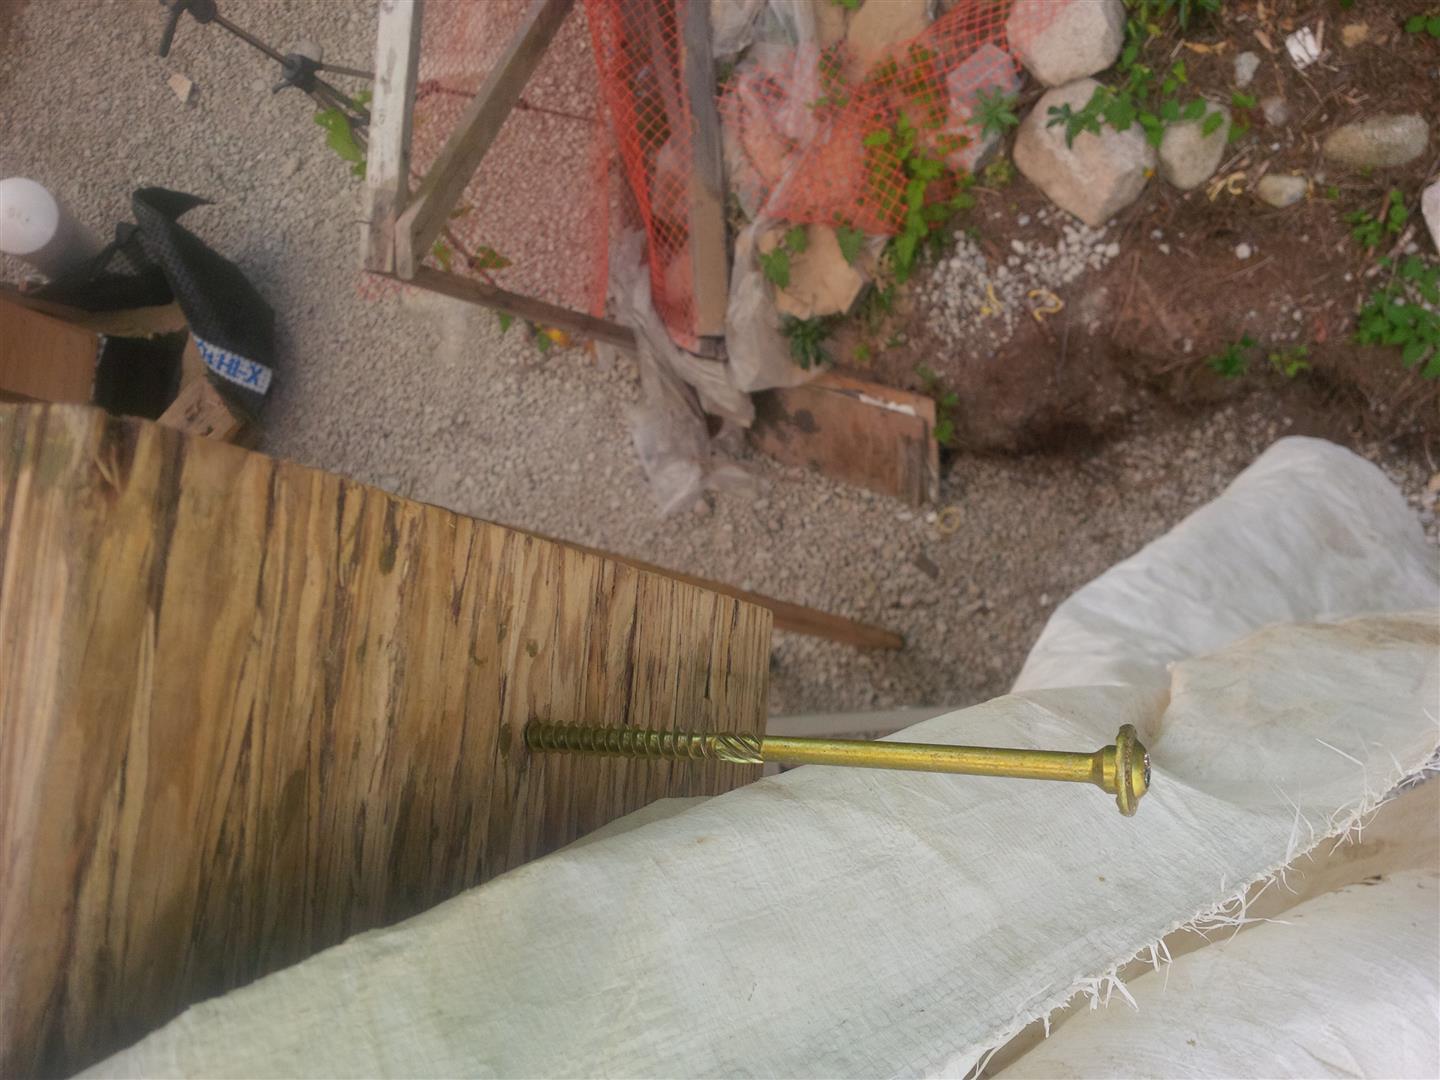
I had used 1.5″ nails and 2.5″ nails on most of the hangers I had installed to date. The 1.5″ was on the floor truss hangers and was instructions provided by my structural engineer, so I knew I was OK there. But the 2.5″ used on the beam hangers was because that was the longest hanger nail I could find that was marked 16d and now I was worried. SO I discussed this as well with the rep and was told no worries, a 2.5″ 16d nail was rated at 100% of a 3.5″ 16d nail (see table at bottom of Strong-Tie specification) . Now I was really confused (although quite relieved). Because I had used the 2.5″ nails, these were still long enough to penetrate the header when mounted in the diagonal double shear holes.
But this begs the question, if 2.5″ is rated at 100% of designed load, why call out 3.5″?? What is worse, is that I know for a fact that some builders are not even using 2.5″. I recently had a chat with someone who has been building for over a decade. They wanted to lend me their ‘hanger’ pneumatic nail gun. When I mentioned it only could take 1.5″ nails, he commented “ya – standard hanger nails”. When I said I was using 3.5″ for the double shear fasteners, he looked at me like I was speaking a foreign language. But I have to say, it is much too difficult to find the proper installation instructions for a specific hanger online. It was much easier when I downloaded the catalogue (or there excellent desktop hanger selection software), but how many people are going to take this time. On high end homes, I am sure the engineer specs every detail out on their drawings, but on spec houses, I heavily suspect there are many undersized fasteners out there. Problem is that once they are installed, there is no way for the building inspector to know if they are right or not. Simpson should have a section of the website where you are able to select a specific hanger from a drop down list and then are presented with the installation sketches and specifications for fasteners.
Anyway, I graduated to using 3.5″ common nails for the double shear fasteners on some big beam hangers I was installing and will also add some extra security with a timber fastener to provide extra tension on the hangers I have already installed on the basement beams. I am also doing this on any new beam hangers as it allows you to get the beam nice and tight before driving in the dbl-shear nails.
I also found out that many of the hangers and clips called for in my drawings are either special manufacture or not stocked locally. Part of this is due to my use of TriForce Open-Joists from back east. So I have had several days of waiting for specific hangers and am still waiting for a special double truss hanger needed around my stairs. Fortunately, I have been able to still progress and now have about 75% of the floor trusses in place.

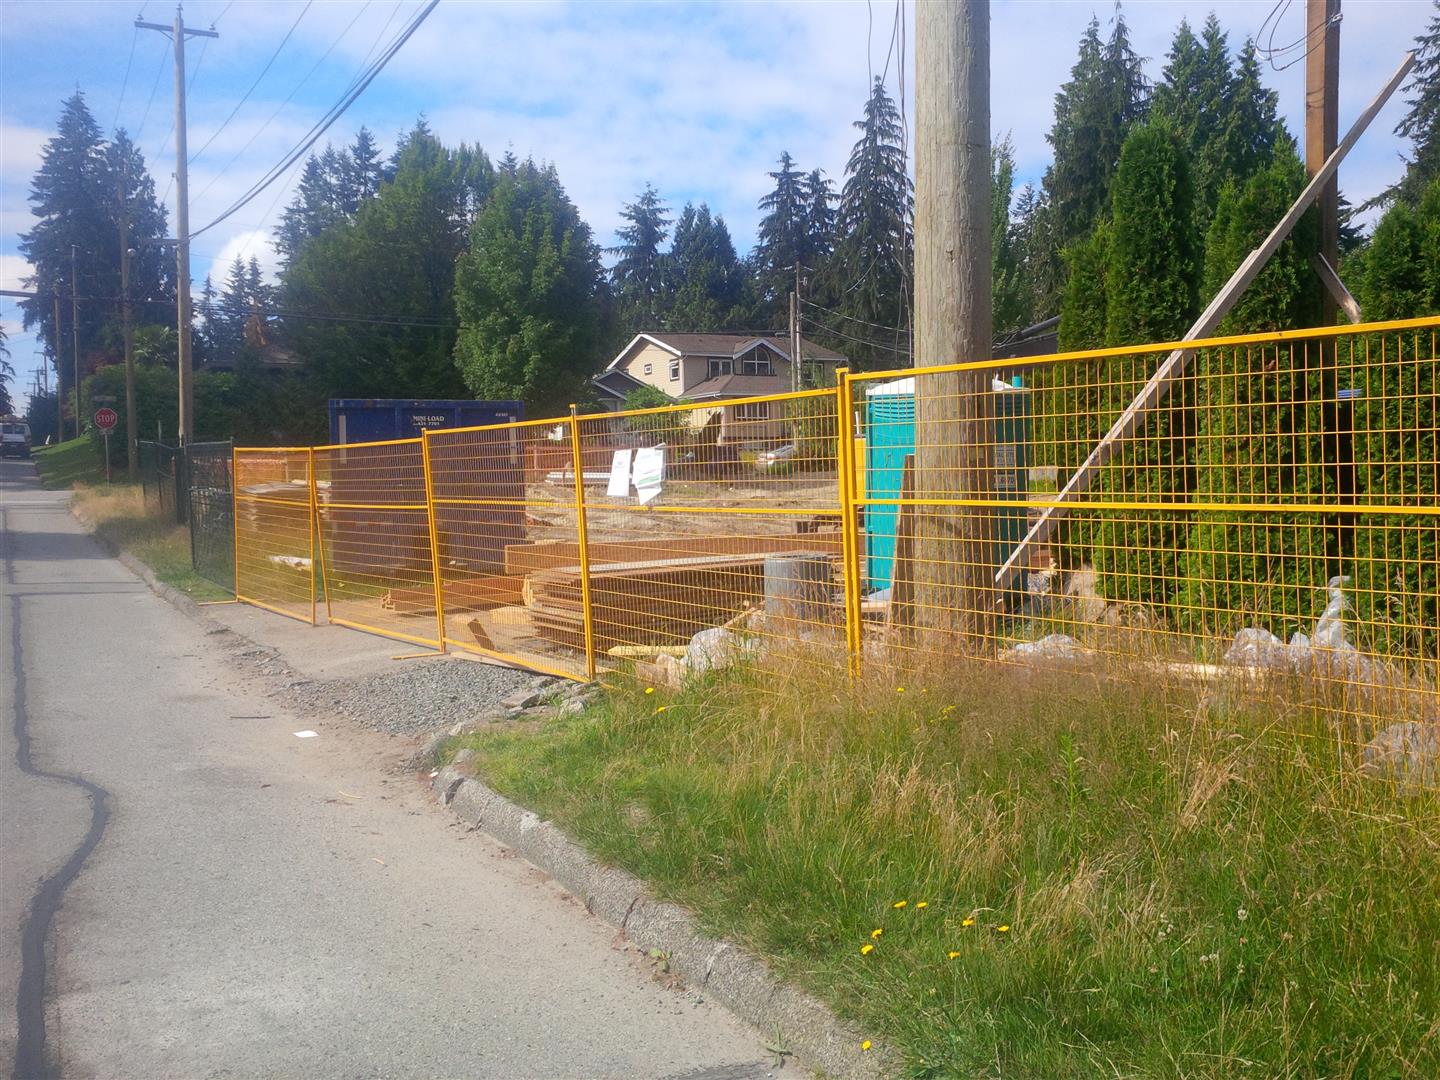
The final topic of tonight’s update is another roadblock put up by the District. A week ago Monday I came back from a supply run to find a notice had be zap strapped to my fence. It basically informed me that I did not have a permit to store materials on the boulevard beside the road, that I had been storing these materials there for a long time, and that I had three days to move them or else! I had in fact been using the boulevard for material storage from day one of the build and multiple inspectors had been on site and never voiced any concern (except at the very beginning when I did not have my security fencing up yet). So yes there had been stuff there for a long time, I did not know it was an issue. What is more, is that ALL the construction sites in my neighbourhood routinely use the boulevard as materials marshalling spaces.
I looked into the ‘permit’, but it is more of a money grab than anything else. The permit fee was around $140 which is nothing. But on top of that you pay ‘rent’ for the area of land needed for the duration of the use. I did a quick estimation, and this was going to be about $1000 for me for the next six months. And on top of this I had to get an insurance policy with the District as the beneficiary in the tune of $45K. I had already given them a $10K CASH deposit to cover any damage I cause to District lands. This was getting ludicrous. I decided to just vacate the boulevard.
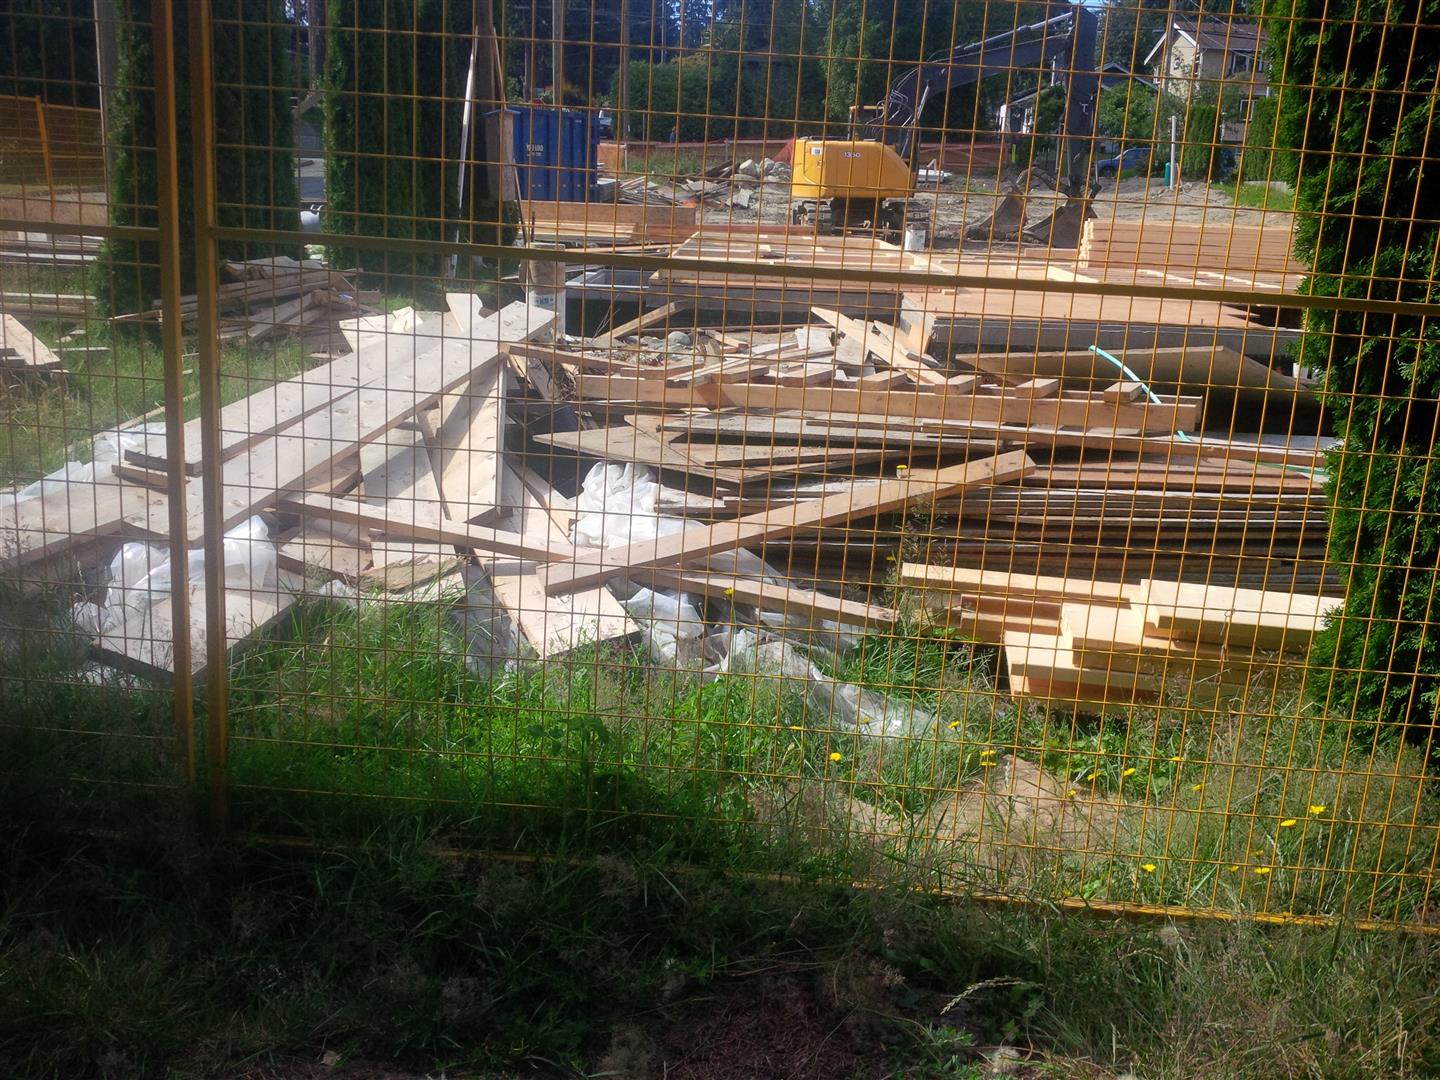
Now the ironic and wonderful part to the timing of all this, is last Monday was when I started installing the floor trusses and already had planned to have then all moved to my garage floor in stacks per size anyway. But it still took the better part of last week to finish cleaning off the rest of my materials including the three pallets of ICF you see stacked in front of the house in the above photo. But I am still grateful, as if this ‘crackdown’ came even a year ago, I would not have had anywhere to put the materials and would have just had to fork out the thousands for the land use permit (I was using a much larger space then compared to now). Out of interest on Sunday I took the below photos from a neighbouring construction project. I checked online, and they do not have the permit to use the boulevard.

Sure seems like a double standard to me.
Oh well – timing worked out well for me, so I in the end of grateful. Sorry for the length of these posts. I will try to post more regularly so topics don’t build up as much.
As always, many thanks for visiting!
“The dictionary is the only place that success comes before work. Hard work is the price we must pay for success. I think you can accomplish anything if you’re willing to pay the price.” —Vince Lombardi (1913-1970) Athletic Coach
“Striving for success without hard work is like trying to harvest where you haven’t planted.” —David Bly (born 1952) Politician
“Far and away the best prize that life offers is the chance to work hard at work worth doing. ” — Theodore Roosevelt (1858-1919) 26th U.S. President