ICF is complete!
I hit a milestone this last week and finally have finished laying all of the Durisol ICF blocks. I generally finished off row 9 last Friday, the majority of the required cut blocks for that row on Saturday afternoon, and the last few blocks above the basement doors yesterday. Friday the blocks were saturated from recent rains so I was again slogging 100lb blocks around all day. I am thrilled that this step is behind me and I can now move on to completing the required forming for the top curb of the foundation.
I have scheduled the Structural inspection of the form work for April 7 which is when the engineer who will be doing the site inspections on behalf of Tacoma will be in town (he works and resides on Vancouver Island). I chose Brian Lange from Stantec, because he used to work with Nathan at Tacoma and would be used to Tacoma’s design style. I also felt it would be difficult to find someone local that would even be willing to do this kind of work if they were not the primary designers of the structure. I just have to schedule inspections when Brian is planning on being on the mainland to save some travel costs. Hopefully we will be able to pour on the 10th or 13th.
I have also been working on the HRV and general venting supply. I worked most of the weekend on the drawings trying to find places to route the required ducts. I also had a meeting with David Hill from Eneready on Monday. David is one of the top ventilation experts in the country and it was a huge benefit to be able to pick his brain regarding the ventilation needed for the wood and metal shops.
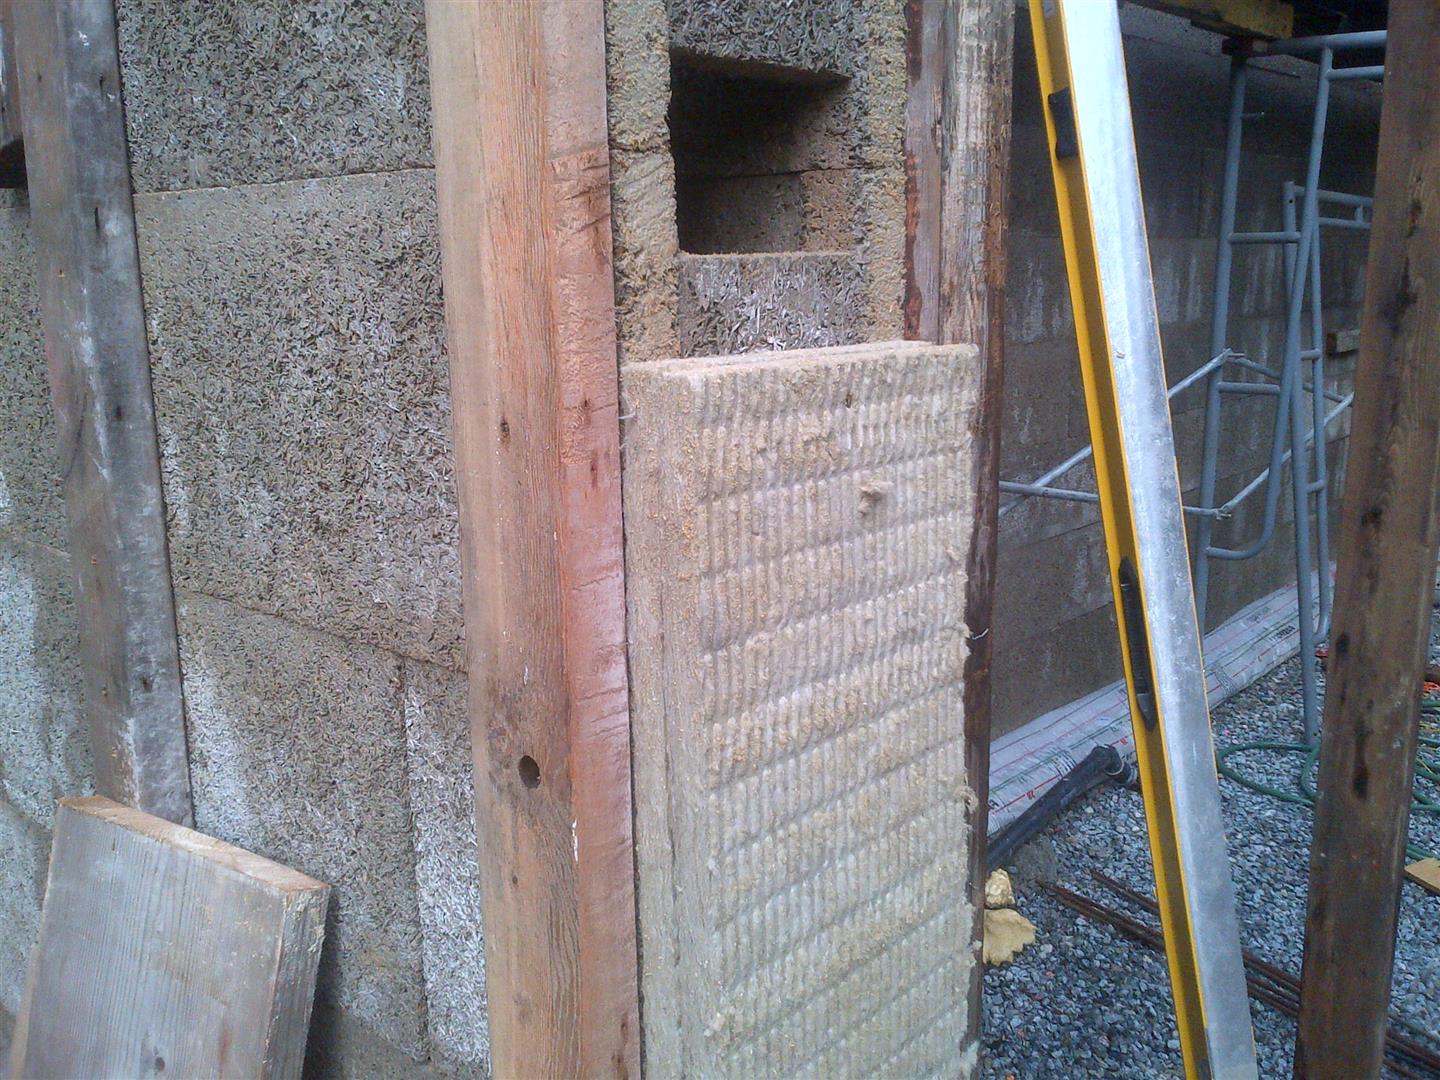
On the way back I picked up the plywood needed to form the top curb of the foundation and some 2×6 studs that I will use now for the cross bracing needed to plumb the foundation walls prior to pour. I have also taken delivery of my first load of ROCKWOOL Comfortboard IS that will be used for the foundation insulation. I will use this first bit as inserts in my top curb to prevent thermal bridging as the foundation nears the surface and projects above (see drawing S12).
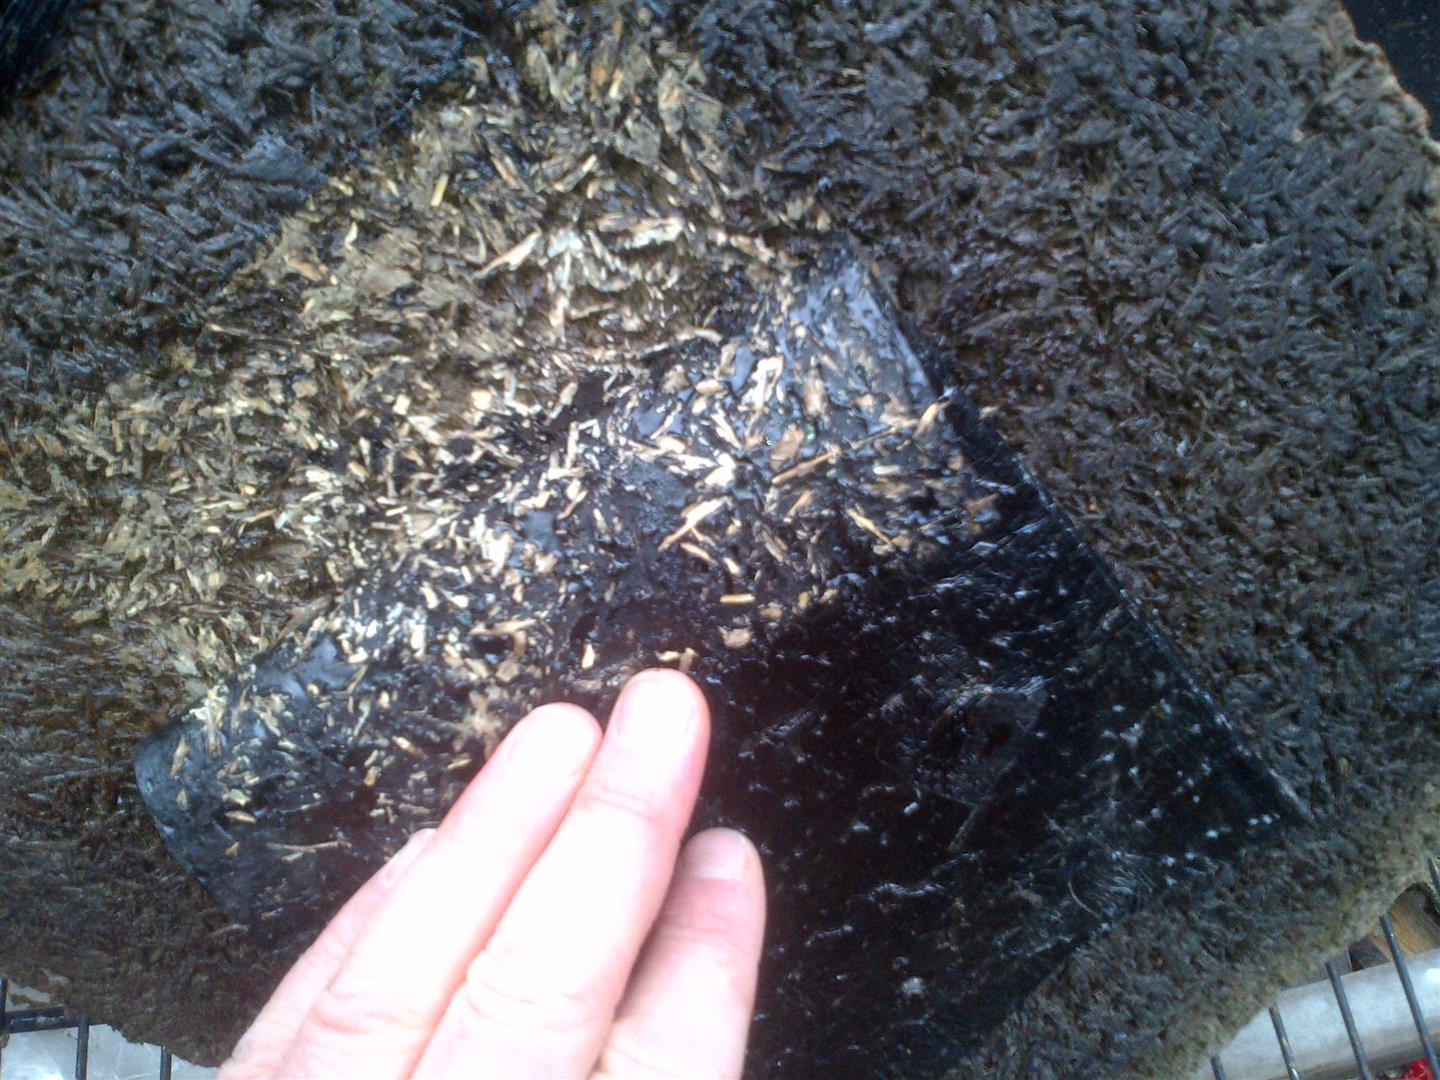
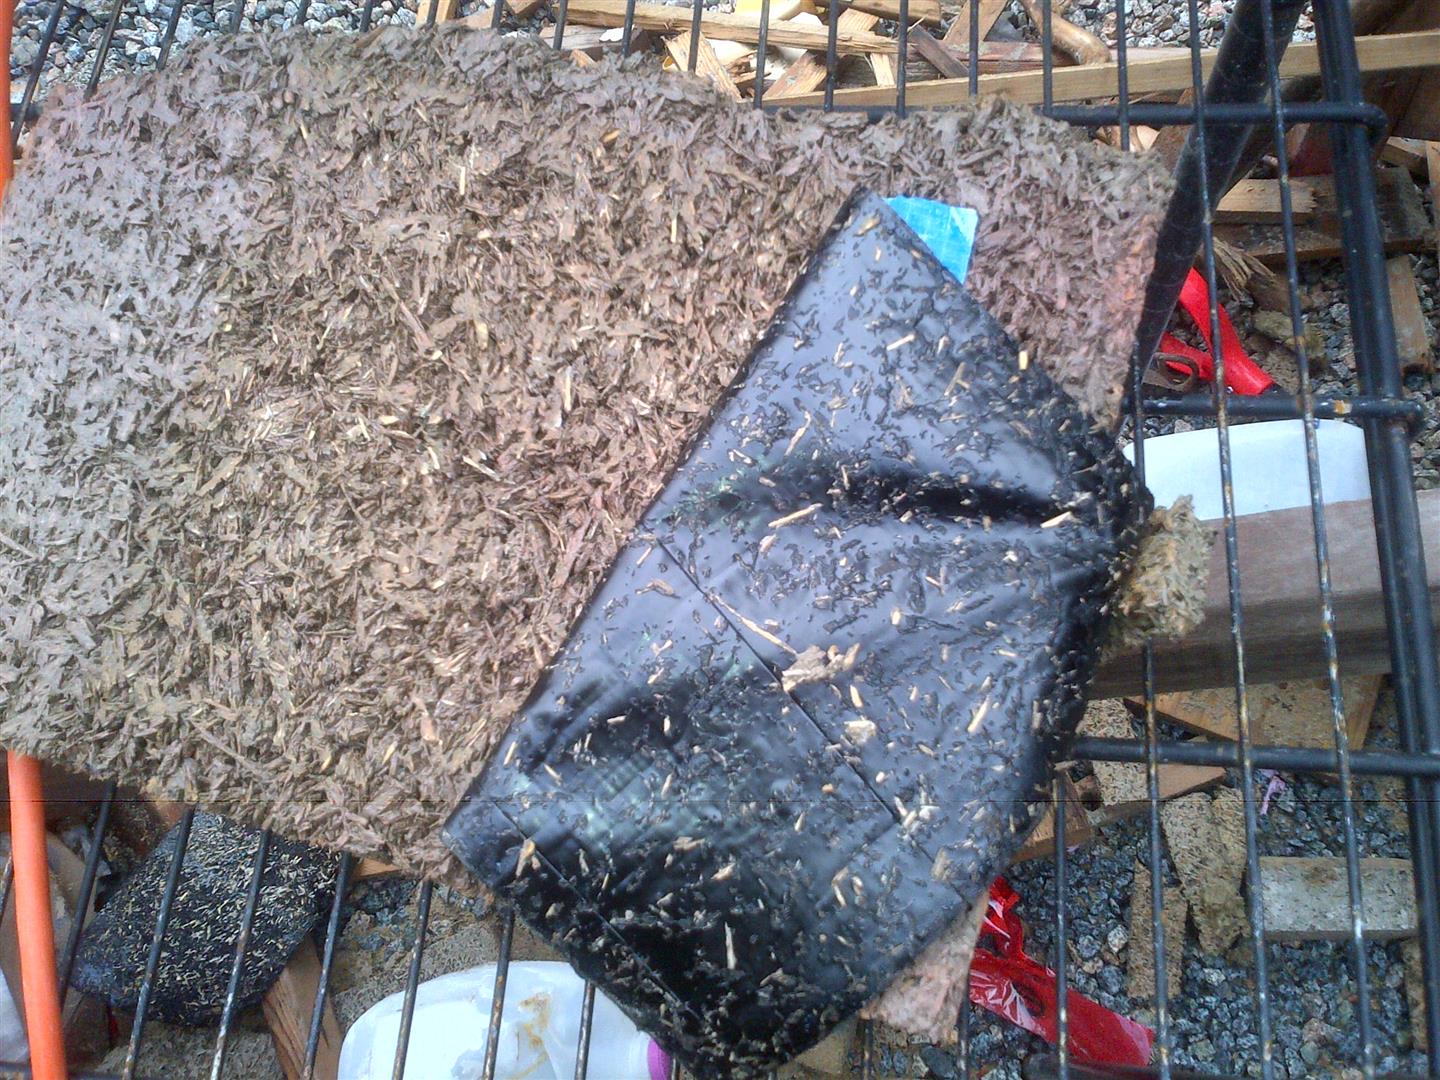
I have also completed my testing of the Soprema foundation waterproofing membranes and have settled on the Torch on Assembly per below.
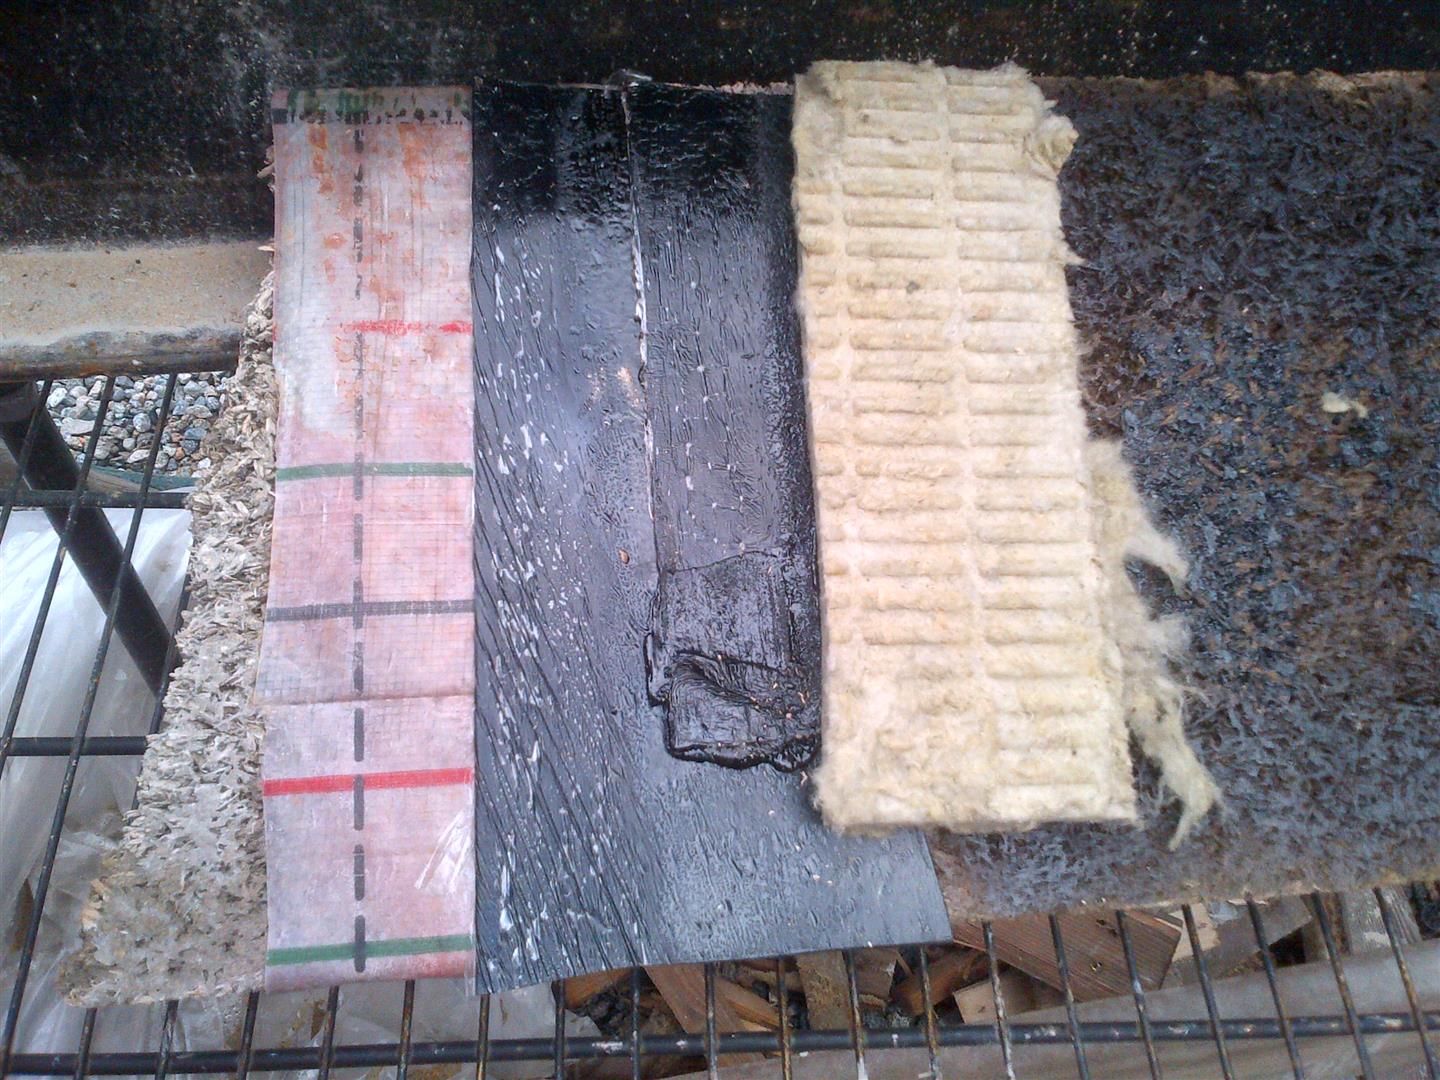
Step 1 – Fastfoot is stapled to ICF at base of foundation wall.
Step 2 – A Sopralene Flam Stick Membrane strip is applied to the ICF (don’t forget the primer) lapping over the Fastfoot by at least 2″ (this is a combined peel and stick and torch on membrane. The bottom side is peel and stick and the top side accepts a torch to seal to the Torch’N Stick membrane).
Step 3 – Colphene Torch’N Stick is applied to the balance of the ICF wall (don’t forget the primer) lapping over the Flam Stick.
Step 4 – Torch the surface of the Torch’N Stick to adhere the ROCKWOOL Insulation (hold in place till backfill).
I also finished the two door bucks for the basement doors through the ICF. I lined all side of the opening with ROCKWOOL to reduce the thermal bridging between the foundation and the door installation. I will try to post THERM files for this at a later date.

The rest of the week will involve dropping in the vertical rebar and starting the forming of the top curb.
Thanks for visiting!
“You cannot hope to build a better world without improving the individuals. To that end, each of us must work for our own improvement and, at the same time, share a general responsibility for all humanity, our particular duty being to aid those to whom we think we can be most useful.”
—Marie Curie (1867-1934) Chemist, Physicist, Nobel Prize Winner