Insulation
Today was an itchy day. It started with loading the trailer with all the non-green waste that was created while taking down all the interior walls. This was mainly painted panelling and plywood along with many panels of foil backed cardboard.
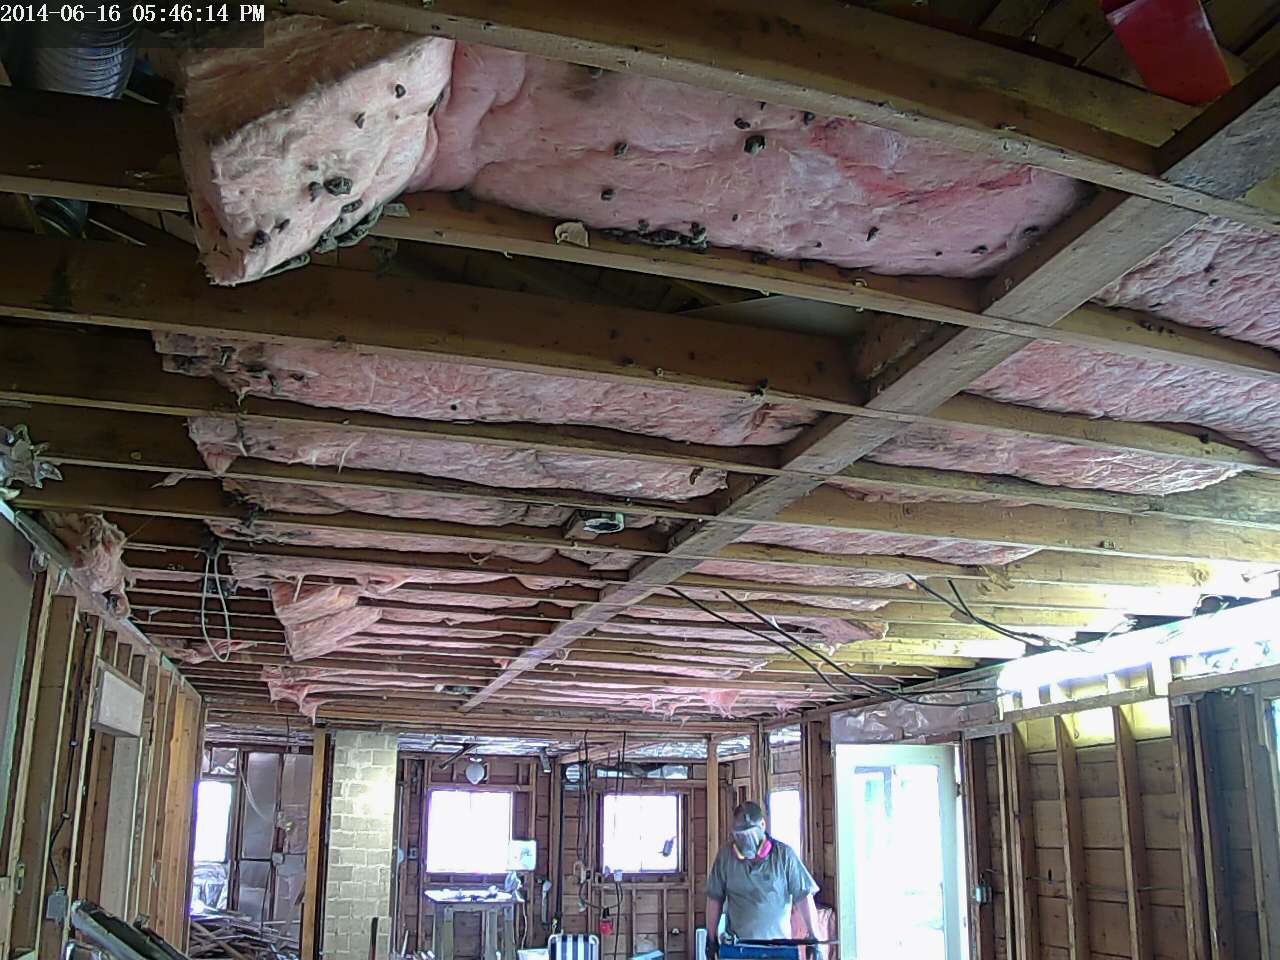
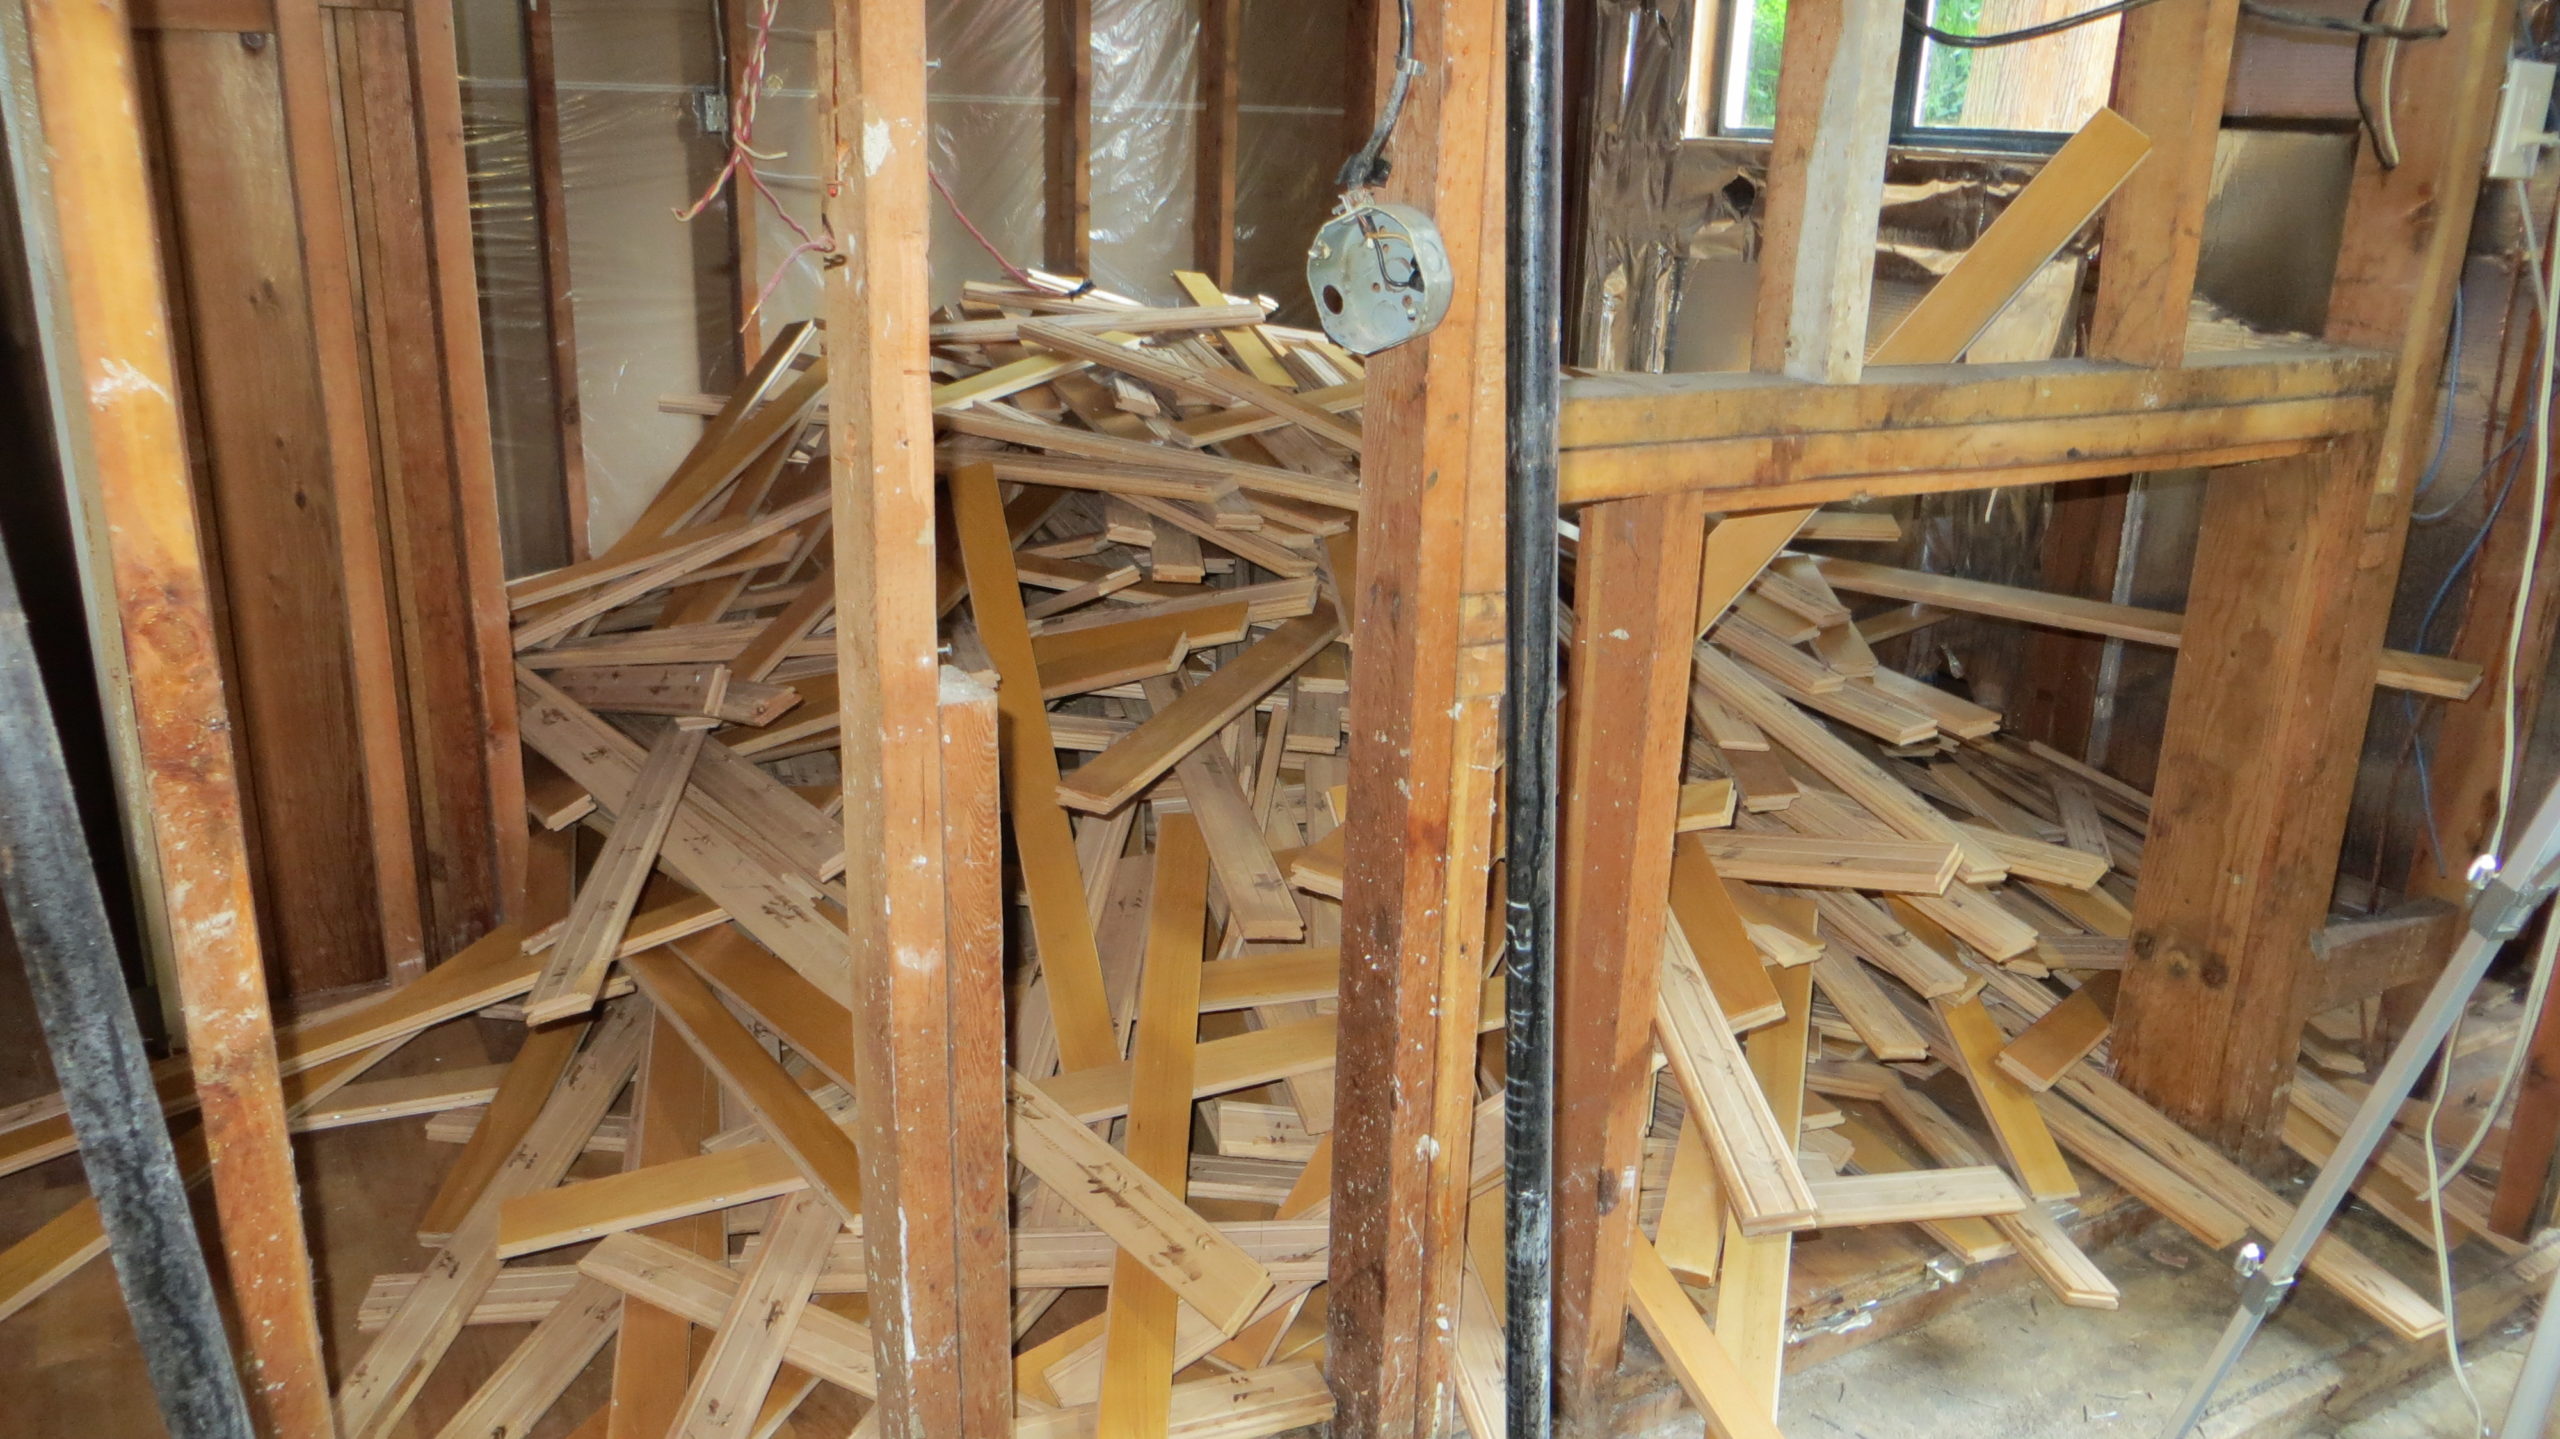
Once all the floors at the east half of the house was generally clear, I started taking down the ceiling. This involved removing the foil back cardboard panel and then the insulation above it. I have at least 4 types of insulation in the attic. The oldest (I believe) is loose fill mineral wool. The second oldest would be mineral wool batts. These have plain paper on one side and asphalt impregnated paper on the other that was facing the warm side and acting as a vapour barrier.
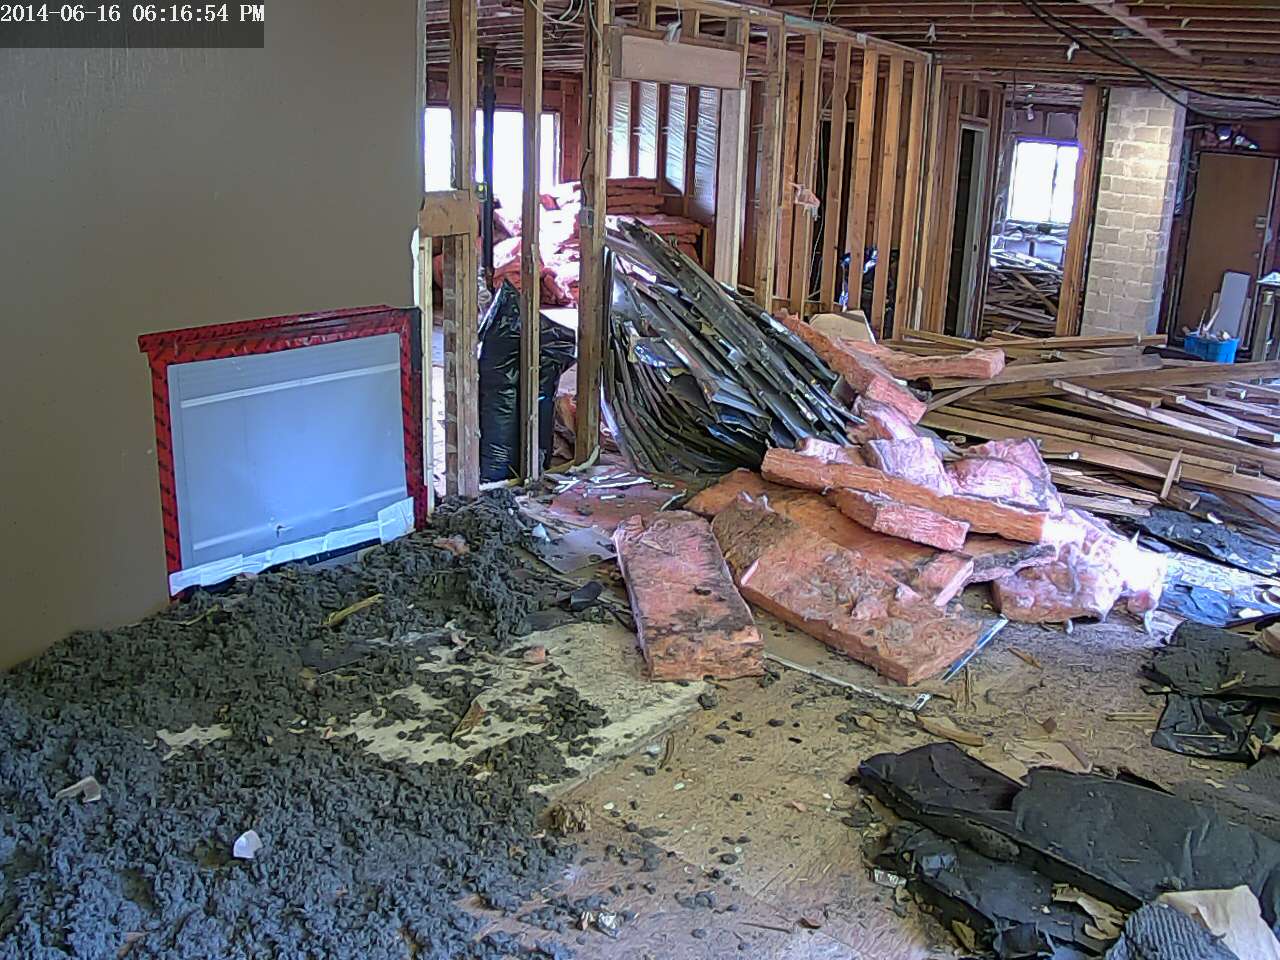
I then had two vintages of fibreglass, one with impregnated kraft paper, and then the modern style see in the above photo. Once I finished the east side of the house, I moved to the west side and all is now down except for the part over my old office and the master bedroom.

I think is is pretty cool that I had two vintages of mineral wool in this dwelling considering I think it is just about the perfect insulation and will be exclusively using ROCKWOOL in my upcoming build. I also credit the fact that the mineral wool was along most of the perimeter of the attic for keeping the house rodent free after 60 years. There was not one sign of rodent activity anywhere (event though neighbours on both sides of me have regularly suffered from extensive rats in the attics).
The loose fill mineral wool was far too dirty to keep (dust from 60 years and debris from several re-roofing projects. As was the mineral wool bats that just fell apart as they came out. But the pink fibreglass was separated, shook out to remove most of the debris and pilled up. I posted for free on Craigslist and had 4 replies. The first respondent has promised to come at 11:00 AM tomorrow morning. This is awesome as it keeps more material out of the landfill and is quite usable as it has not been contaminated by rodents, asbestos laden vermiculite, or mould.
What has been a general surprise is the number of apparent roof leaks I had. There were at least a dozen foil backed cardboard panels with water stains on them and several of these were actually quite deteriorated. None of this was visible within the home while we lived there (there was one leak that developed within a few days of moving out).
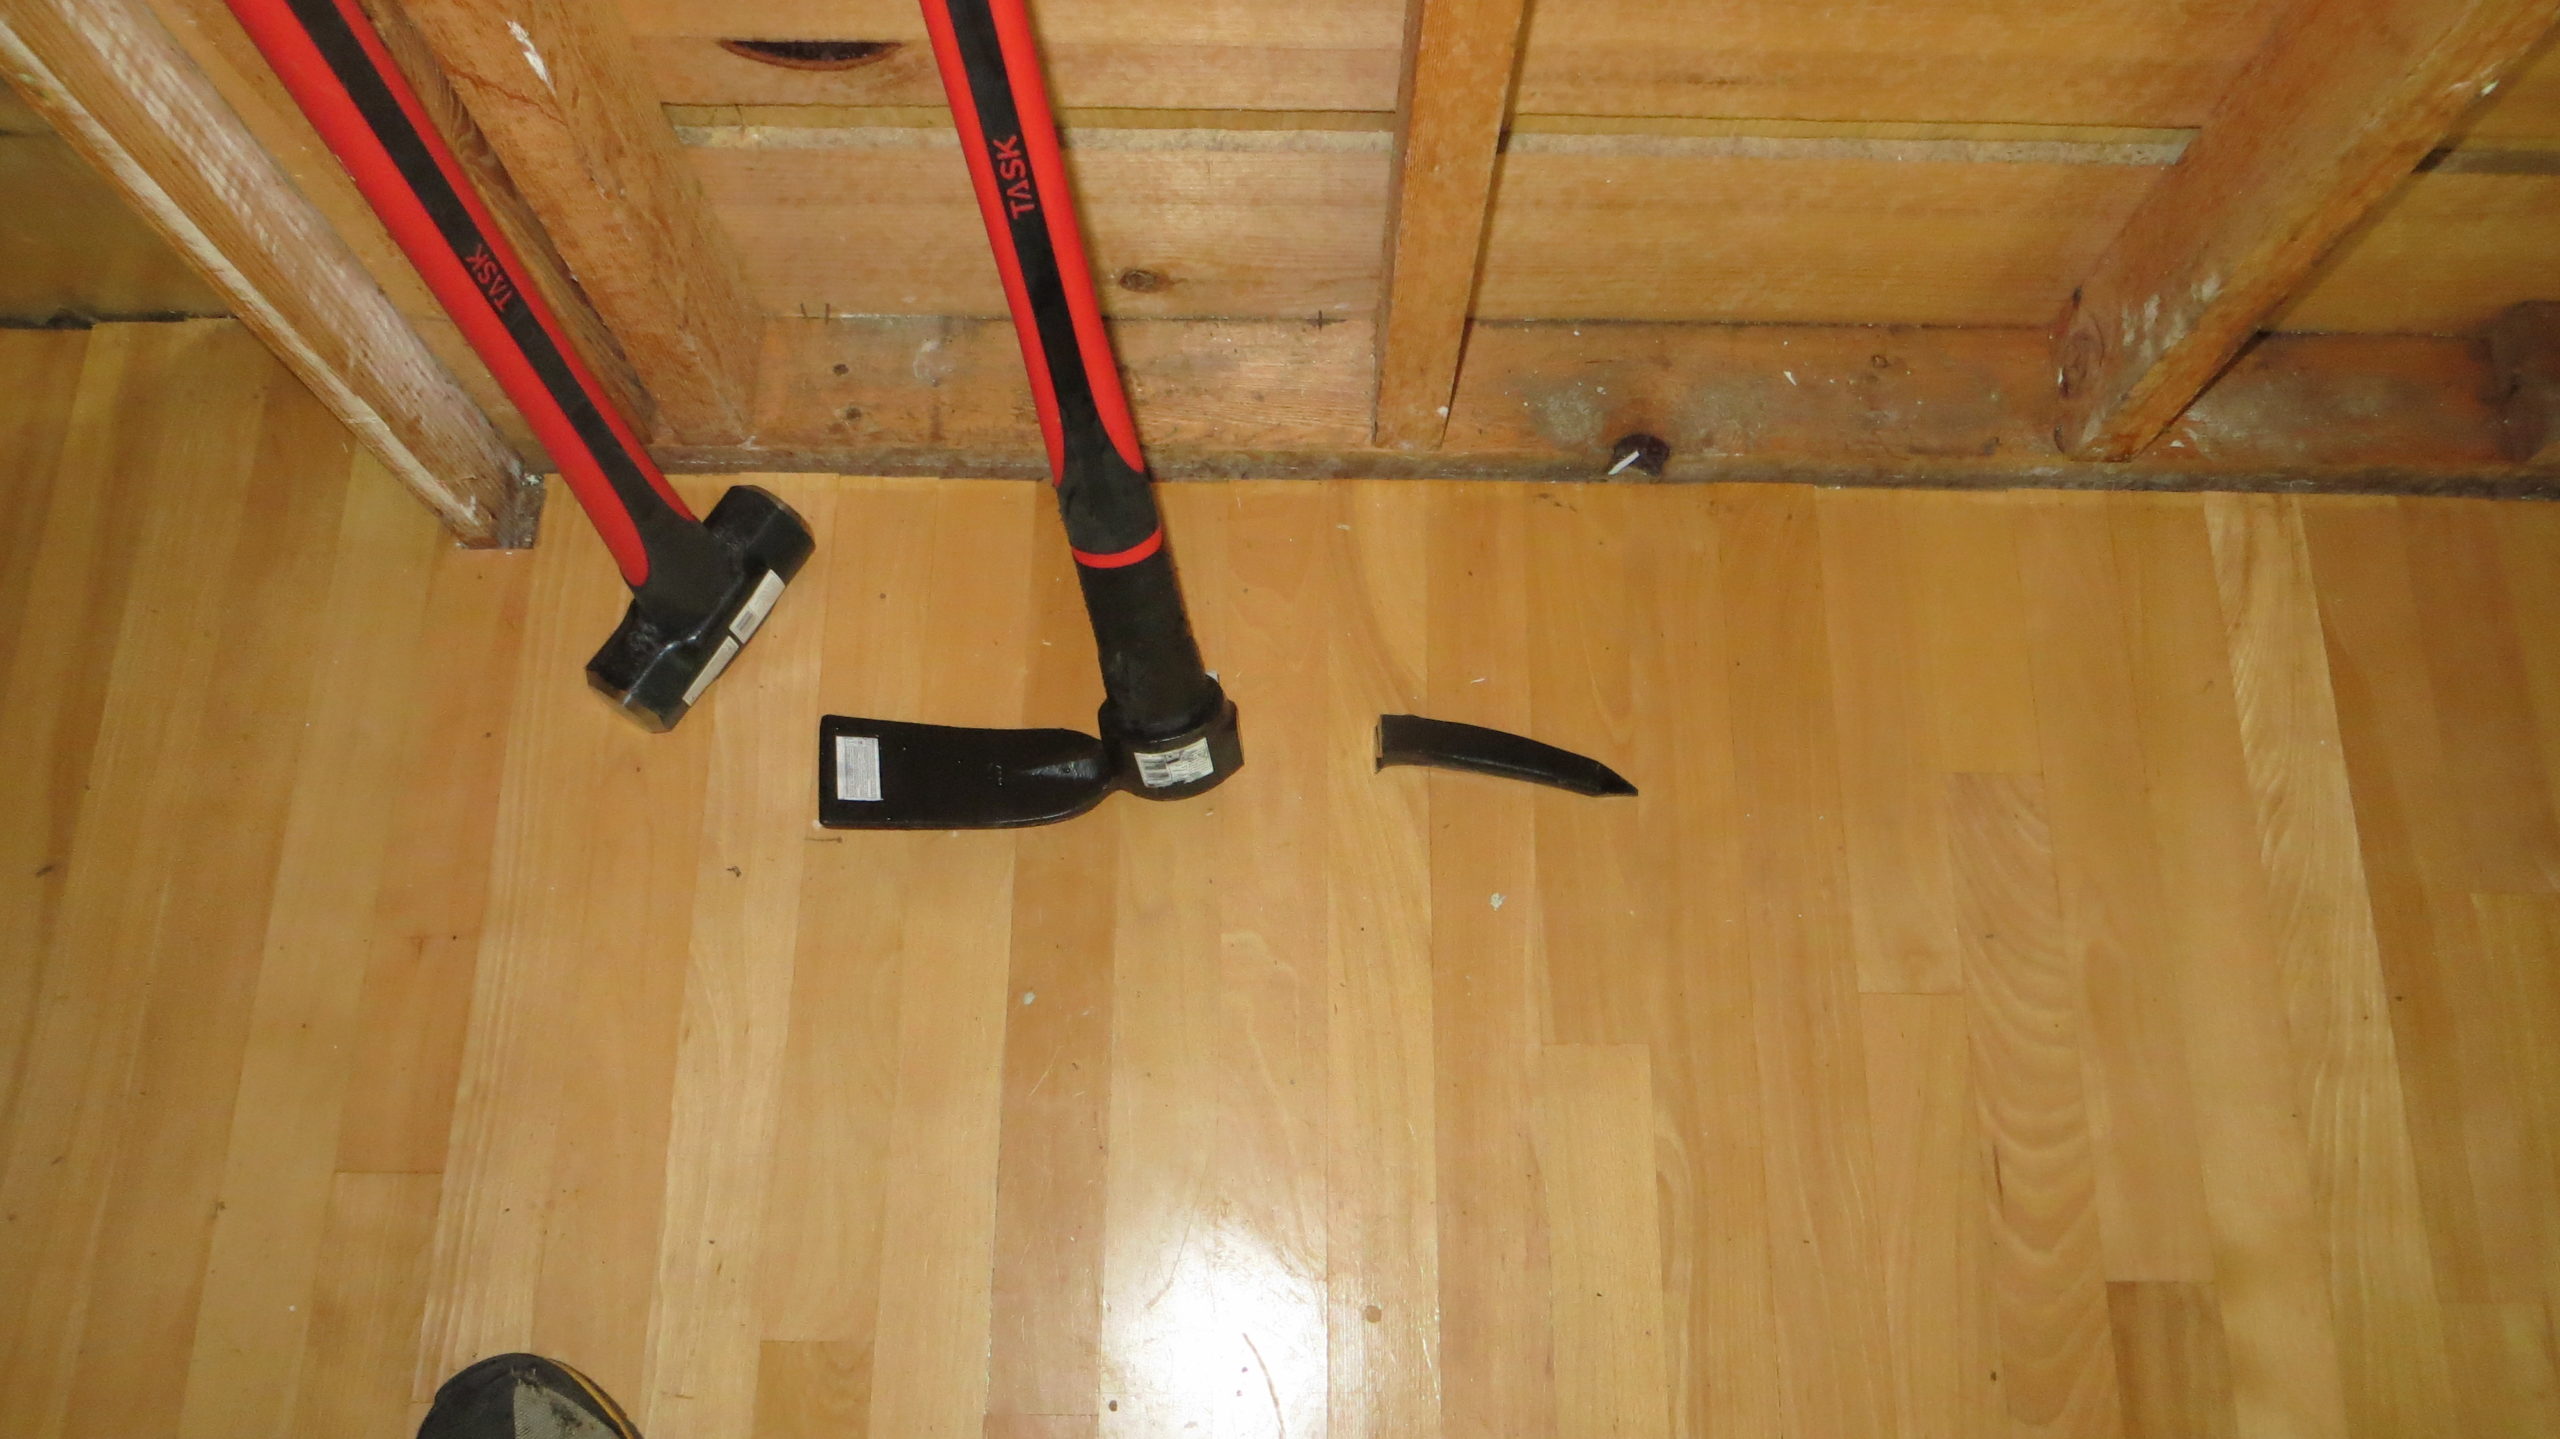
I also managed to strip the rest of the exterior walls of the foil backed cardboard and readied them for the next step of ship-lap/siding removal. Throughout the day, I used my modified pick axe and have to say, that it has turned into a real workhouse. Withe the fibreglass handle and missing the pick, it is really quite light and ideal for a whole manner of tasks.
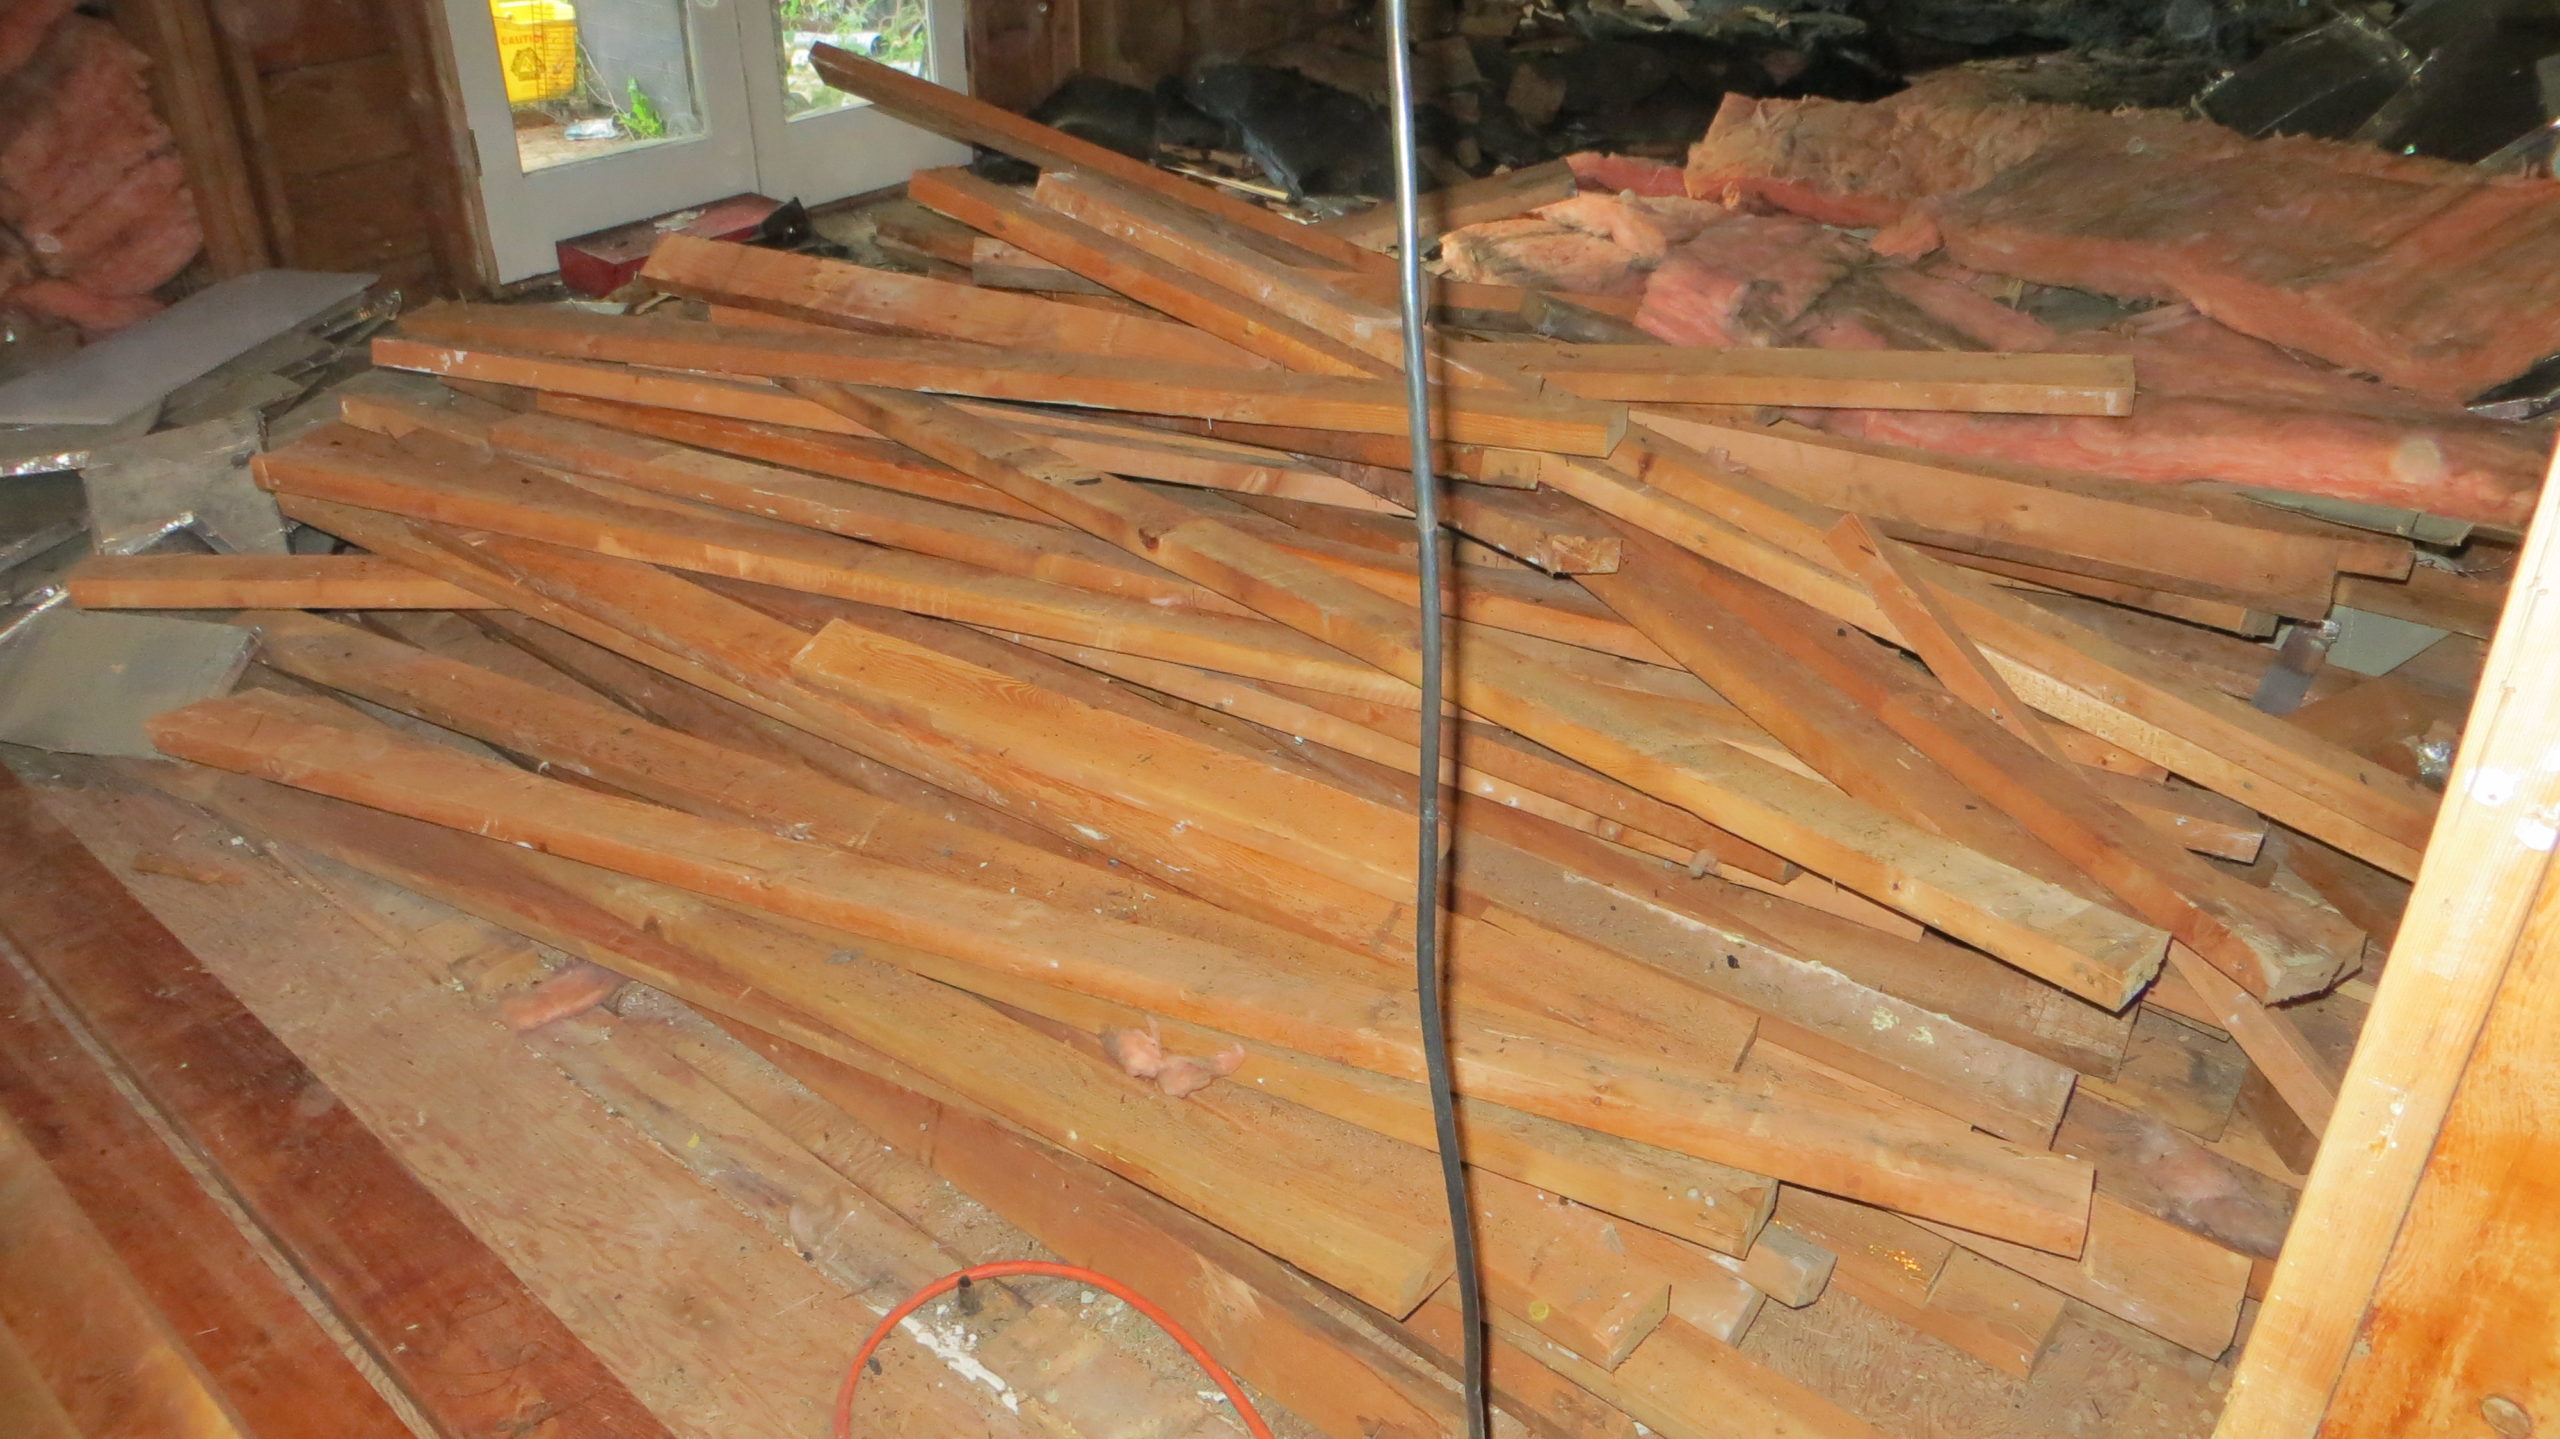
Tomorrow should see the end of the interior gutting culminating in a trip to the dump for garbage followed by a green waste trip of 2×4’s I am generally keeping all of the studs, but turfing all of the heavily nailed bottom and top plates and any built-ups headers. I just do not have the time to de-nail them and I will have lots of 2×4’s from all of the studs (I actually will have a storage issue for all this salvaged material that I have yet to figure out).
By the end of the day tomorrow, I hope to have the house empty except for the master (which is currently storing construction supplies and will stay up until the shipping container moves to front yard), the garage (same as master), and office (which is currently stacked with 3-1/2 feet of de-nailed beech flooring). On Wednesday, I hope to start cutting off the exterior siding and ship-lap by cutting off the nails from the outside face of the stud (from inside the house).
As it is already apparent that there is no easy way to salvage any of the sub floor, I am going to save the effort of cutting it into 4’x4′ square and instead use a mechanical advantage named Alfie! I may even be able to use the bucket to separate the plywood from some of the ship-lap and 2×4’s and therefore reduce the amount going to the dump as opposed to the green waste station. Having the sub floor in place may also make it easier to move the shipping container to the front yard.
By the end of the week, I also need to make sure I get my temp power pole finished and call for inspection so I can get Hydro to transfer my power line over to the temp service as next week I plan to remove the roof and generally start taking down the exterior walls.
Thanks for stopping by! Got any comments? I would love to hear from you.