Non Potable - Done!
Hey Folks,
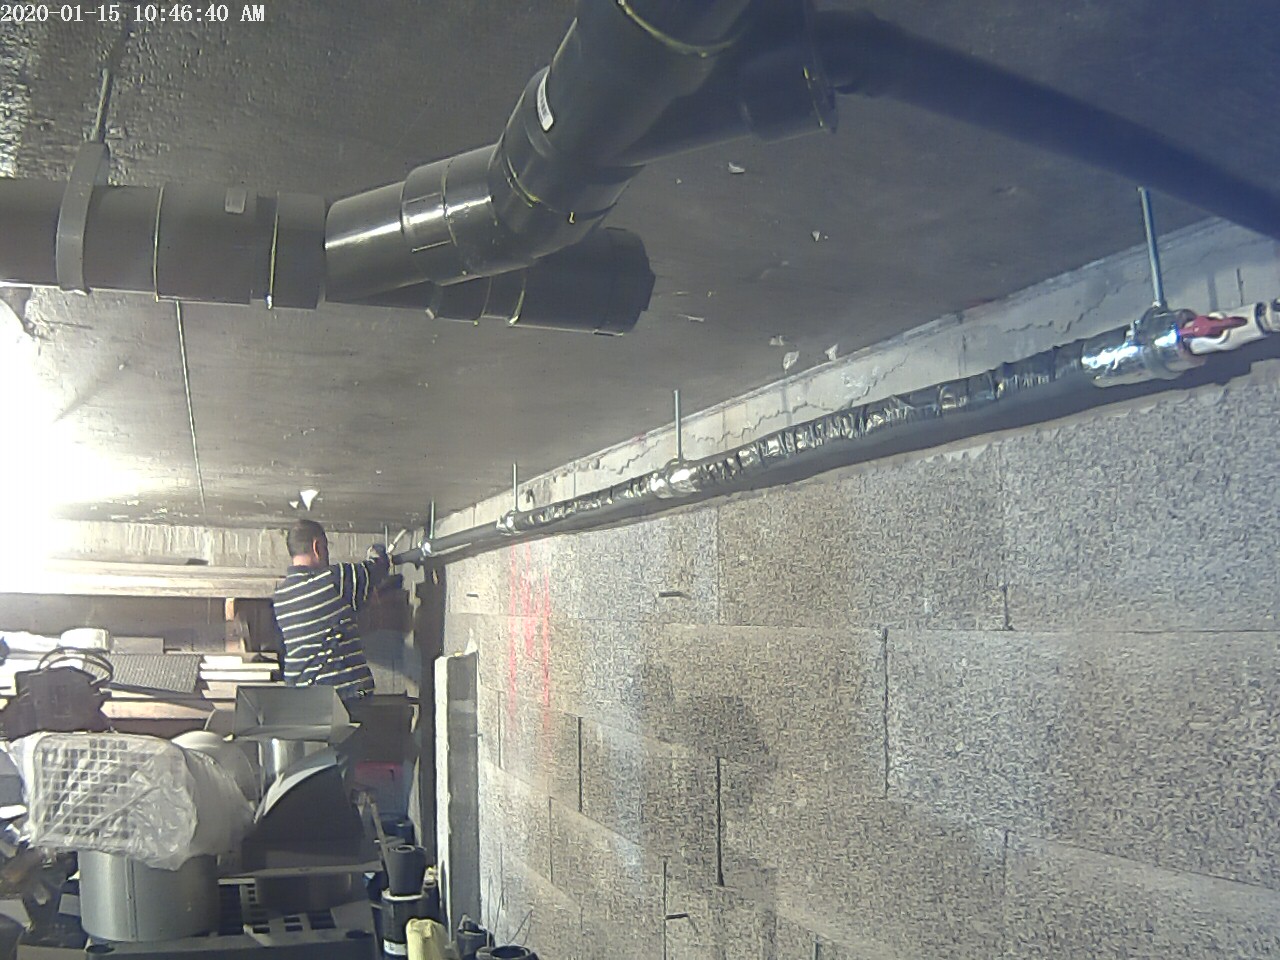
Time for my weekly check-in albiet a little late due to technical difficulties yesterday. I had intended to have a video showing the installation of each of the components of the non-potable water circuit, but technical difficulties meant I lost most of the vids. By the time I figured that out, the work was complete and I no longer had an opportunity to re-tape as the piping was covered with insulation. So I will give you the Coles Notes version instead.
I am pleased the week went as planned and I was able to complete the non-potable water circuits for the toilets and also the taps on both roof levels yesterday. It was a slow start as I accumulated the needed parts and got up to speed on insulating water lines, something I had not done before. I reached out to a couple of forums I belong to and was able to reinforce my general plans and tweak them towards best practices.
Because the pipes will contain ground water, somewhere around the 45-55ºF range, and they will be running through conditioned spaces, the pipes need to be insulated to prevent condensation forming on their outside surface. While drips in an unfinished space would be annoying, condensation forming in a closed-in wall or ceiling assembly can cause deterioration to the structure and fungi growth.
The most important aspect to insulating piping against condensation, is to ensure that the insulation is both vapour and air tight. To aid in this, I chose to use Armaflex Elastomeric Rubber Continuous Coil Pipe Insulation. By using continuous coils, I only had to seal around fittings and framing penetrations greatly improving the quality of the installation. It also, thankfully, greatly sped up installation.
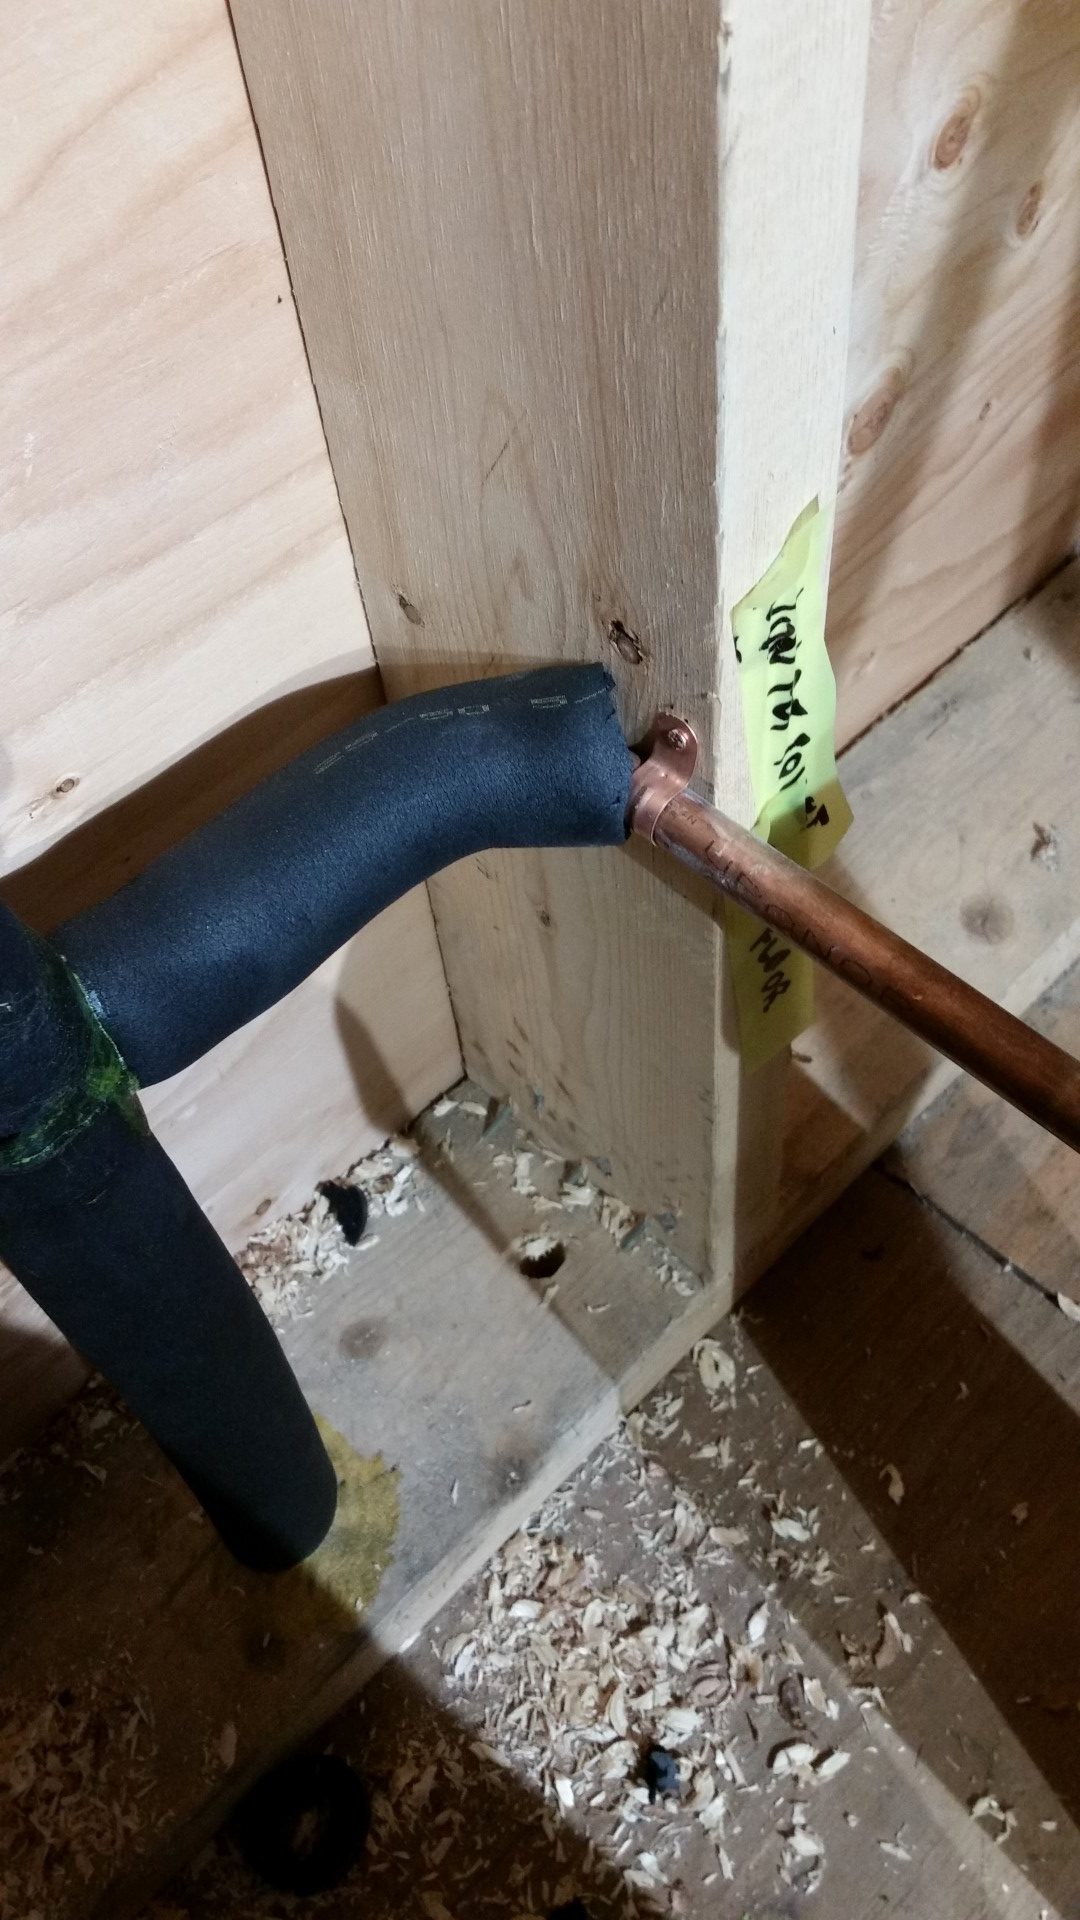
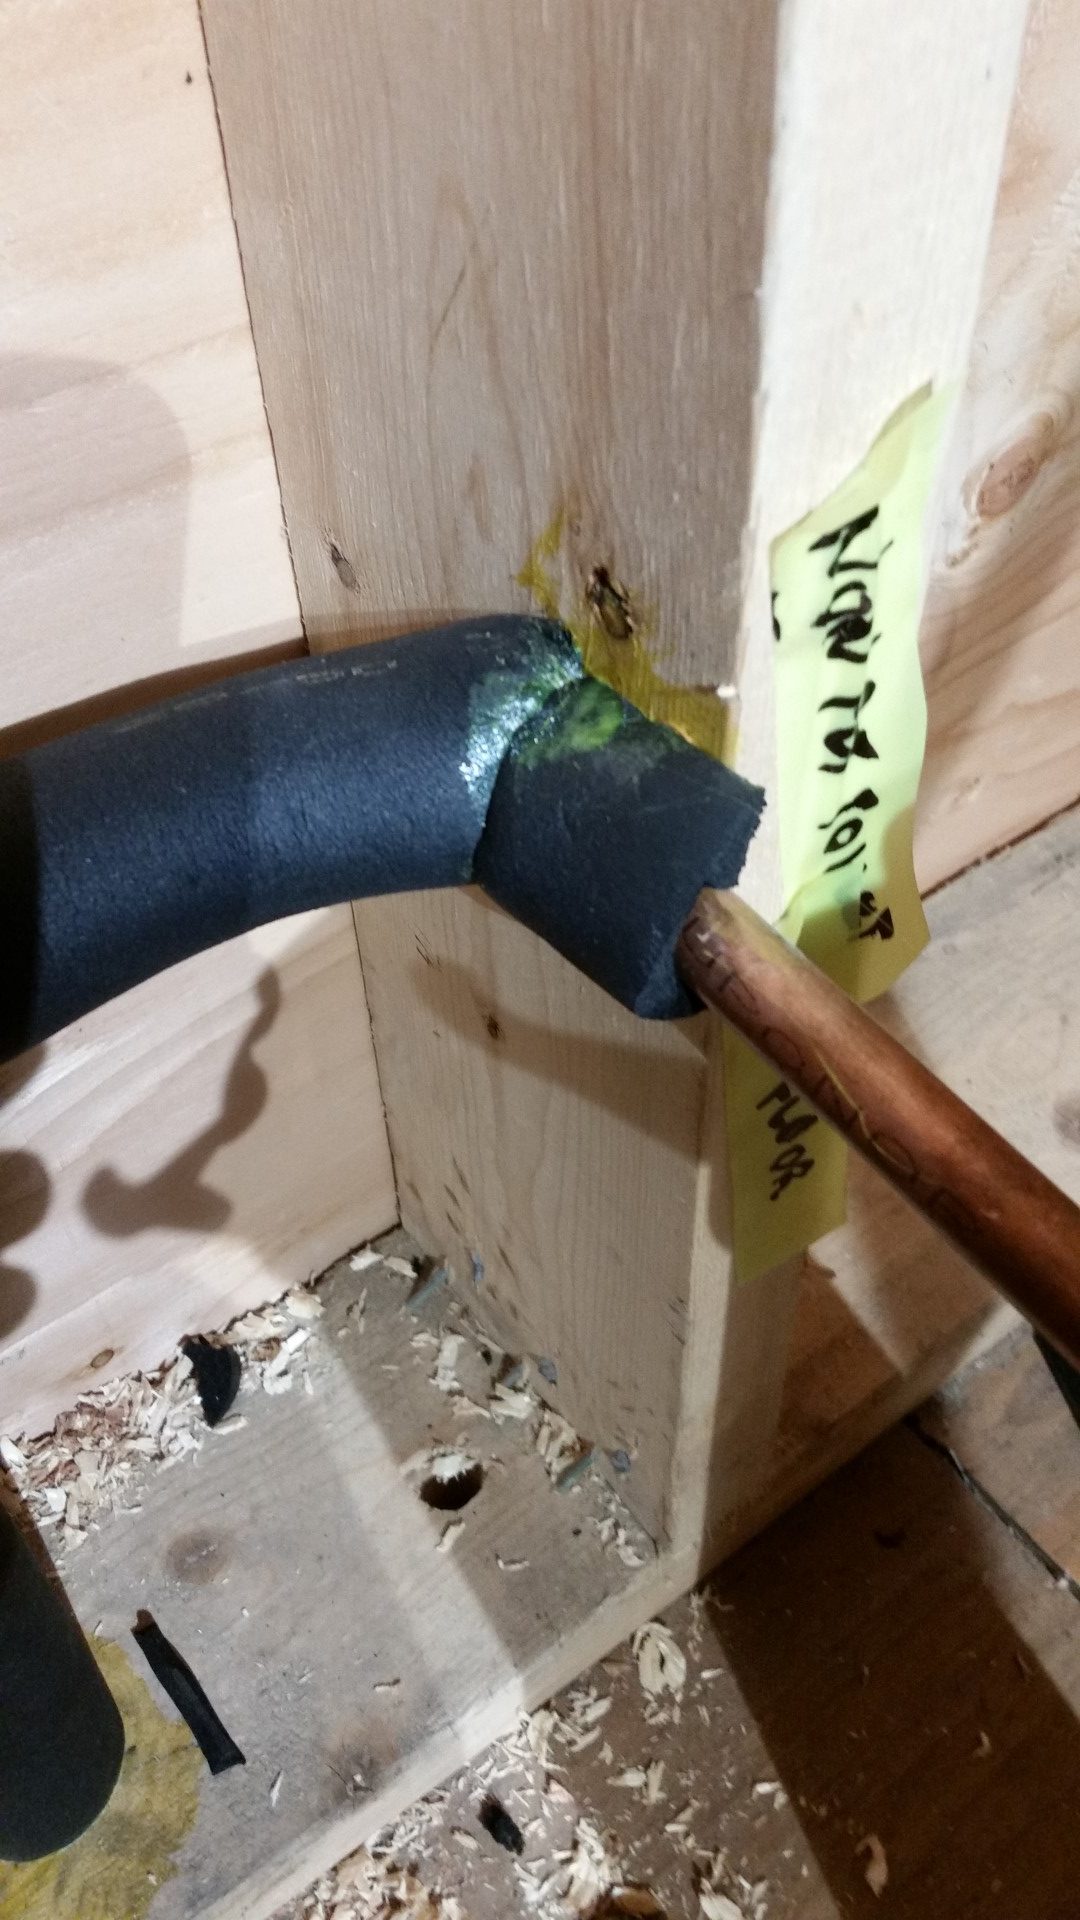
At framing penetrations, ideally the insulation would be continuous through the framing, but in 2×4 and even 2×6 construction, this is not possible without destroying the structural capacity of the wood member. SO, instead I terminated the insulation on each side of the stud or top plate, and glued the insulation to each side of the wood member using KFEX R320 adhesive.
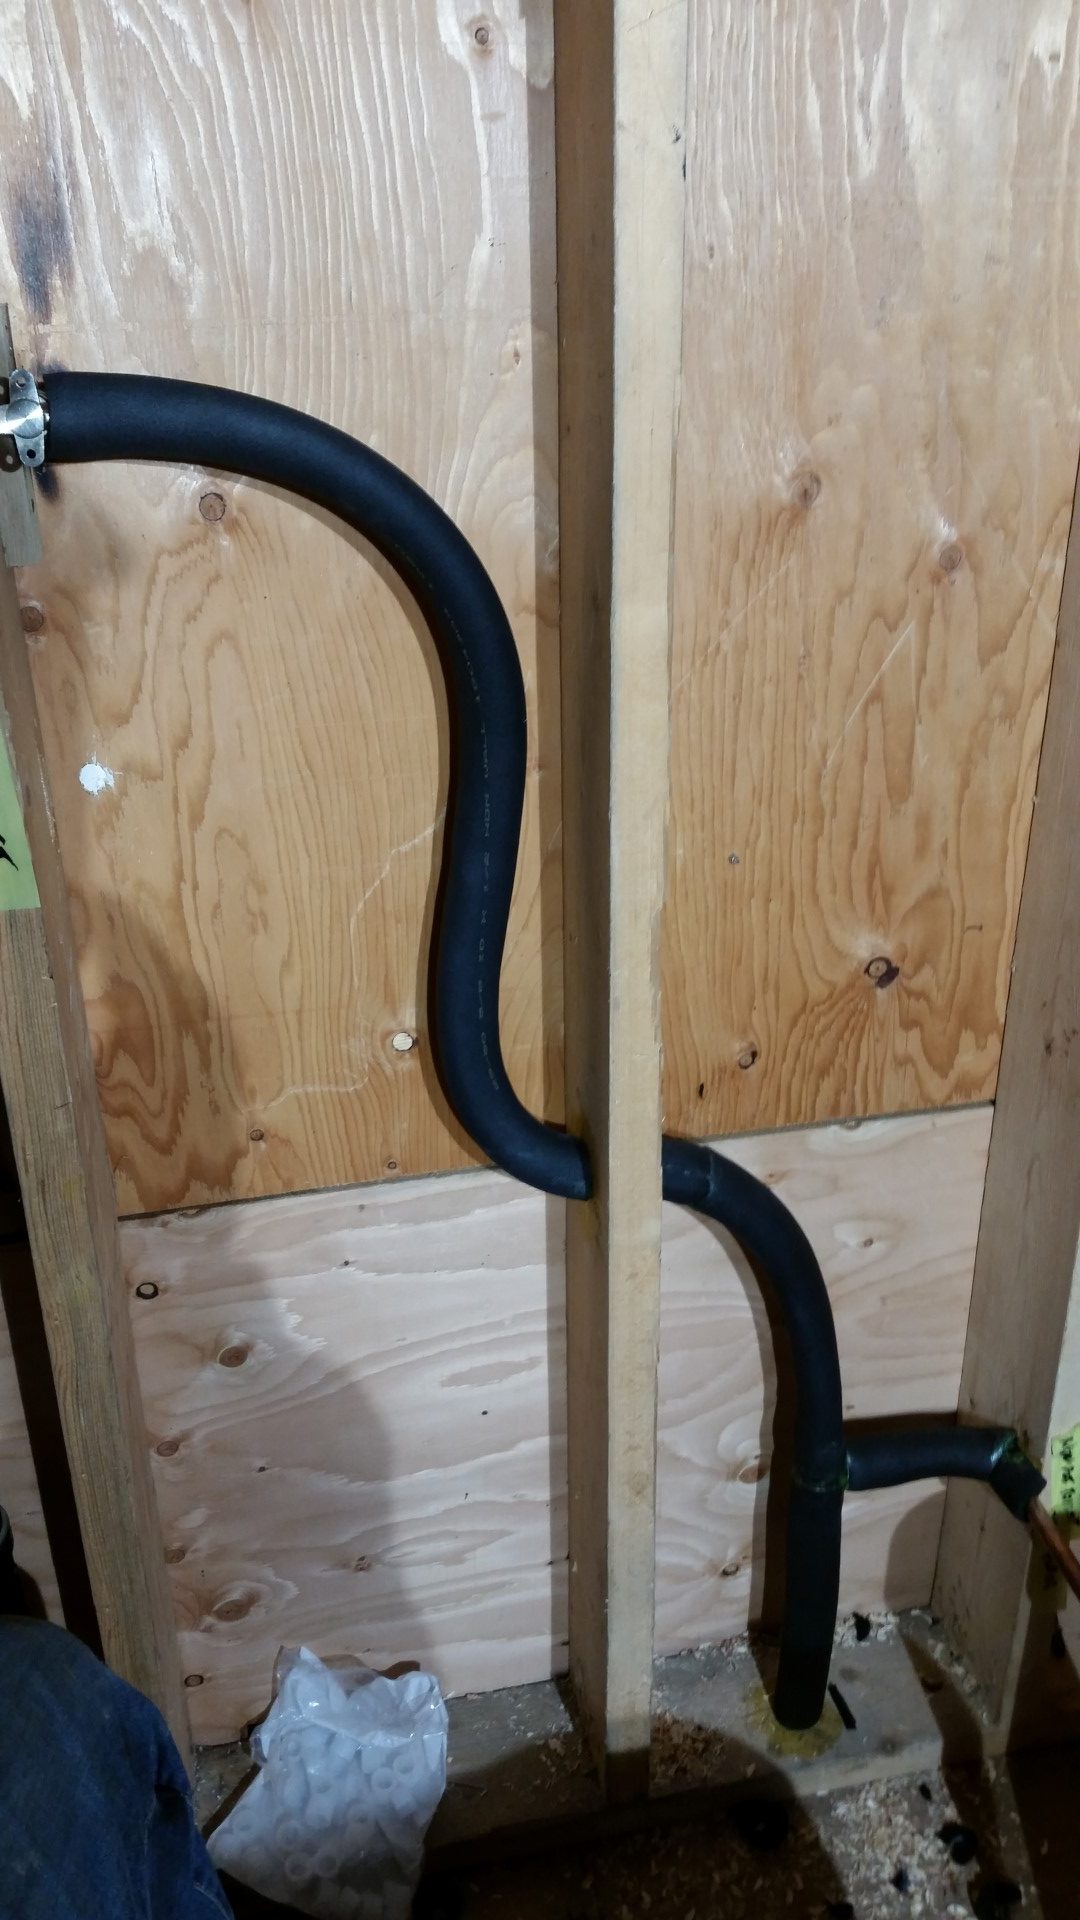
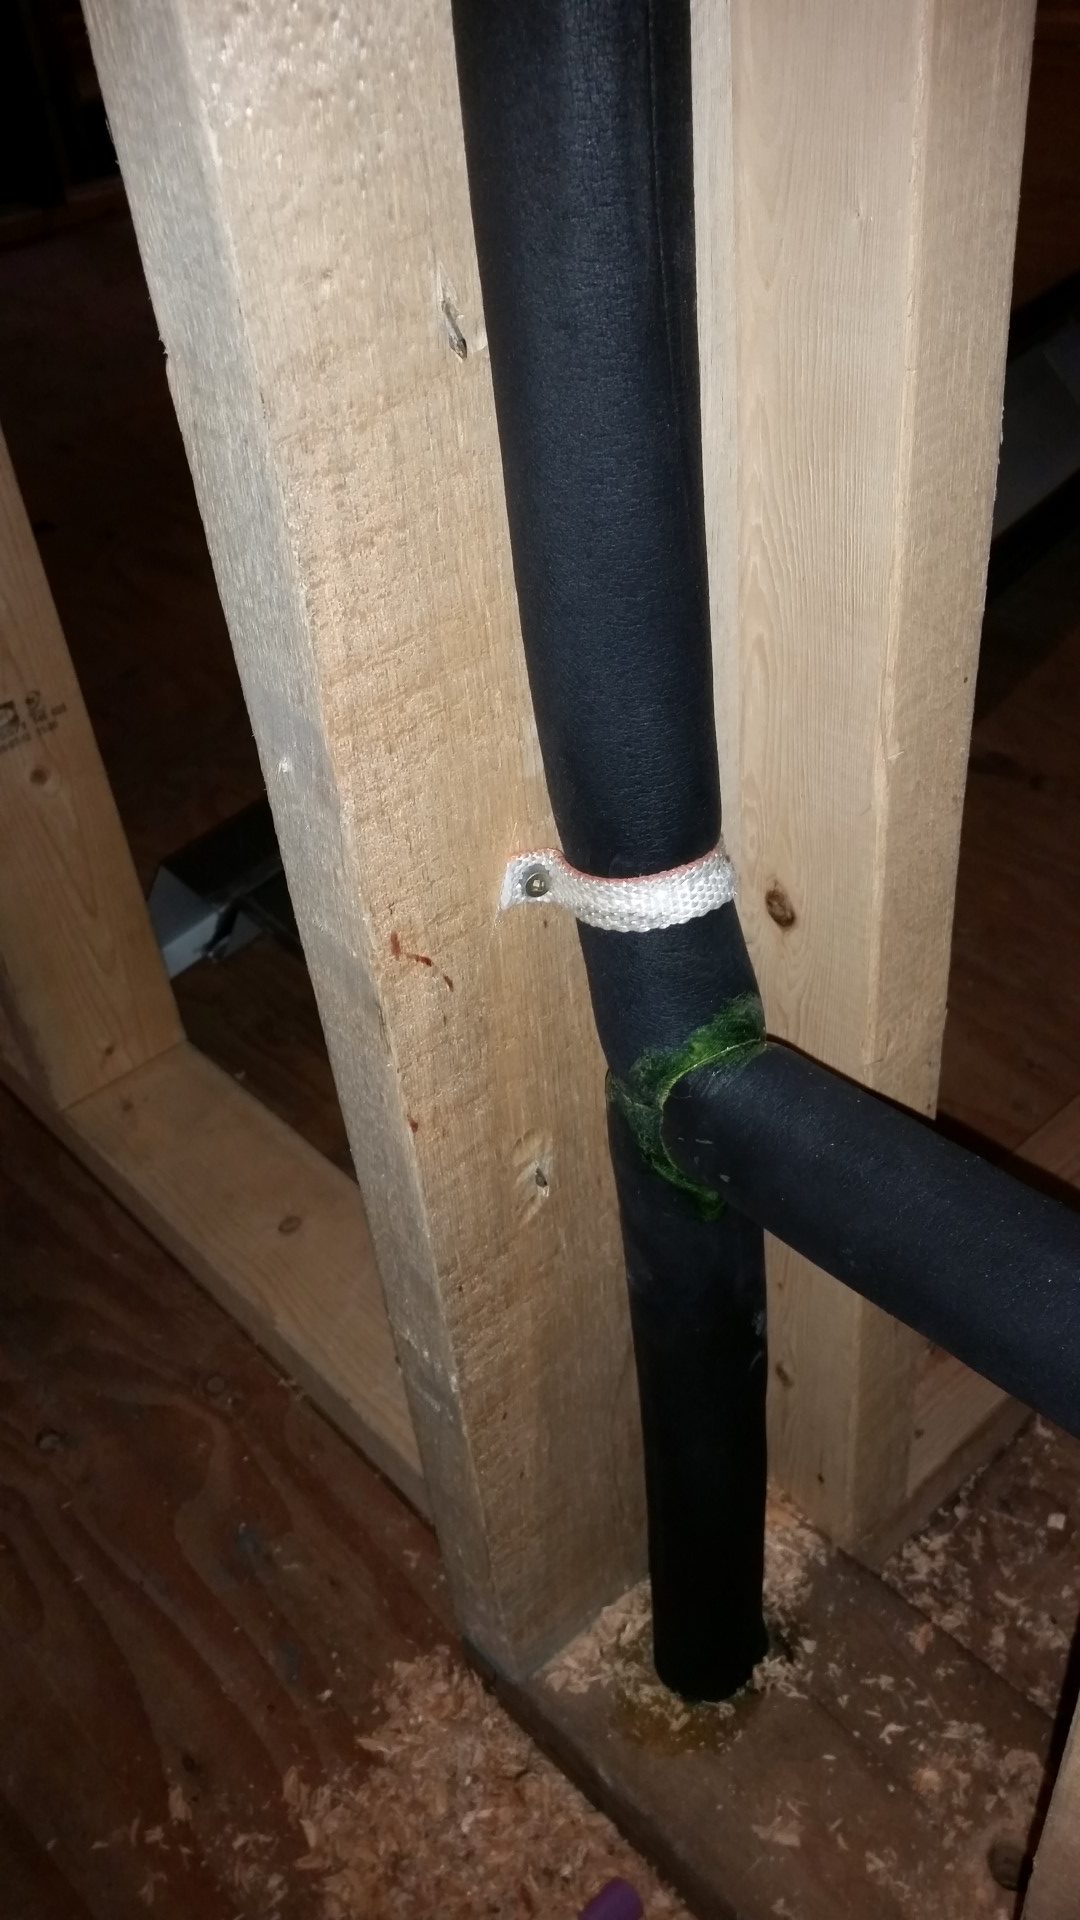
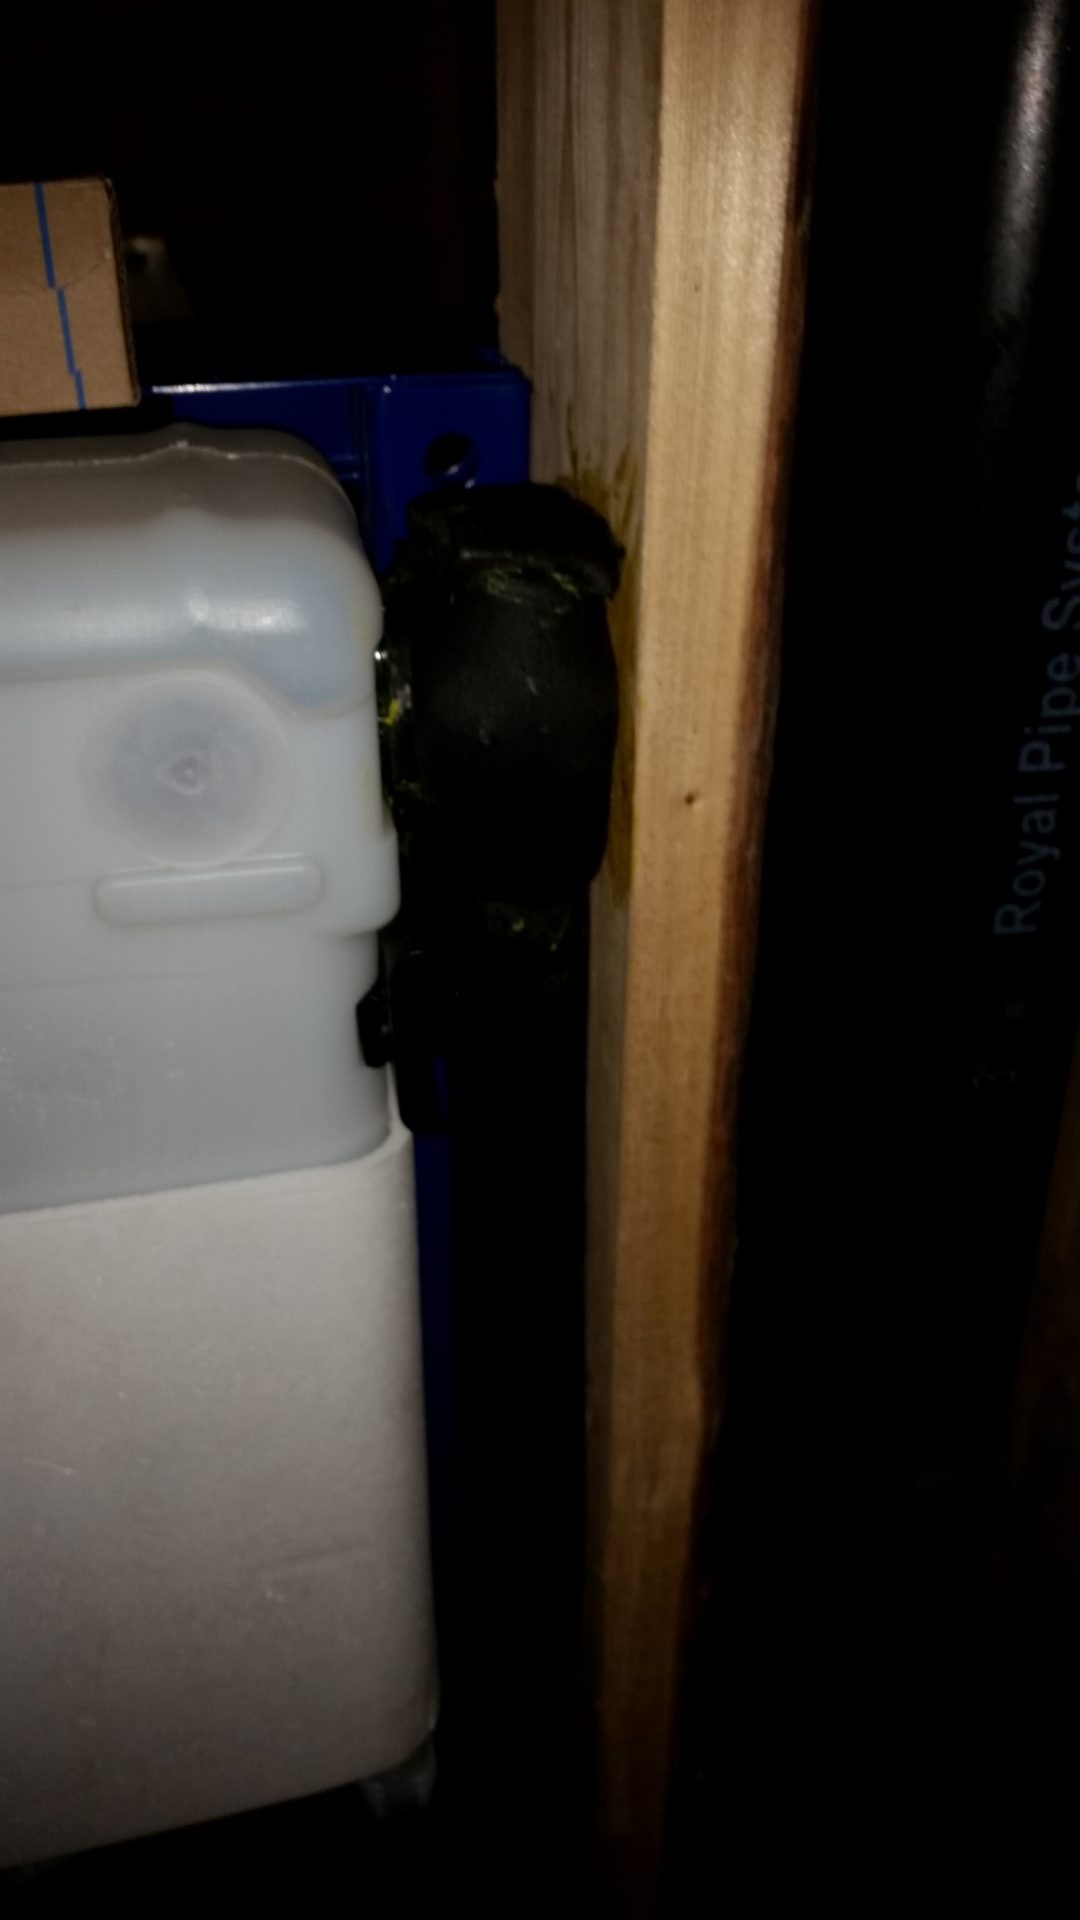
The circuit was fed with a 1″ PVC pipe that is hung from the ceiling of the bonus room below the garage. At this location, due to the different diameter of the pipe, I had to use split insulation lengths (continuous tube not available for this size). I used K-Flex Insul-Lock DS at this location and Kooltherm Insulated Pipe Support Inserts. These provide a structural insulated pipe hanger solution without crushing and therefore degrading the insulation value. The K-Flex was then sealed to each side of the inserts with re-enforced tape.
I will leave you with the portions of the installation video that survived the corruption.
Thanks for visiting!
“The secret of change is to focus all of your energy, not on fighting the old, but on building the new.” —Socrates (469-399) Philosopher
“There is no magic to achievement. It’s really about hard work, choices, and persistence.” —Michelle Obama (born 1964) Author, Former First Lady