Sealed Up Tight
Today I finished the last of the installation and sealing of the HRV supply and exhaust return ducts and preparing them for air tightness testing. This leaves only the fresh air and exhaust ports from the HRV unit through the exterior building envelope to the outside to complete, something I will do as I am installing the exterior insulation in those areas.
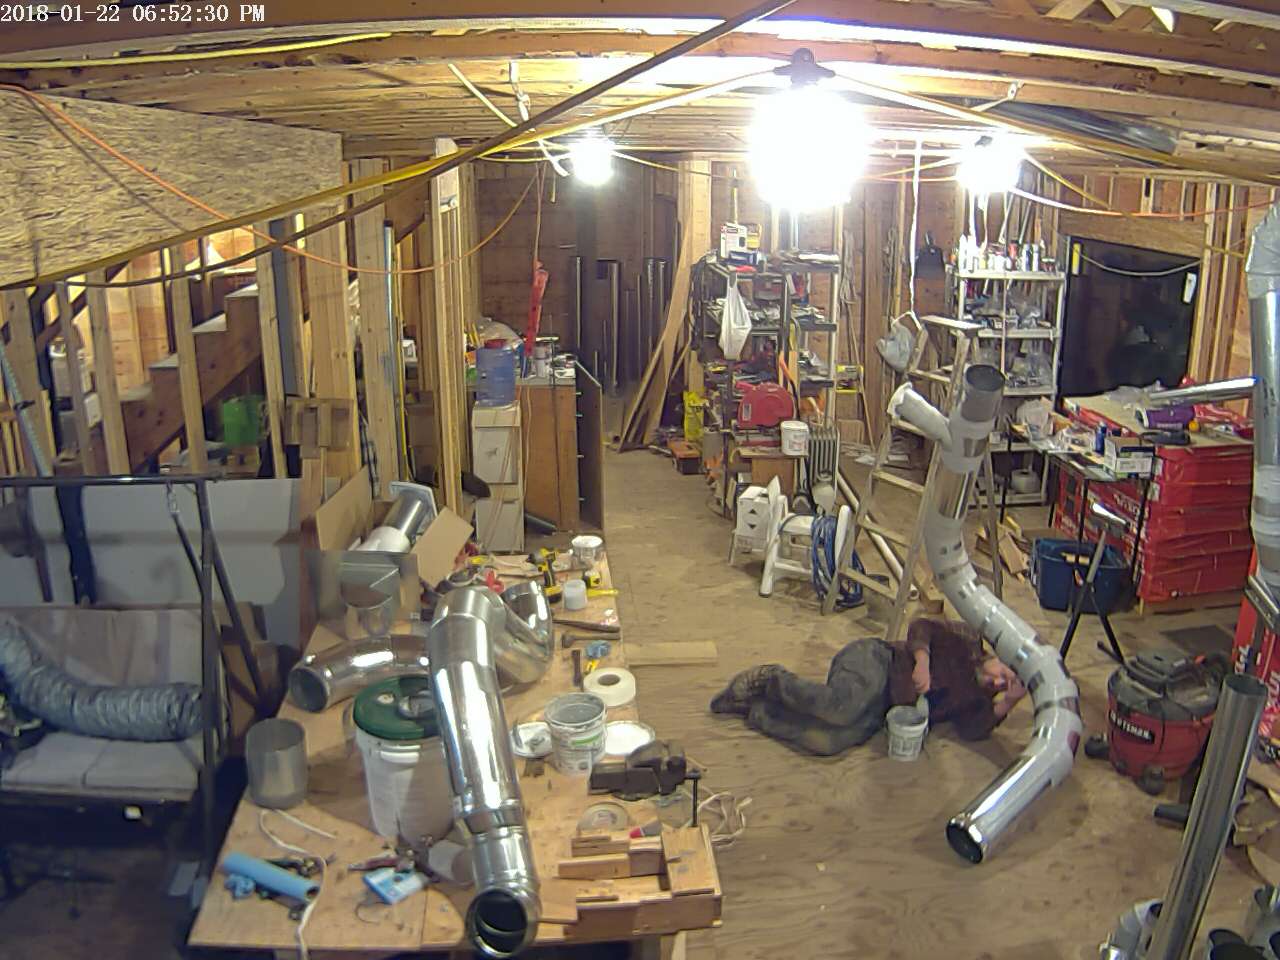
The installation of the ducts was actually the easiest part of this system. The sealing of all the joints actually took longer than the initial installation. All in all I spent about 75hours planning the system (including planning route through structure as I was designing floor assemblies), 25 hours in total picking up materials and working with the vendors (I had several special orders that did not come in at once and you may remember that Eneready stopped selling these units and it took some time to come up with a solution), then 85 hours on the initial installation, followed by 98 hours partially disassembling into large sub-assemblies to fully seal all seams before doing final re-assembly.
One of the best practice components I incorporated into this system was the special order 2.0 Radius elbows. This was recommended by Eneready and further motivated by some web research I did at www.spiralmfg.com.
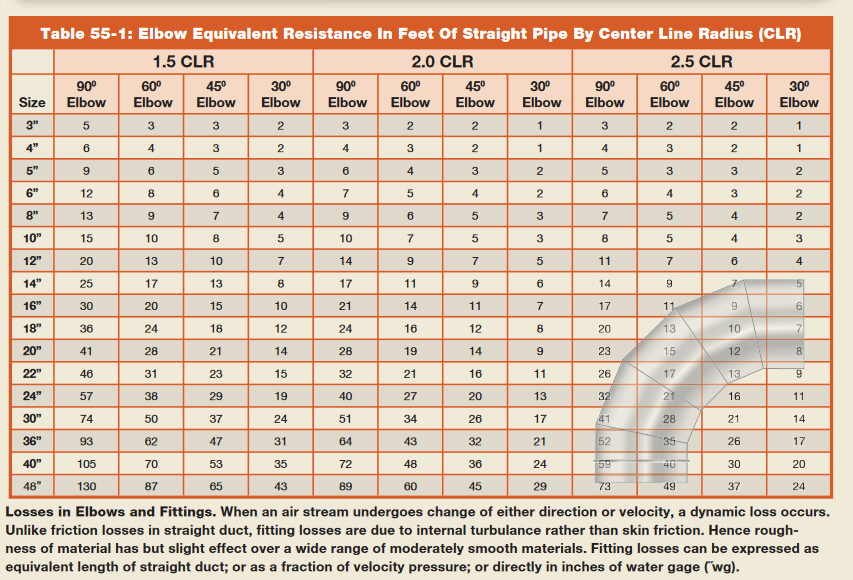
First notice the difference between elbows with a 1.5 centre line radius (CLR) and a 2.0 CLR. For instance, the 6″ 90 elbow with 1.5 CLR represents 12 FEET of equivalent duct length!! where a 2.0 CLR elbow only represents 7 feet. Close to a 50% reduction for the same turn in direction. Also note in the footer “Unlike friction losses in straight duct, fitting losses are due to internal turbulence rather than skin friction. Hence roughness of material has but slight effect over a wide range of moderately smooth materials.”
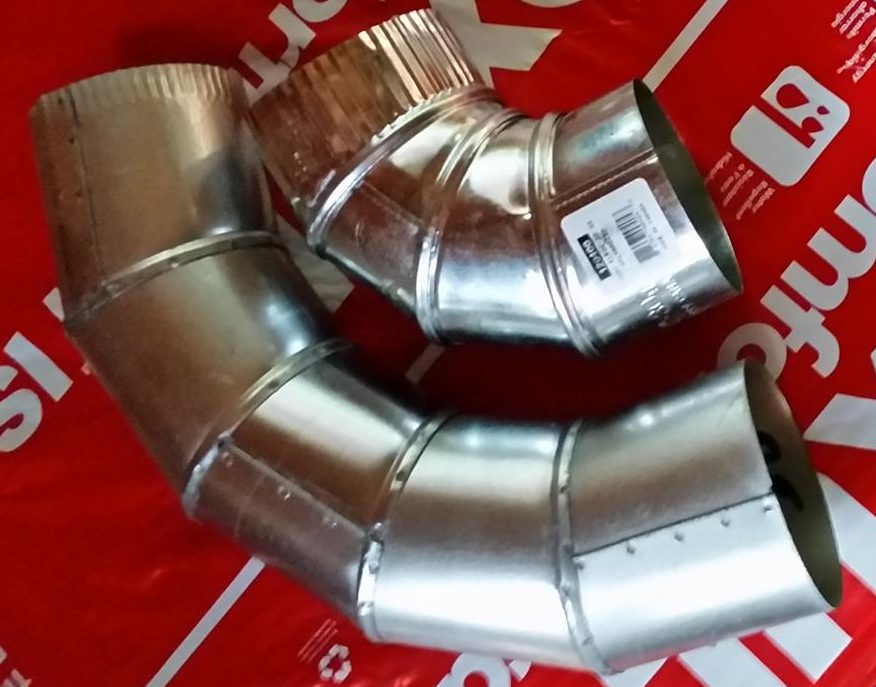
It was this information that led me away from an even more expensive smooth walled ‘Die-Stamped’ elbow package, but based on the above information I did invest over $3000 in the longer 2.0 radius elbows to ensure that my system uses as little energy as possible (very low head pressure), and is as effective as possible in moving the required volumes of air to and from rooms without any turbulence or whistling.
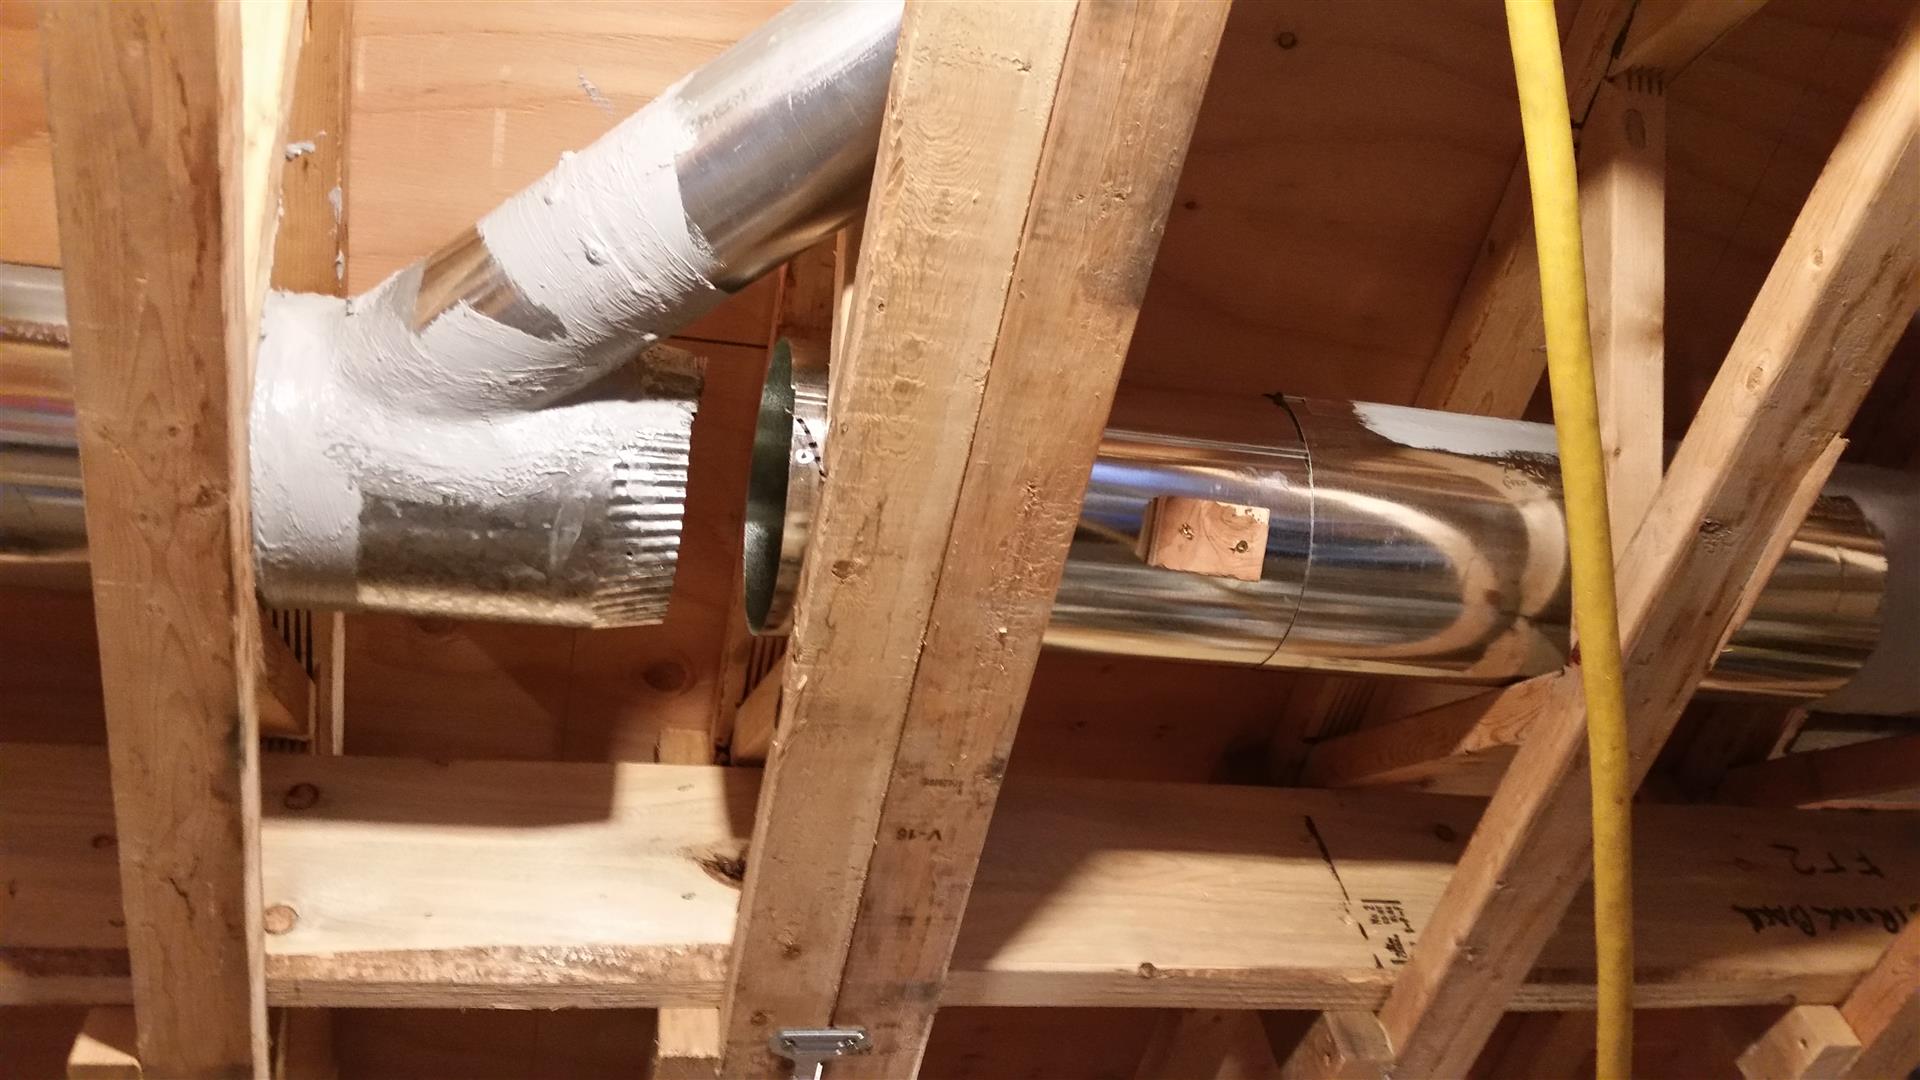
But spending a lot of money on components would be a total waste of money if you did not also seal all the joints very well. This is why I put so much energy into first assembling the system, utilizing the most efficient routing and as large duct sizes possible, before disassembling into sub assemblies that were then easy to seal with tape and mastic to ensure a finished air tight installation.


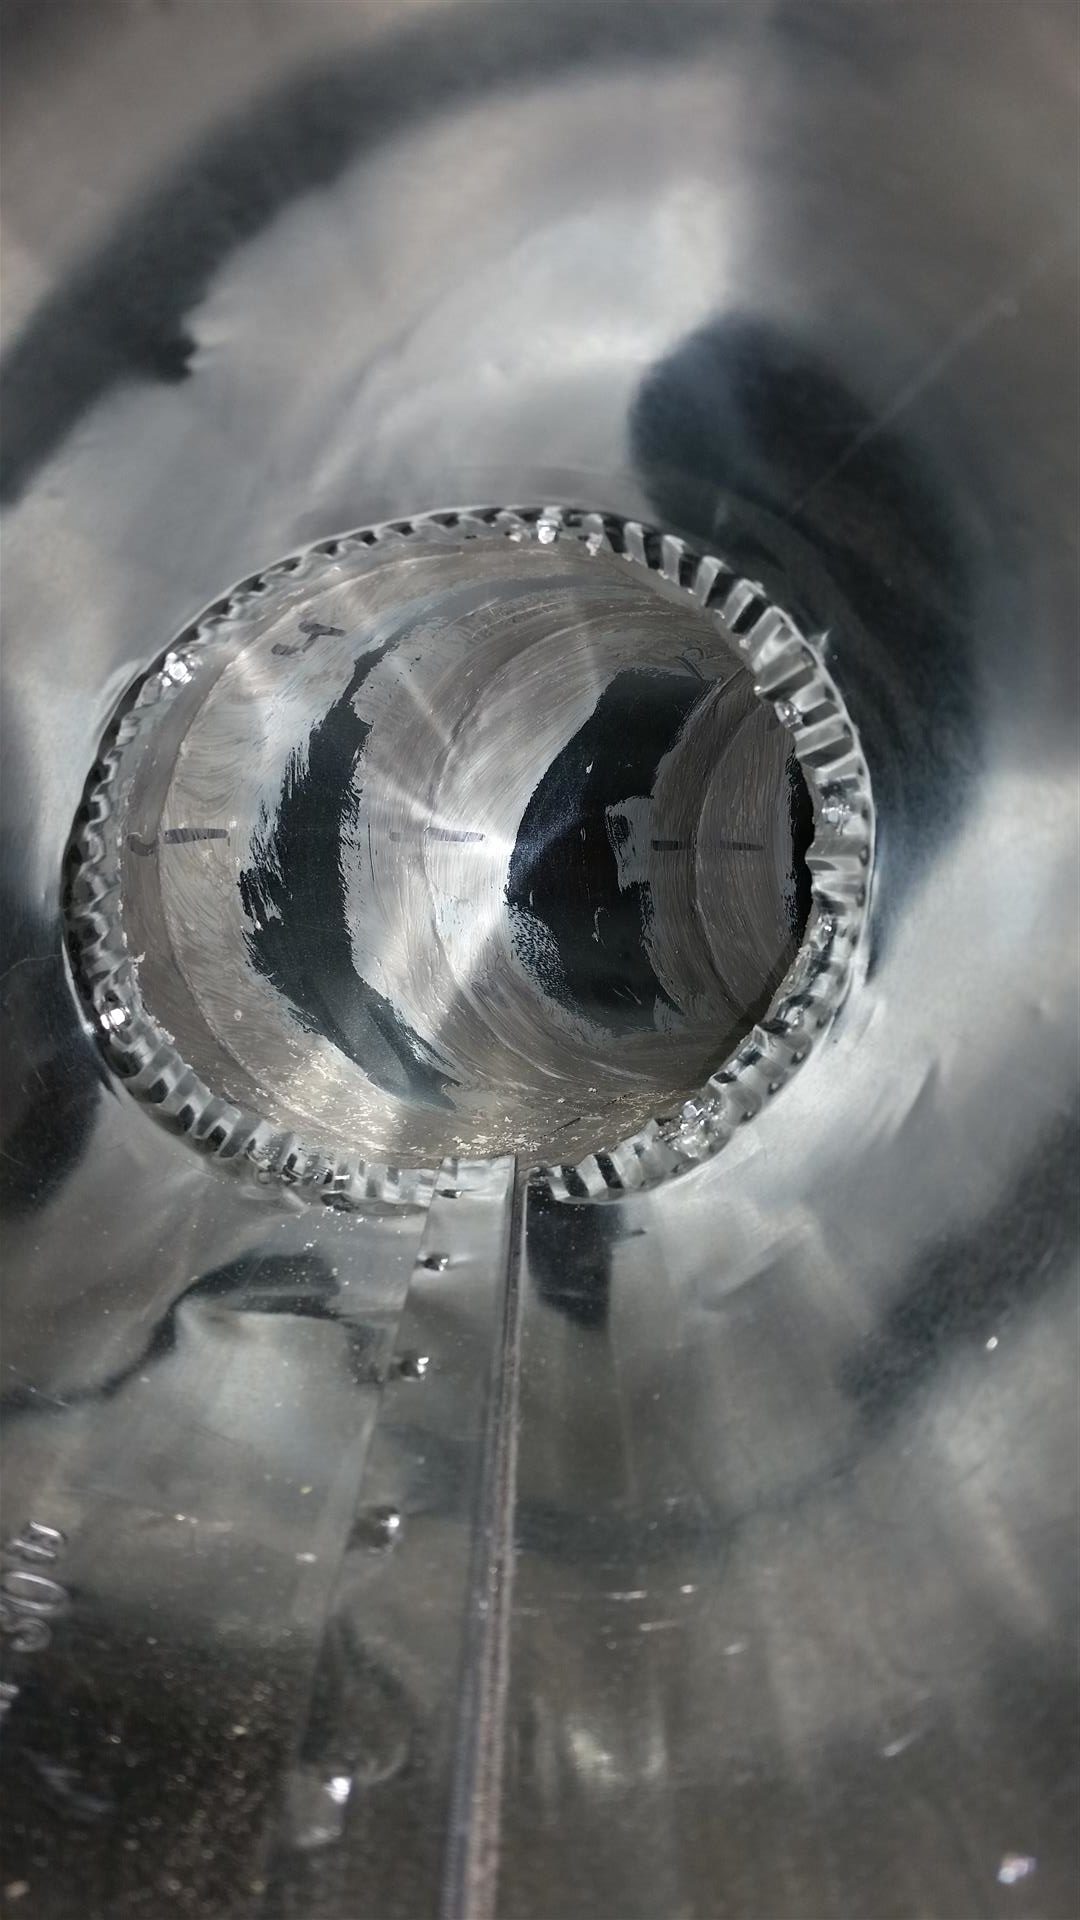
My sealing strategy, as recommended by Patrick Sommer (consultant recommended by Eneready HRV), has been to first seal the seam with good quality foil faced HVAC tape (I used Nashua Multi-Purpose Foil 322 HVAC), then to screw together the main joints with at least 3 screws, and then finally over sealing with duct mastic (I used fibre reinforced Hardcast 321 Duct Seal). This three part approach ensures a strong-air-tight joint. Patrick liked the tape to go on first and then the screws on the main seams. This allows the screws to self seal as they go through the tape. However, this approach does run the risk of tearing the tape as the two layers of duct being fastened, push away from each other during the screwing process. When this happened, I would need to apply another layer of tape over the ripped areas. In hindsight, I would probably screw the joints first and then apply the tape. Any ripping of the tape over the screw head can easily be sealed with mastic in step three.
There was one location where I was not going to be able to seal the exterior side of the joint in any way. This was an elbow where the one end was sandwiched between a metal beam on one side and a floor truss on the other. It took quite a bit of effort to just rotate this elbow into this location. So for this one location, I sealed from the inside. I could reach in the ends of the elbow and used the mastic to seal all of the gores. For the connection to the straight duct, I also screwed and taped this joint. I am confident, that this will allow this joint to also be 100% air tight.


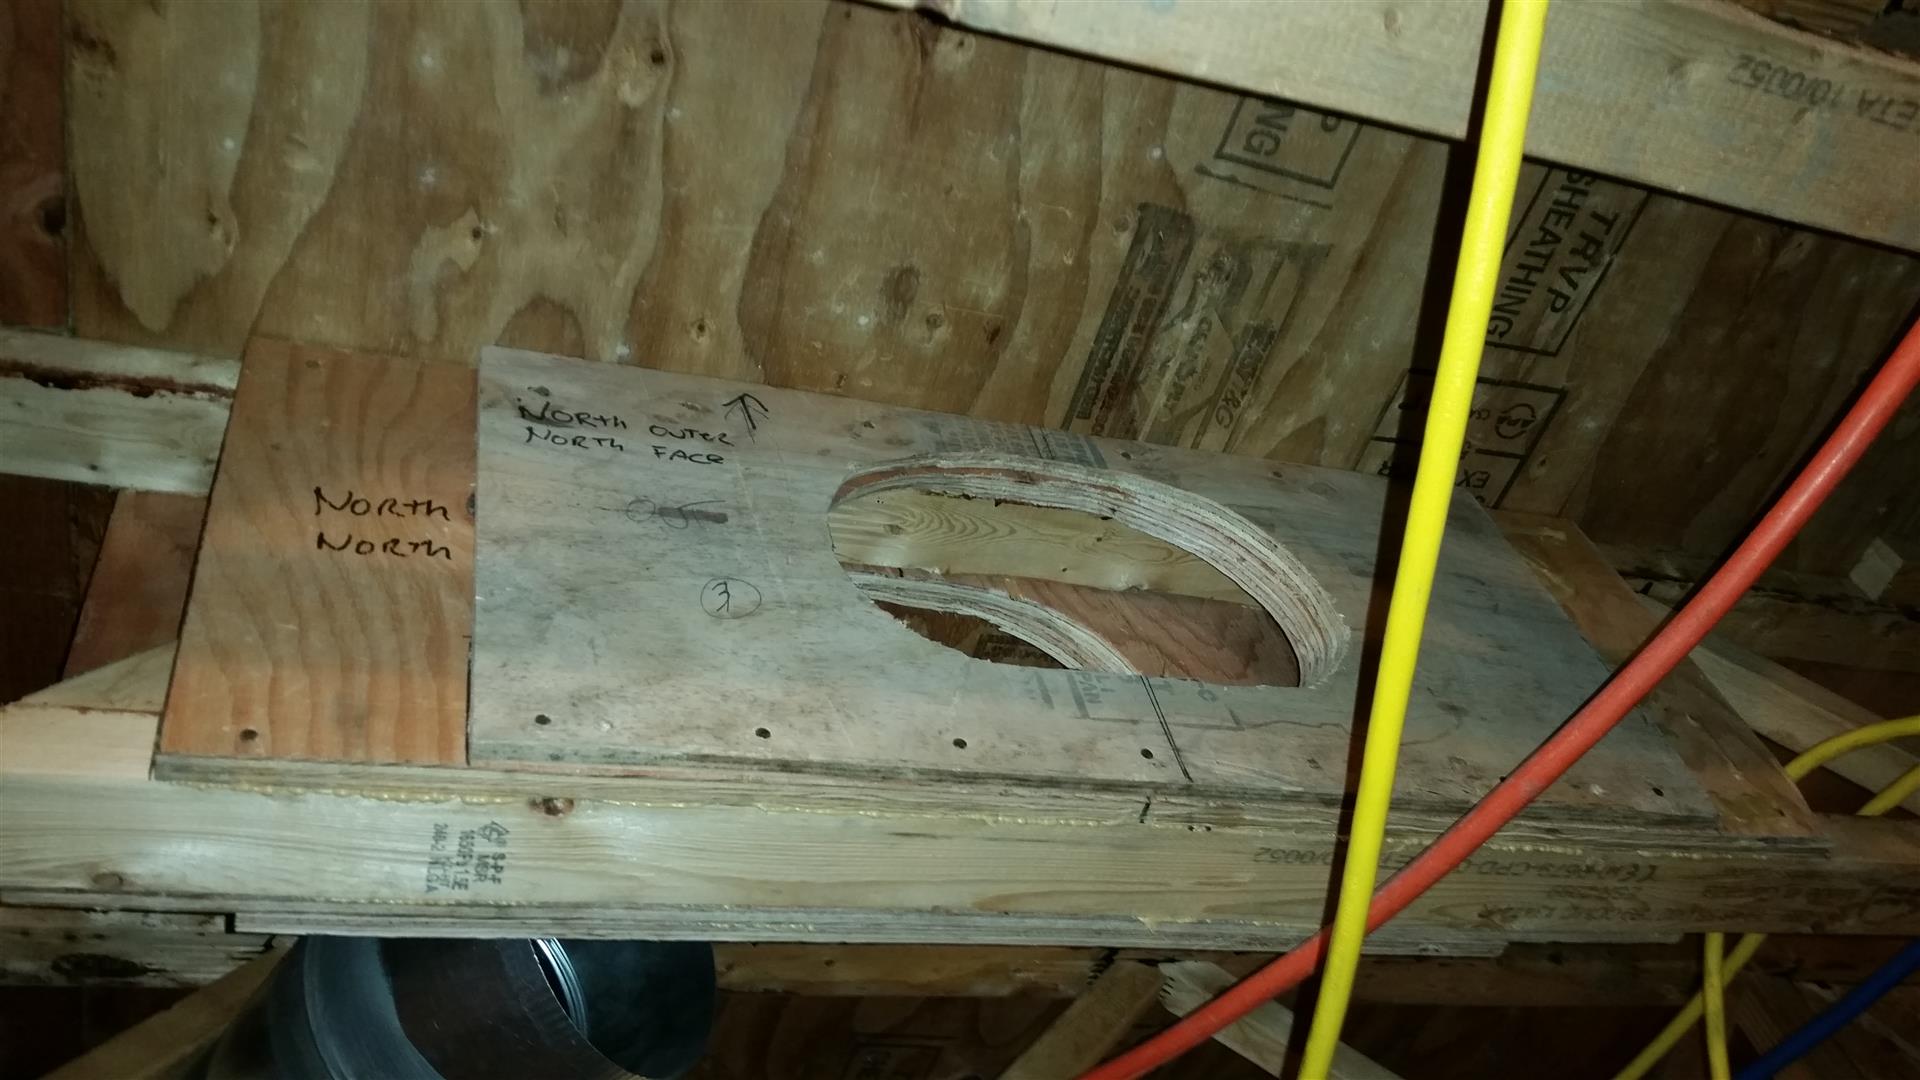
I also had one location where the assembly was not going to fit within the standard bays of my floor truss. And you should never cut a floor truss/joist structure without an engineered solution. Fortunately, TriForce publish a truss repair guide for just these instances.

I used two layers of 5/8” plywood as an upgrade to the ½” requirement.
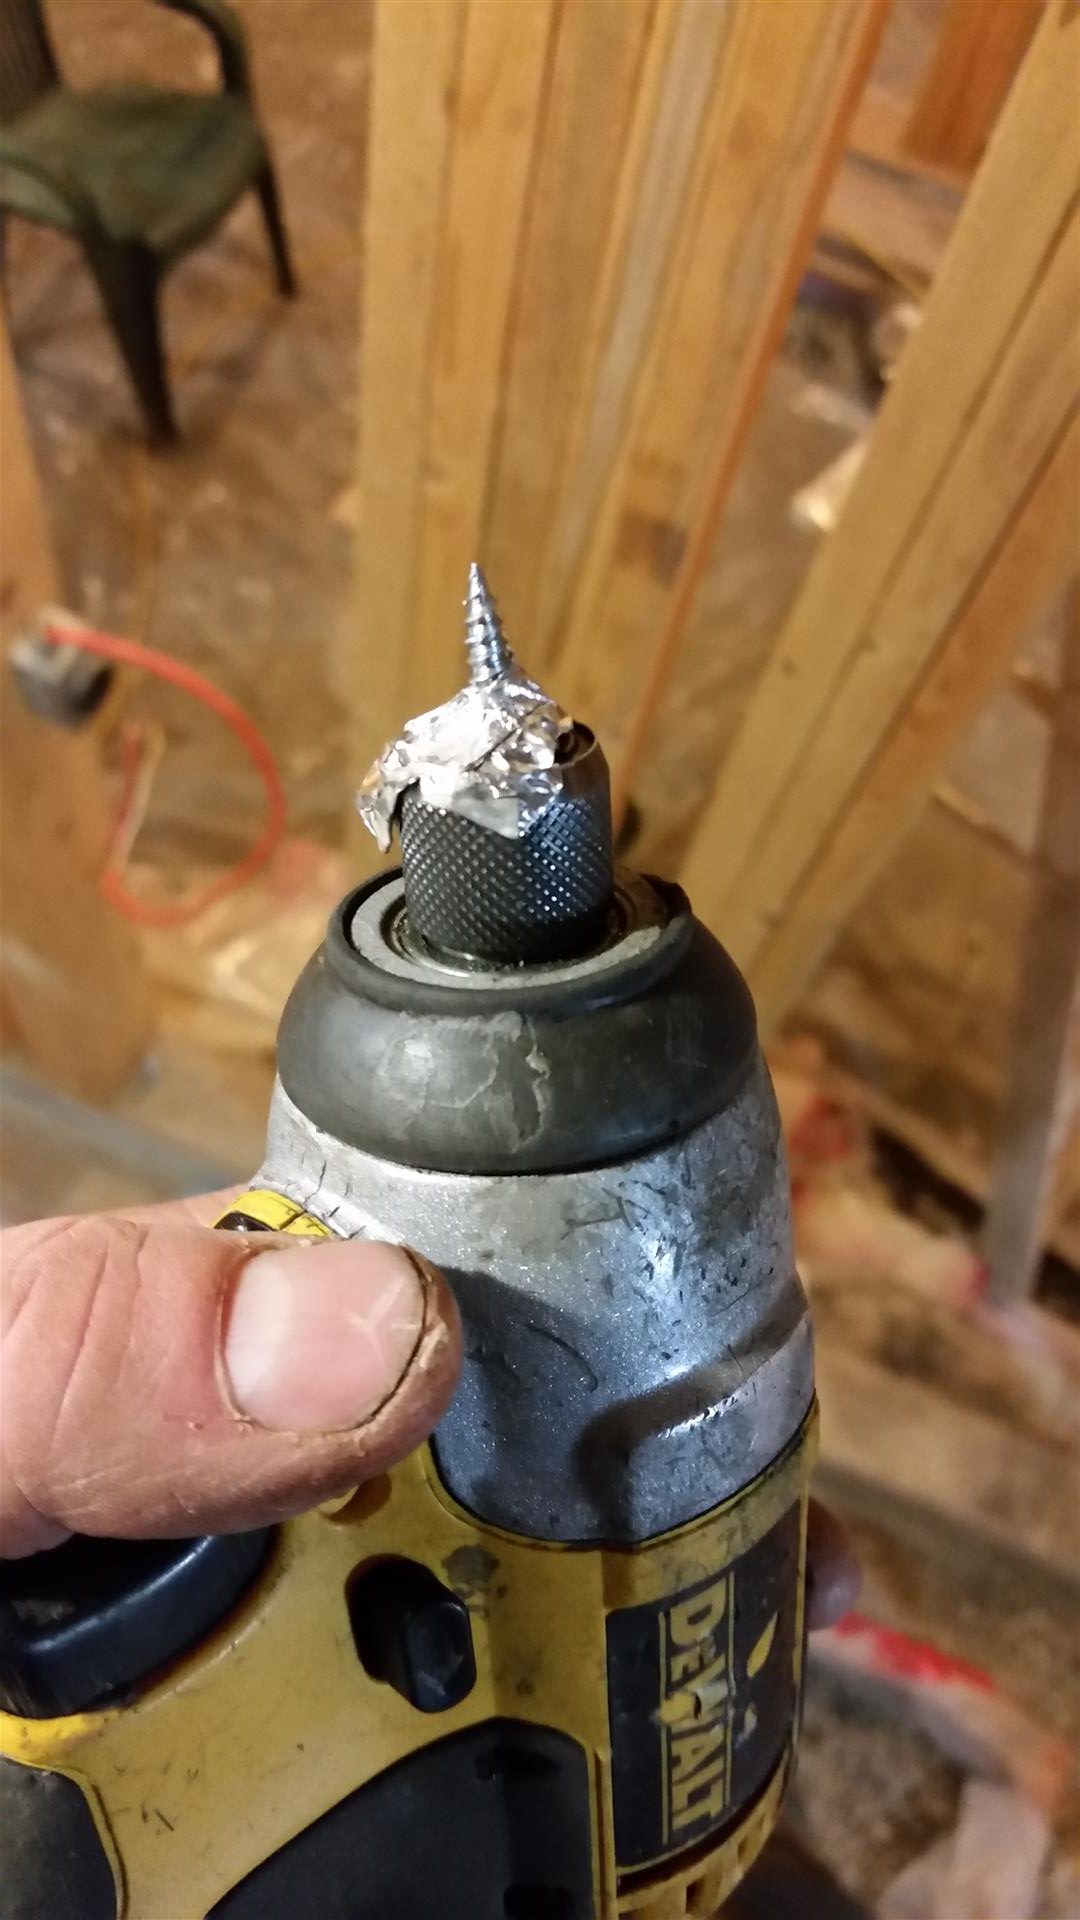
There was a lot of cutting of the straight lengths and I found the fastest and cleanest way to cut these were to first mark the pipe using a jog and then cutting off with an angle grinder with a thin blade. Just remember to run a file over the edge so there are no burs that will cut through the tape.

When assembling any air ducts, you generally work from one end of the system to the other. But there are times where, say due to structural interference, you need to work from two directions meeting in the middle. For these locations, I found a slip joint to be effective.
As part of my build documentation, I also created three short videos describing and demonstrating how I sealed these ducts and then demonstrating with theatrical smoke, what happens when you do not seal your ducts or do a poor job at sealing them.
In the first video I go through the sealing of the system and explain and show why it is so important to seal as you go.
In the second video, I share my astonishment that the assembly is still not air tight after sealing with just tape.
In the last video, I demonstrate how I seal and reinforce wye’s and offer some general tips in installing and sealing HVAC ducts.
There you have it, my prescription for an air tight and energy efficient HRV system.
Thanks for visiting and I look forward to any comments you may have.
“Patience and perseverance have a magical effect before which difficulties disappear and obstacles vanish.” —John Quincy Adams (1767-1848) 6th Us President
“The key to everything is patience. You get the chicken by hatching the egg, not by smashing it. ” —Arnold H. Glasow (1905-1998) An American Author
“Integrity is choosing courage over comfort; choosing what is right over what is fun, fast, or easy; and choosing to practice our values rather than simply professing them.” —Brené Brown (born 1965) American Scholar, Author, And Public Speaker