The Enclosure - Return to home page

Main Content

Steady Progress

I just love times where construction actually goes according to plan.  They have been so few and far between in my experience, that when they do happen, it just makes life good.

Such is the current situation with the garage slab forming.  You may remember the below plan I drew up for the planned form work.

Plan for garage wall stub formwork.  Green is already poured.  2x4 uprights will allow for inboard side of forms to be hung without any inside attachment.
Plan for garage wall stub formwork. Green is already poured. 2×4 uprights will allow for inboard side of forms to be hung without any inside attachment.

Well – it worked out perfectly!  The forms were easy to construct, are sturdy (I can stand on them with next to no deflection), and should make the pouring of the curbs a piece of cake.

I used string lines to identify the slop of the garage slab (sloped 2.5" to drain snow melt and rain water)
I used string lines to identify the slop of the garage slab (sloped 2.5″ to drain snow melt and rain water)

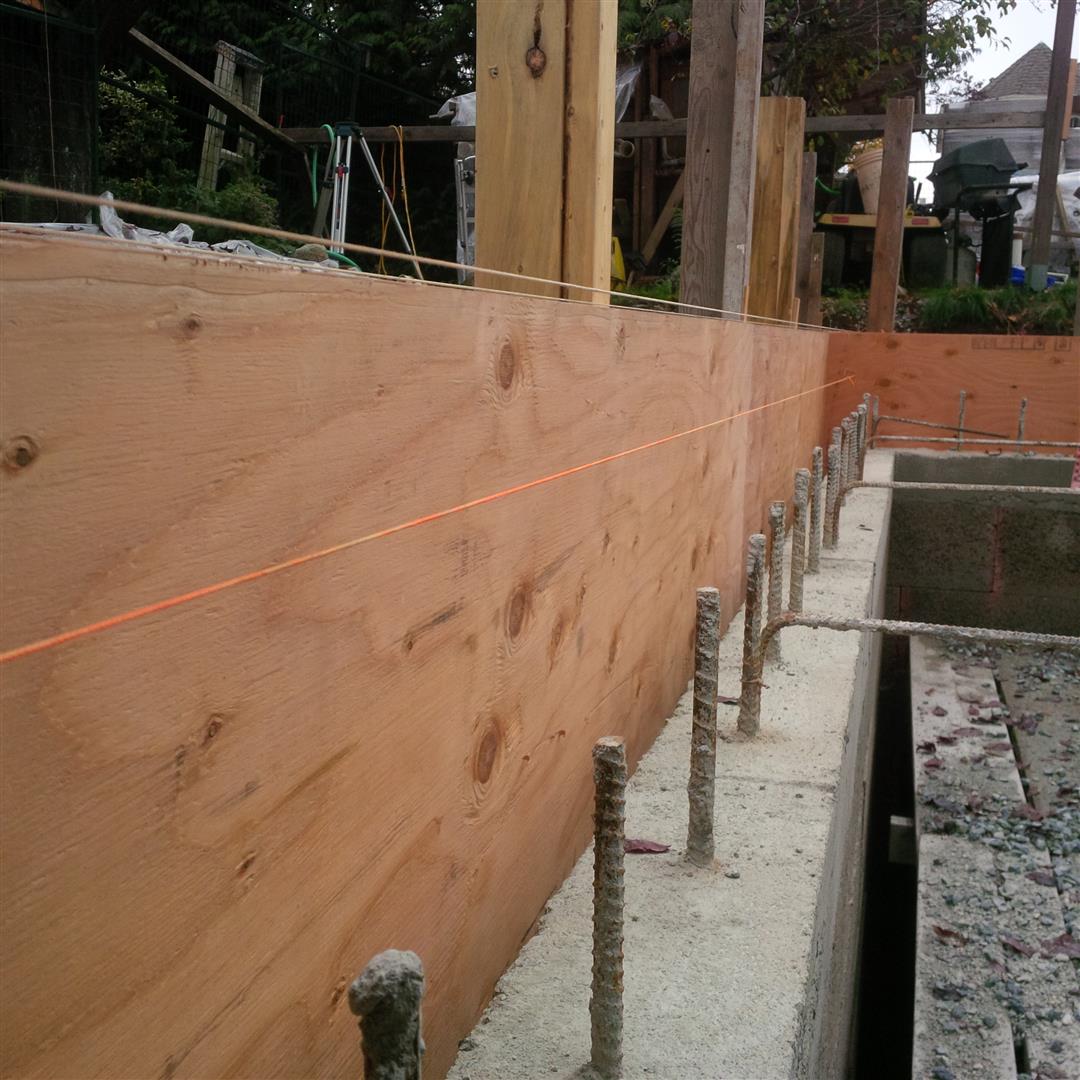
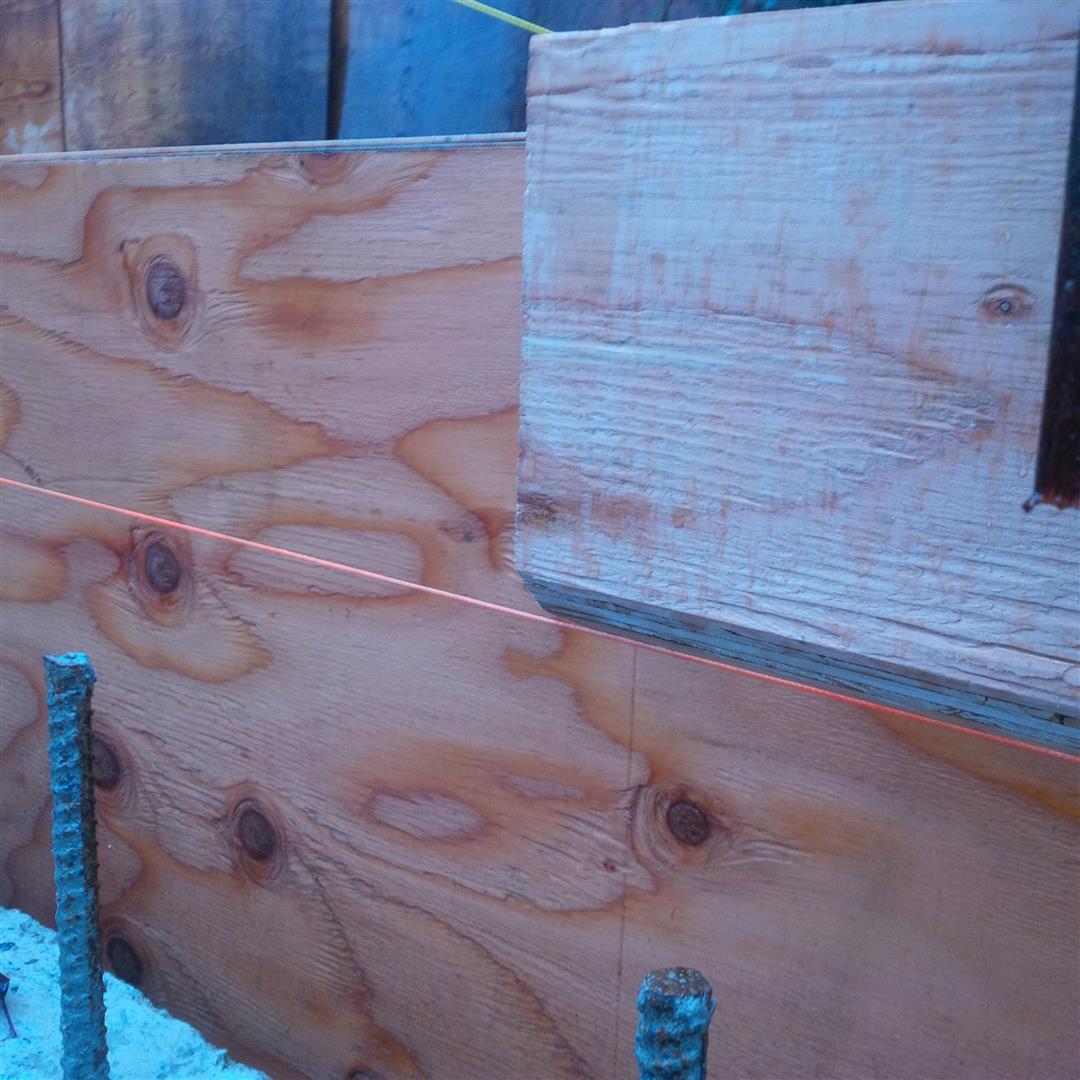
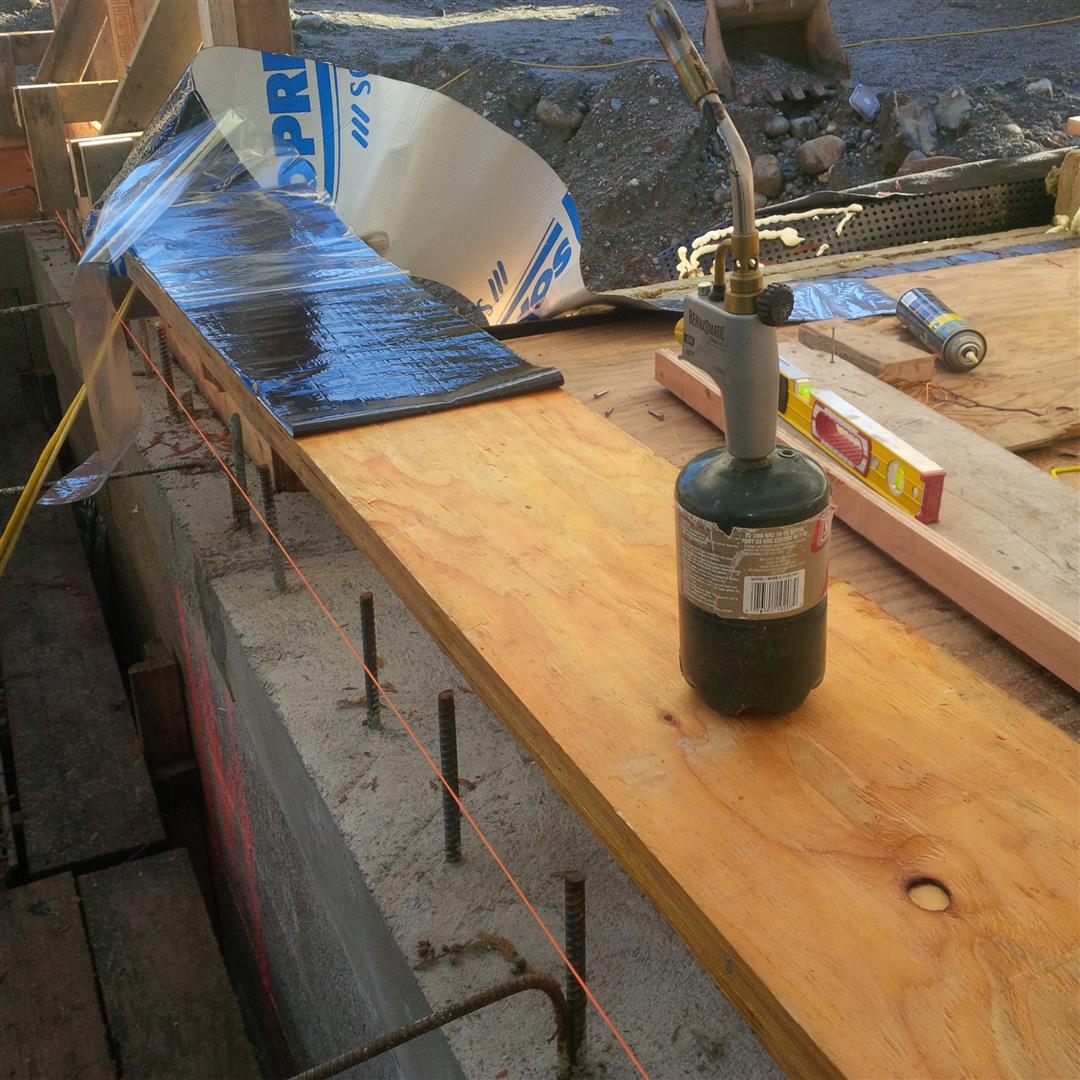
As above, I used a string line to identify the slope I needed for the garage slab.  I then cut a series of plywood strips with the bottom edge chamfered (allows the concrete float to get tight into the corner for a nice finish). I temporarily hung the plywood strips so the bottom conformed to my slab slopping string line (bright orange).  I then marked the top edge level with the upper string line and removed and cut the tapper before mounting permanently.

Inboard plywood panel cut to slope

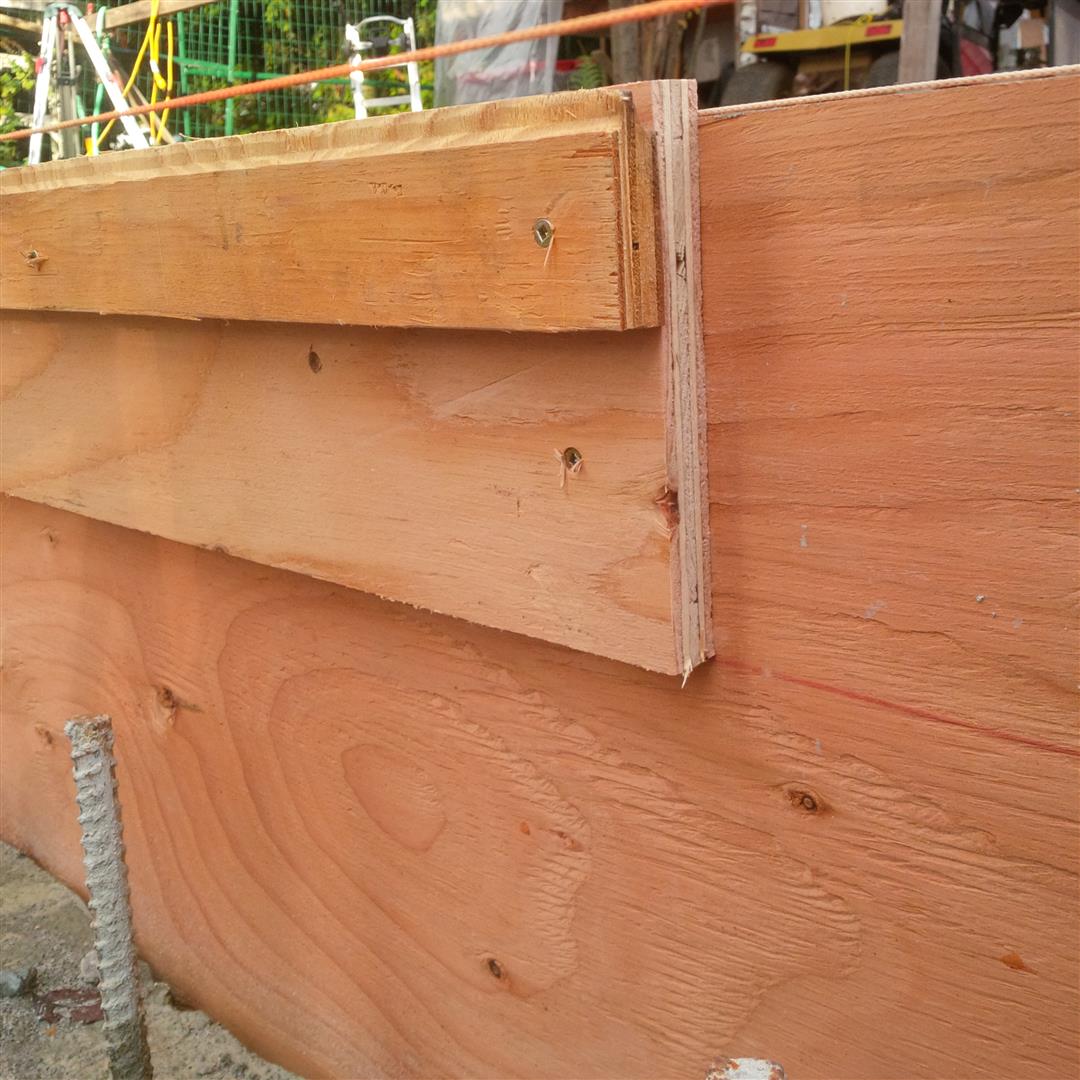
The result was a perfectly tapered plywood inboard form without the need to measure each segment.  The cutting of these segments was made a breeze by the use of a guide rail for the skill saw.  I got the idea when I came across this YouTube video.  Mine took about 15 minutes to build using my construction table saw.  I used a string line to ensure I had a perfectly straight fence as I screwed it to the base plate.

8' Skill Saw Cutting Rail
8′ Skill Saw Cutting Rail

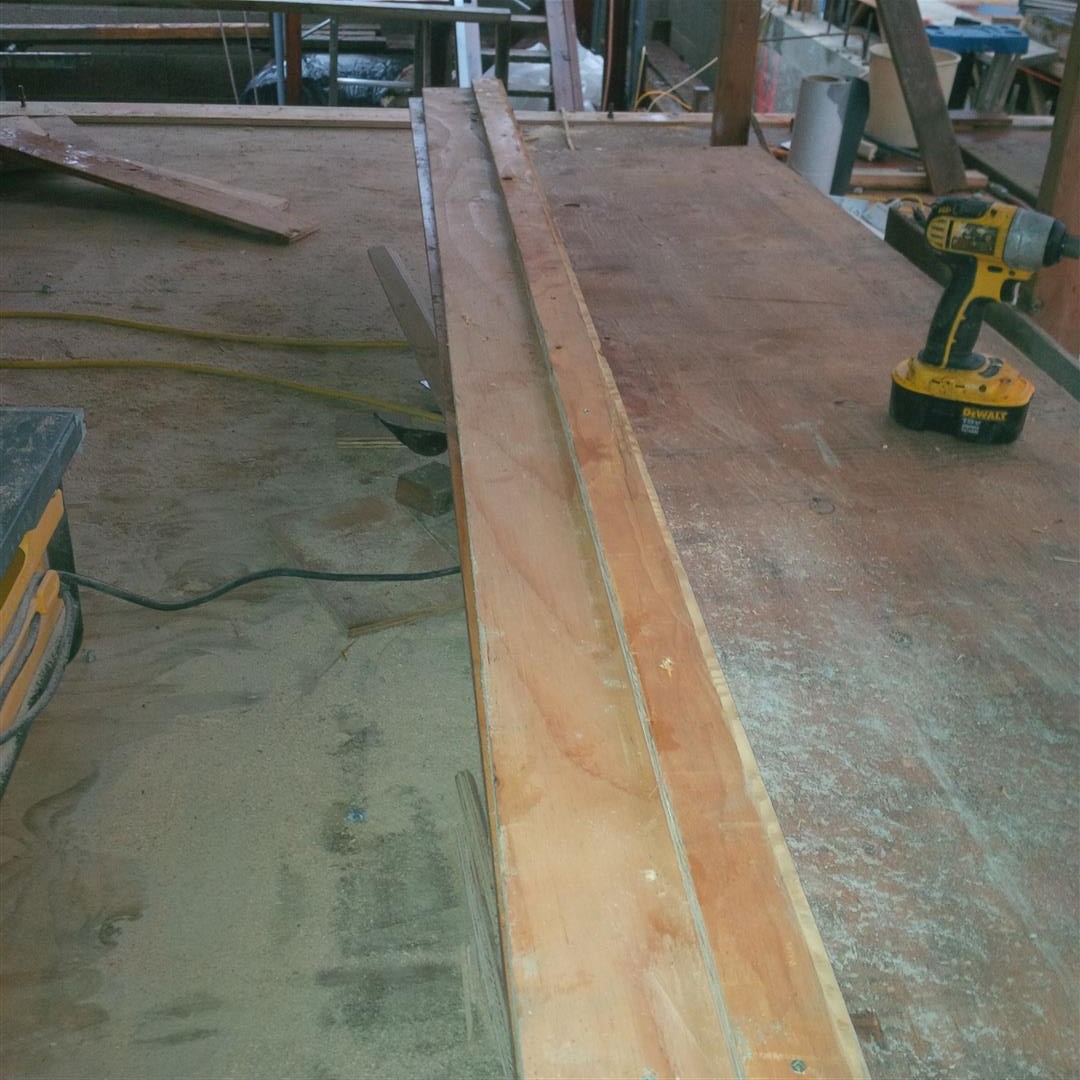
These are a great jig in construction as you can just screw then right to the workpiece to hold in place – No need for clamps. Below, I used to to cut a horizontal line on a vertical piece of plywood forming.  The whole 18′ cut took about 2 minutes including the need to move the jig down to the next position on the line twice.

I have screwed my skill saw cutting rail right to the work.
With the jig screwed into place, it is very easy and fast to cut a straight line in this awkward position.

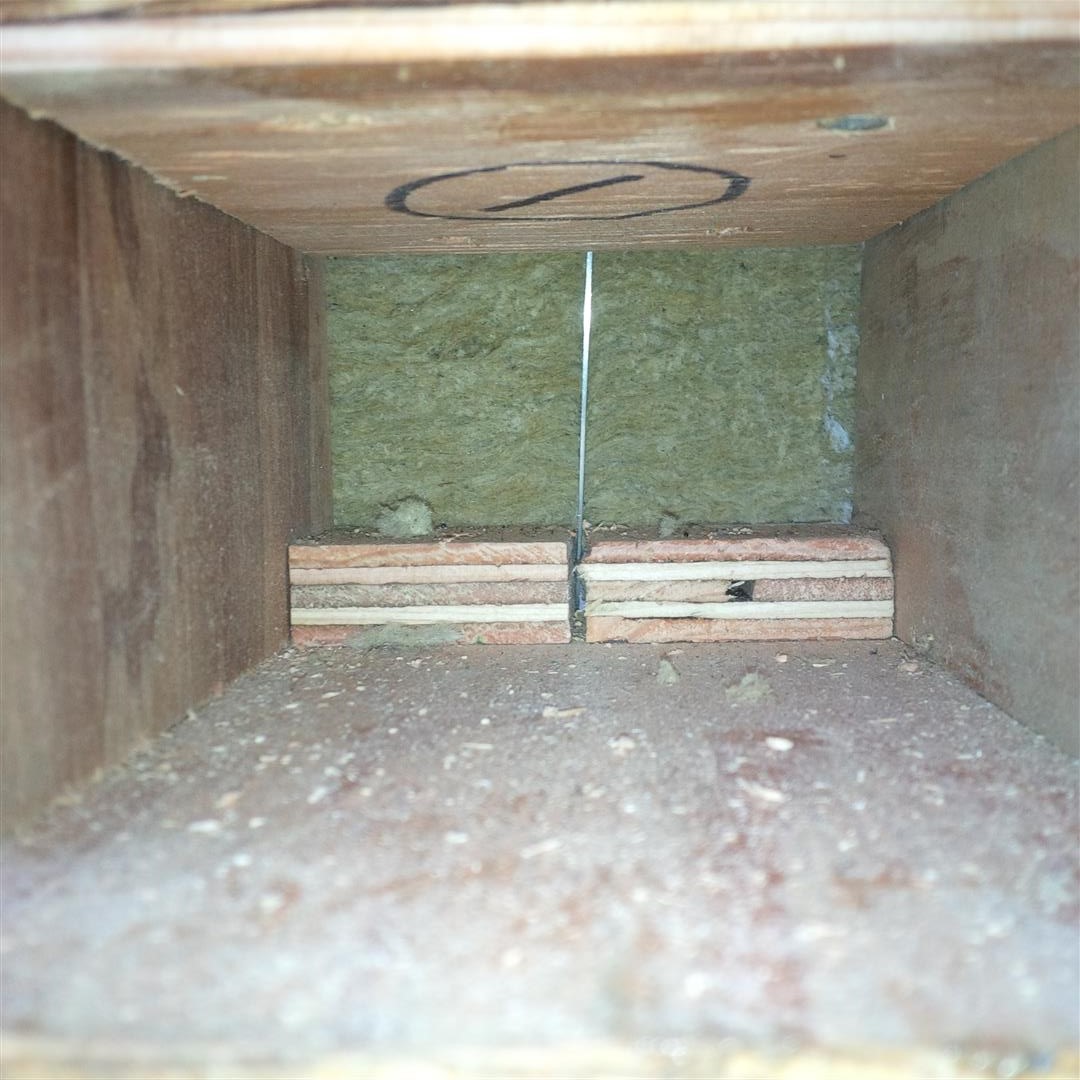
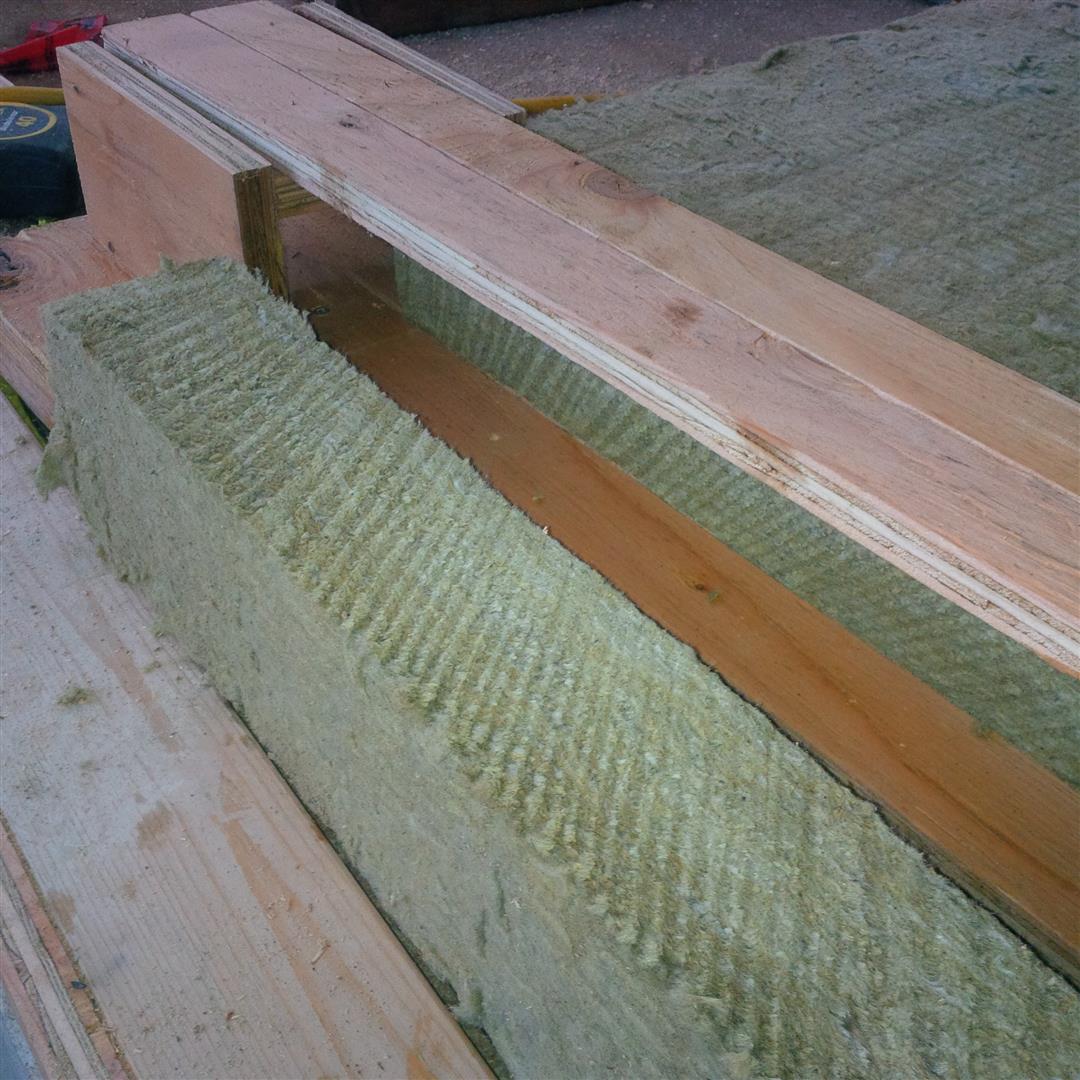
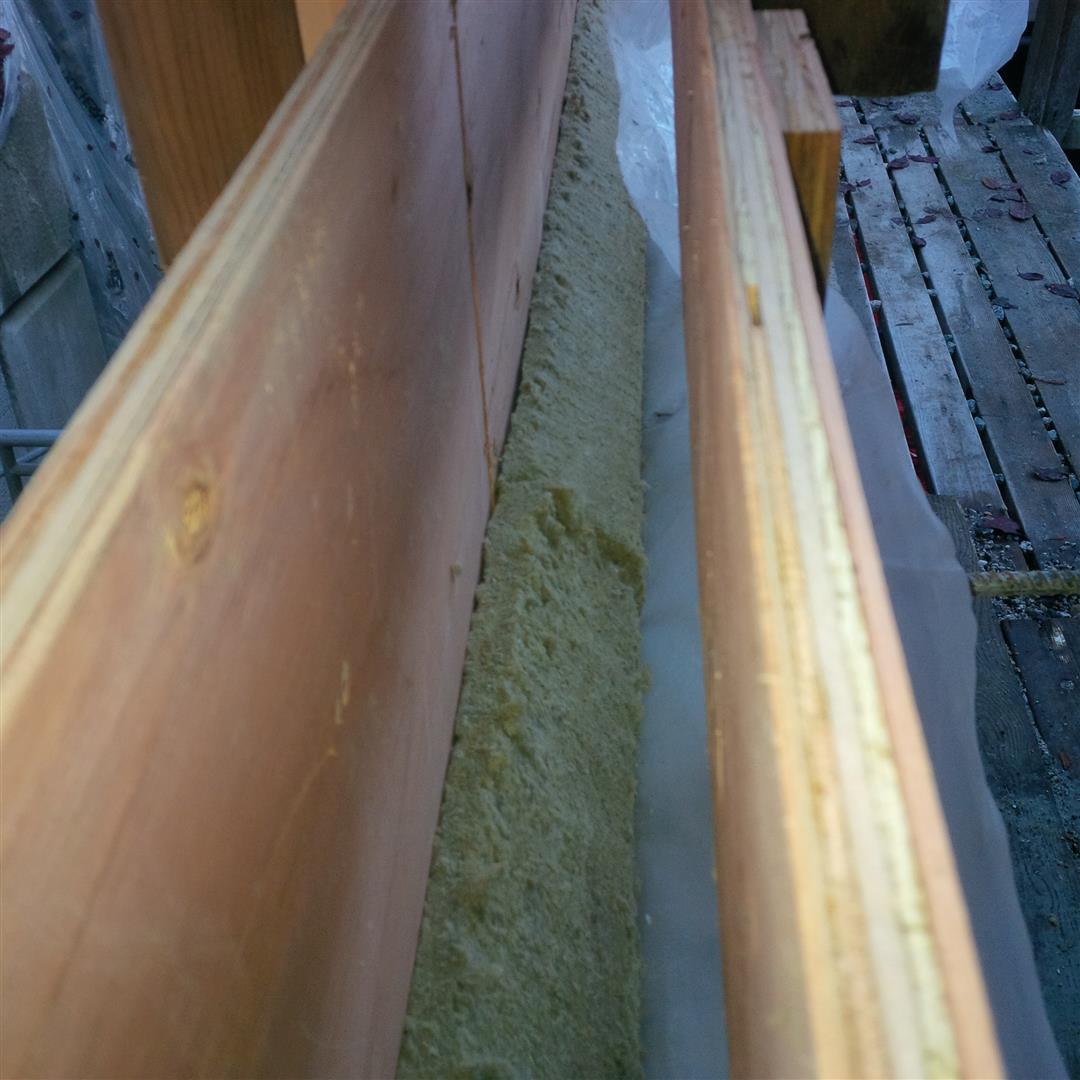
I also made a quick jig to cut ROCKWOOL insulation panels.  I previously used a table saw but this needed to be done outdoors with a mask and the saw had to be cleaned up before I could cut wood again.  The below jig took about 20 minutes to build and will cut all 3′ and 4′ panels in seconds.

Jig is made up of a top and bottom cutting guide. The bottom is fixed and the top travels.
A serrated bread knife works best.
Top and bottom guides are both two pieces of plywood held close together with blocking on the ends.  The knife slides from the top slit through the bottom slit.  (The knife is on a cant backwards which is making it look out of square. The cut pieces were less than 1/8" off).
Top and bottom guides are both two pieces of plywood held close together with blocking on the ends. The knife slides from the top slit through the bottom slit. (The knife is on a cant backwards which is making it look out of square. The cut pieces were less than 1/8″ off).
Left with a very nice crisp and straight edge.
I also free handed the cant for the insulation insert into the forms.  The cant allows for proper concrete cover around rebar.
I also free handed the cant for the insulation insert into the forms. The cant allows for proper concrete cover around rebar.
The garage slab forming also required hanging the last rim board.  It was too cold for the membrane so a little encouragement was used.
The garage slab forming also required hanging the last rim board. It was too cold for the membrane so a little encouragement was used.
Rimboard now in place along with the garage sink drain and vent line (Wrapped in bubble wrap to allow movement after pour).
Complete form assembly.  This shot also shows the storm water drain that will connect to a roof eaves trough later in the construction.  I routed this through the wall so that I would not have an unsightly downspout right at the front entrance.
Complete form assembly. This shot also shows the storm water drain that will connect to a roof eaves trough later in the construction. I routed this through the wall so that I would not have an unsightly downspout right at the front entrance.
I did the same thing with the clean-out for the perimeter drainage system (white cap)
Here is the business end.  The black ABS will transition back to PVC before gravity feeding to a shallow storm sump by the District connection.  The white PVC pipe connected down to the perimeter drainage 12' below and will provide a clean-out port.
Here is the business end. The black ABS will transition back to PVC before gravity feeding to a shallow storm sump by the District connection. The white PVC pipe connected down to the perimeter drainage 12′ below and will provide a clean-out port. This is all below grade and will not be visible from the front entrance a few ft away.  I will of course have to cut the plywood formwork away after the pour.
With the form work complete, Mr. J came by on Friday and helped me get most of the scaffolding taken down.

I have a bit more of the scaffolding to remove from inside the room below the garage including the tower and sky bridge.  I then need to rent some shoring that will be used to support the slab until it cures enough to self support.  I have had some difficulties finding shoring as there is a LOT of commercial construction going on and many of the companies have a waiting list. But Kyle, my Lafarge salesman, came through with a suggestion to contact TTF Scaffolding.  It looks like they will be able to help me.  I need to come up with a list of materials needed once they tell me the length of their available beams and joists.  Before delivering to site, I will also quickly form up the basement walk-up footing and install the required insulation.  Then it will be a race to setup the shoring, install the reinforcing bar and then call for inspections.

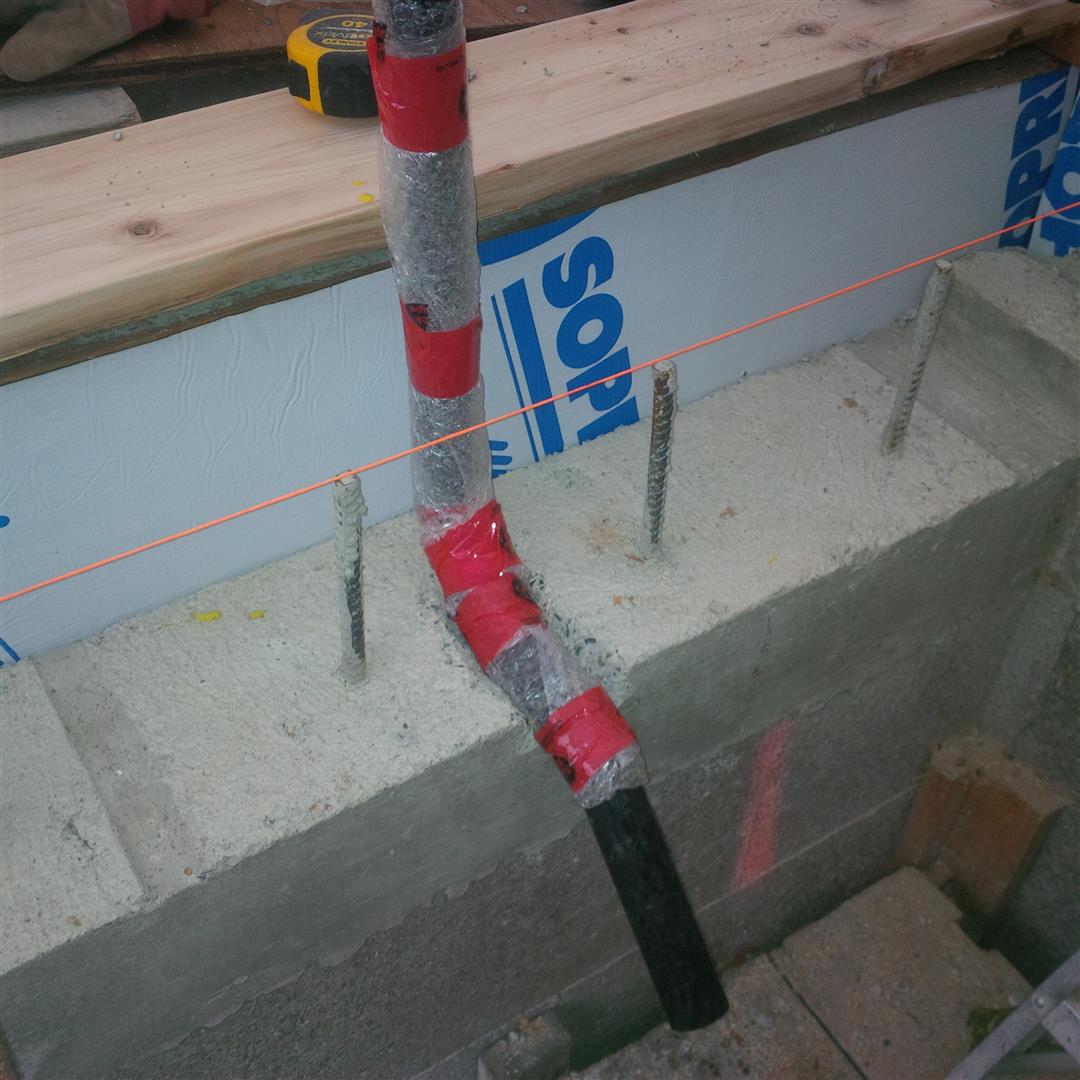
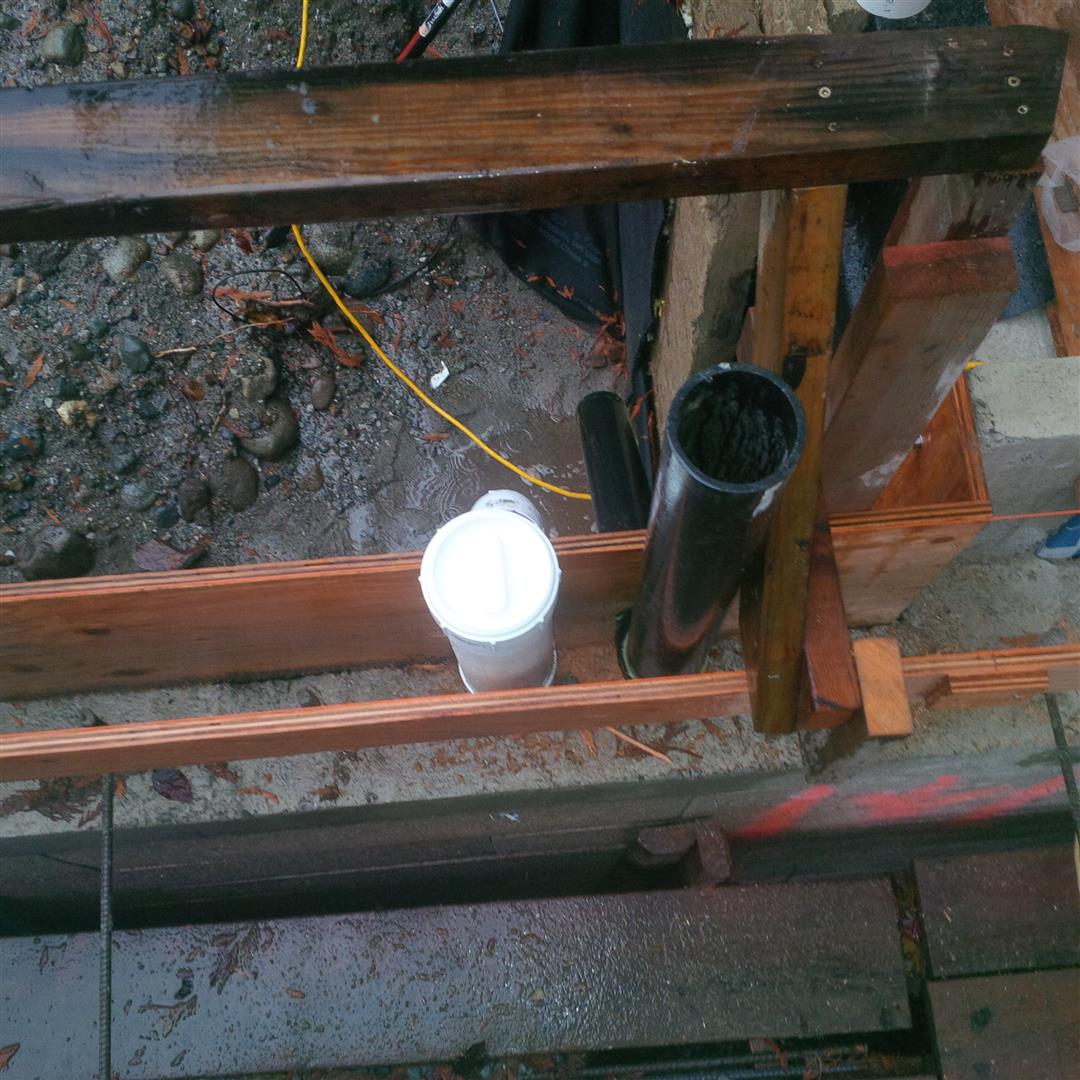
Below is also a couple of photos showing ‘a better way’ for my gravel vertical drainage plane installation.

I found an even better way to lift up the dividing plywood used to create the gravel vertical drainage plane.  This is called a pallet grabber and is used in the trucking industry.
I found an even better way to lift up the dividing plywood used to create the gravel vertical drainage plane. This is called a pallet grabber and is used in the trucking industry. This was even faster than using the farm jack.
This 'funnel' greatly increased the speed of filling the cavity behind the plywood with gravel.
This ‘funnel’ greatly increased the speed of filling the cavity behind the plywood with gravel.
I was very relived to have sealed up the gravel drainage plane with fabric before the recent rains erroded the bank away and washed down all teh silt and mud into this corner.  It will be an easy process to dig the sludge away and continue the gravel drainage plane once backfill proceeds at this location after the garage slab pour.
I was very relieved to have sealed up the gravel drainage plane with fabric before the recent rains eroded the bank away and washed down all the silt and mud into this corner. It will be an easy process to dig the sludge away and continue the gravel drainage plane once backfill proceeds at this location after the garage slab pour.

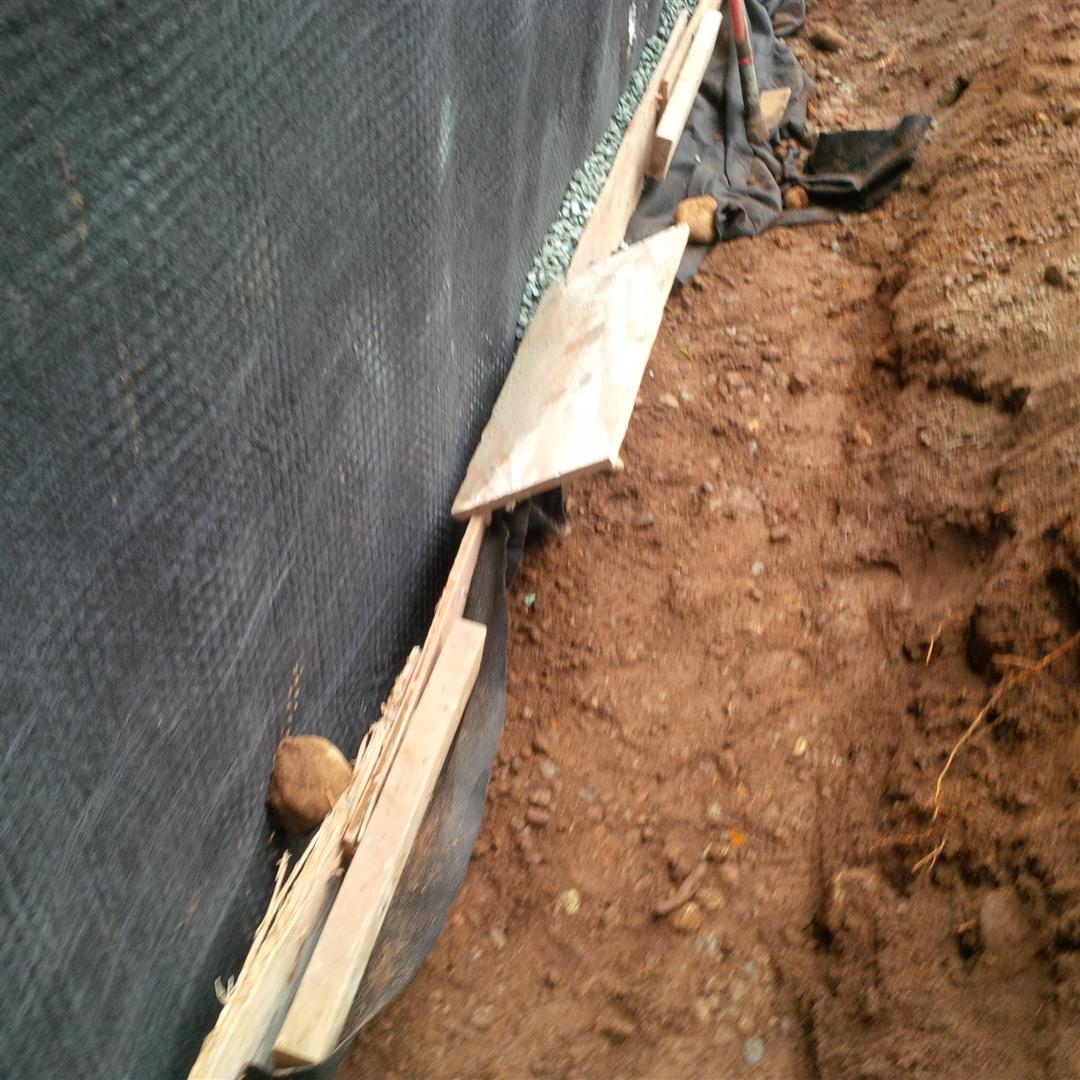
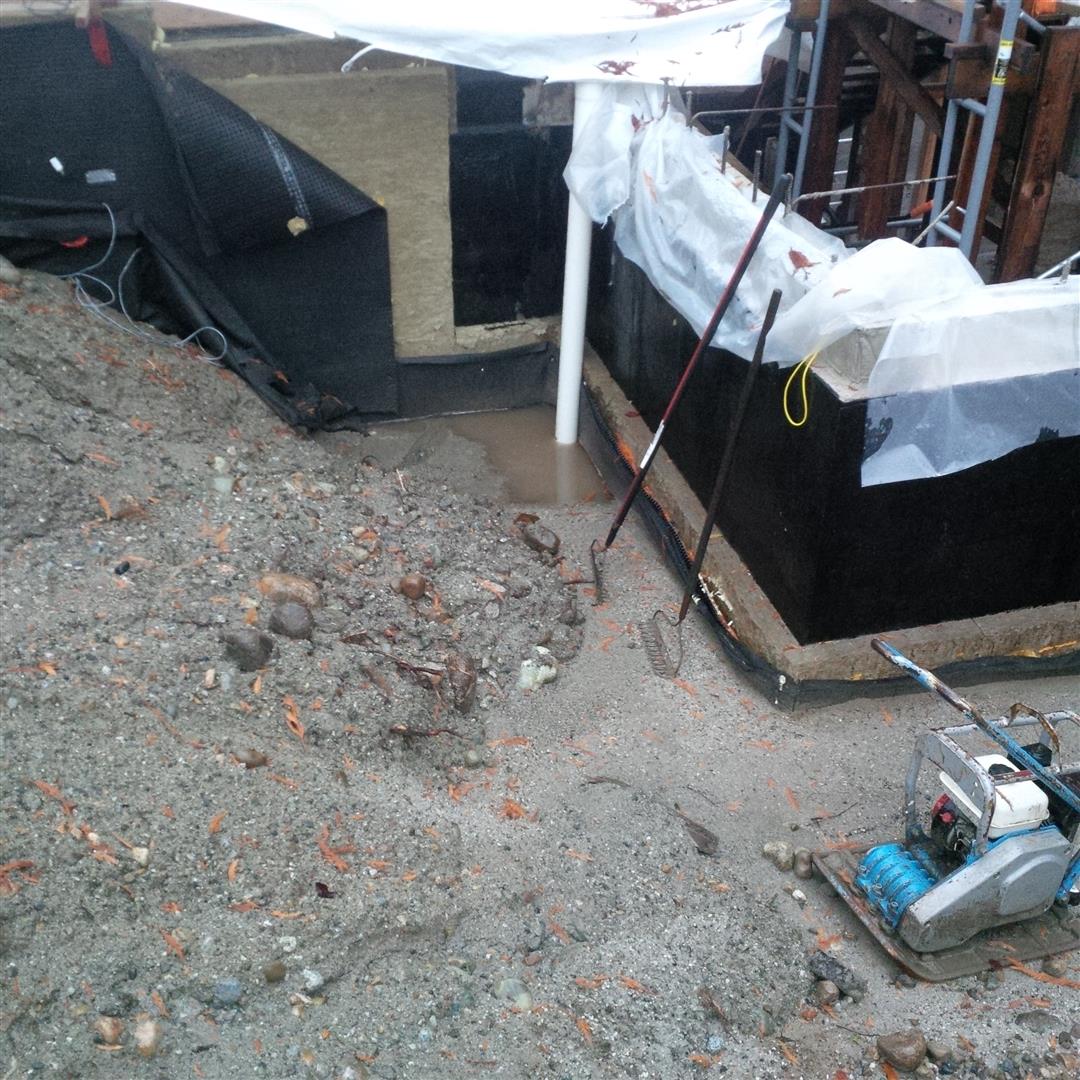
Thanks for visiting.

“You may encounter many defeats, but you must not be defeated. In fact, it may be necessary to encounter the defeats, so you can know who you are, what you can rise from, how you can still come out of it.”  —Maya Angelou (1928-2014) Poet, Dancer, Producer, Playwright, Director, Author

Leave a Reply

Your email address will not be published. Required fields are marked *