Wool Cap Complete
Hey folks,
Time for my next monthly update (relieved it is only 2 days late, as time seems to have a habit of getting away from me).
I had actually finished insulating the main dwelling roof assemblies just prior to my last update, but it was already a long post so saved this bit for later.
As with most tasks on this build, the roof insulating took way too long. I was significantly delayed while I tried to get more TrueBlu Antimicrobial solution for the south upper floor roof and the lower floor roofs. I had used a Sansin Blue Wood solution for the north roof (which was a test batch provided to RDH who had some left over and gave to me) and was trying to get something similar for the rest of the roofs because the BlueWood is not commercially available. I had contacted the maker of TrueBlu solution starting in late September of 2018 to get some of their product (again not commercially available), but over numerous follow ups, it just was not happening (sounds like part of the company responsible for this was first up for sale ,and then was shut down, so just bad timing).
I eventually had to give up and try something different. My friends at RDH suggested I try Sansin KP11M (which IS commercially available). They had good history with it preventing fungal growth on underside of roof decks (a problem in the Pacific North West in newer-better-insulated houses that prevent heat loss from cooking moisture accumulation out of the roof sheathing).
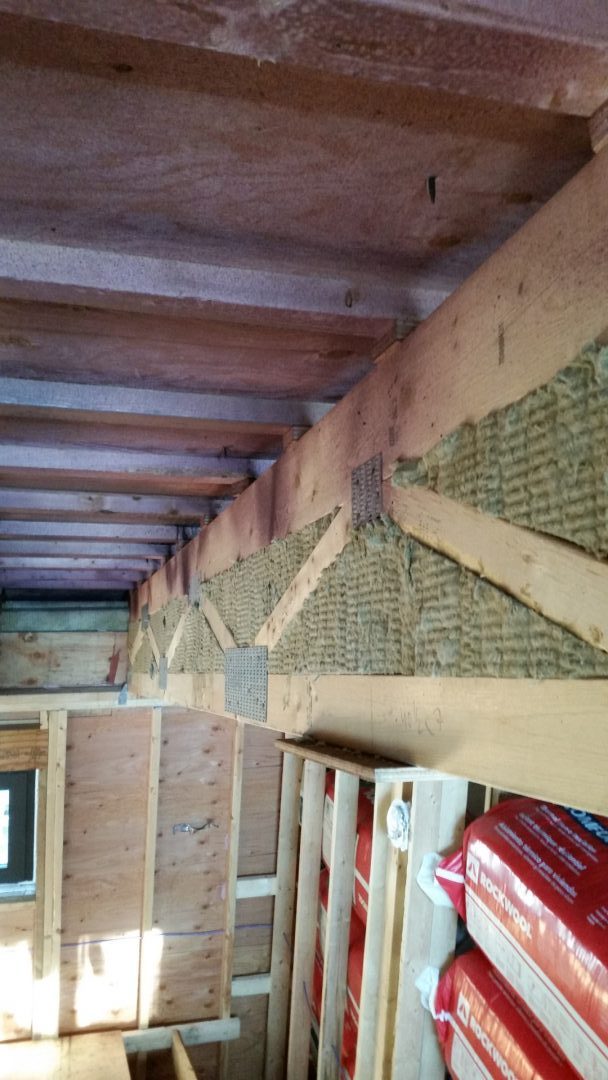
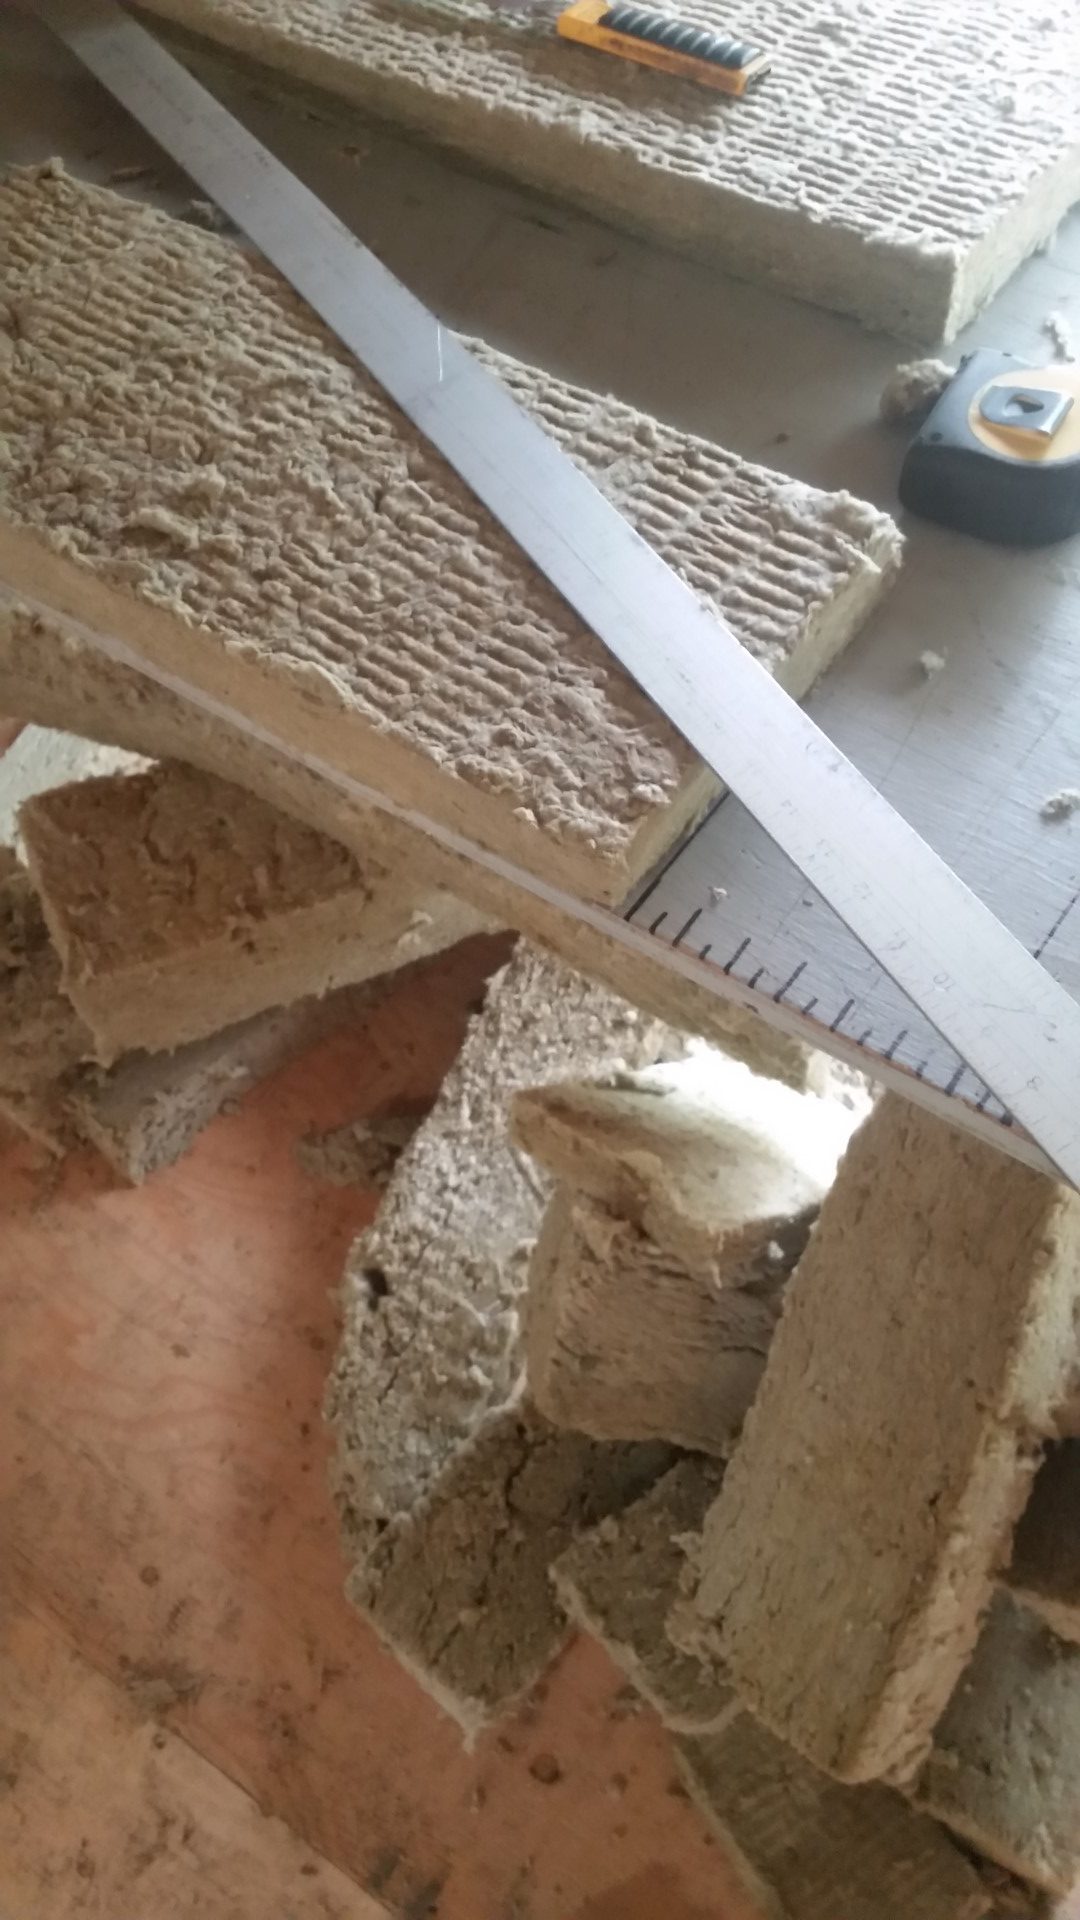
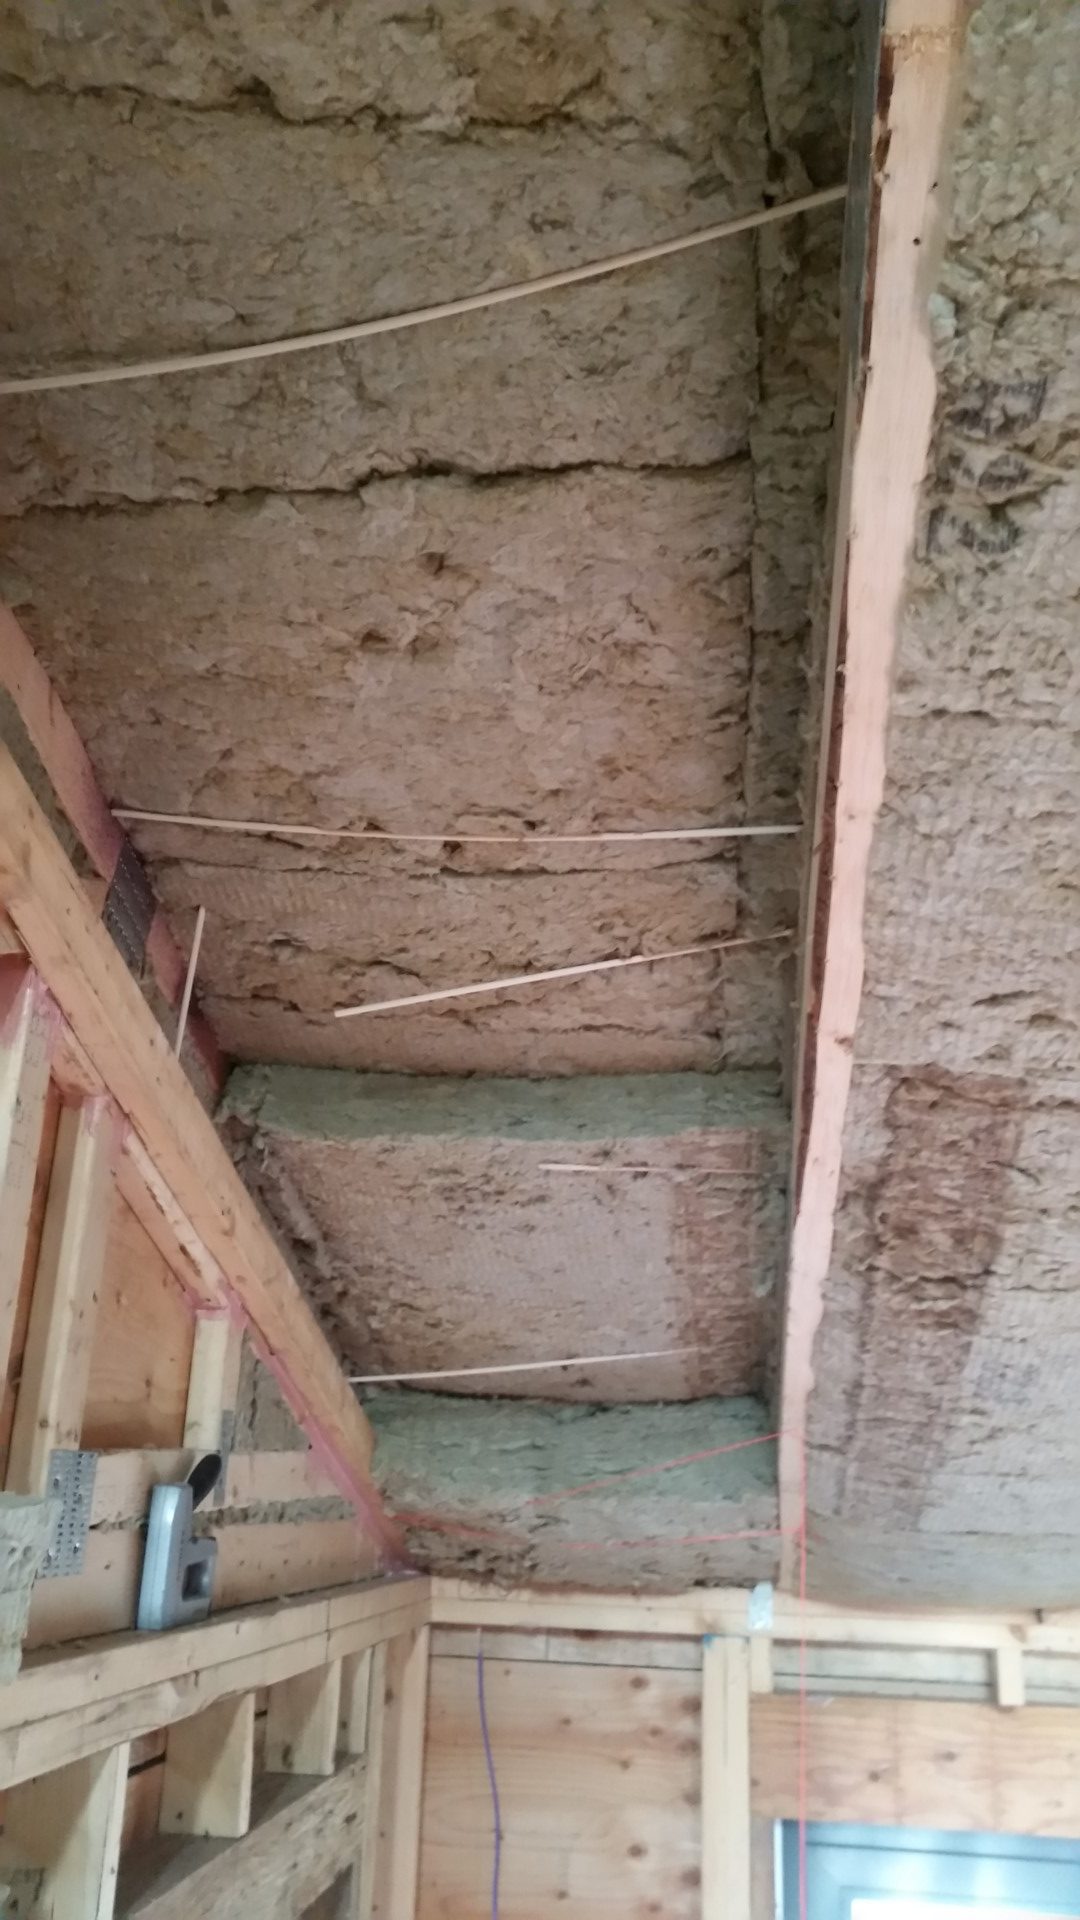
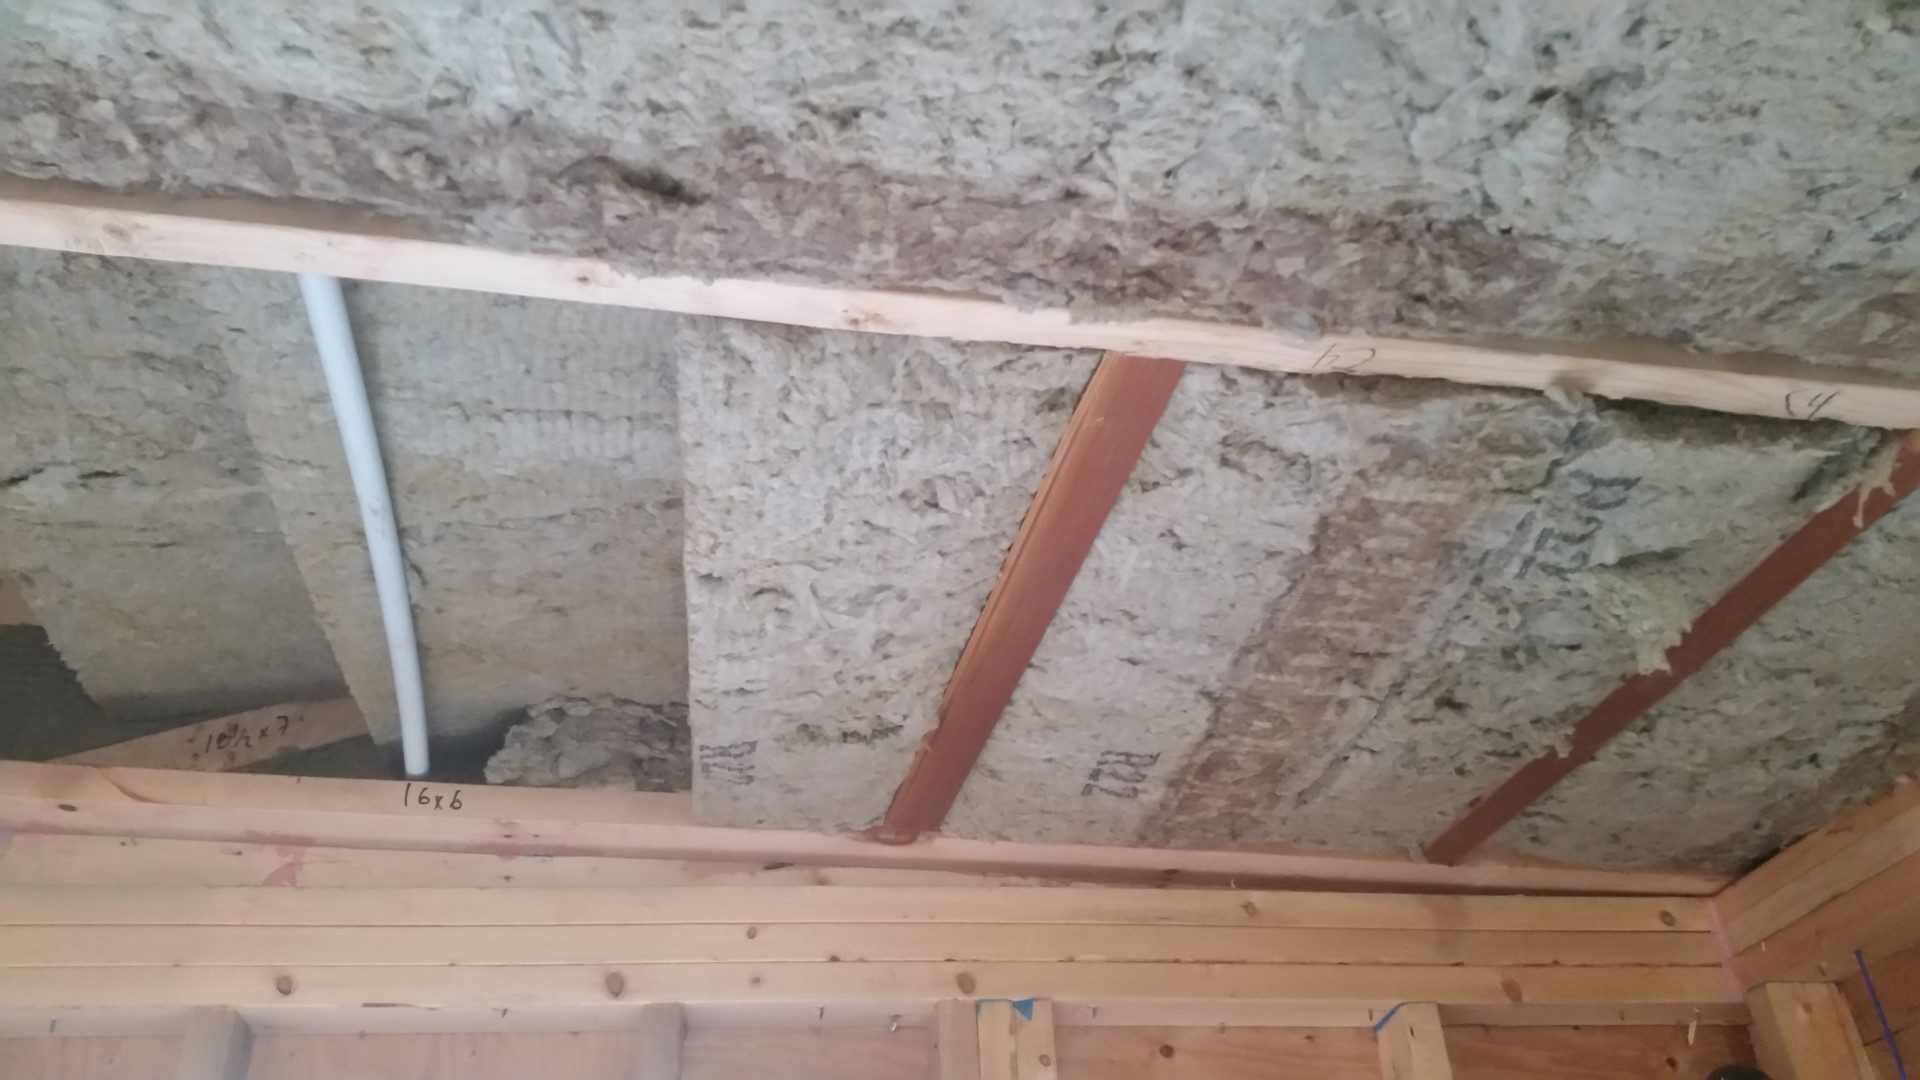
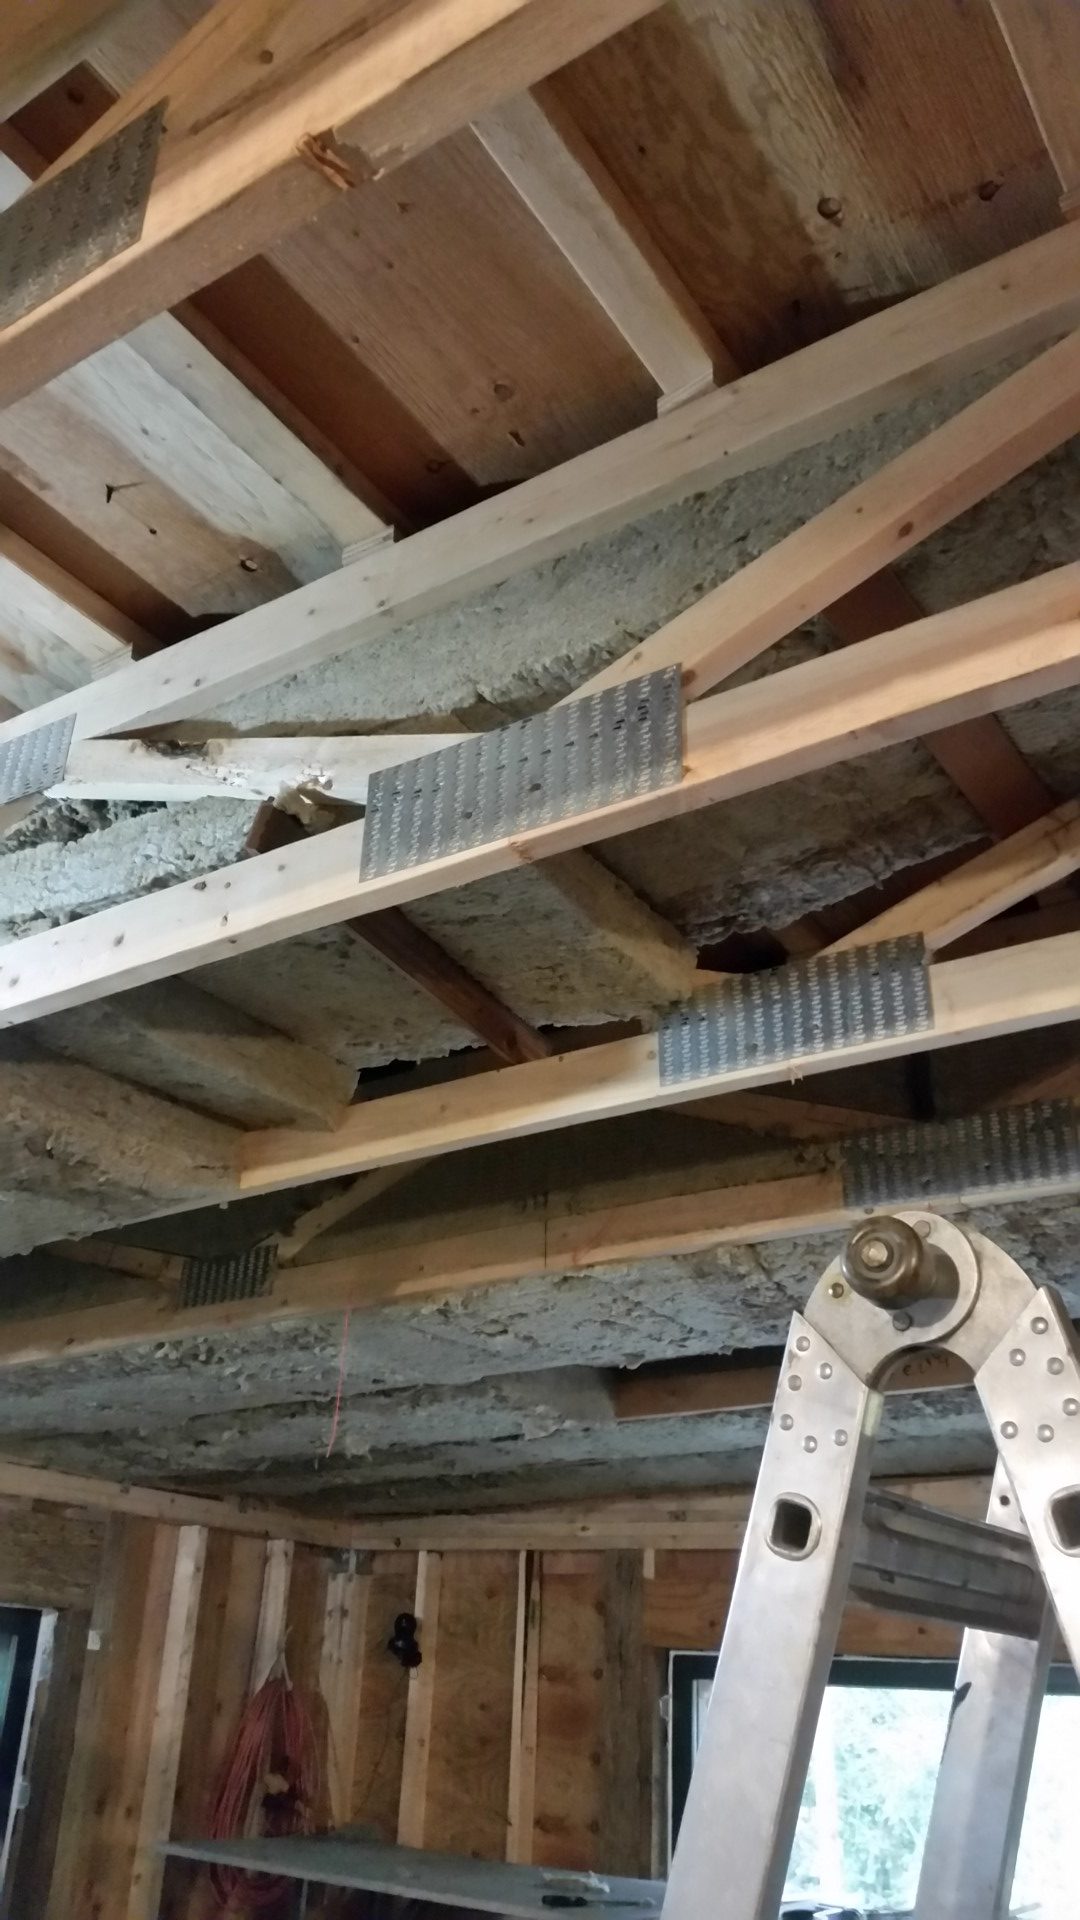
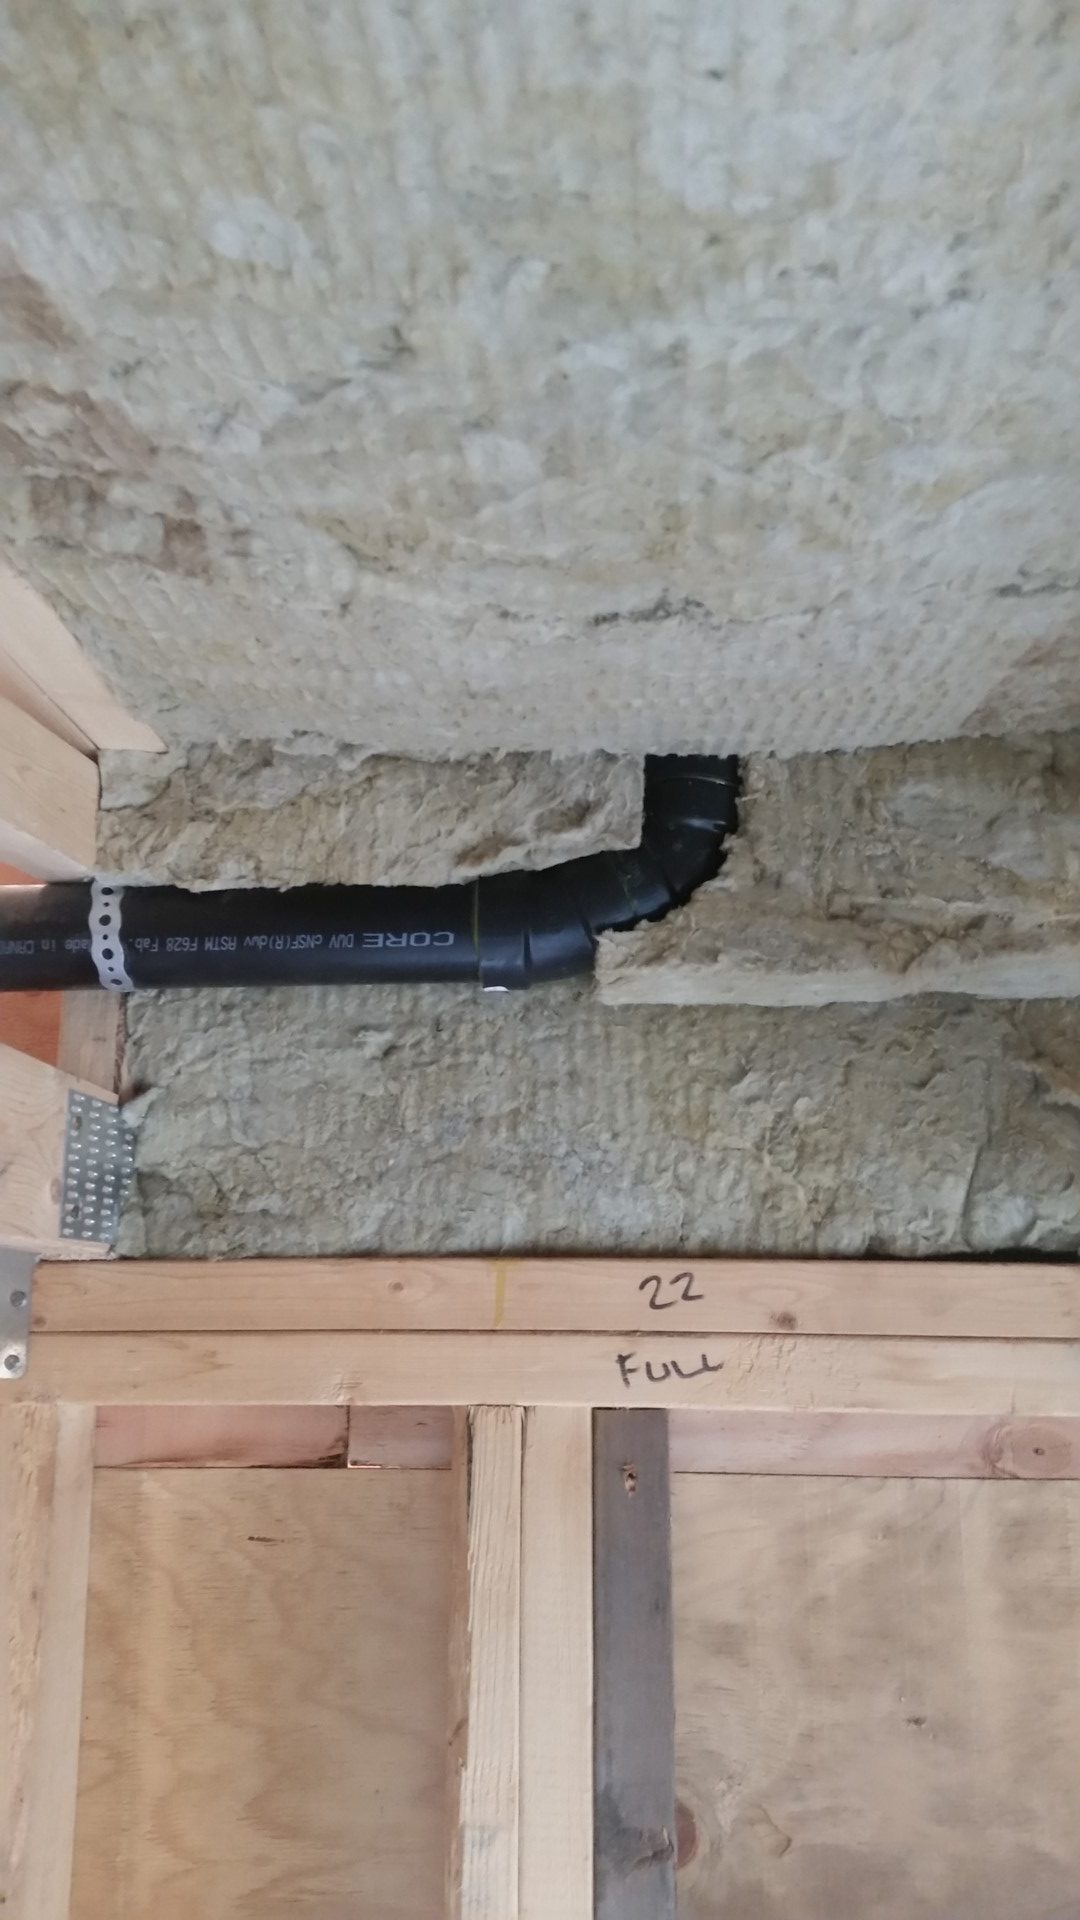
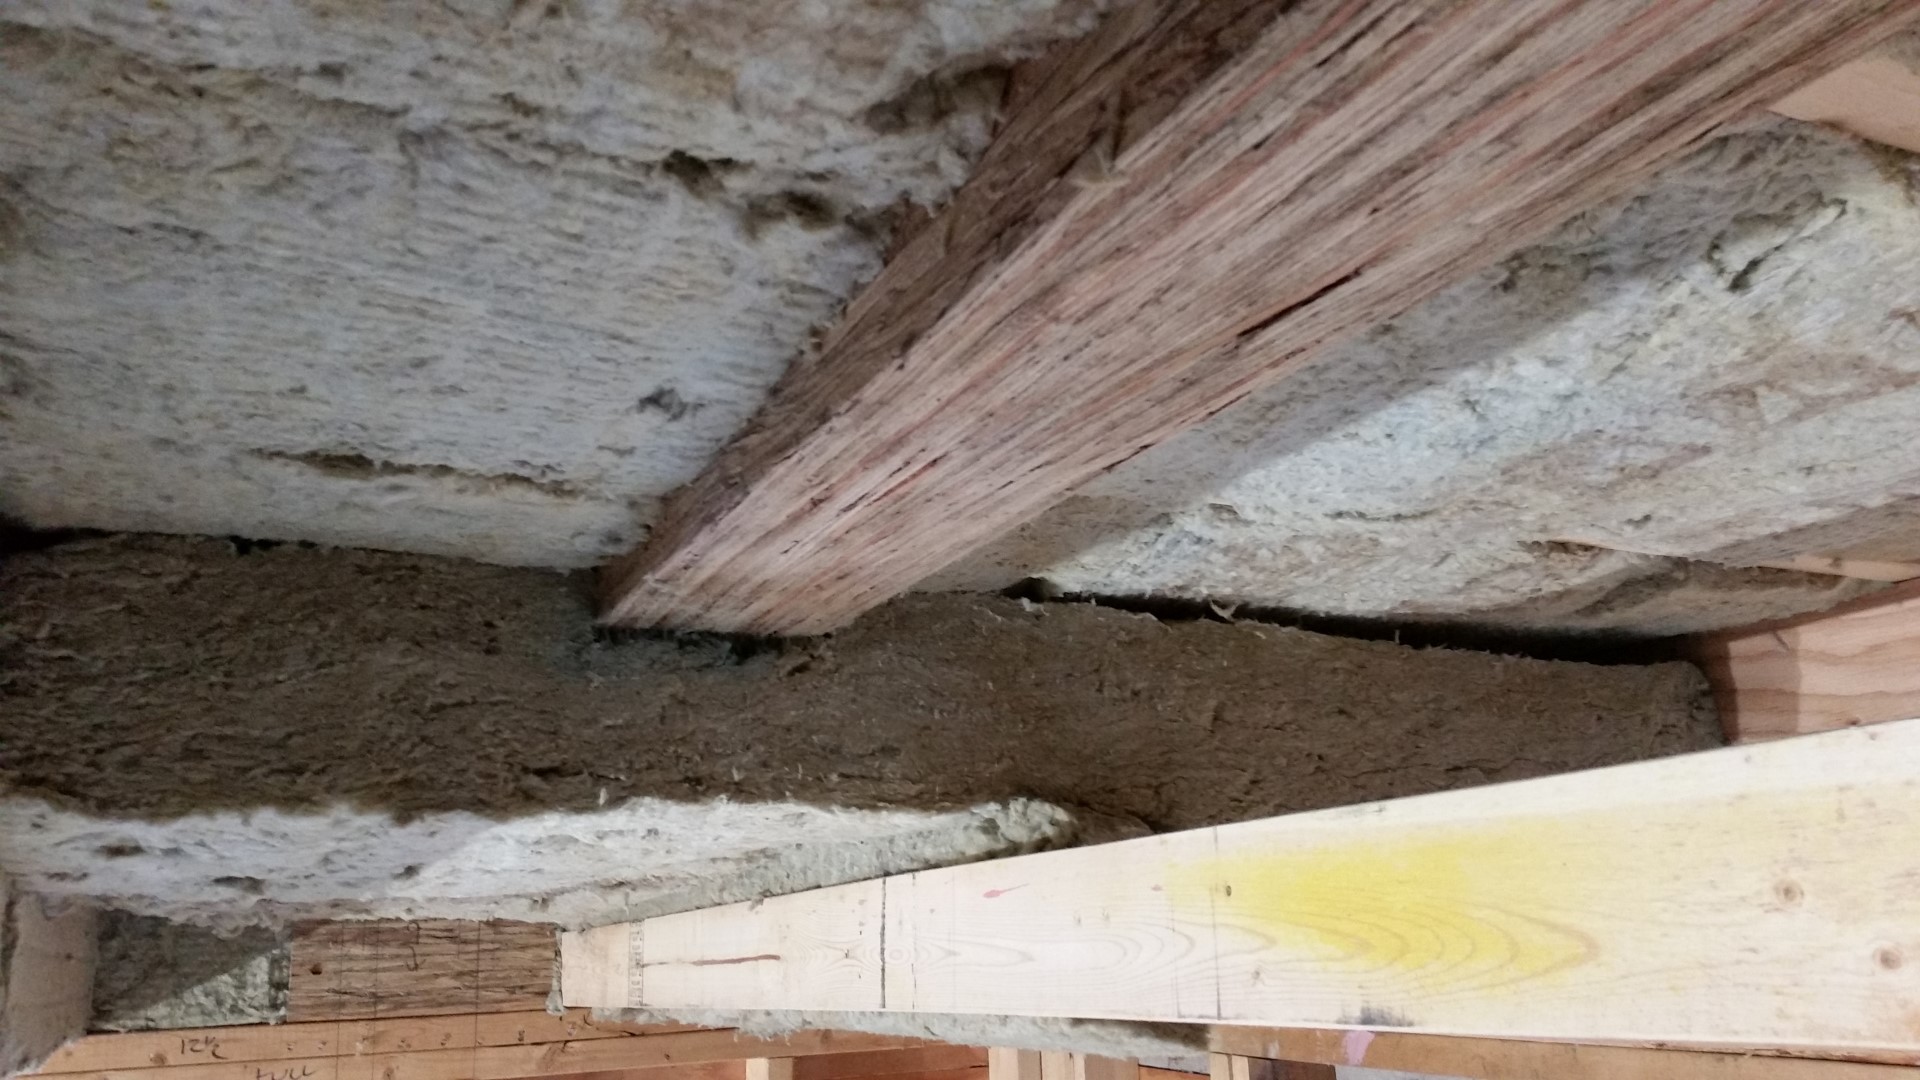
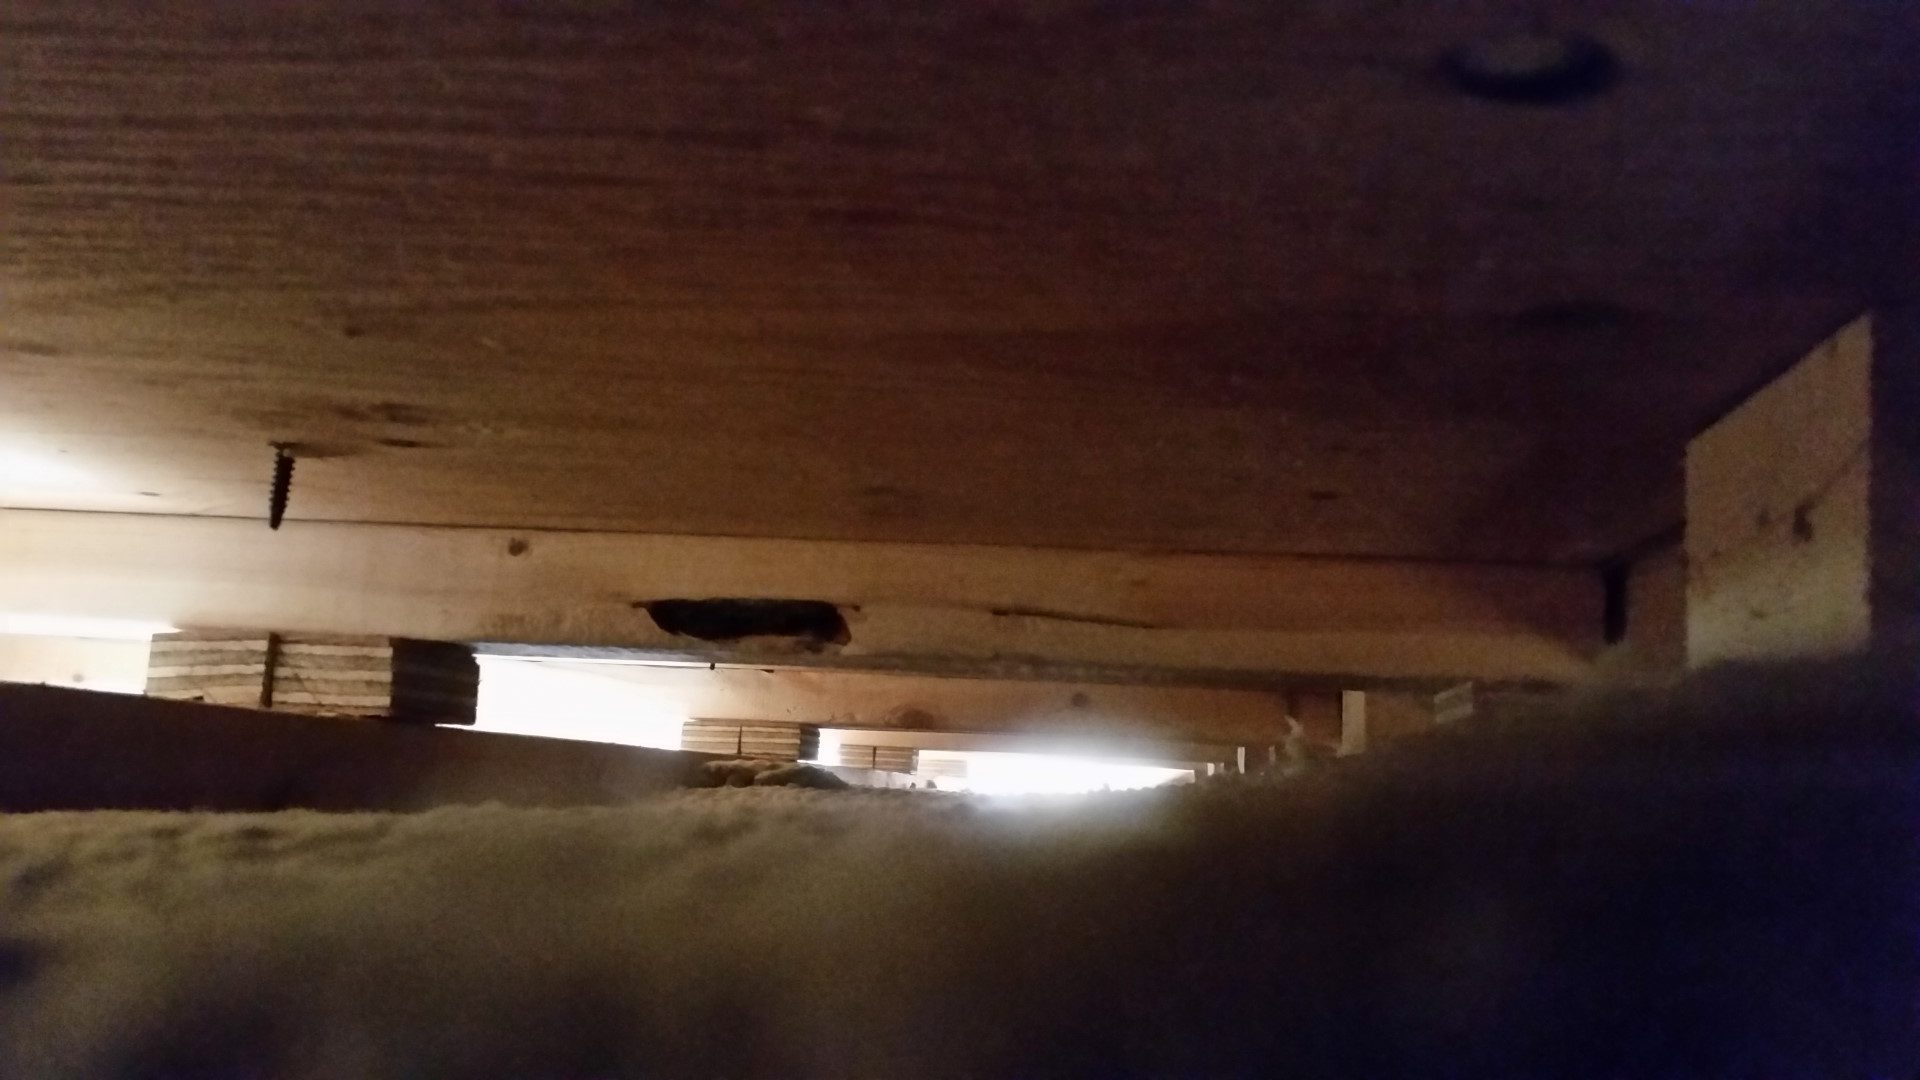
Once I finally was able to get this on order, I started insulating the north roof that had already been sprayed with the first solution. Installing 18″ of batt insulation in 4 layers is not for the feint of heart! The weight of the ROCKWOOL COMFORTBATT® worked against me in the cathedral ceilings, as the top layers would start pushing down the lower layers.
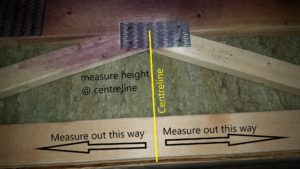
If I was to do this again, I would ensure the roof trusses were just under 24″ spacing as this would create the friction needed to hold everything in place. Live and learn! Even those at exactly 24″ were marginal with the 4 layers, and if they were even 1/8″ to 1/4″ to wide, everything just fell out unless I found a way to temporarily hold in place. The main reason for this is because, unlike stud bays, the roof truss is not a solid web top to bottom. There are lots of empty areas between where the diagonal webs are located. This means there is nothing for the insulation to press against and grab onto.
I have now also finished installing the OSB ‘sub-ceiling” that will form the air and vapour barrier for the roof assembly, but I will save that update for next month.
Have a great summer, and as always, thanks for visiting!
“Although time seems to fly by, it never travels faster than one day at a time. Each day is a new opportunity to live your life to the fullest.” —Steve Maraboli (born 1975) Author
“A will finds a way.” —Orison Swett Marden (1850-1924) Author, Publisher
“The Earth is a fine place and worth fighting for.” —Ernest Hemingway (1899-1961) Novelist, Nobel Prize Winner