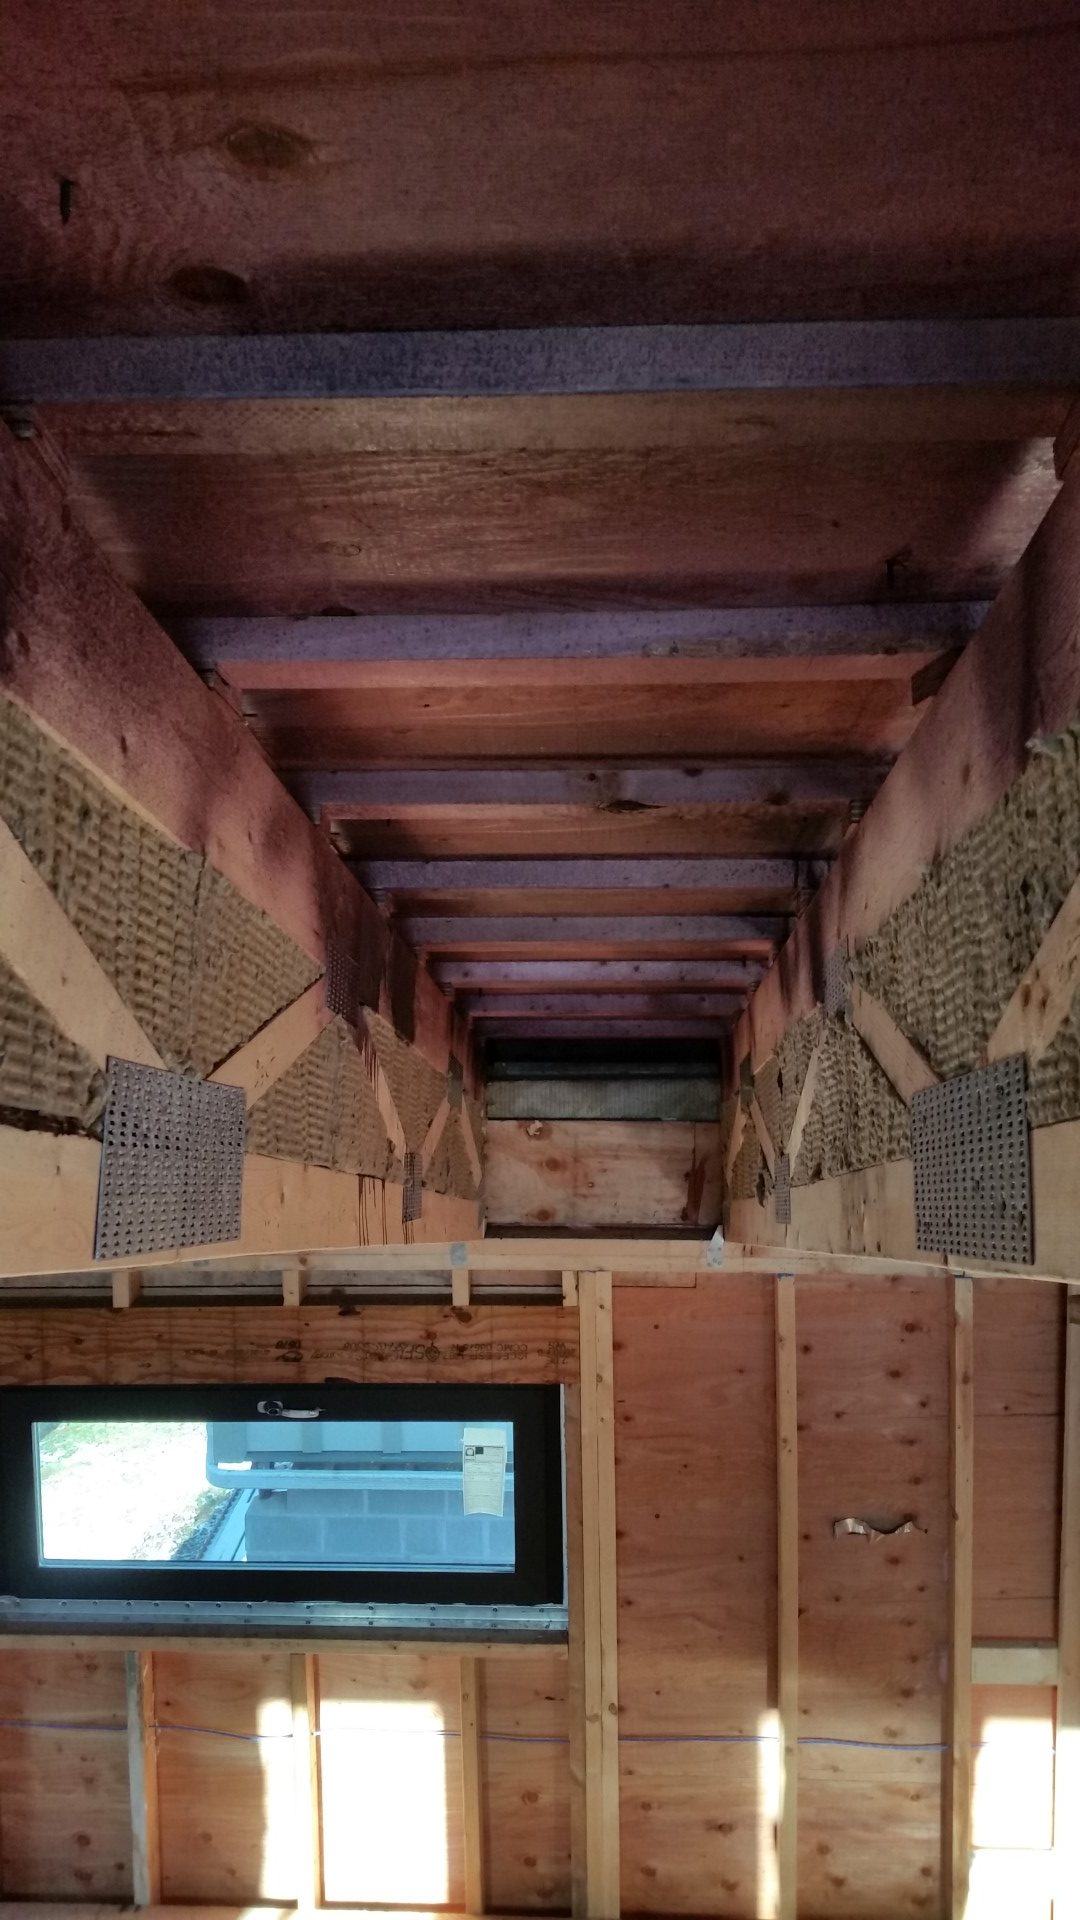
I have been making some reasonable progress on the Mineral Wool Cap for this dwelling. The roof assembly contains 18″ of ROCKWOOL COMFORTBATT® for an effective R63. By the end of this week I will have the north half of the roof assembly completely insulated.
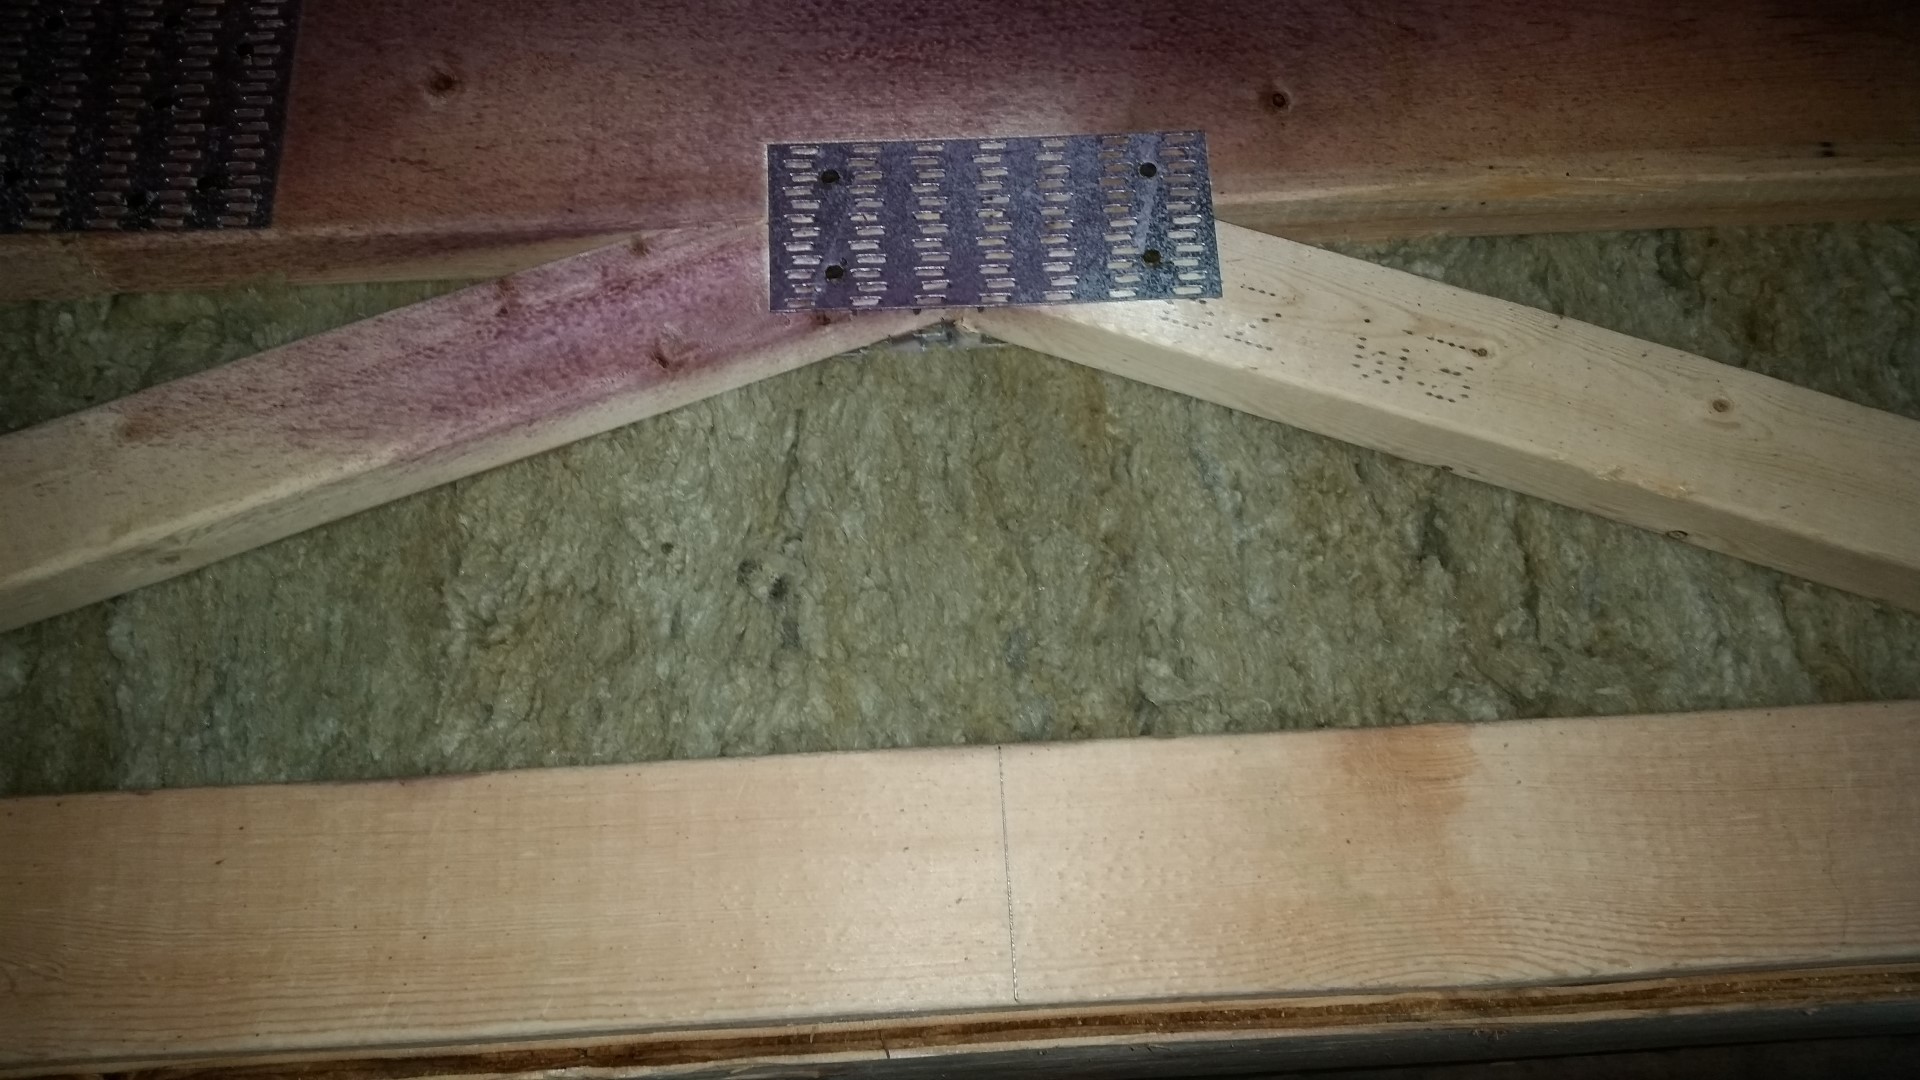
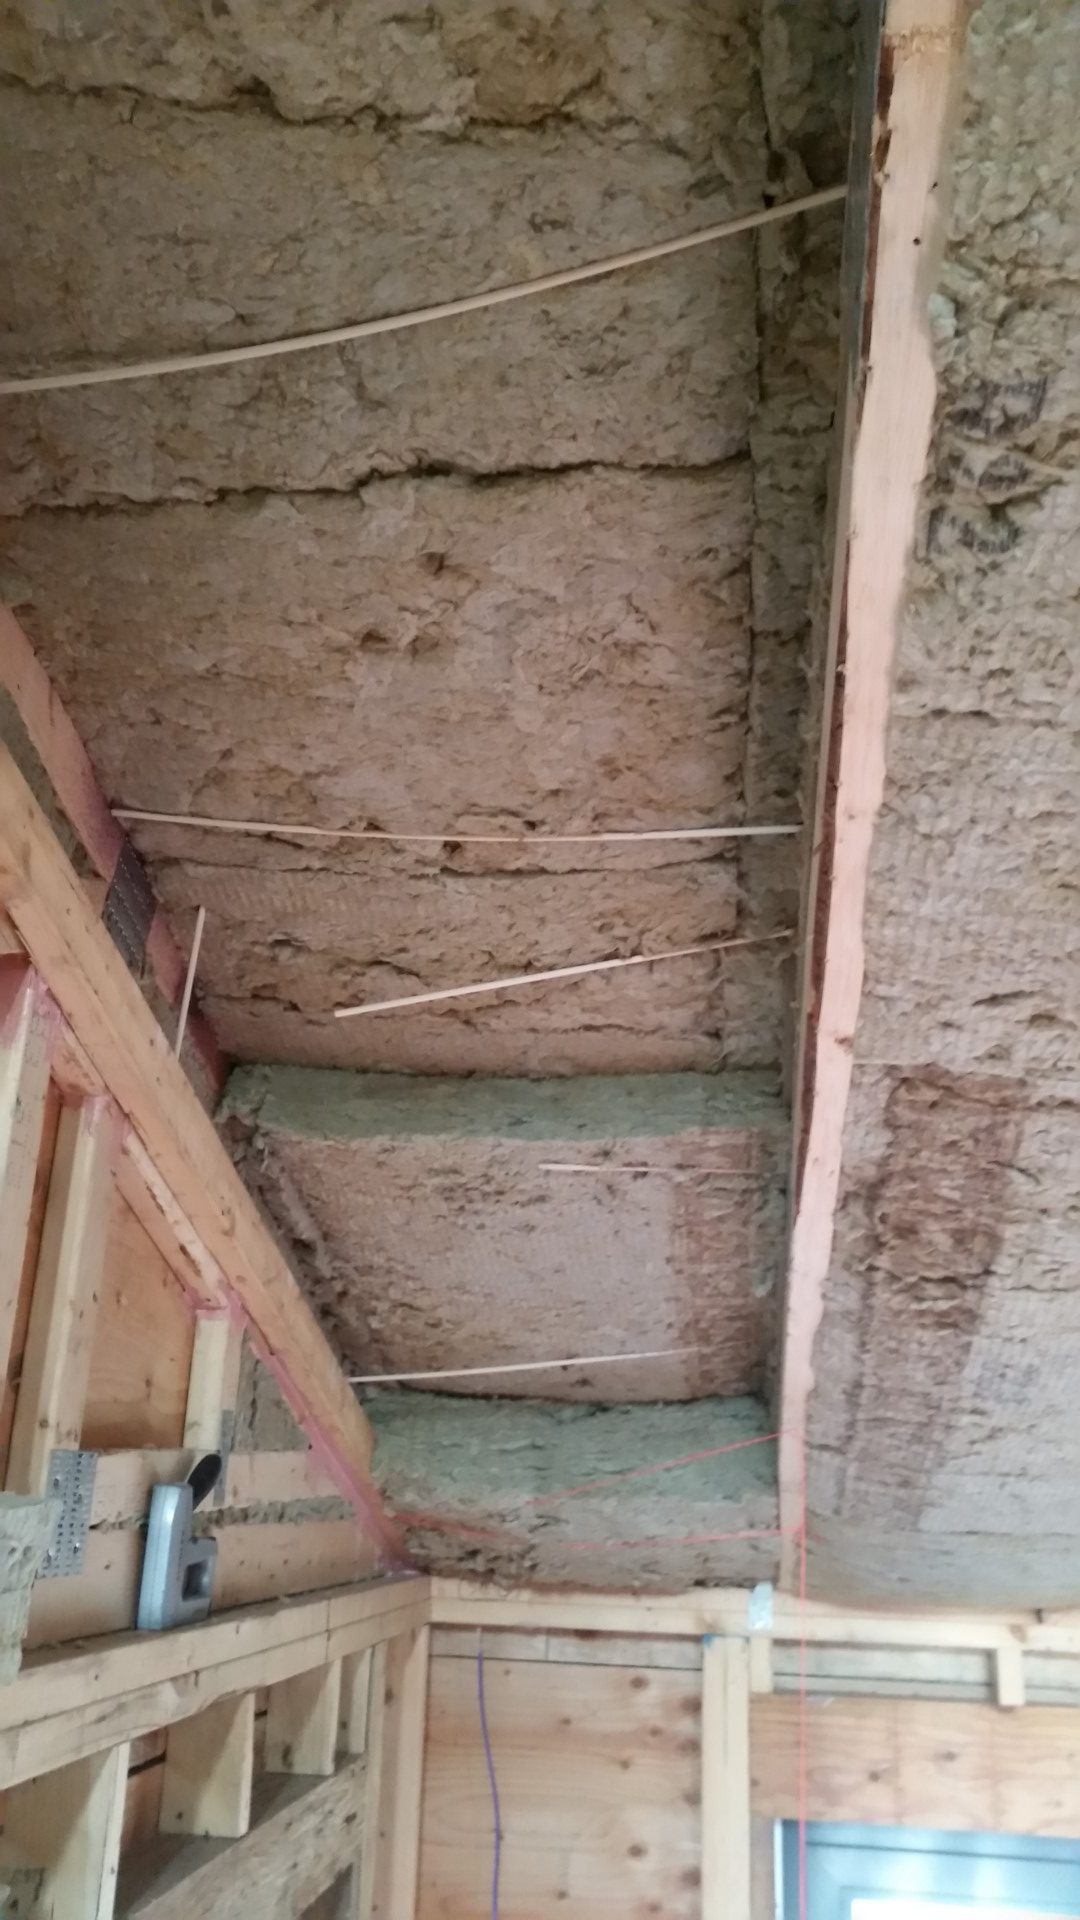
The assembly of insulation is made up of two layers of 5.5″ R22 and two layers of 3.4″ R14 (for a nominal R72 which results in an effective R63.4 when taking into account the framing losses). Like the exterior wall insulation, all linear seams are staggered. As promissed, I also filled in all the triangular holes of the truss with the 1.5″ ROCKWOOL COMFORTBOARD™ 80 material.
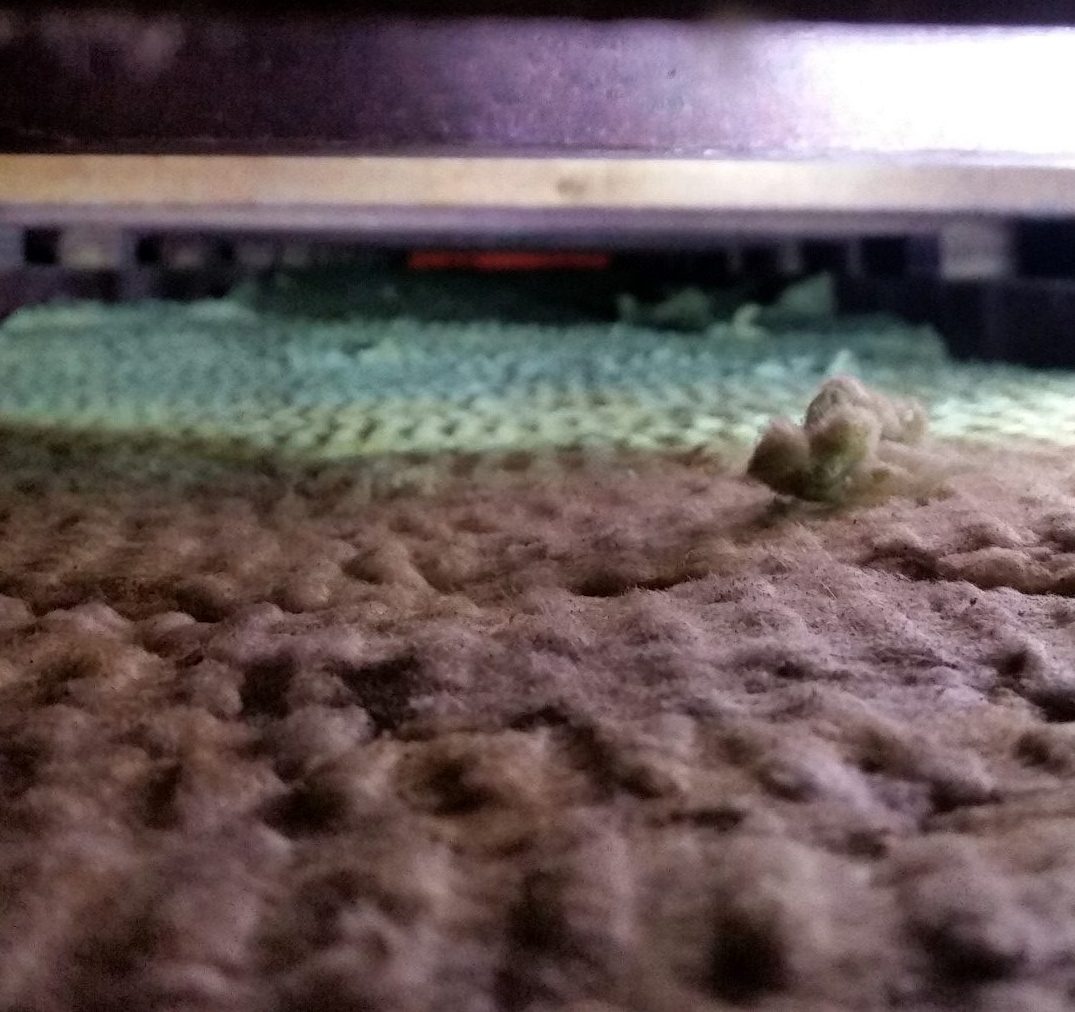
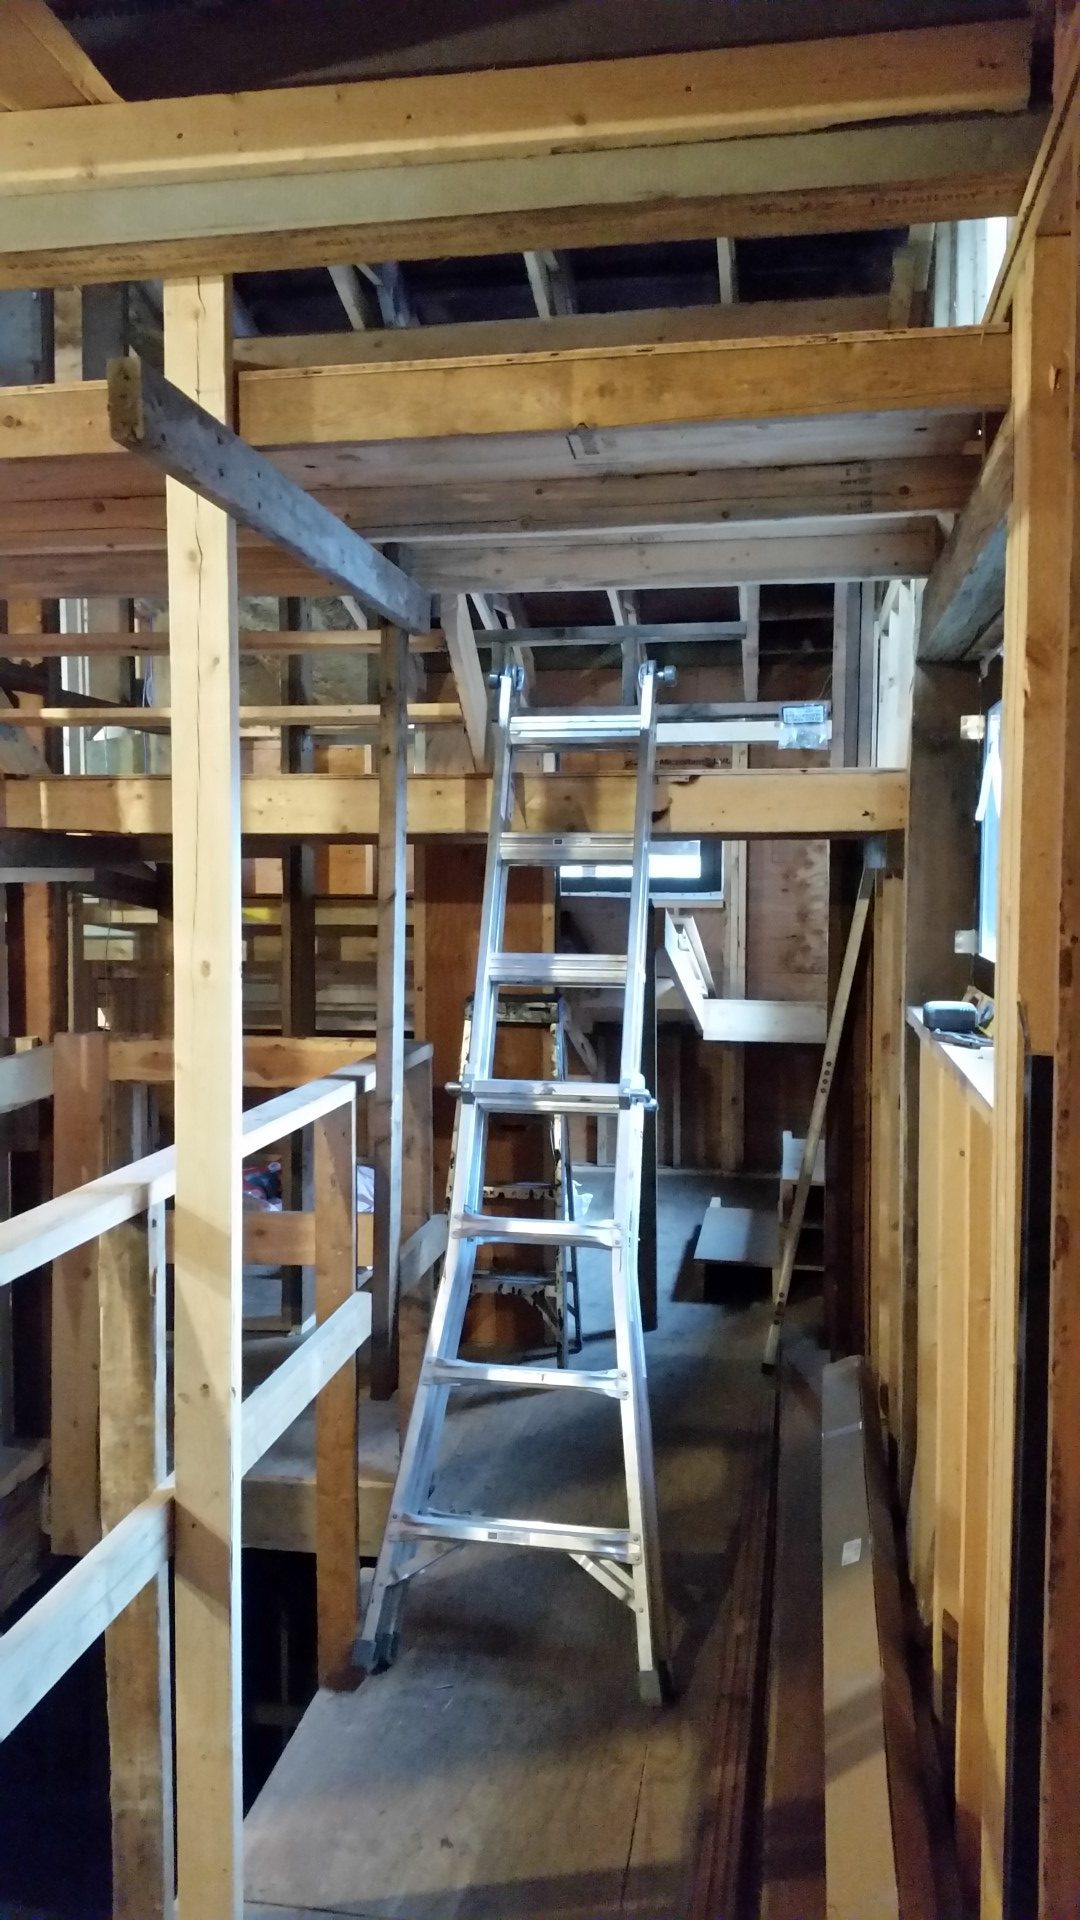
Square is used to find the apex of the triangle to allow measuring for a nice tight fit as each triangle was a slightly different size and angle 🙁I insulated every second bay before adding triangle infills. This allows me to ensure nice tight stacking of the 4 batt layers before hiding them behind the infill.Of course, one of the most important aspects of insulating a cathedral ceiling, is ensuring the required spacing between the top face of the insulation and underside of roof deck is still present when you are done to allow appropriate ventilation of the space. If you look closely, you can see the glow coming in from the soffit at the far end of this bay and that all of the insulation is below the top face of the trusses.Another critical procedure during this task is ensuring all penetrations through the air barrier are well sealed before access is lost after insulation is placed. I am using my favourite go-to, R-Gaurd liquid sealant (in this case Joint and Seam). Note that the sealant is placed between the wires as well as around them. There are two LAN cables (for rooftop WIFI hotspot and camera), and a cable going to the security system alarm. The moisture is hot water that helps the R-Guard to cure in colder weather.The last bay had just over a 24″ OC spacing (about 27.5″) making the installation of the layers a bit more challenging. I used a mixture of wooden dowels and string stapled to underside of trusses to hold in place until I am ready to install the plywood air barrier.To improve the efficiency of the install and, to the degree possible, make this process easier on the shoulder I broke a few years back and still need surgery on, a series of platforms were built. Ended up with a split level that would make a Hobbit proud! Each configuration would cover about a third of the roof width and usually took 2-4 hours to assemble.
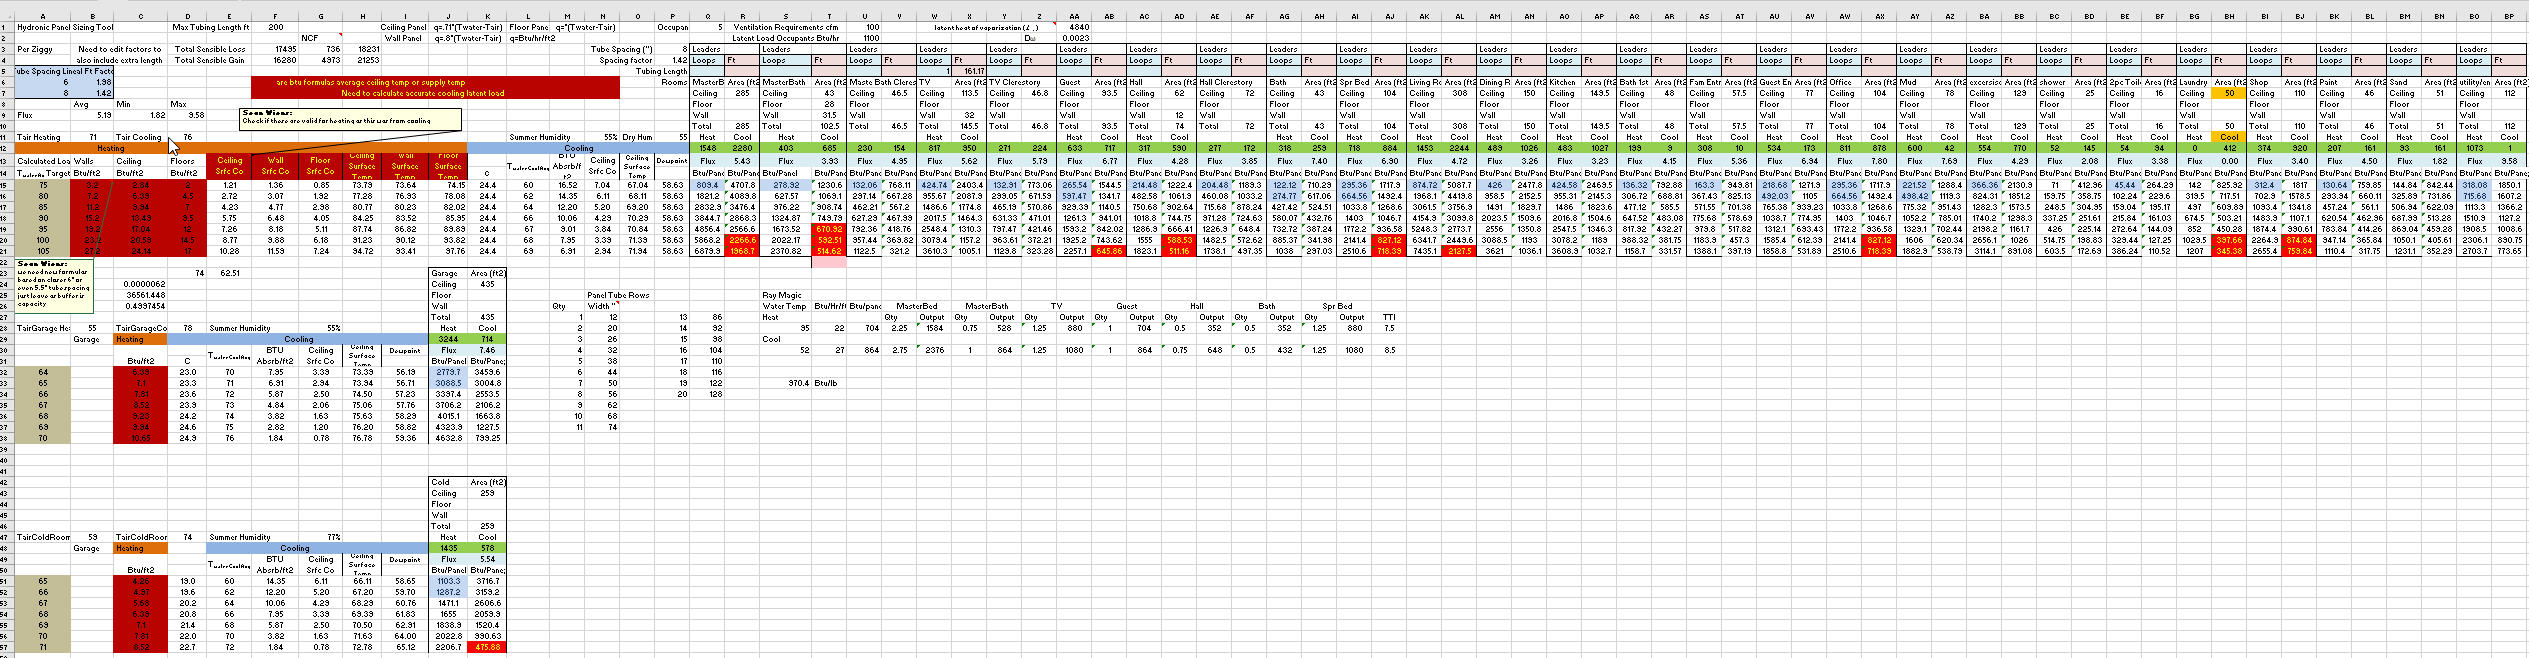
In addition to the roof insulation, I took a week off from the site during the coldest weather to work on the hydronic heating/cooling panel design. I found my plan to work on this in the evenings after getting back from site was never coming to fruition. So I was able to concentrate on this upcoming important task and made a lot of progress on the design spreadsheet.
The heating portion of the design was easy. The cooling requires a LOT more calculations due to the latent loads imparted by the humidity in the air.
Well – that is it for now. Thanks for visiting!
“Be brave. Take risks. Nothing can substitute experience.” —Paulo Coelho (born 1947) Poet, Writer
“The world needs dreamers and the world needs doers. But above all what the world needs most are dreamers that do.” —Sarah Ban Breathnach, Writer