Final Lap - We Hope!
Happy New Year
First, Happy New Year to all in Internet Land, hope everyone had a great Christmas.
Sorry Folks – I know it has again been a way too long since my last update! I’ve had a lot on my plate, and have been running on fumes lately, so the last thing I seem to be able to do is sit down at the computer at night to write an update. I resolve to do better for 2019!
There has been too much done since last update to provide detail reporting on it in one post. So I will provide a synopsis here and then provide separate updates as able, to cover tasks completed with detailed photos.
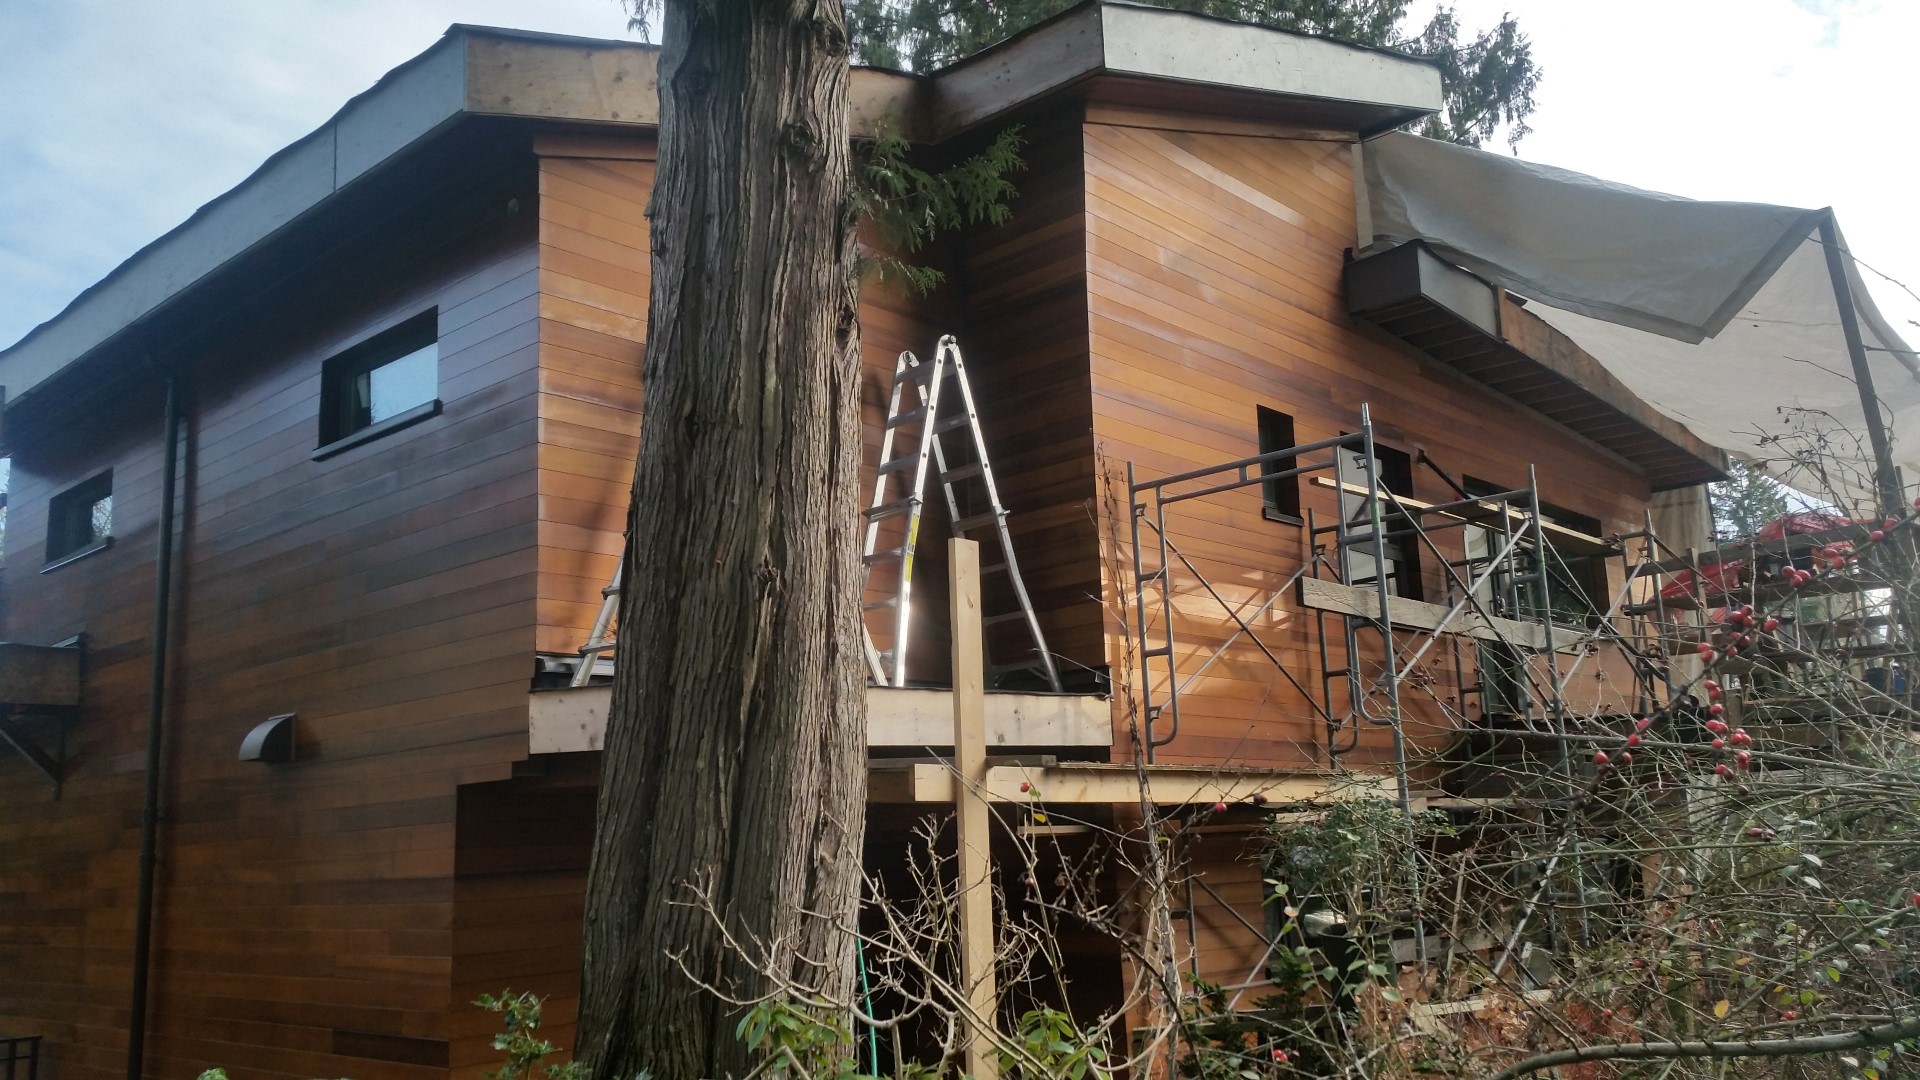
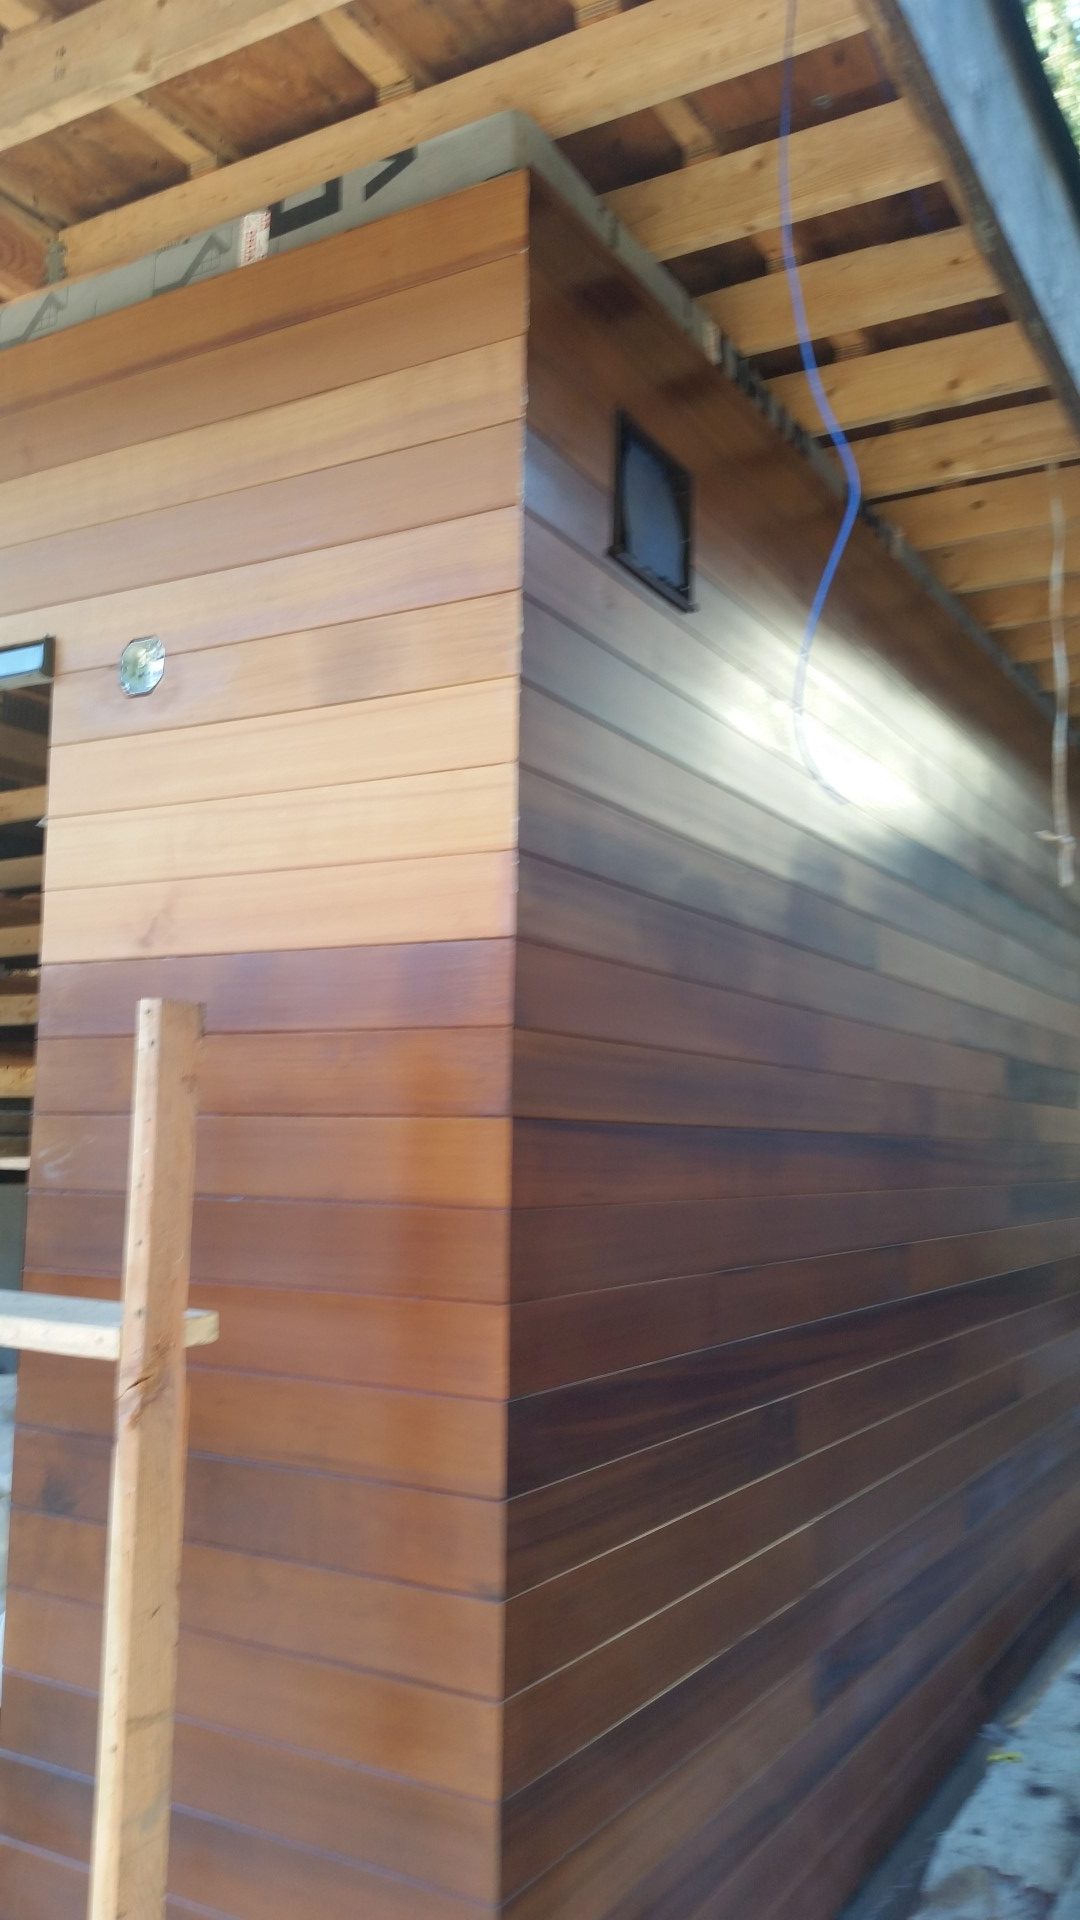
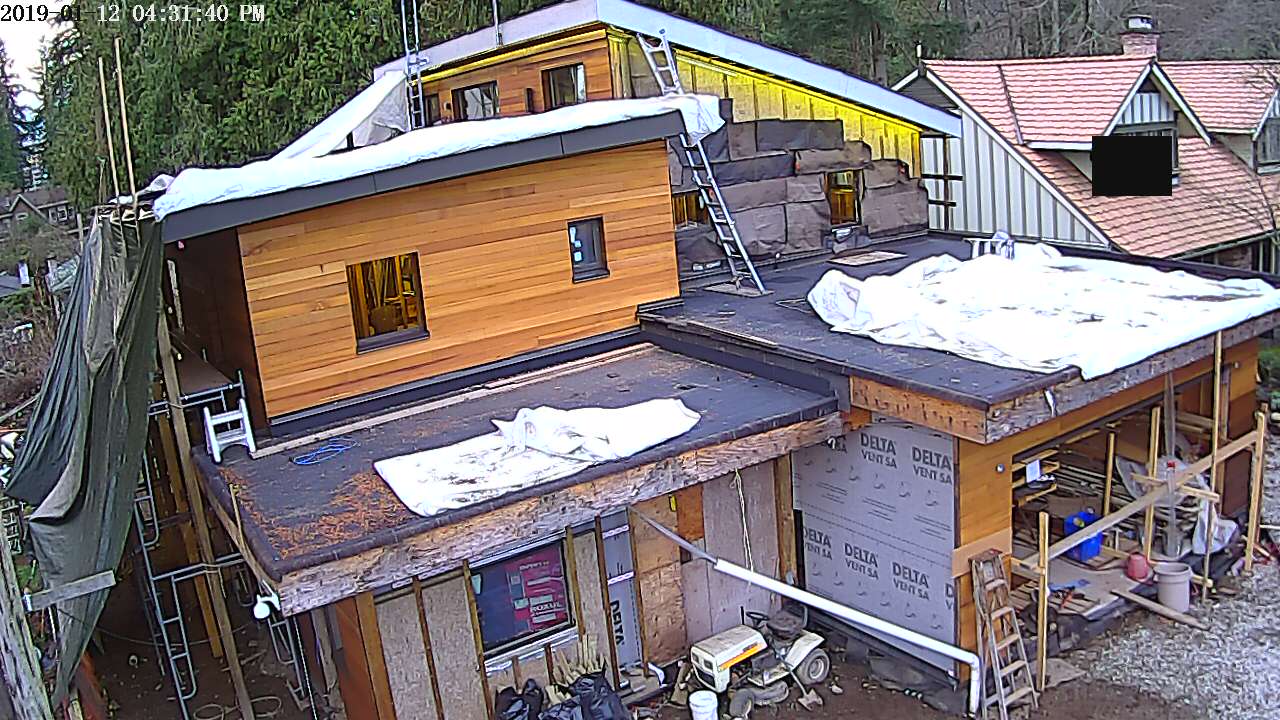
Cedar Cladding Complete
The first completed task I am thrilled to report, is that on Friday I installed the last piece of horizontal cedar siding on the house. This has been a task that I though would never be complete. I originally budgeted 3 months to install the Delta Vent – SA Water/Air barrier membrane, 6″ of exterior ROCKWOOL mineral wool insulation, and the Coulson engineered T&G cedar siding. This was HEAVILY optimistic and in reality this has taken just over 1300 hours to complete! I still have the window returns to complete on the first floor which should take 3-4 days to complete (they are some big windows).
On a side note, to date I have put in 8376 hours into this project (does not include some of the deconstruction time as before I kept a time sheet, also does not include any hired casual labour, blogging time, and most of my online research time)
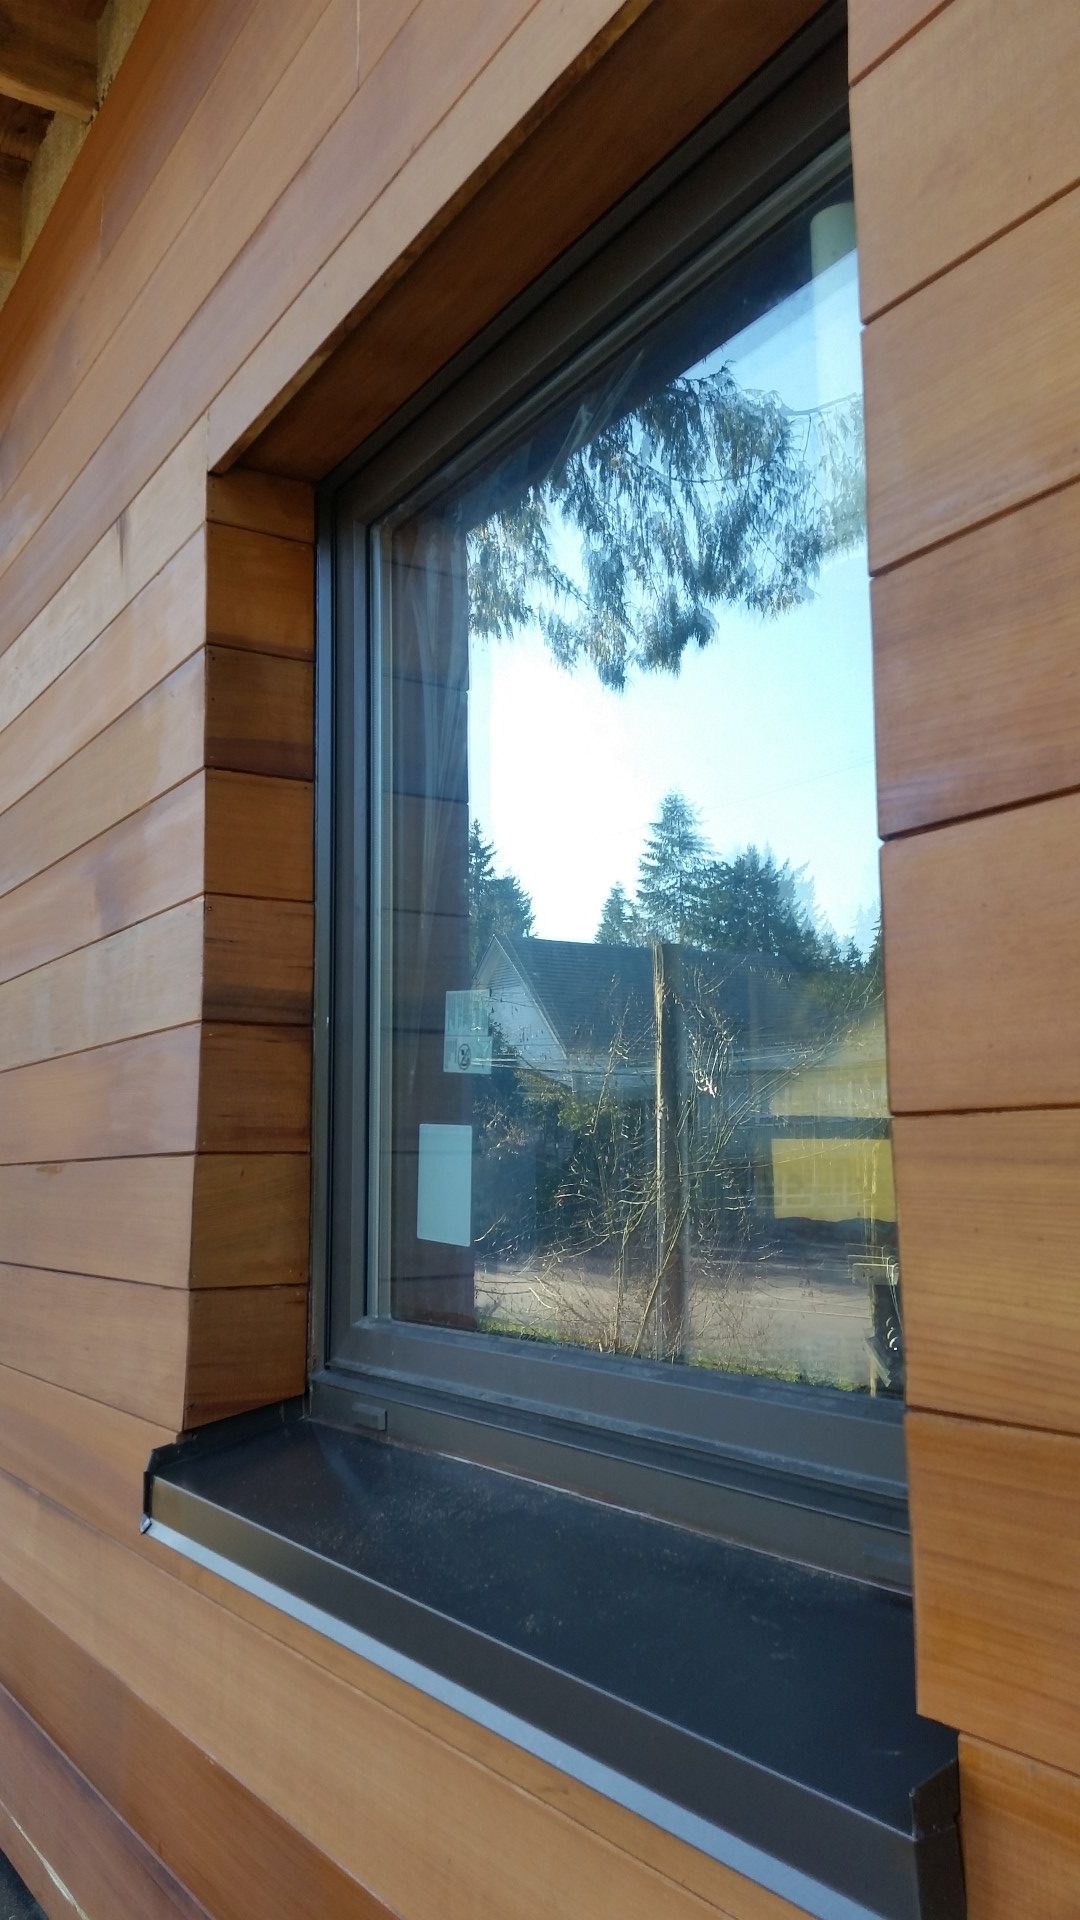
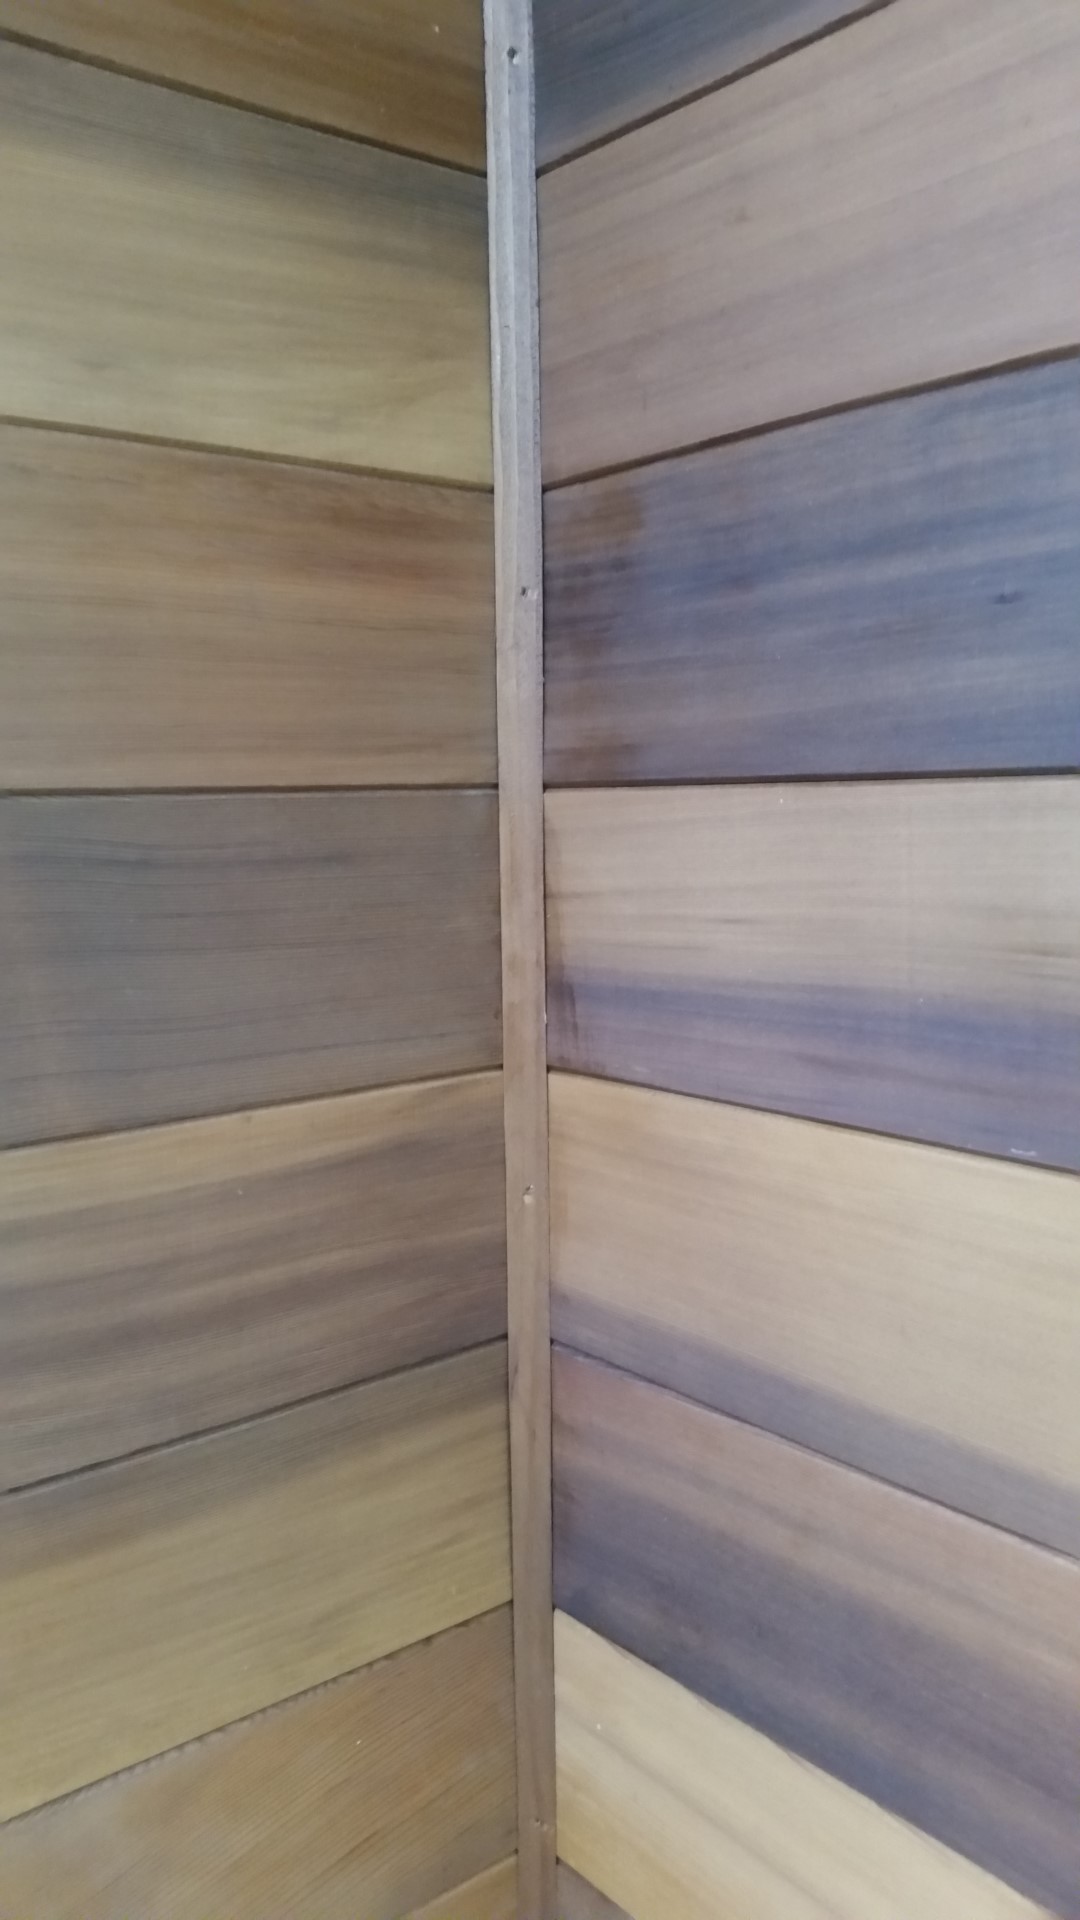
Installing exterior insulation significantly increases the detailing efforts around all penetrations. But the real time drain was my siding design itself. I was looking for a nice clean look with no trim work, so ALL edges and seams have been mitred. Every piece of wood has a mitre at both ends. The corners were cut at 48°. Over cutting the mitre ensures that if the corner is out of square at all, the outside tip of the mitre still meets tightly. All of the splices on the long runs were also cut at 15° to help prevent water entry at but joints and provide a better look. To ensure the outside wall and window return corners were plumb, this involved cutting the mitre on one end, temporarily placing the strip in place to accurately mark the other end, before taking back to mitre saw to cut last mitre. The tolerances needed for a tight attractive joint are far too tight to rely on a measured cut line. The cut ends are then re-stained before permanently blind stapling into place. This monotonous repetition went on day after day, but the end result was worth it (I think!).
Soffits
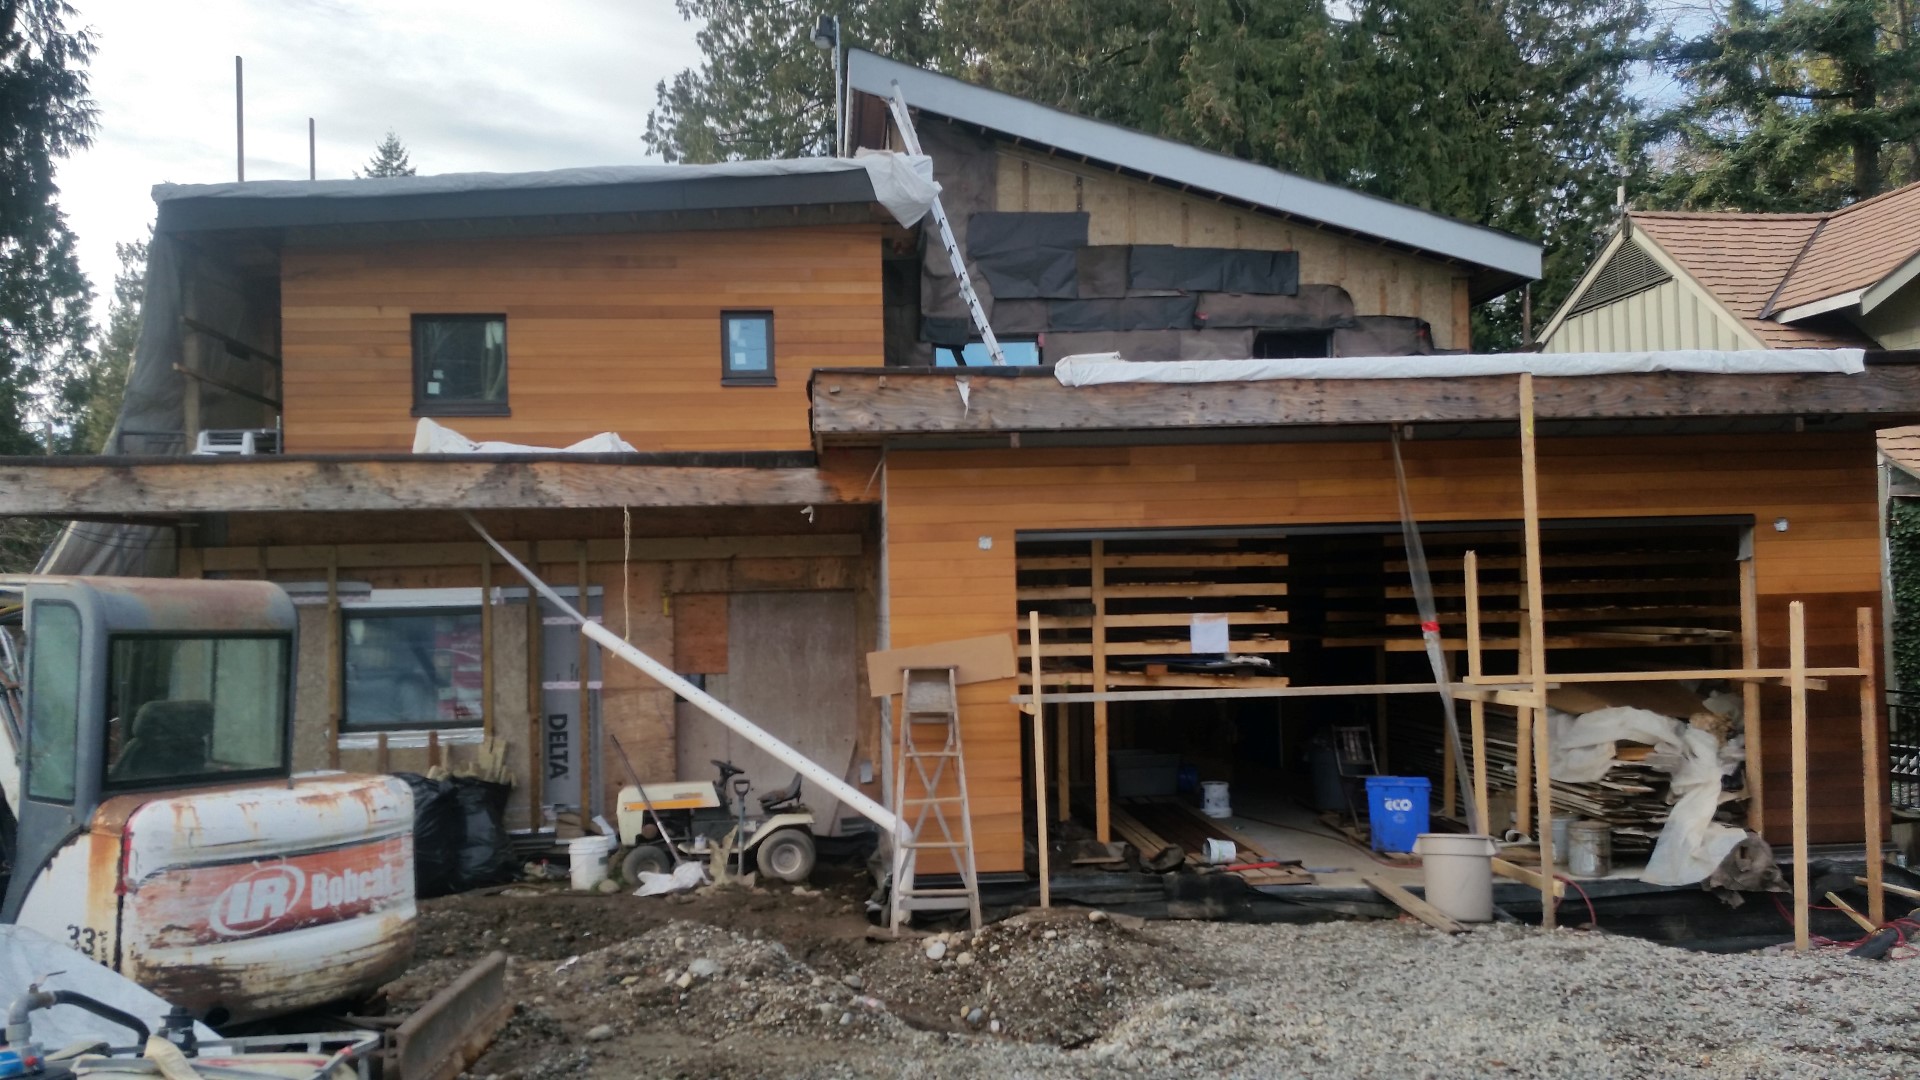
The soffit design was determined and has been completed on the north exposure, clerestory, and most of the west exposure. I chose the use Coulson Cedar again as the quality is excellent and it is well below the cost of the locally available solid cedar (and looks better as well).
The design incorporates full length venting. We also had to ensure that the top of wall rain-screen venting air, in case it had a high moisture load, would mix well with outdoor air before being drawn into the roof venting system. This was done by blocking the rain-screen cavities and forcing the air to exit about 6″ below the surface of the soffit and installing the roof venting strips on the outboard side of the soffit.
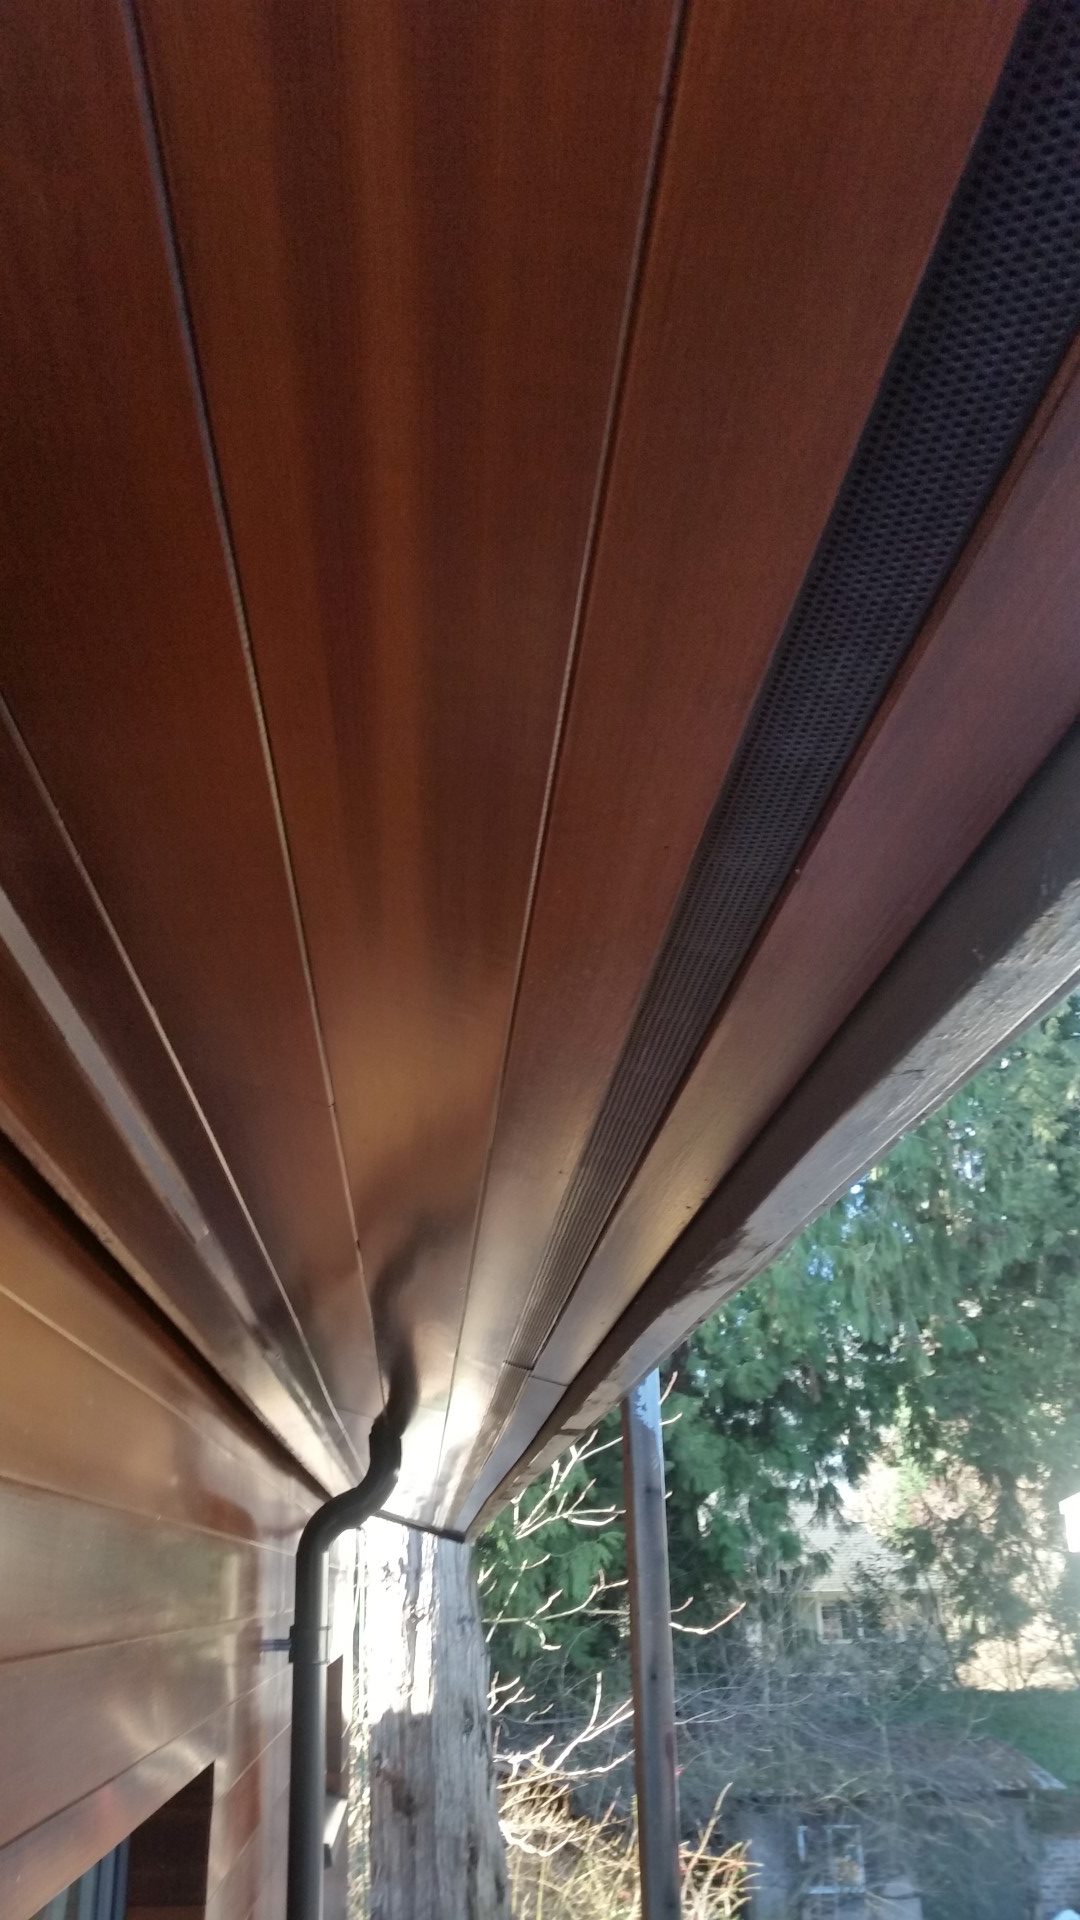
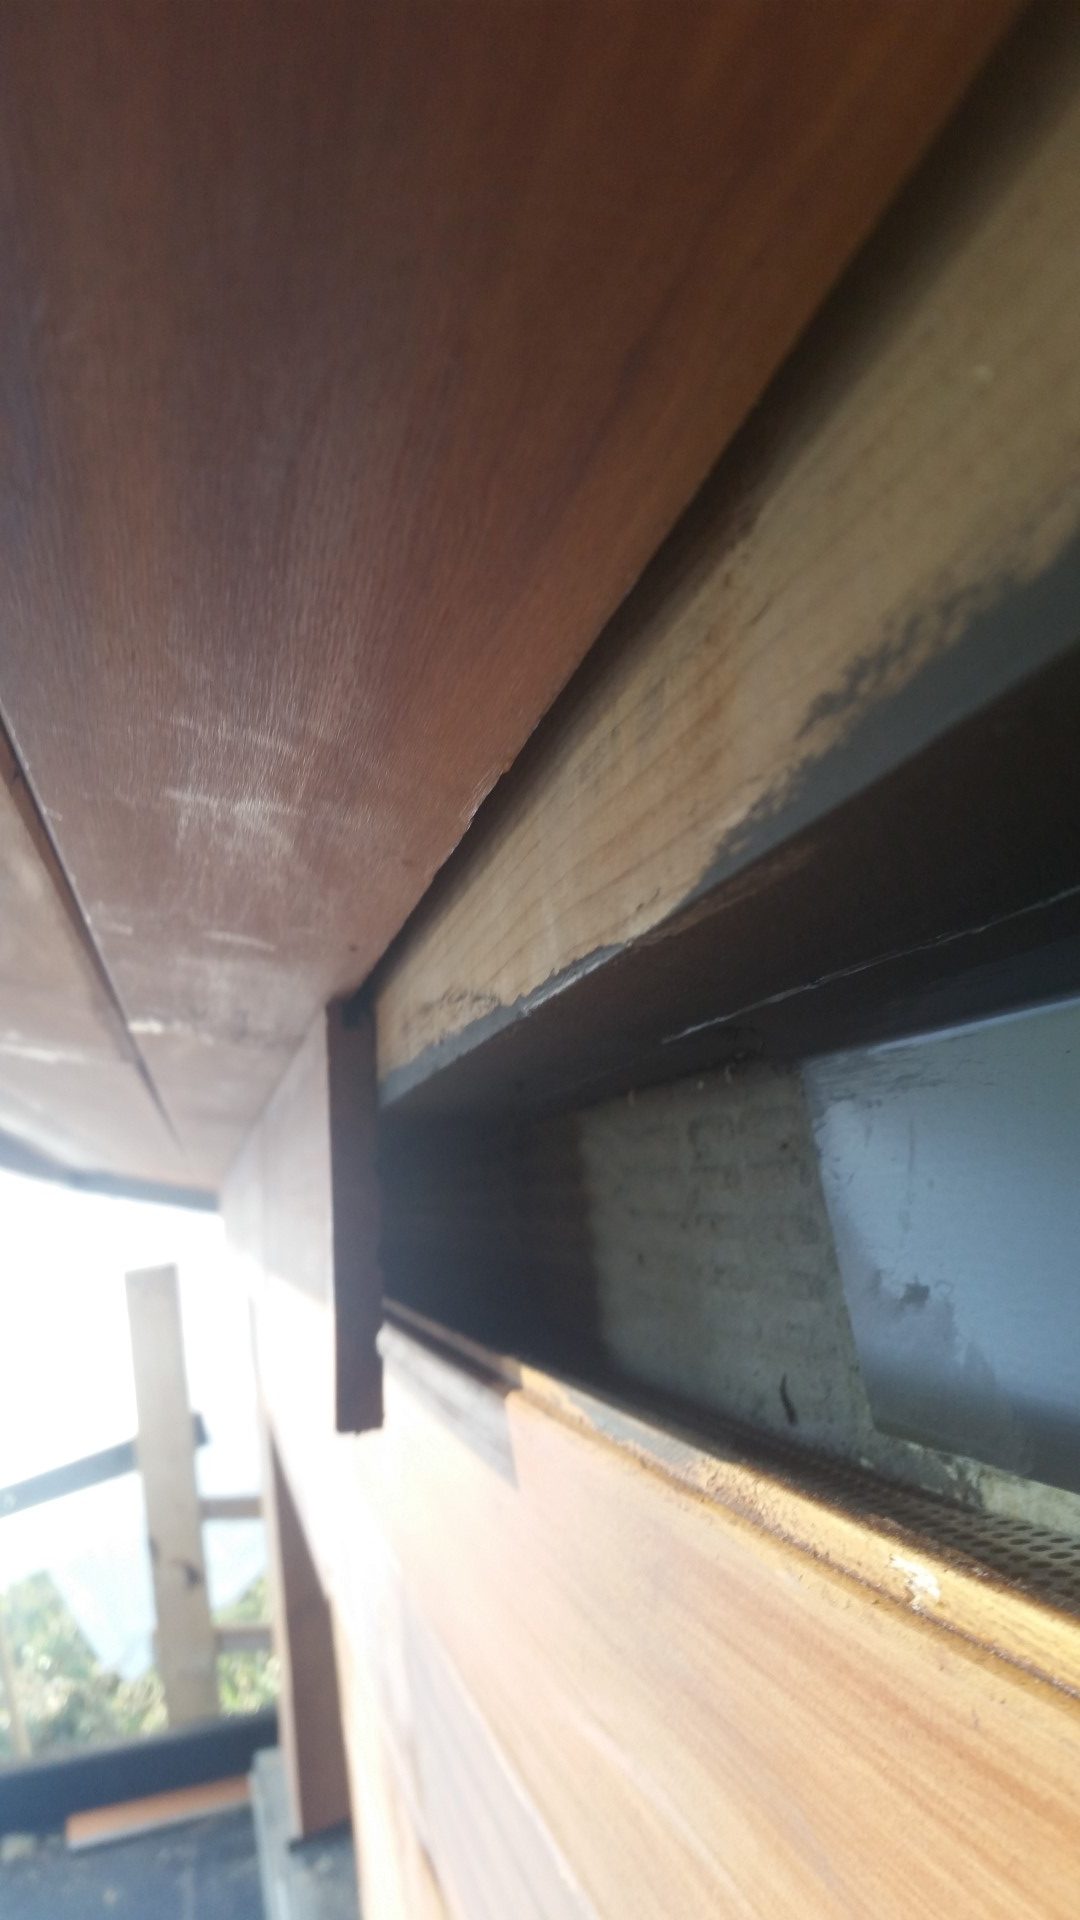
Above photo shows the top of wall rain-screen venting termination. In foreground the perforated SS bug screen is visible. Blocking terminating the rain screen cavity is attached to underside of roof trusses up tight again insulation (metal flashing is installed to close off the rain-screen cavity in areas where the blocking was not tight to insulation due to construction variances). Finally the cedar siding skirt is attached to the blocking to force the escaping humid air down and around before exiting cavity. Underside of blocking and the insulation face are painted a dark brown to provide good site lines when visible from below.
Misc Tasks
While the wall envelope including membrane, insulation, and cladding occupied the vast majority of my time over the last three months, I also snuck in and completed a few other tasks.
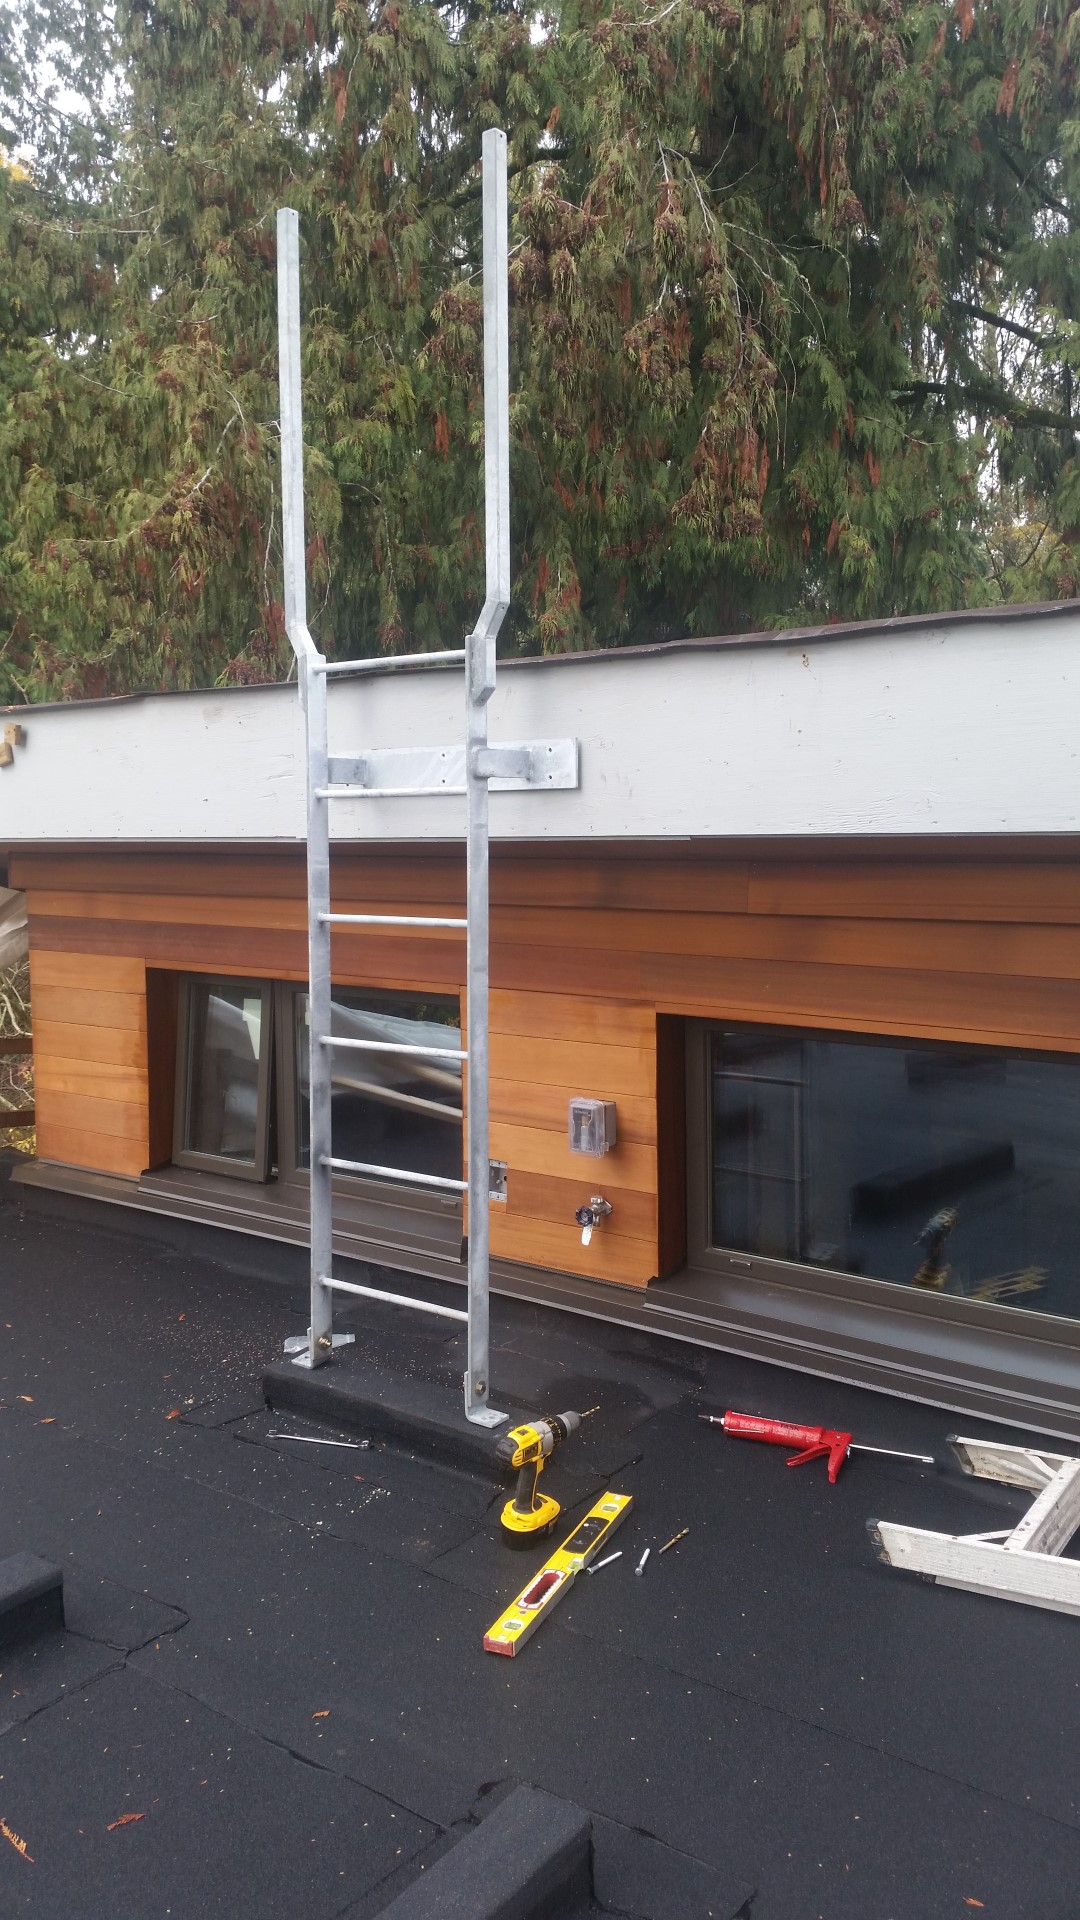
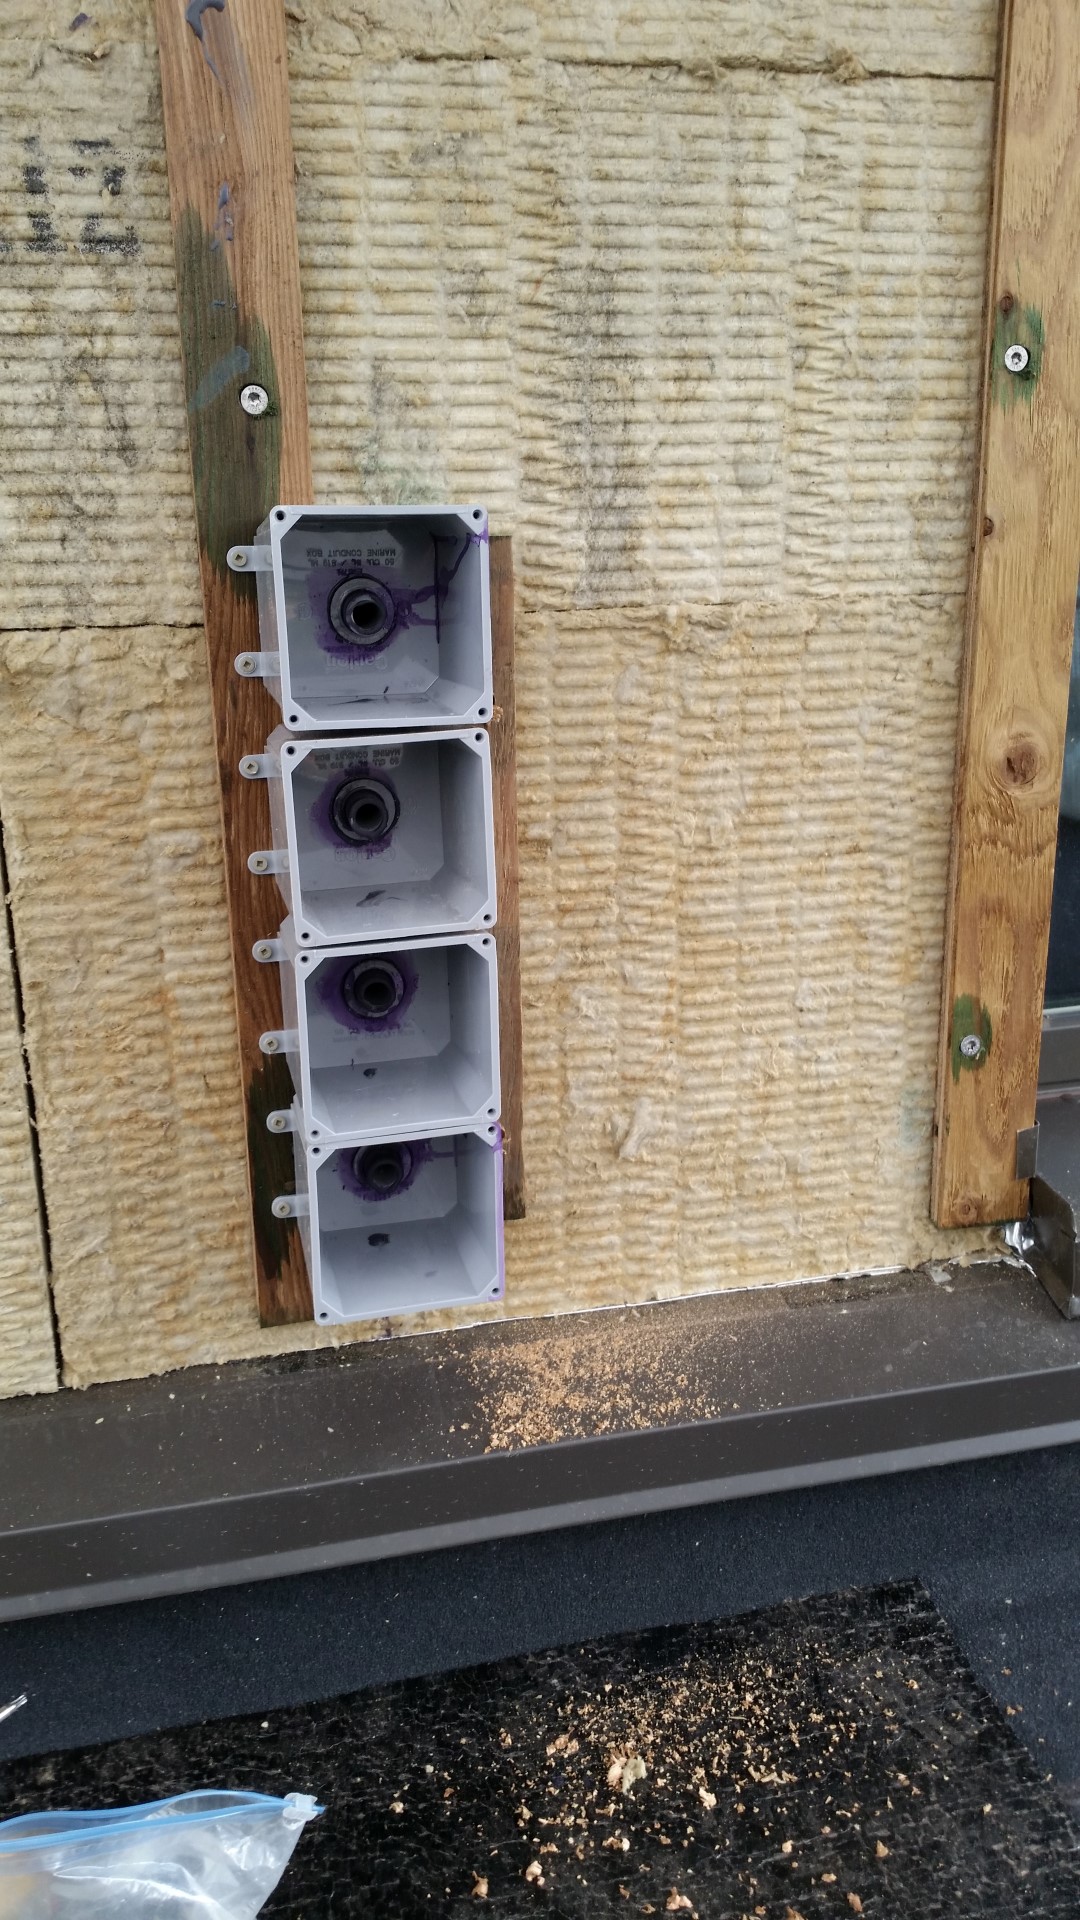
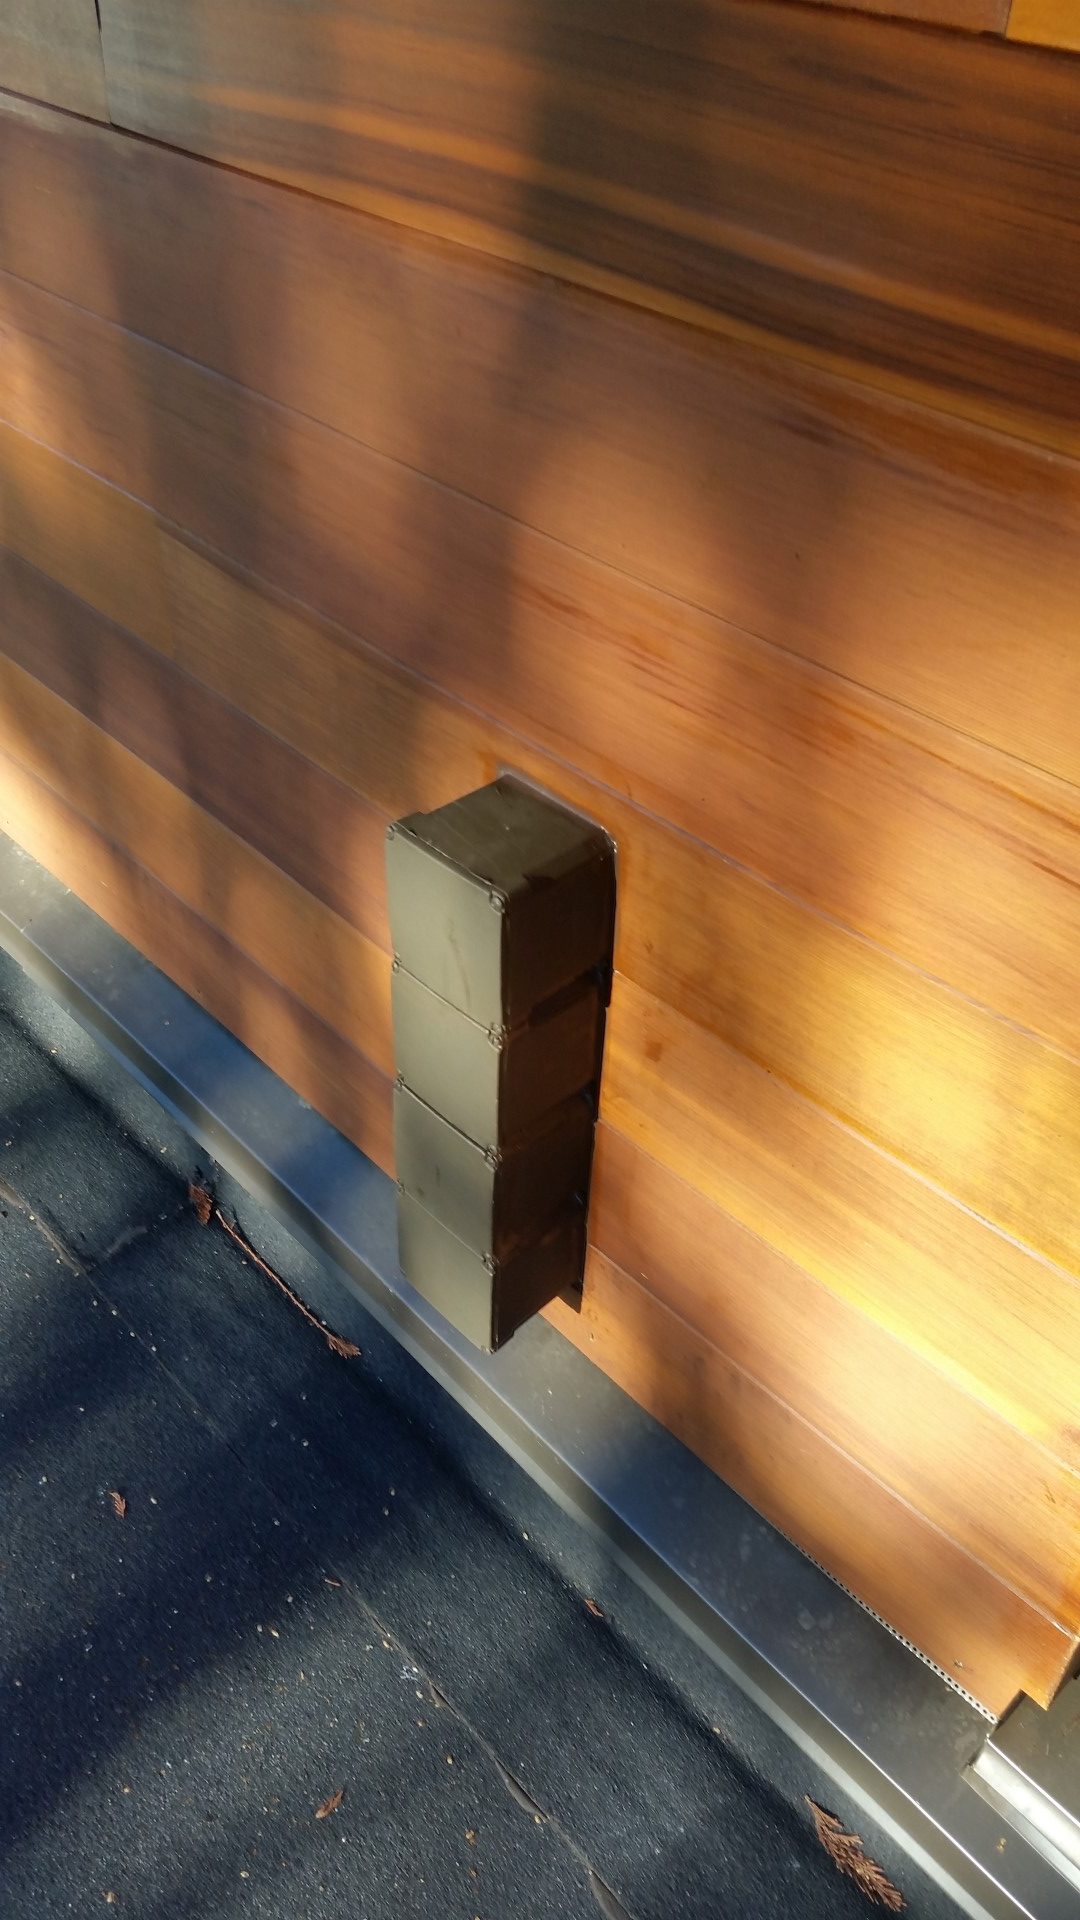
I have allowed for three PV panel circuits which will allow maximum flexibility to upgrade the PV array capacity by future home owners. The forth junction box could accept a wind generator circuit. Boxes are well proud of siding to allow PV circuit water-tight connections to side of boxes.
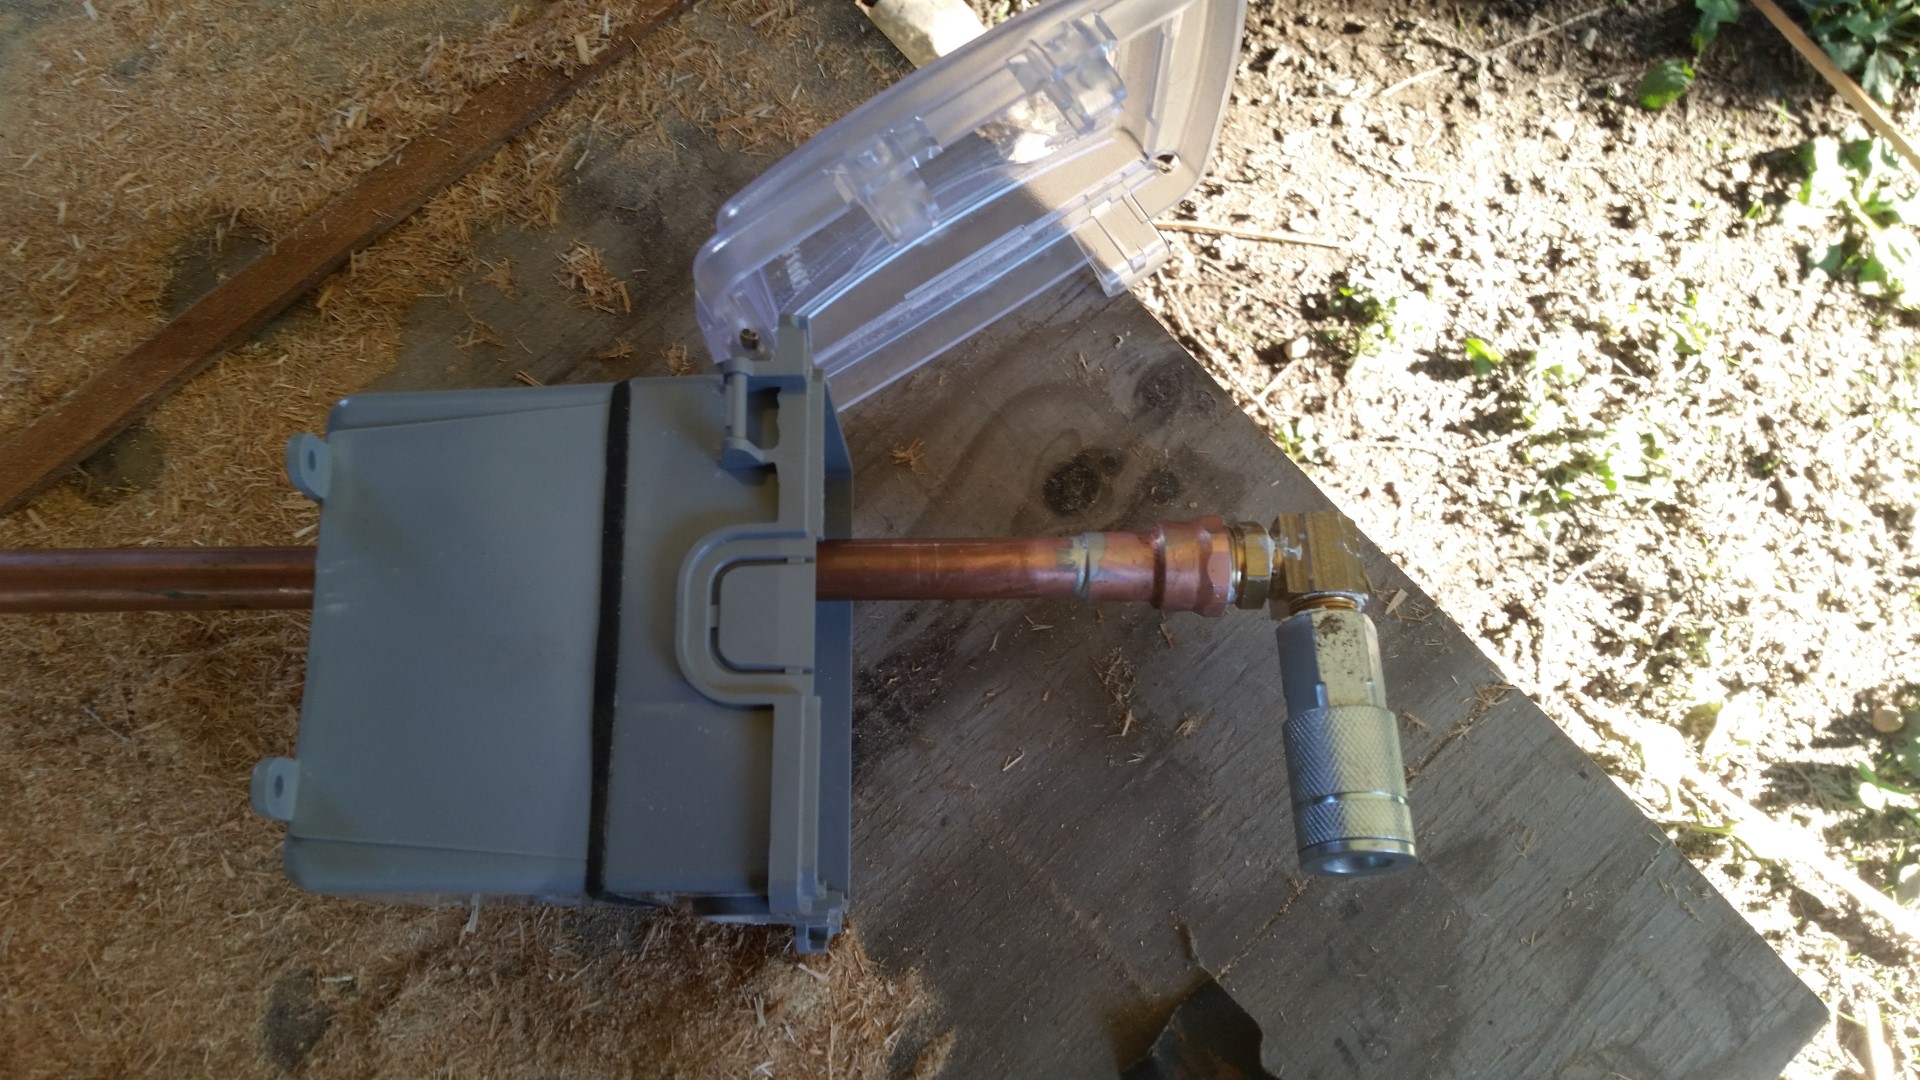
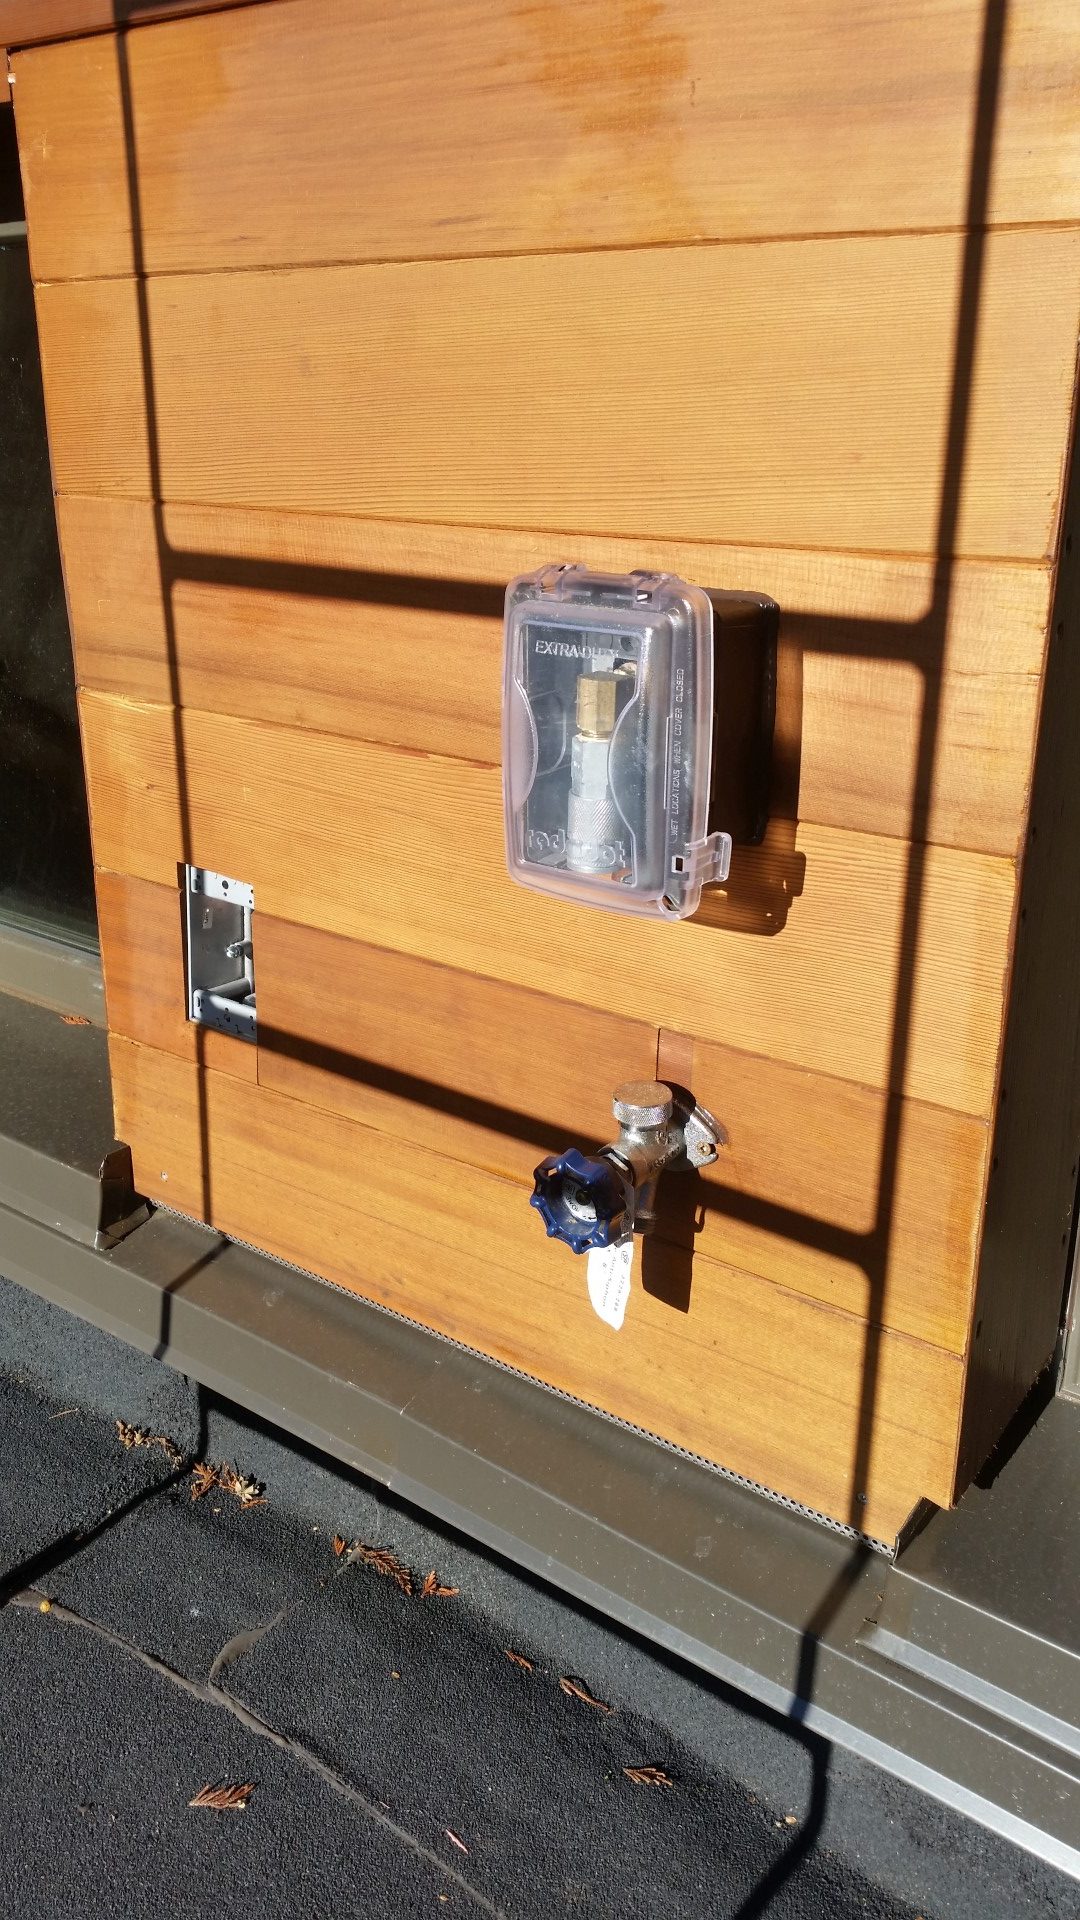
I have also allowed for electrical power, water hose, and compressed air supply to both the upper and lower roof levels. This will assist on maintenance of the roof surfaces in the future. The air works well to blow off the cedar needles without removing the granules from the torch-on roofing. The difficulty with these penetrations is that they need to be installed before the exterior insulation and siding so that they can be air and water sealed at the WRB membrane level.

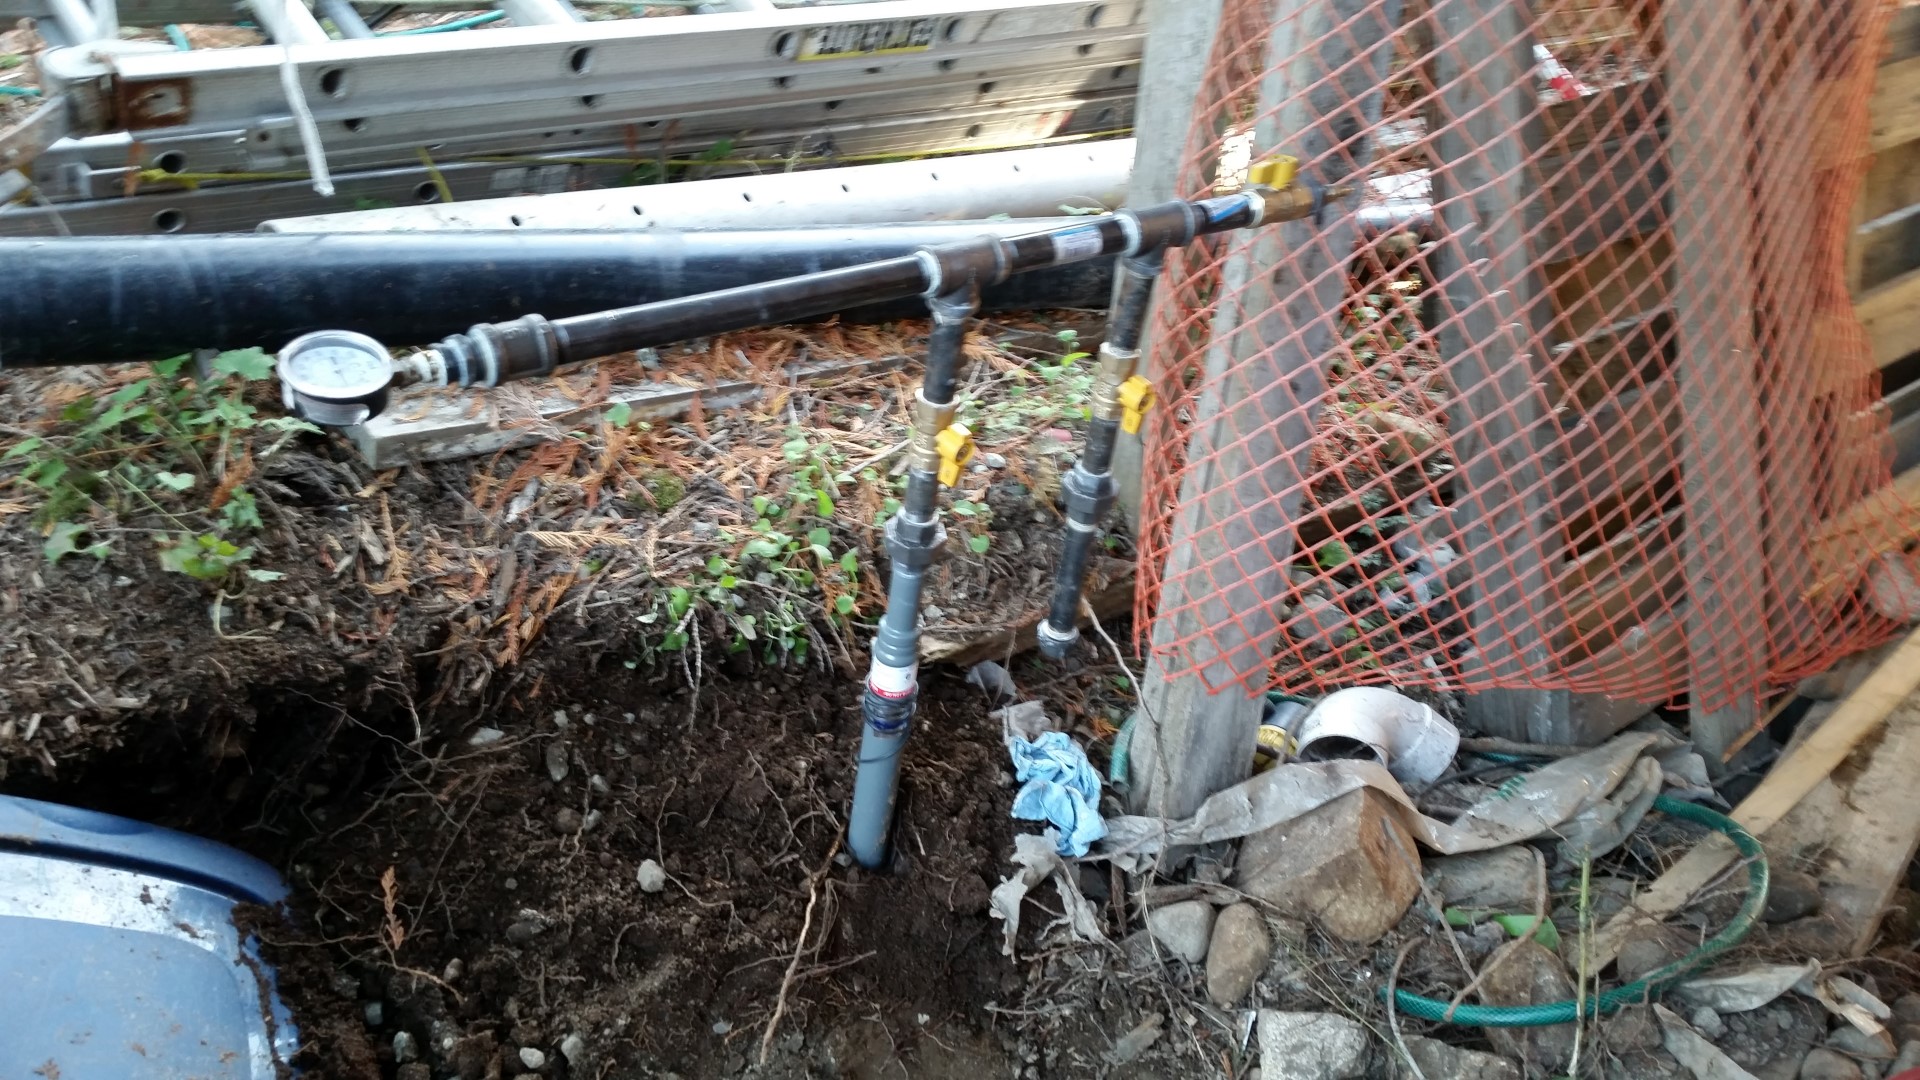
Originally I was going to install a diesel back-up generator (with remote thoughts of converting to burn used veg oil, like my truck, at some future point), but with a full tank providing less than two days of coverage, I instead decided to install a natural gas generator. The yearly connection fees to the utility are well under $200, so well worth convenience. And a NG unit is cheaper, will burn much cleaner than Diesel, and will be quieter. To offset the noise in close proximity of the neighbour, they will be provided an outdoor plug to utilize in power outages that will keep their heating system and some lights running.
I also prototyped and then installed permanent soffit light for the upper north roof (other roofs to follow as time permits). We elected to install continuous LED light strips to provide an even glow that is dimmable. Neither my wife or I are a fan of pot lights in this application.
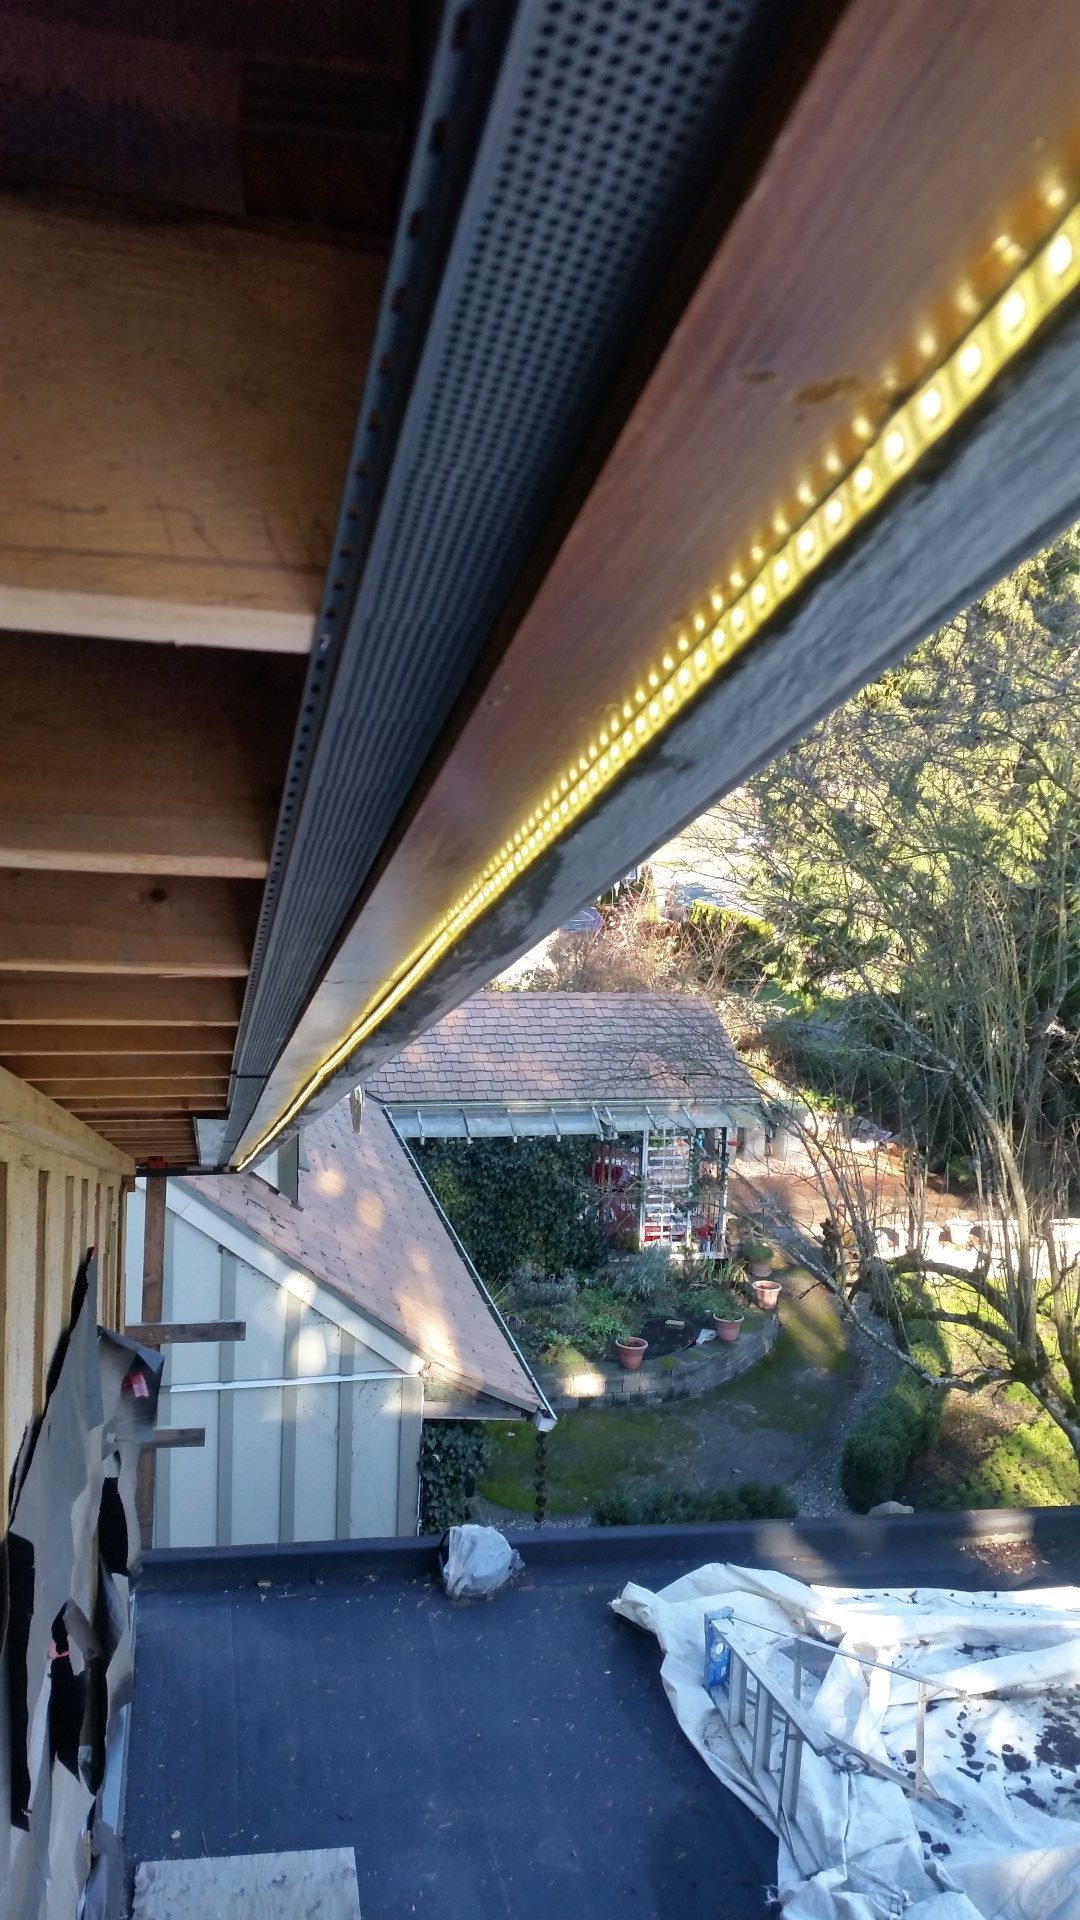
The LED light strips were applied to the wooden framing with a bead of silicone to provide a lasting connection. The included self adhesive strip pulls away from even pained framing in a day or two. The strip was also fasted every few feet with a screwed-in clip.
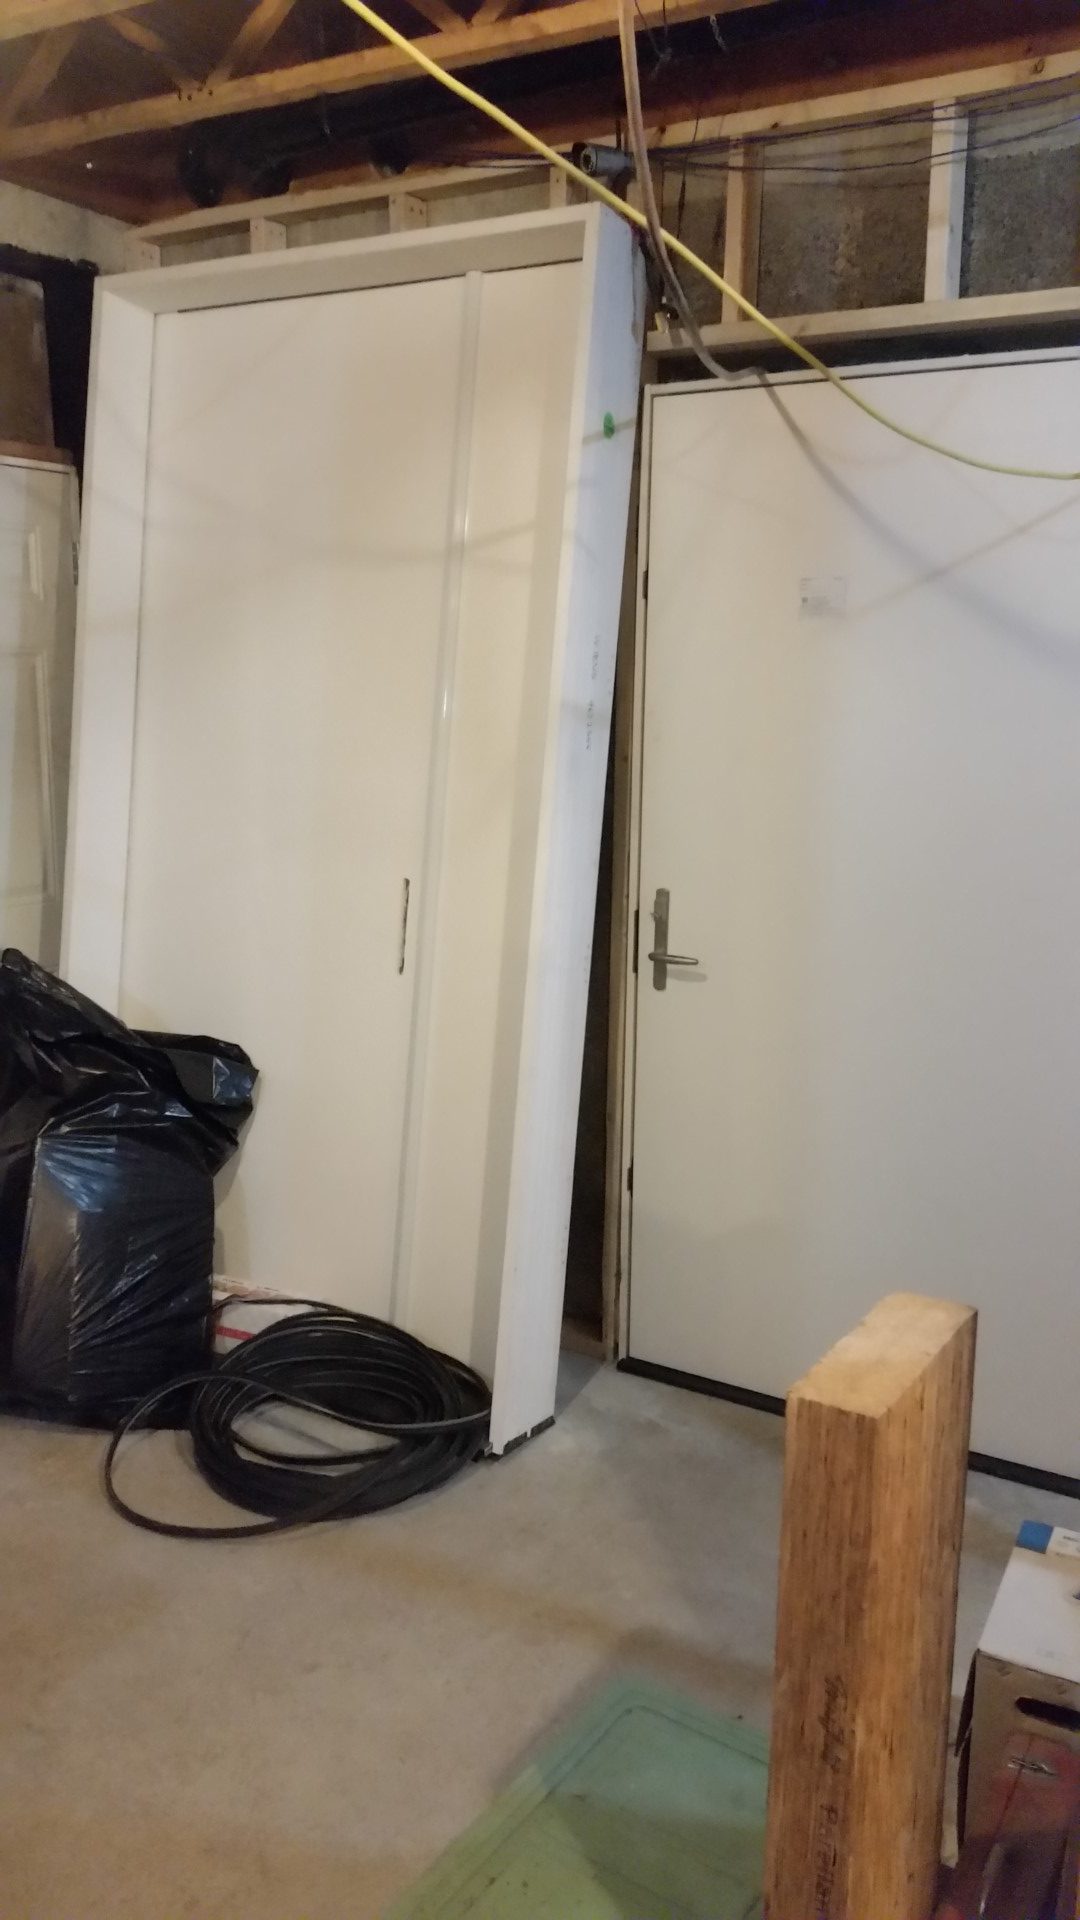
Finally, I also installed the air tight door that will separate the main portion of the basement from the cold room/metal work shop below the garage. In the photo below, you can also see the 5ft x 8ft door that will be installed at the basement exit to side yard walk-up stairs. This will allow large projects from the wood shop to exit the house easily and also allow the installation of large water storage tanks for the Hydronic heating/cooling system.
With the majority of the exterior building envelope behind me, I will now turn to the interior of the dwelling. The first task will be to insulate the roof assembly and install the sealed plywood air barrier on the underside of the roof trusses. The ROCKWOOL insulation package will be arriving this coming week (Thank-you to ROCKWOOL for their continued support of this build).
This will then allow me to finally introduce some heat into the building (temp electric heaters). On that thought, I am also thrilled to advise I have entered into an agreement with Daniel Schlicher of DS Design Consultants (on advise from John Siegenthaler) to assist me in designing the hydronic heating and cooling system for this dwelling. I am using LoopCAD (thank you to Brad McCrea of Avenir Software for providing this at a heavy discount) to model the dwelling, determine accurate heat losses per room, and design the room by room hydronic heating panels that will be installed generally in the ceilings. Daniel will then design the piping and control system for the heating/cooling plant using an Air to Water Exterior Heat Pump. It is a huge relief to have the personnel for this component design nailed down!
PS: Preliminary calculations show the total heating load for over 4500 sq ft will be less than 20K Btu. That is less than a fifth of a standard requirements for a code built house of this size.
With the vast majority of the structure, envelope, and exterior complete, I am hoping I am on the final lap of this journey. I do not anticipate any of the outstanding utility rough-ins to provide significant roadblocks or extended labour requirements. So occupation of the dwelling is still hoped to be accomplished by late summer or early fall of this year. Lets hope anyway!
As always, thanks for visiting and send me your comments. I would love to hear from you!