Let There Be Light!
Hey folks,
Yes another late update, but this time it was not my fault :-).
In an attempt to improve my update efficiency, I decided to buy a new action camera so I was not wasting so much time dealing with video issues. Well, did not work out that way. I recorded about 70 minutes of video for two updates and then when I got back to the office, I discovered that the video sounded like I was singing with the Chipmunks. There is something wrong with the codec of the camera. After lots of fussing with the video files, I figured out that if I uploaded them to YouTube and downloaded them again, they were ‘fixed’ and I could bring them into my editing software. Hence this posting going out 10 days after I shot the video.
Now lets get into the nitty gritty.
As I mentioned, it took a long time to be comfortable with the lighting design and specifically the amount of lumens per square foot needed for different areas of the home. Many of the websites have old obsolete data dealing with incandescent lighting.
I did hours of research, identifying a rough guide on converting incandescent bulb wattage to lumens, and then trying to come up with a guide of what was needed per room type. Some sites had guides showing the total lumens needed for a room, but these did not state the room size (these sites were typically dealing with incandescent and would have something like a single 100 watt bulb for a ‘small’ bedroom).
Some of the sites I found more useful are:
https://www.maximlighting.com/how-much-light
https://www.alconlighting.com/blog/residential-led-lighting/how-do-i-determine-how-many-led-lumens-i-need-for-a-space/
https://learn.eartheasy.com/guides/led-light-bulbs-comparison-charts/ &
https://en.lumenco.ca/recessed-lighting-calculator/
In the end I came up with the following table to determine the general lumens needed per square foot of room:
| Room | Foot Candles Needed |
| Living Room | 10-20 |
| Kitchen General | 30-40 |
| Kitchen Stove | 70-80 |
| Kitchen Sink | 70-80 |
| Dining Room | 30-40 |
| Bed Room | 10-30 |
| Hall Way | 5-10 |
| Bathroom | 70-80 |
| Home Office | 60-80 |
| Workspace/Garage | 80-100 |
| Reading | 40 |
And then used this table to determine what additional lumens were needed for specific tasks:
| task requirement – min lumins | |
| reading | 100 |
| closet | 381 |
| dressing | 1680 |
| dining | 315 |
| kitchen task | 360 |
| range | 450 |
| sink | 450 |
| toilet | 45 |
| vanity | 1680 |
| outdoor entrance | 996 |
| path | 297 |
| flower beds | 972 |
| stairs, halls | 1200 |
And then finally checked this against a conversion I did from incandescent recommendations to foot candles then to lumens:
| kitchen | 5k-10k |
| bathroom | 4k-8k |
| bedroom | 2k-4k |
| living room | 3k |
| dining room | 5k |
| office | 3k-6k |
And after all of this research, I mocked up a small room (our mud room), with the amount of lumens calculated above to see if we were happy – And We Were! (See Finally for more info on this mock-up). With the design behind me, I ordered all of the LED fixtures from Green Canada LED who have EXCELLENT pricing and great service. The quality of the fixtures has been great without a single problem to date. As mentioned in my video, the only problem will be getting some of the drivers down the hole, but hopefully the inspector and I can come up with a solution.
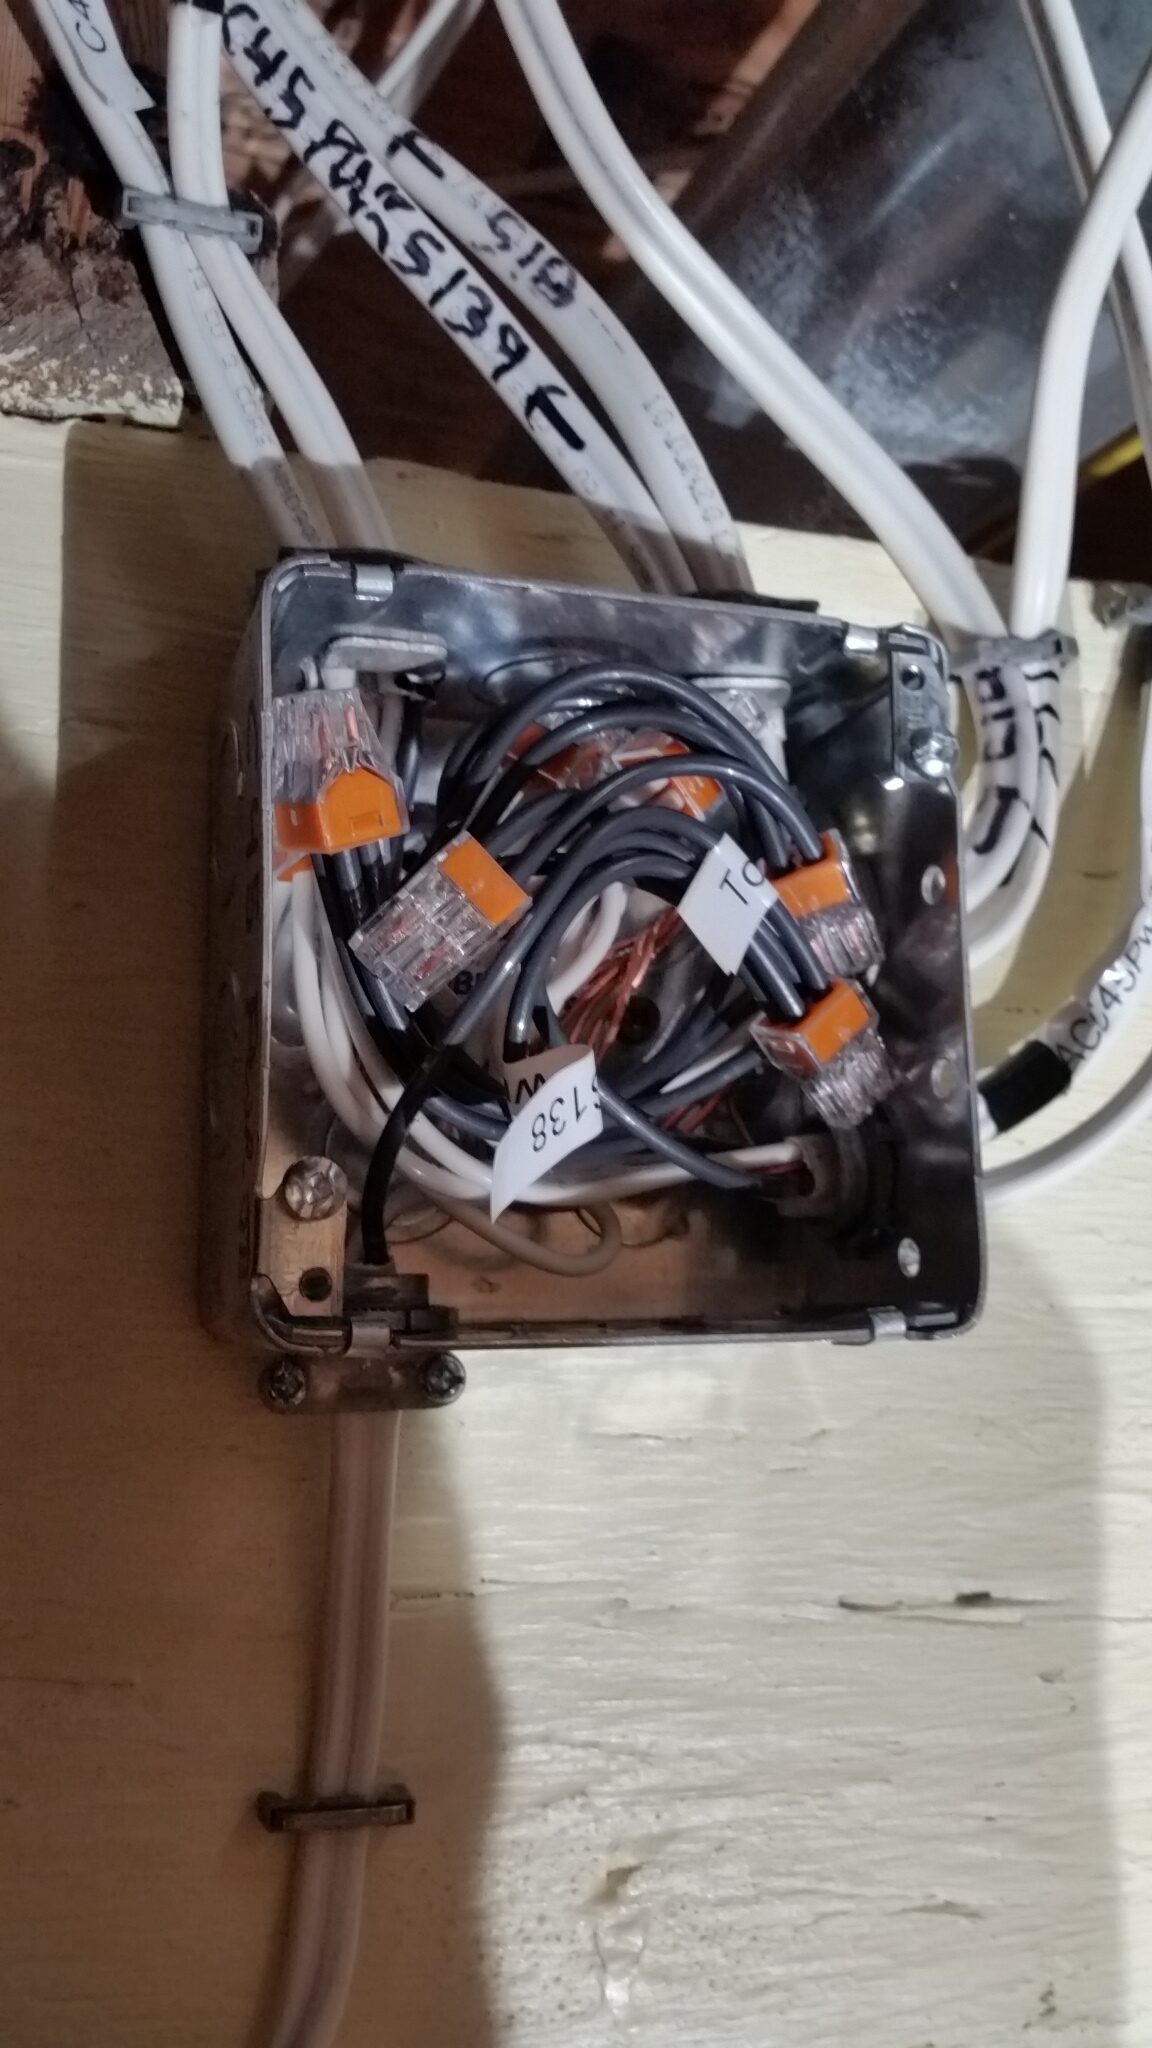
The electrical is progressing well- as of today I finished the general rough-in for all of the AC circuits on all three floors. This includes dressing out the boxes for all receptacles and light switches (terminating all the wires so the only thing left to do is pull out a bare bond, white neutral, and black hot (power) to connect the receptacle after the drywall is in place and painted (light switches only have a black hot and a black from the fixture to connect). As I show in the video, I have also completed all light fixture rough-ins on the first floor and the required ones (for occupation) in the basement. This only leaves the ones on the second floor that I will do after getting a partial electrical inspection and discussing a solution with the inspector.
It is my hope the inspector will authorize me to insulate the first floor (walls and ceilings) and walls on second floor. If he does, I will then switch gears and complete all tasks needed for a framing inspection (more on this in a later update) . Once this hurtle is passed, I will then try to have a crew insulating the first floor while I work on the second floor lighting.
Steps to dress an electrical box


Some of the bounty from our garden this year


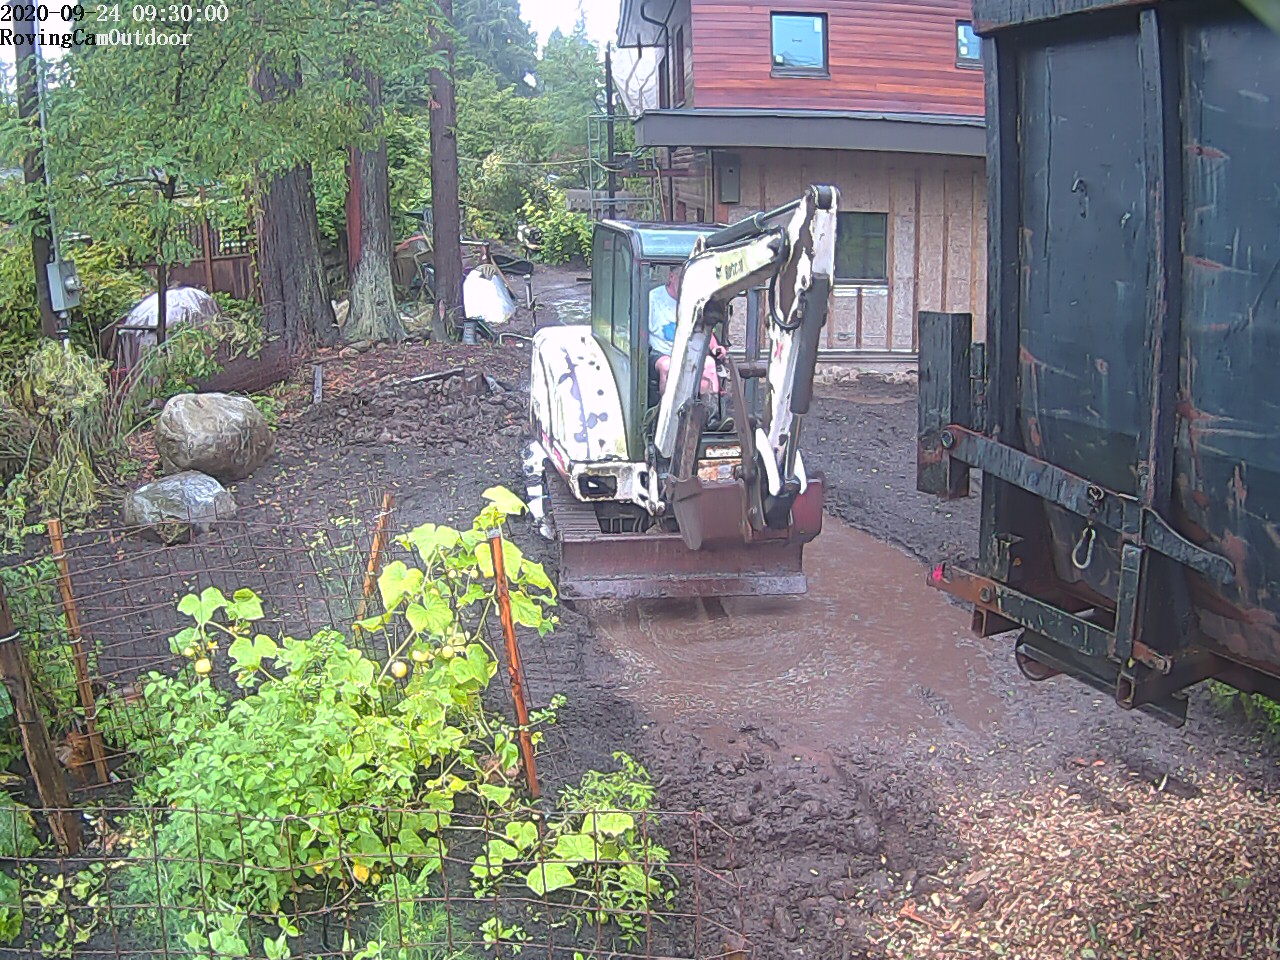
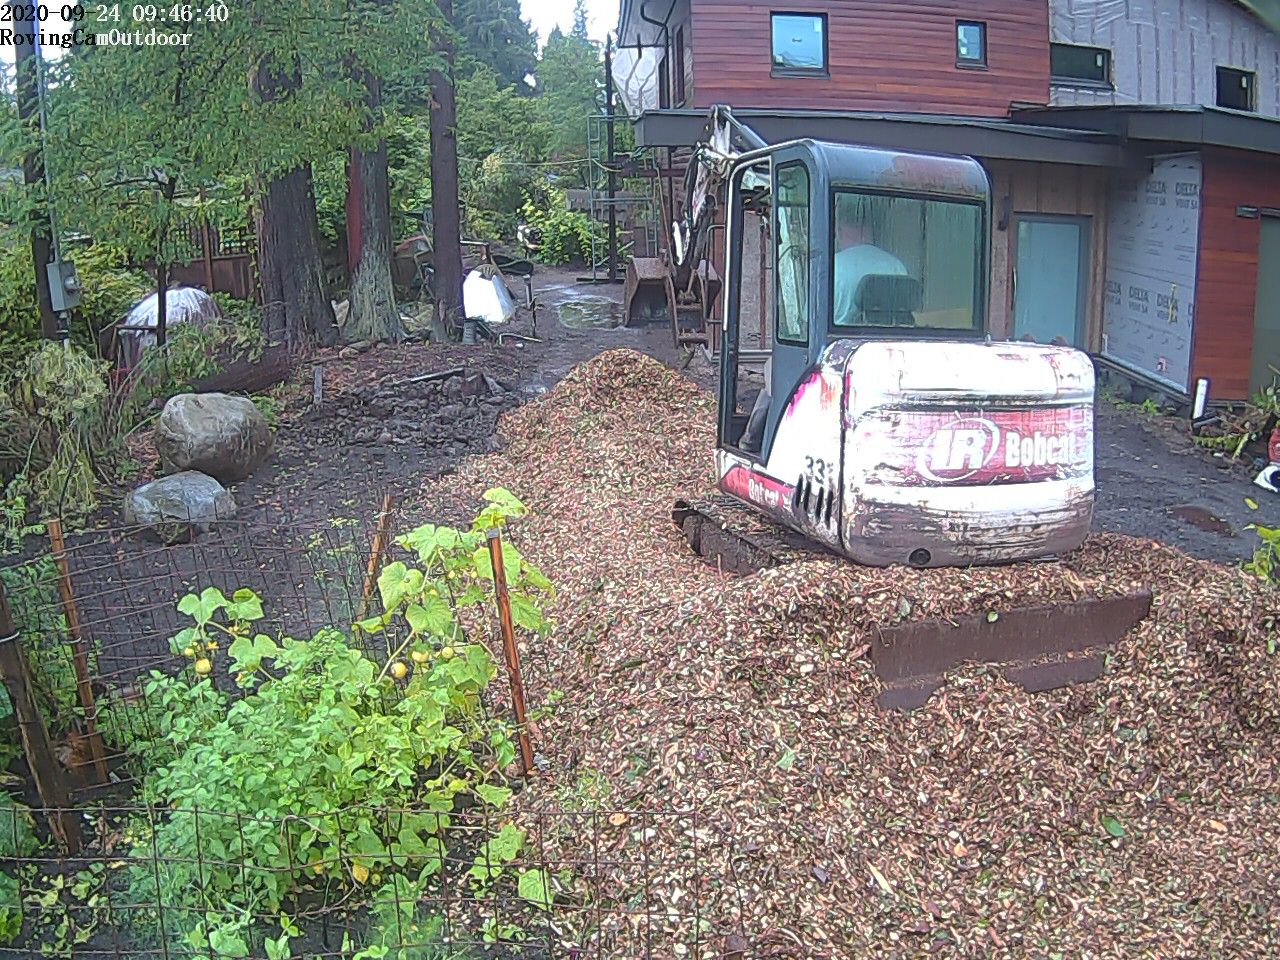
Finally, I promised some more info on the delivery of the wood chips by Burley Boys.

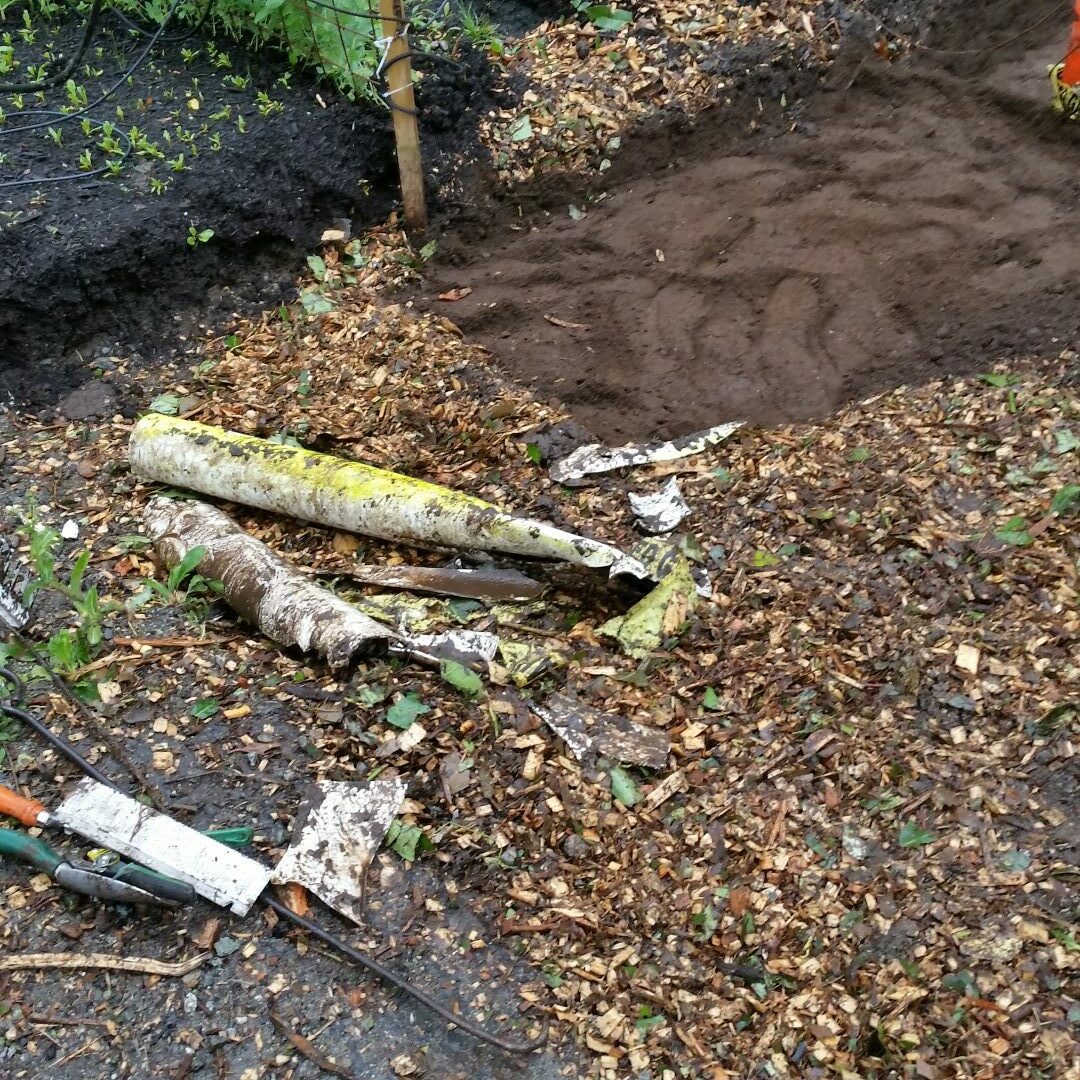
Prior to the truck arriving on the morning of the delivery, I drove the tractor back and forth to make sure that there were no mud holes. But I only drove it as far as the black pipe you see at the bottom of the above photo.

One set of wheels sank into the filled in gas line trench I had dug earlier in the week. This was right in front of the black pipe I had stopped the tractor at 🙁
They ended up having one of the large bucket trucks come by and hook a chain to the front and I pushed on the back corner with the tractor bucket.
If they had to call a wrecker to pull them out, the bill would have been passed along to me!
As always – thanks for visiting!
“When something bad happens you have three choices. You can let it define you, let it destroy you, or you can let it strengthen you.” —Theodor Seuss Geisel (1904-1991) Writer, Cartoonist, Animator
“Patience and perseverance have a magical effect before which difficulties disappear and obstacles vanish.” —John Quincy Adams (1767-1848) 6th Us President