Suspended Garage Slab - Quad Deck Thermal Bridging
Hey folks,
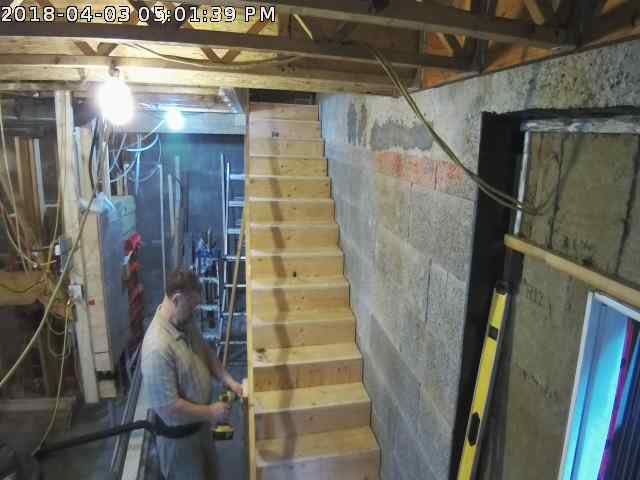
Things have been progressing well at the job site. Since my last posting, I have installed the permanent stairs down to the basement (a joy after working so long with the construction stairs that were very narrow and required me to duck under a beam every time I went up and down). I have also framed all of the basement interior walls, which has finally allowed me to move all of our stuff from the storage locker to the basement saving over $100 a month. Its nice to finally have easy access again to things like my technical library and such. The basement is now generally buttoned up till after we move in as we will be leaving it in an unfinished state for now.


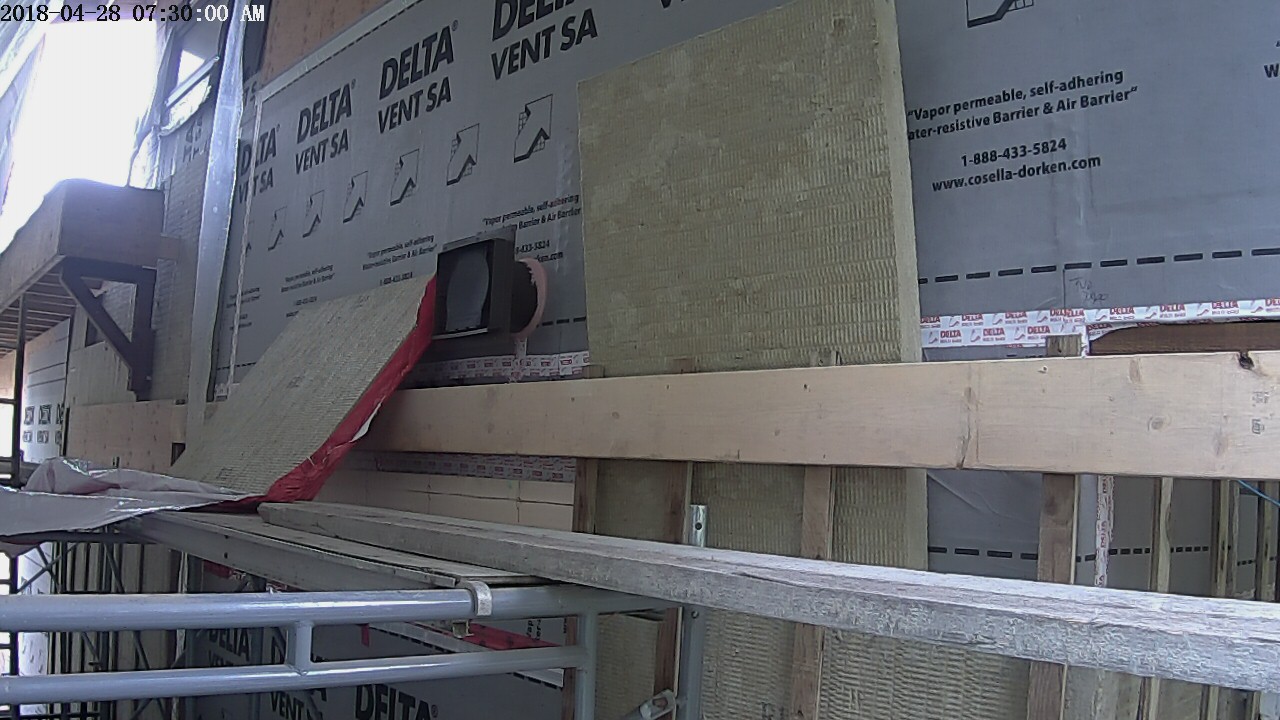
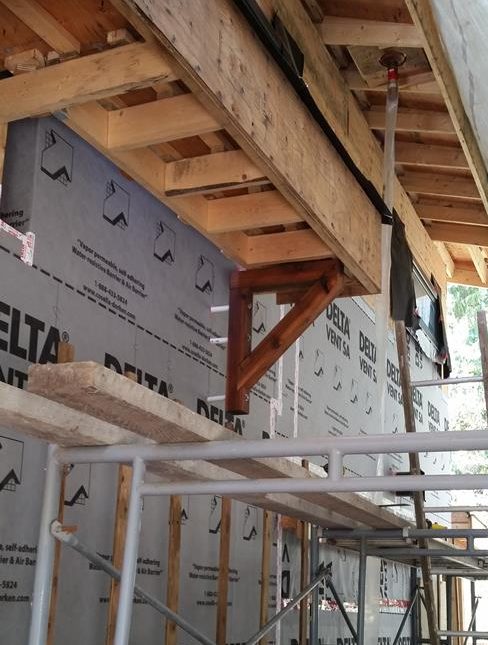
With the basement out of the way, I have now moved back to detailing the exterior air barrier, insulation, and cladding now that the weather has warmed up. I will spend the next three or so months detailing the exterior of the house starting on the north elevation.
I am also continuing my commitment for a focus on more technical based articles for this journal while cleaning-up some outstanding questions I have had from readers or passers by.
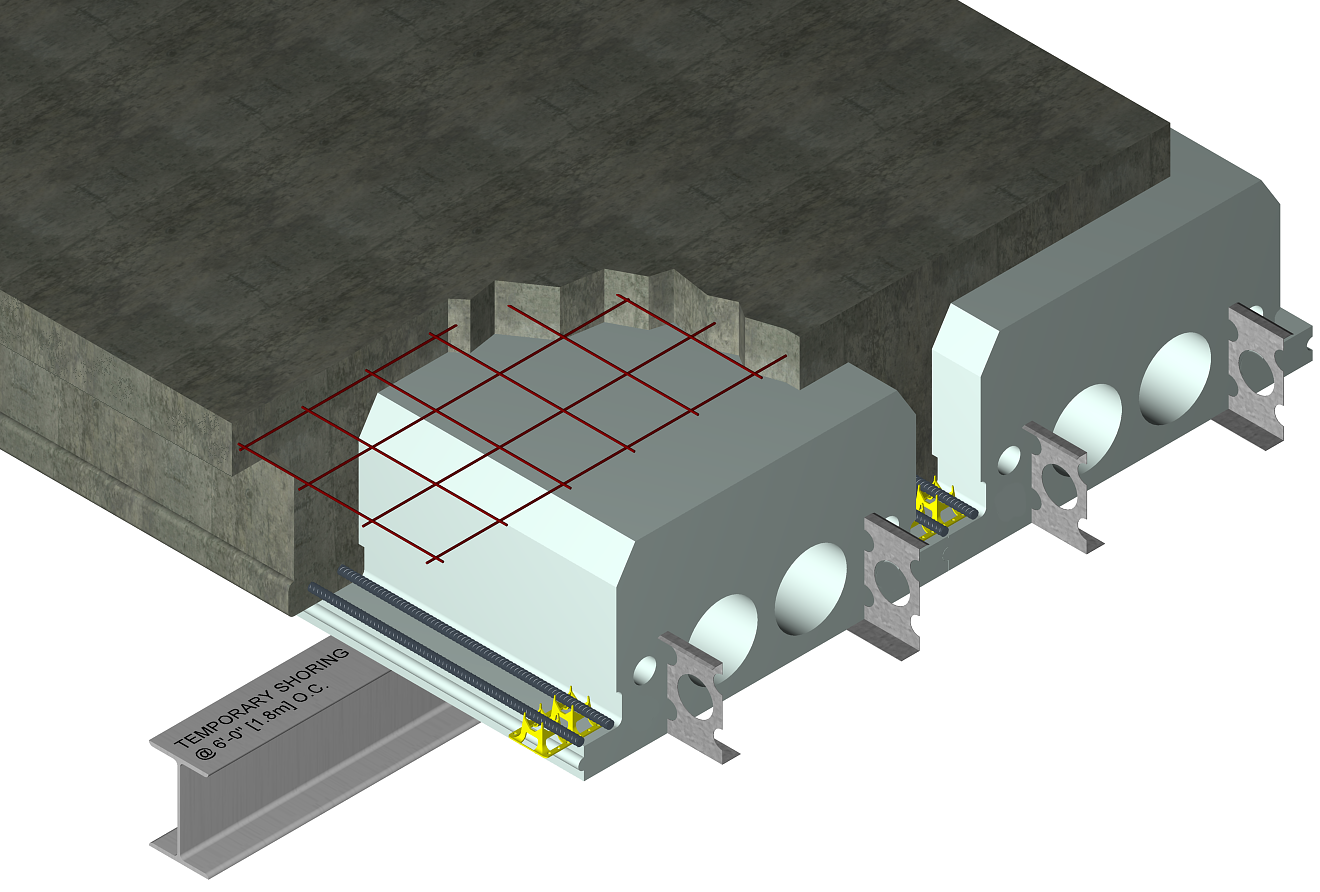
Back in November 2015, when I was installing the shoring for the suspended garage slab, I had a few people ask me why I was not considering a product like Quad-Deck from Quad-Lock. Quad-Deck is a forming product made from EPS panels that stays in place after pouring to provide sub-slab insulation. At the time, I seriously considered the product and even received a quote.
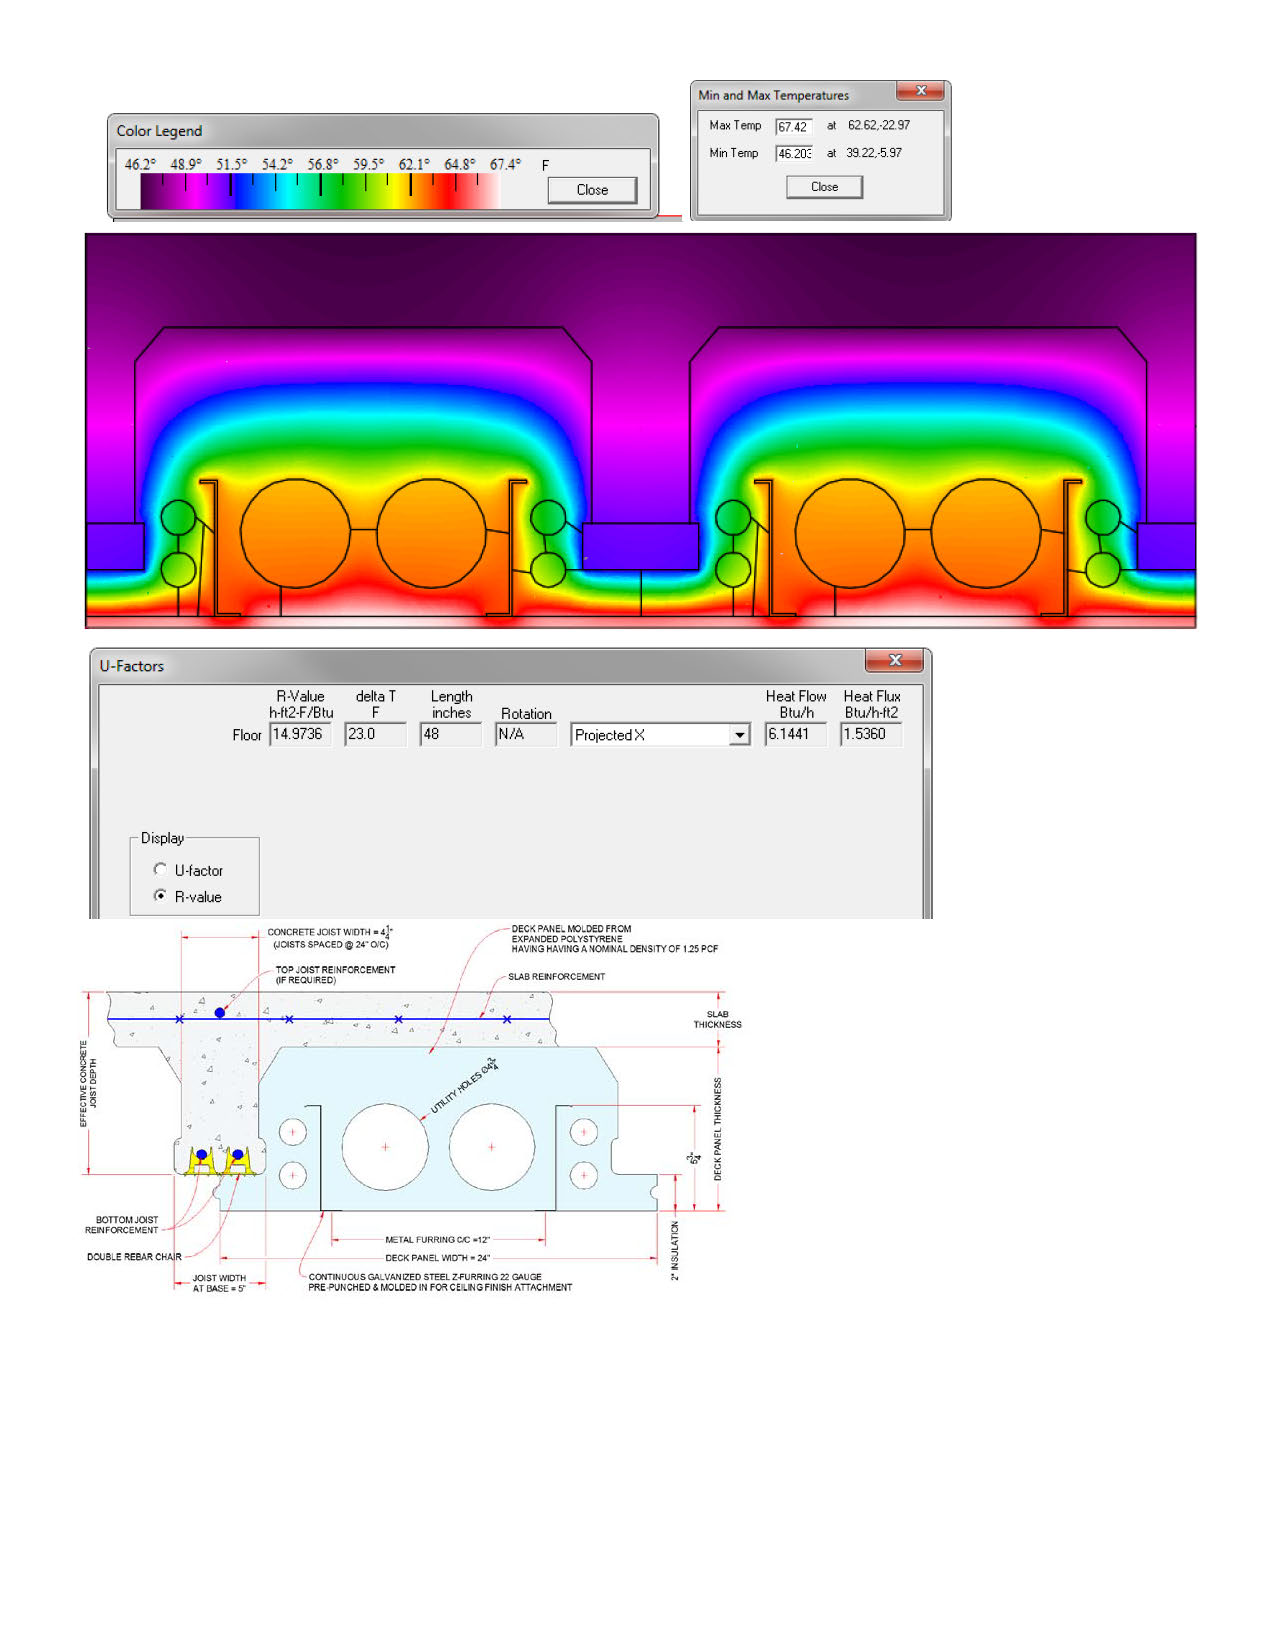
The preliminary design called for a 4” slab with 4.25” thick by 14.5” deep concrete joists at 24” spacing. The pre-engineered rebar requirement was #3 bars @ 12” centres with extra bars needed in the joists, but this only provided a live load of 100 lbs per square foot, and I was going to need 1500 lbs/sqft to support the car hoist I planed, so I suspect the final rebar requirement would have been closer to the 20M bars at 10” centres both directions that my engineer calculated. I also suspect in the end that the 4” slab would have been insufficient for the planned car hoist. The concrete volume estimated by Quad-Lock for the 4” slab was 8.4 cuyd for the 450 sq ft slab compared to 15 cu yards for the 10” slab that I poured. The Quad-Deck forming price worked out to $4.63 per square foot of slab. The concrete price was $178/cuyd. Assuming the rebar would end up close to what was engineered, this works out to a cost of $2500 for the EPS forms and a max savings of $1175 in concrete (suspect quad-deck slab would have been thickened after engineering, cutting into this concrete savings). This results in a min cost premium for the Quad-Deck system of $1325.
But you also add to this the cost for the ¾” plywood needed if site forming, unless like me you utilized the forming plywood somewhere else in the build. SO for me it was free.
Next you have to account for the insulation that results from the use of these EPS stay-in-place forms, and that was the deciding factor to not use this product. You see, I modelled the Quad-Deck profile in a program called THERM, which calculates the heat loss through an assembly. I was after at least an R20 overall for my assembly, but even though the EPS panels are 12.5” thick, the thickness under the concrete joists is only 2”. This, with all of the services holes and drywall mounting strips embedded in the product, plummeted the actual effective R value of the system down to R14.97, and this was without even modelling the thermal bridging that would result from the inclusion of the rebar in the model.
To achieve something similar with a continual layer of mineral wool would utilize 4” of ComfortBoard 80 providing an effective R16 (+ R1.5 for the 10” Slab). The cost for 4” of ComfortBoard 80 would be aprox $960 and you would end up with a higher performing system. To get to my target of R20, I would bump up to 5” of ComfortBoard 80 for a total effective assembly of R21.5. The estimated cost for this would be $1400, or basically the same expected cost premium of the Quad Deck System, but resulting in MUCH better performance.
So I opted for the site formed system which was easier to interface with the ICF foundation walls. I also maintain more ceiling height with the site formed assembly as my overall assembly thickness is only 15” as opposed to the 14.5” concrete joist 2” of EPS below.
Also worthy of note is that the ‘services’ holes built into the EPS panels would only be useful for ducting or something that does not require a slope, and also only straight runs as opposed to the multitude of elbows and wyes making up most plumbing or HVAC runs. So if I did use the Quad-Deck system I would have had to drop the plumbing ABS pipes below the forming, which would have made a very difficult interface with the rest of the house and also decrease the ceiling height in the room below the slab even further.
Thanks for Visiting!
“Adopt the pace of nature: her secret is patience.” —Ralph Waldo Emerson (1803-1882) Philosopher, Poet, Author, Essayist
“We take care of the future best by taking care of the present now.” —Jon Kabat-Ziin (born 1944) American Professor Emeritus Of Medicine
I am looking at quad deck for our ICF hosue project and your comments here are well noted. I still have to figure out how to create a celing if we go with a coventional slab.
Thanks again for your question Chris. Not too difficult to create a ceiling. I will first hilti threaded rod into underside of slab that I will hang 2×3 at reg intervals (sandwiching insulation against slab). I will then put 1×2 cross purlins on that will support the drywall. This will also provide raceway for electrical below insulation layer. Slab is already air and vapour tight, so you do not need any additional barriers.