Yeah Rain!
In a million years, I would not have ever believed I was happy for the rain – but today I was thrilled! You see I got the rain beat.
The tarp sheds water well without any pooling. The pit base has enough gravel that even during a storm, the water will not rise up above the gravel surface (even though the tarp covers most of the excavation, all storm water still enters the pit as it falls off the edge of the tarp and down the excavation walls at the front and back) as long as both pumps are working.
On the other hand, the freezing temps have been really tough to work in and the tarp is not rigged for snow. Today I lowered the NE corner of the tarp and was able to shake off the large accumulation of snow and ice on the front half. This had to be done before the rain came as the snow/ice was heavy and cause sections of the tarp to sag and pool. If I did not clear it off and allow the tarp to go to a neutral position, it would have built up water and collapsed.

So I got to say – I am happy for the rain and was motivated to put in a 8.5 hour day today.
Yesterday I ordered the rebar dowels I need for the footings and then went for a supply run in the morning (screws and 2×2’s). I also picked up the 90 form stakes from the rental shop. I am getting these from EMC Form Rentals and Sales in North Van. They always have stock and have great pricing and service. Because driving in 90 stakes with a sledge would all but kill me, I rented a grounding rod driver and drove all 90 stakes in about 90 minutes. The only down side of this method is if the stakes are a bit older and the top edge has been curled over with repeated sledge hits, the rod may be too big to fit into the driver or worse, it goes in and gets stuck. This happened about 10 times and probably set me back 30 minutes total. But all in all, this method was a huge time boost as it would have taken all day with just a sledge. By the end of yesterday I had all the stakes driven and had placed one more module on the south wall.
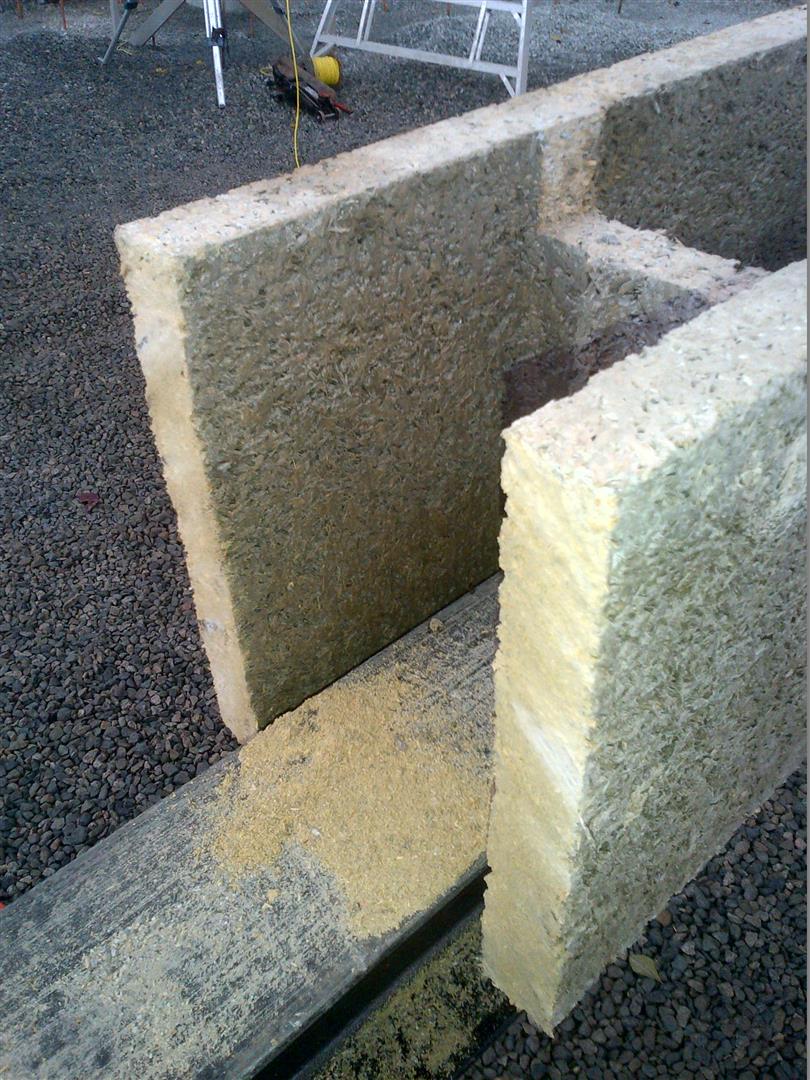
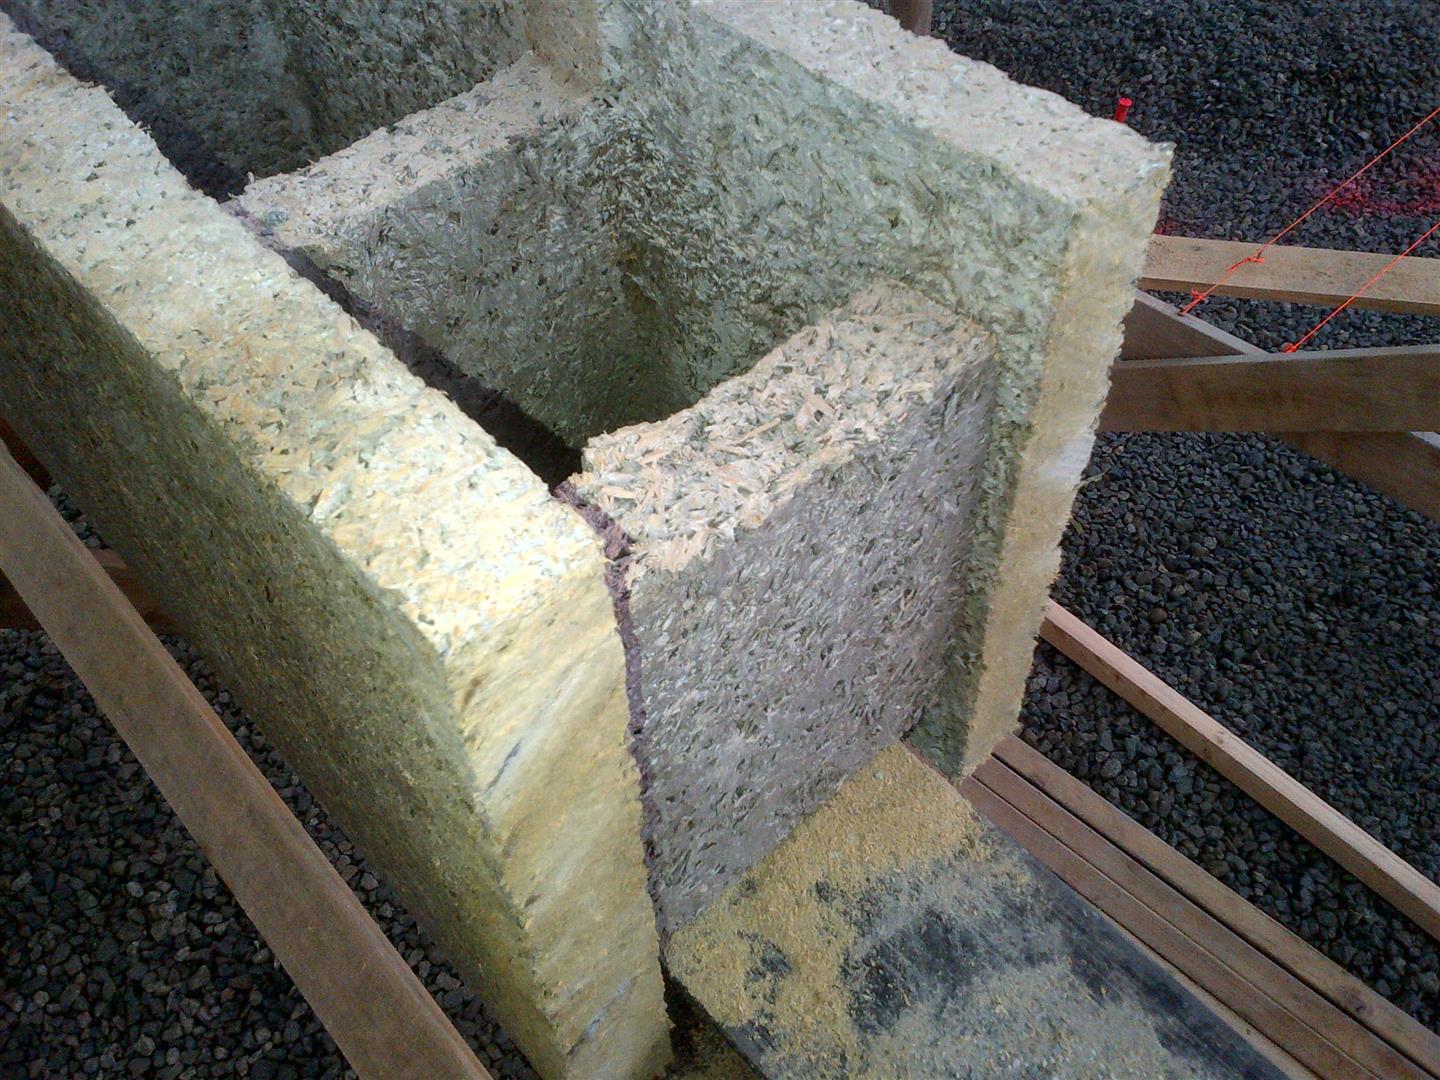
Today I continued laying down modules and finished off the south wall. The basic three block modules take about 30-45 minutes to assemble and place. But the corner modules take a bit longer. The one at the east end of the south wall took a lot longer as we had to cut down a block, as the length of the wall was not in a 3ft increment.
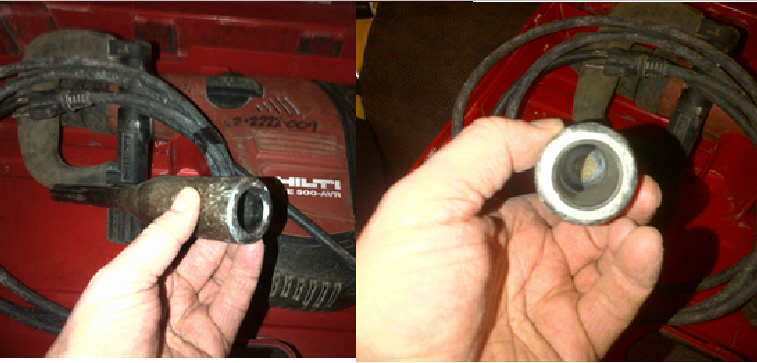
Cutting the Durisol ICF blocks is straightforward. You just treat it as wood and use all the standard tools including a reciprocating or chop saw. I cut off the one end of the block to the total length needed and then also cut out the middle web and screwed it into the new block ‘end’ with a 1/2″ setback.
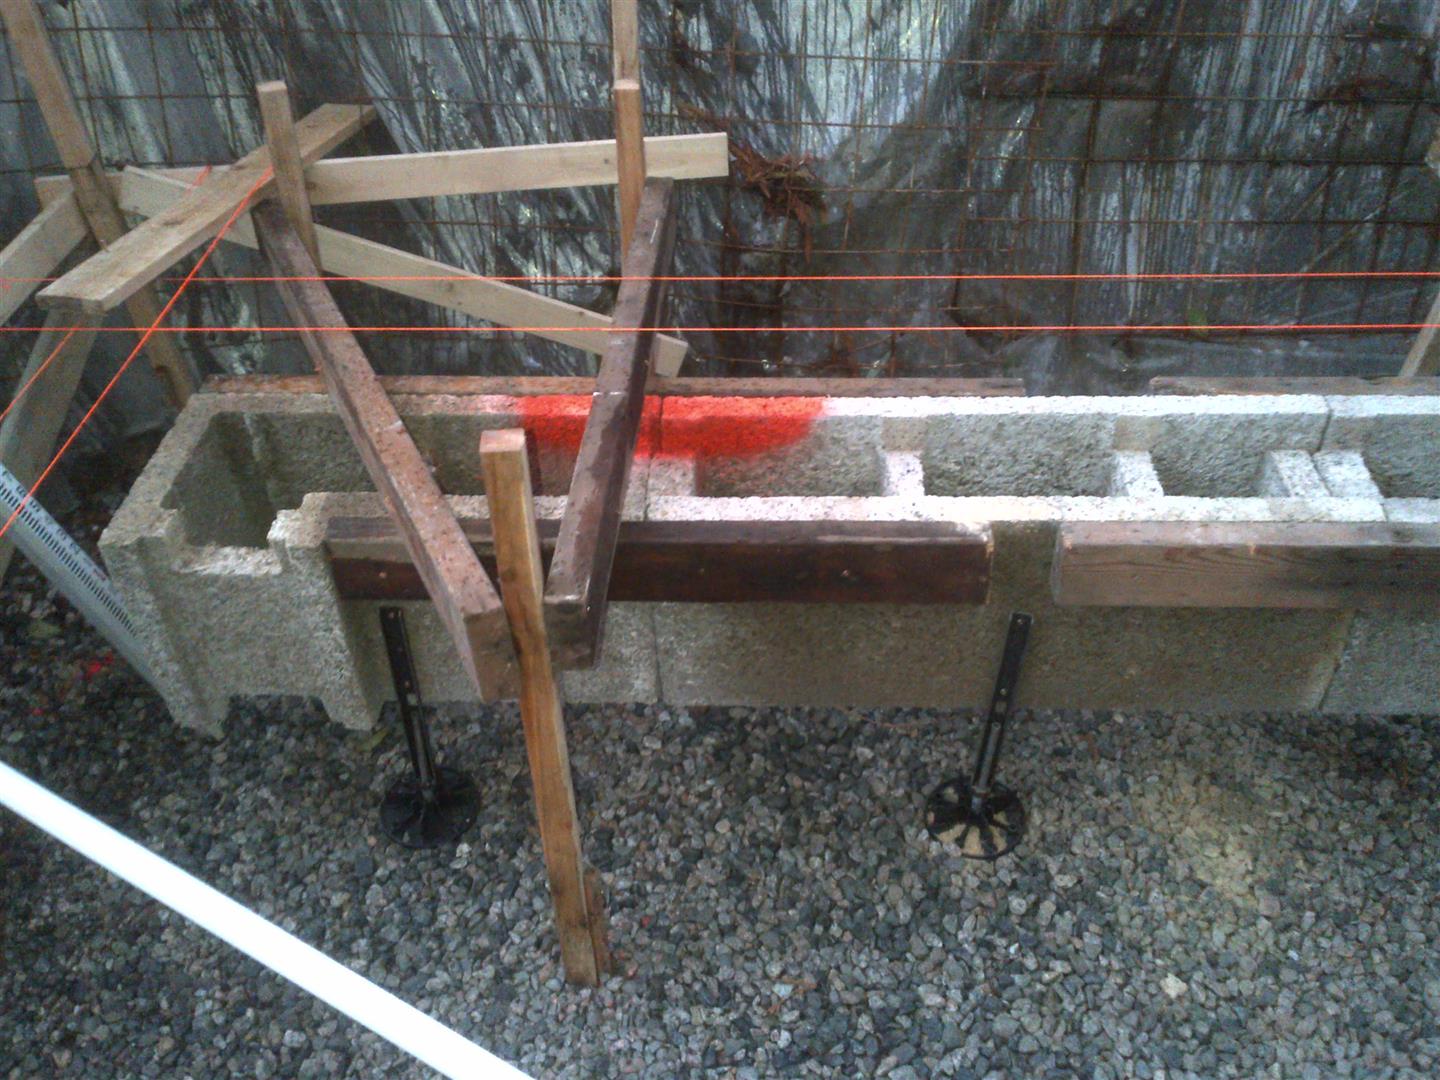

Before ending the day, I also laid down 2 modules on the west wall of the shop and have the third ready to lift in place. At this point it looks like I will be at least till end of day Monday but suspect it will be end of Tuesday, before all basic modules are in place. I have a lot of corners to do at the NW corner by the tree. For the end of tomorrow and because I have to leave the site by 4PM for a family function, I will be happy if I finish off all of the west wall (including jog) and get most of the way down the north wall.
The north wall and the internal ICF wall off the west side of the garage will also be complicated by the fact that they both have a door. So I will have to figure out how I am going to frame the doors and ensure I leave blocks out in this area. But then I will need to figure out how to continue the bag footing through this area.
All in all a great day but my back is not happy. Starting acting out by lunch and I just pushed through for rest of day. Should be interesting to see what tomorrow feels like.
Thanks for visiting.